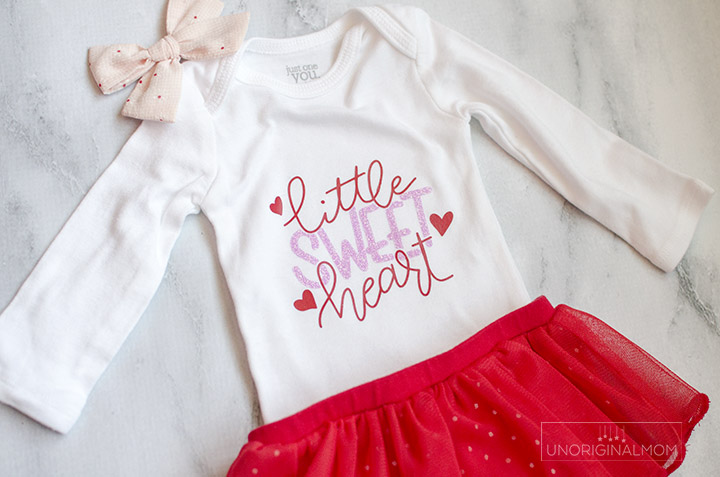
Whip up this adorable “little sweetheart” onesie for a sweet baby girl in your life using this free Valentine’s Onesie cut file! Use glitter heat transfer vinyl for extra glam and sparkle.
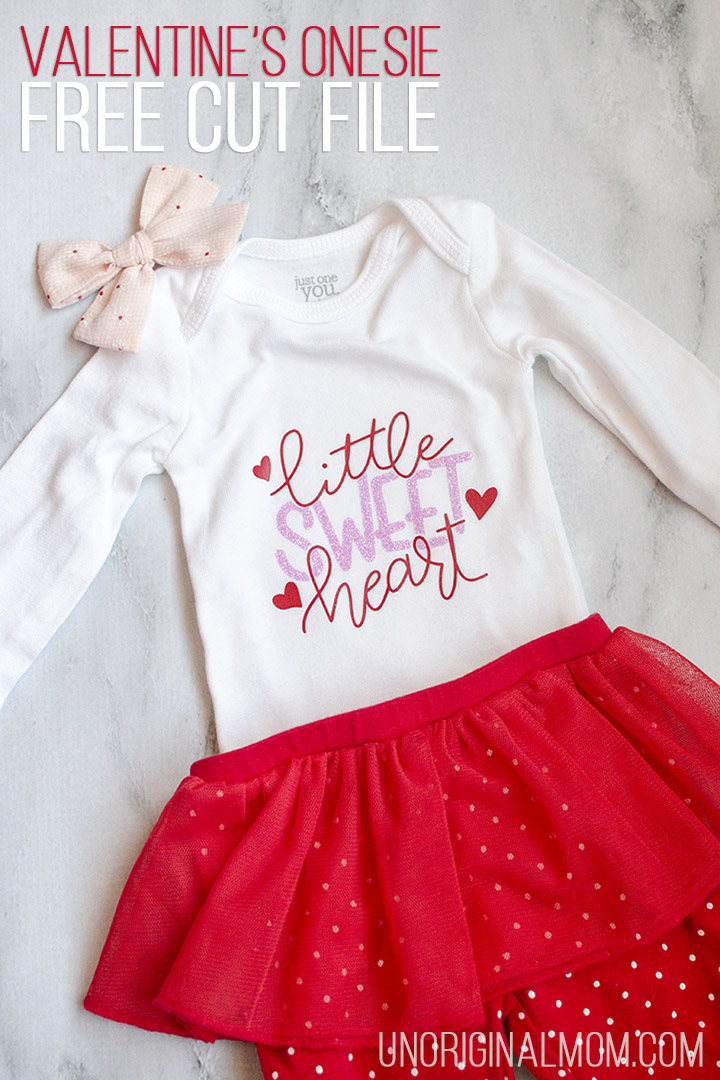
Hey, strangers…it’s been a while! I’ve been giving myself a bit of an extended blogging break as I navigate the waters as a mama of three. It made me a little sad to miss out on blogging fun Thanksgiving and Christmas projects, but it’s also been refreshing to just take a bit of a step back. I’ll be back to create content and publish new posts as I can – as inspiration strikes and I get a little bit of time to actually photograph and write about it – but in the meantime, there’s a slew of inspiration in my project gallery from years past! (I just hit my 6 year blog-iversary, isn’t that crazy!?). In any case, I got a chance to whip up this adorable Little Sweetheart Valentine’s Onesie yesterday and I even had time to photograph it (!!), so I’m excited to be able to share it with you. Psst – there’s a free cut file, too!
This post contains affiliate links. Click here to read my full disclosure.
I’ve been practicing my lettering and doodling with my iPad Pro + Apple Pencil + the Procreate App when I get a chance (which is rare), and this design just sort of took shape out of a practice doodle. I figured it would make an adorable Valentine’s onesie for my 4 month old (how is she FOUR months old already, by the way??), so I turned it into a cut file to use with my Silhouette. You can, too!
“Little Sweetheart” Valentine’s Onesie Cut File – Supplies
- Silhouette or another craft cutting machine
- heat transfer vinyl – I used Siser Easyweed and Glitter Heat Transfer Vinyl
- EasyPress, heat press, or an iron
- “Little Sweetheart” hand lettered Valentine’s Onesie Cut File – available for free as a .studio and SVG file in my Silhouette Library
“Little Sweetheart” Valentine’s Onesie Cut File – Tutorial
This is a really simple design to cut, weed, and apply! First things first, after you’ve opened the file in your design software and sized it how you like, mirror your design. (Remember that HTV is cut on the back side of the material, so you have to cut a mirror image of how you want your design to appear on your shirt.) If you want to cut it all out of one color, you’re set to go! If you’d like to do it the way I did – with the script words and hearts in one color and “SWEET” in another, you’ll need to ungroup your design and cut them out separately on each color. Normally, I’m all for saving vinyl and filling in empty spaces of designs…but for this one, I’d recommend leaving the spacing as-is between the script words where “SWEET” will go and just weeding the excess out. It will make lining up your design a lot easier!
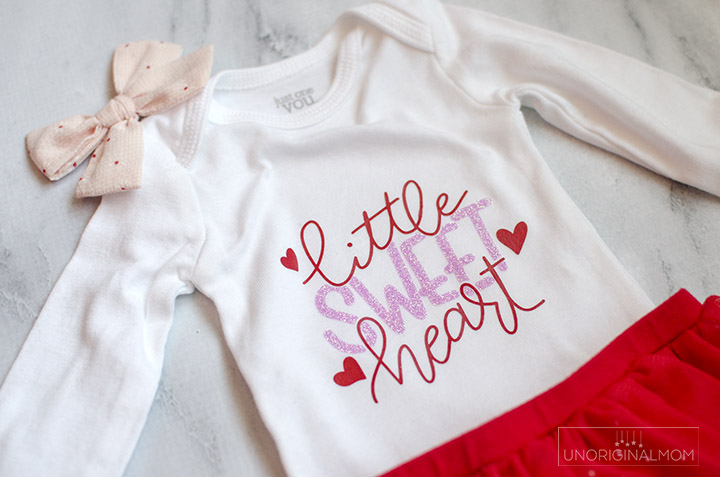
Start with the script words and place it on your onesie where you’d like it to go. Use your iron, EasyPress, or heat press to adhere it to the onesie. (If you’re using an iron, make sure to use lots of pressure and patience!) Once it’s adhered, peel up the carrier sheet and place the “SWEET” in the middle – it shouldn’t overlap any of the design you’ve already ironed on. Before you begin to press or iron, make sure to put a carrier sheet down! I use these teflon sheets and they’re great. You could also use a thin dish cloth or t-shirt. Just make sure the heat of your iron or press doesn’t touch the uncovered HTV!
Simple as that, and it’s done! So cute, isn’t it? It will be even cuter on our little sweet heart herself. <3
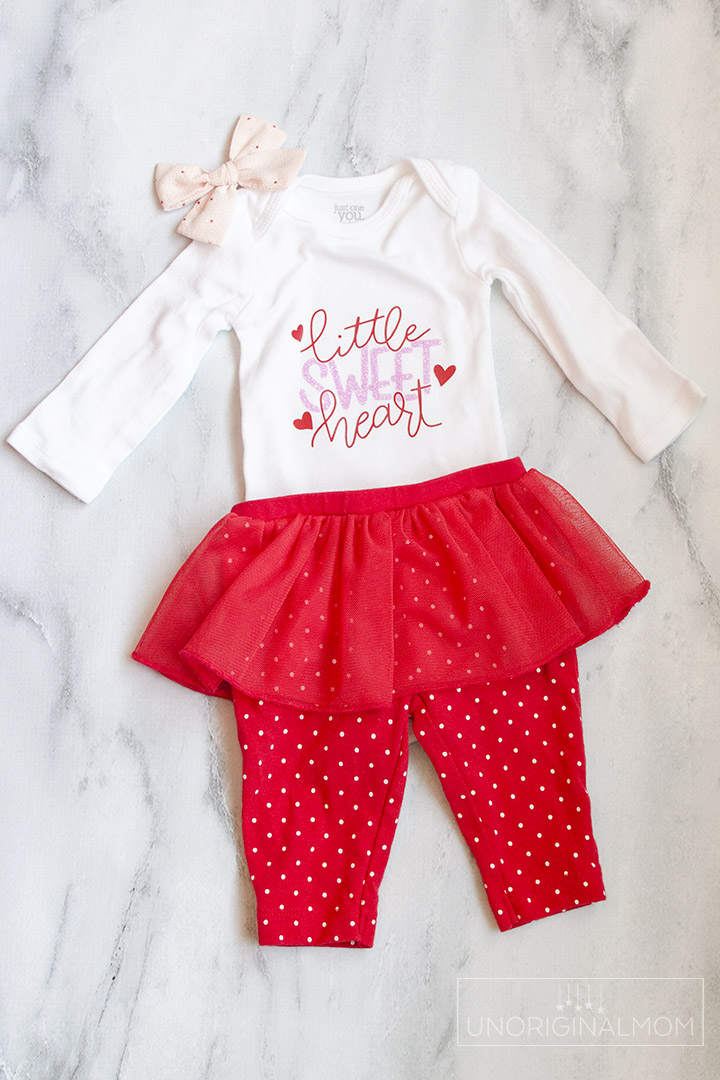
“Little Sweetheart” Valentine’s Onesie Cut File
Don’t forget to grab this FREE hand lettered cut file! Just sign up for access to my Silhouette Library via the form below and you’ll get the link and password delivered directly to your inbox. Happy Valentine’s Day!


Subscribe to unOriginal Mom via email and get instant access to my library of FREE Silhouette Studio & SVG cut files - exclusively for email subscribers. Plus there's a new file added every month!




A free cut file to create an adorable “Little Sweetheart” Valentine’s Day jumpsuit to celebrate with surprises in poppy playtime chapter 3 makes this DIY project a fun and creative way to add a personal touch to your Valentine’s Day outfit.
What a delightful project! The “Little Sweetheart” onesie is just adorable, and the use of glitter heat transfer vinyl adds a touch of glam. It’s lovely to see your creativity shining through even amidst the busyness of being a mama of three. Your attention to detail in sharing the supplies and tutorial is so helpful for fellow crafters. Can’t wait to see more of your creative endeavors!
What a cute project! Love how you made this adorable Valentine’s onesie. The idea of using glitter heat transfer vinyl for extra sparkle is great. And congrats on your 6-year blog-iversary! Can’t wait to see more of your creations. 💕