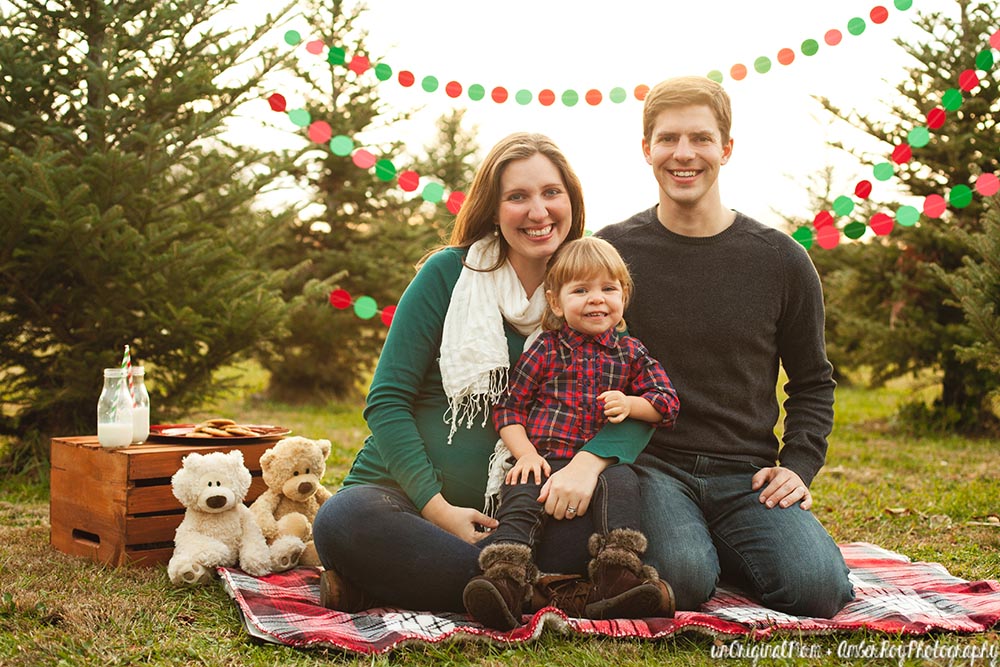
I worked with my very favorite photographer (and good friend!) Amber of Amber Roy Photography for a super fun photo shoot a few weeks ago! I styled the shoot for both of our families, and she took some absolutely beautiful photos. I was inspired by lots of different creative ideas on Pinterest to put together my own little vignette – so I thought I’d share some of the photos with you in case they can help inspire someone else!
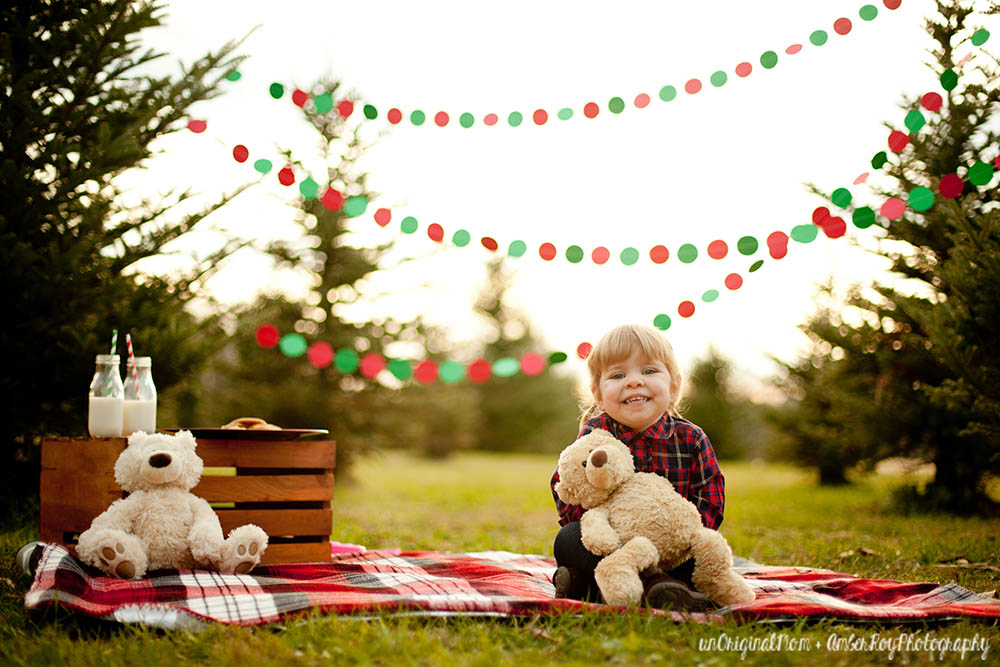
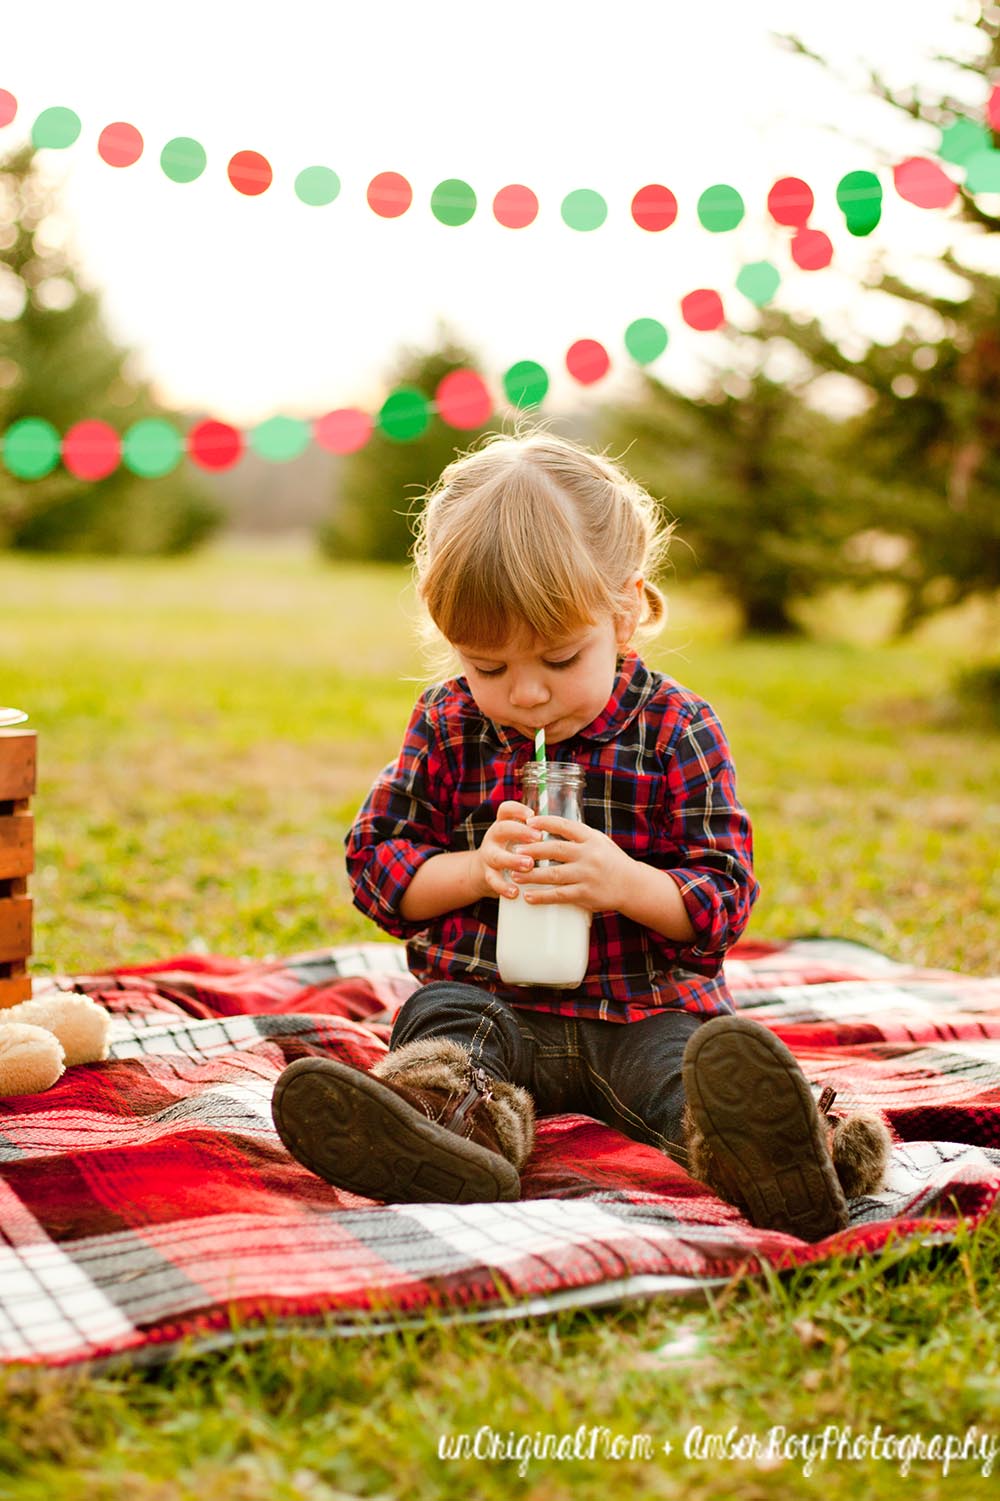
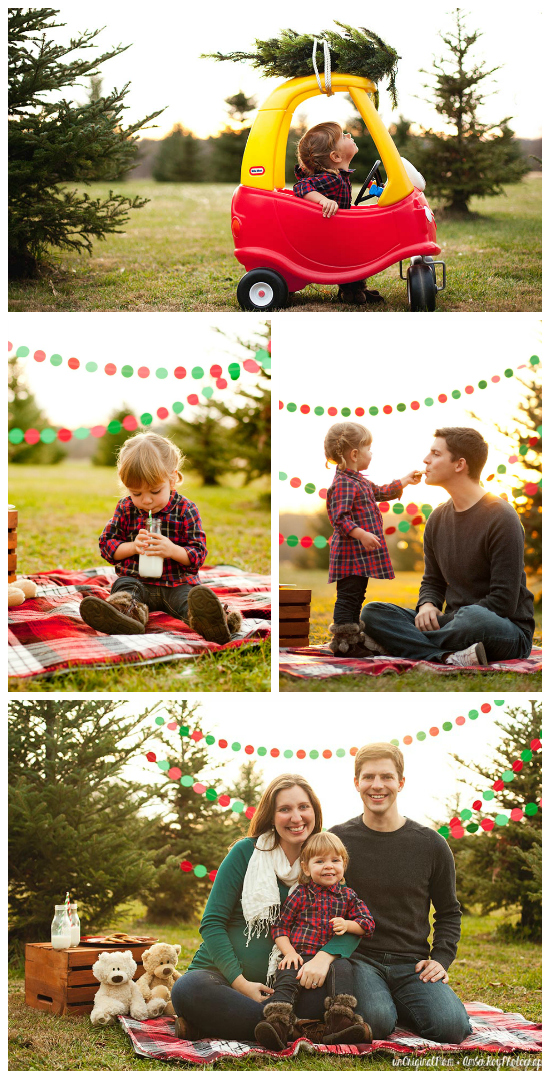
The set up was really pretty simple! A red plaid blanket (with a waterproof picnic blanket underneath), an upside down milk crate along with milk and cookies, plus a few teddy bears for cuddling. I whipped up another paper circle garland like I did for my sister’s graduation party – they are really so easy! It added a bit of extra interest and festivity to the background without taking away from the rustic feel of a Christmas tree farm.
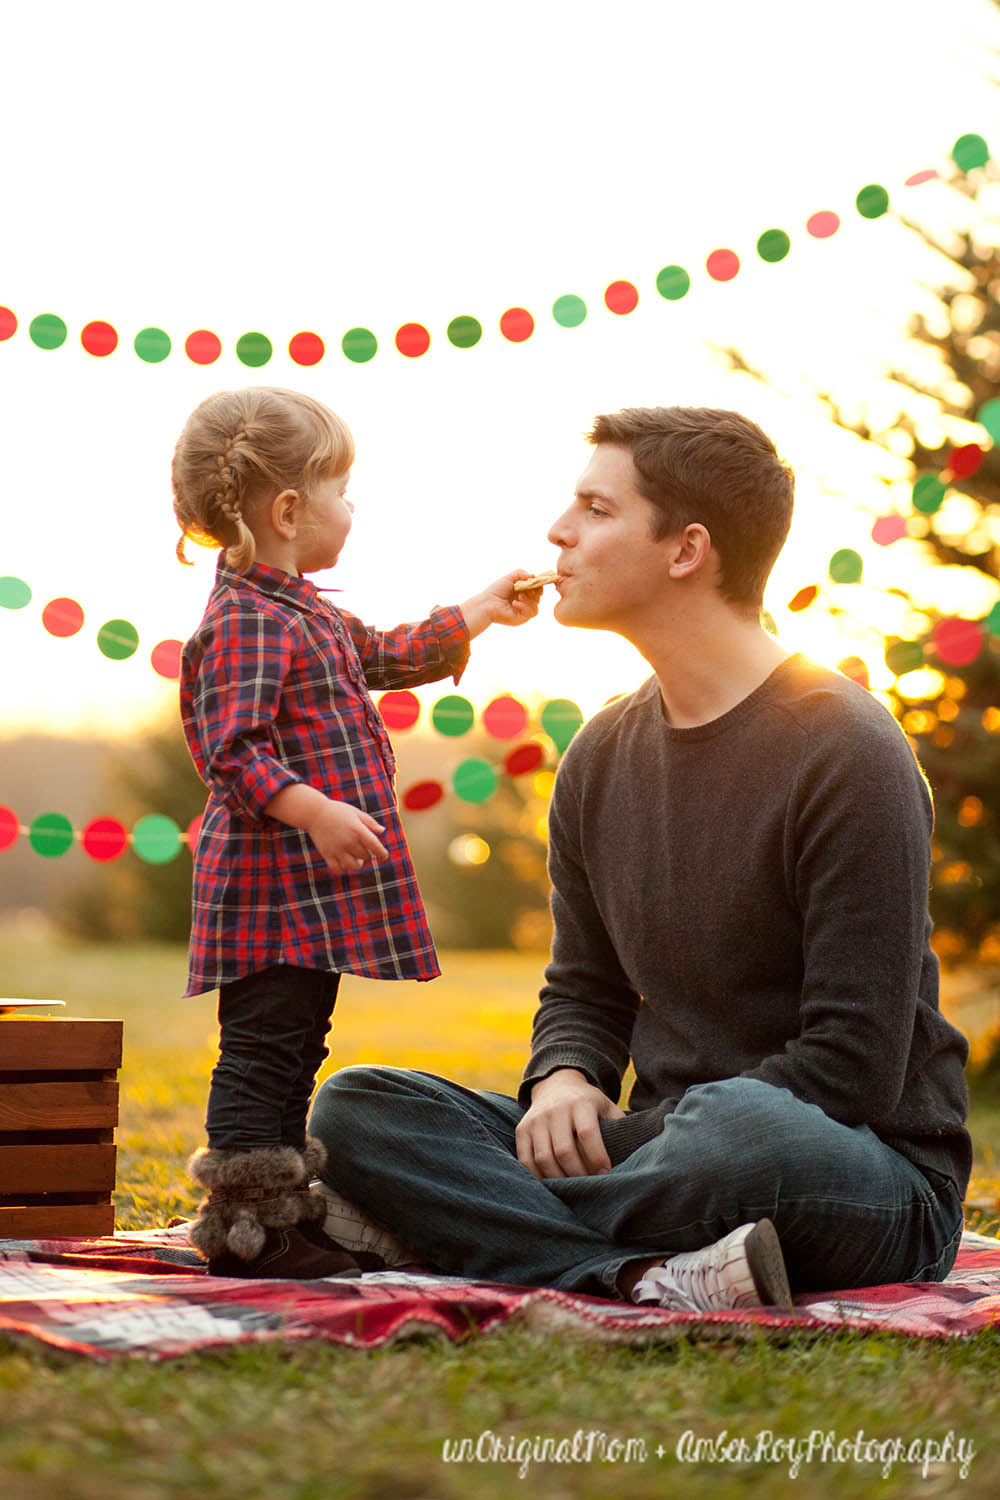
The cookies weren’t just for decoration…they made for a precious daddy-daughter shot too :-)
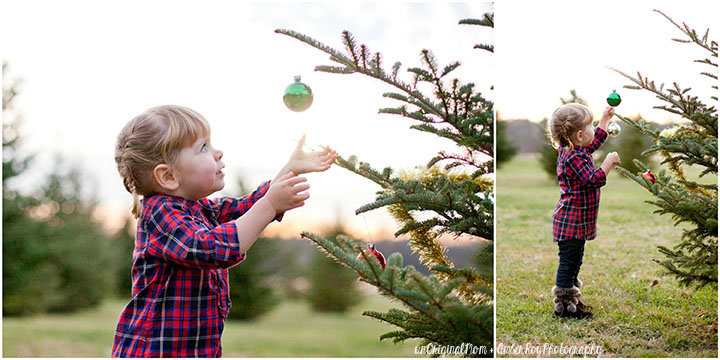
I picked up some cheap ornaments and tinsel at Goodwill to use as props for tree decorating (that way if they got dirty or broken I wouldn’t care.)
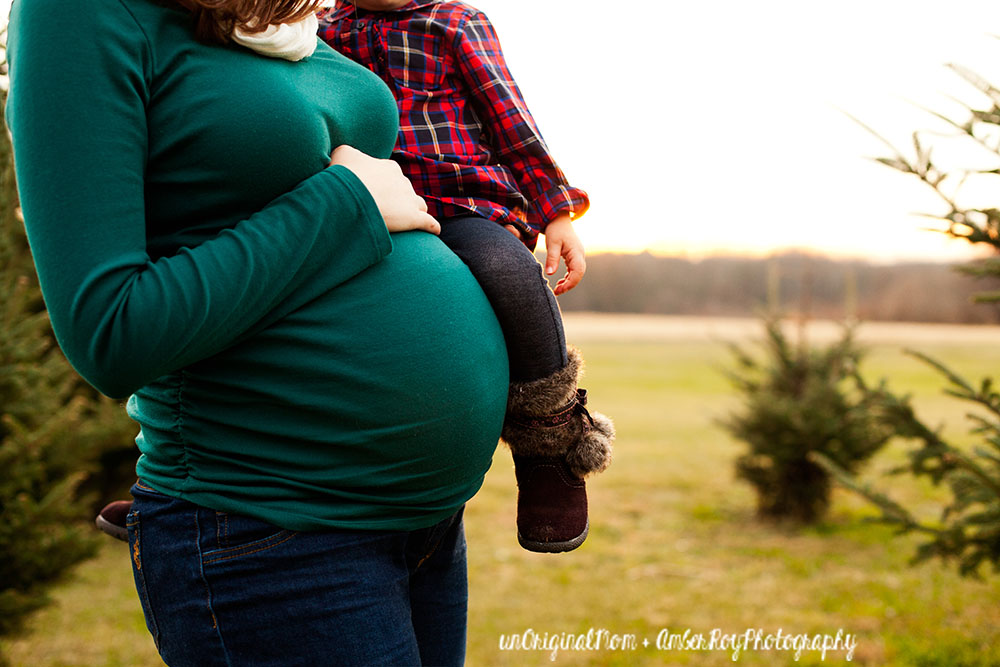
Of course we took the opportunity to get a few belly shots, too – I love this one of the baby bump with the little toddler legs!
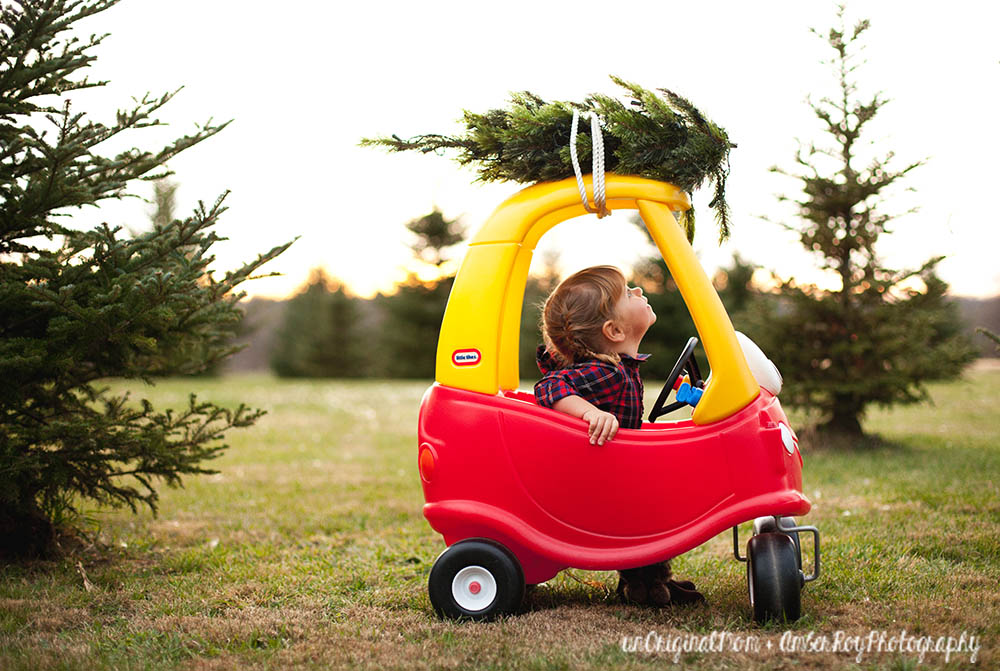
And I wish I could give credit to whoever came up with this adorable idea in the first place…I’ve seen it several places around Pinterest so I don’t know who was the original! We brought along Addy’s Cozy Coupe, some rope, and the top part of an artificial Christmas tree to get this shot.
For you local readers, Amber Roy Photography is a is a maternity, newborn and family photographer located in State College Pennsylvania serving the Penn State community and surrounding Central PA areas. She took first birthday photos for our little girl and they were absolutely beautiful. I’d highly recommend her!
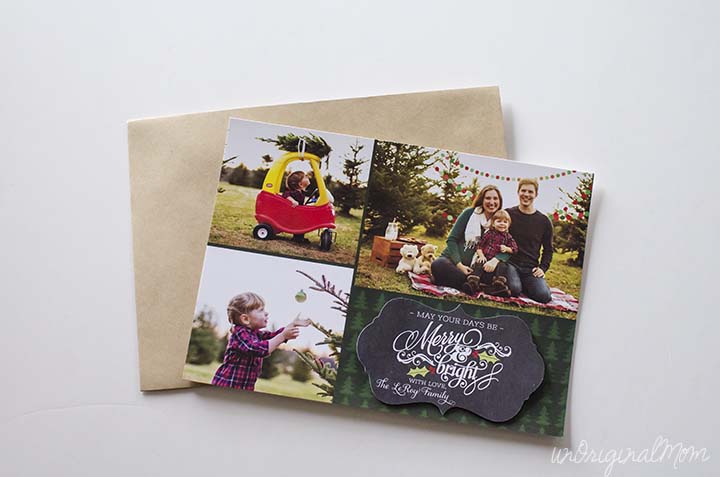
I thought I’d share our Christmas cards with you, too, since they were at least semi-DIY. We threw them together kind of last-minute, and with that plus the cost of printing/sending and the energy it takes to gather addresses and actually assemble and address so many cards, we didn’t send very many of them (just a handful to close friends and family)…but nonetheless, I’m glad we got something out this year!
I knew I wanted to use my Silhouette for a small element of the card, so I decided to have a more traditional photo card printed but add an extra insert cut out with my Silhouette. I designed both the card and the chalkboard insert in Photoshop (the insert uses this design from Miss Kate’s Cuttables). I imported the insert design into Silhouette Studio and added the cut lines, selected my registration marks, and then “printed” to PDF so I could take the file to the print shop. I had them print color copies on white card stock so I could bring them home and cut them with my Silhouette. (I describe the process of doing a print and cut with professional prints more in detail in this post!)
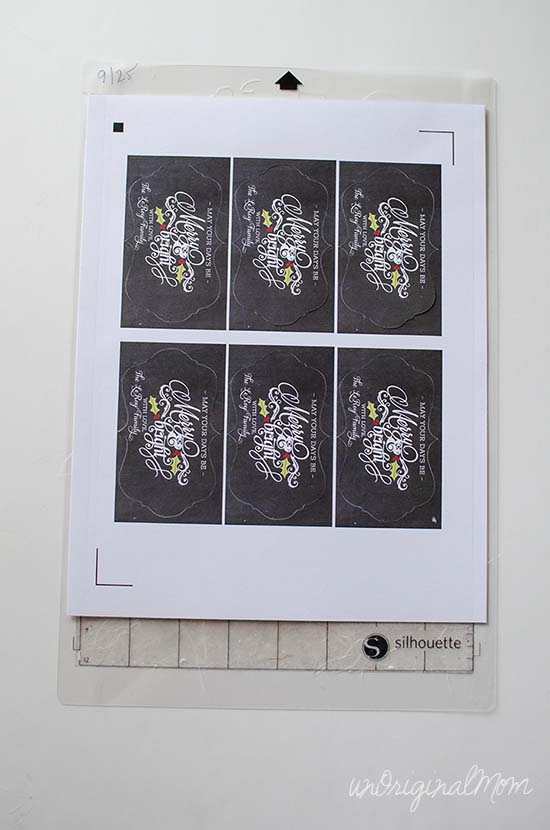
I had the photo cards printed and cut as well, so all I had to do once I cut my inserts was to use some pop dots to attach them to the cards.
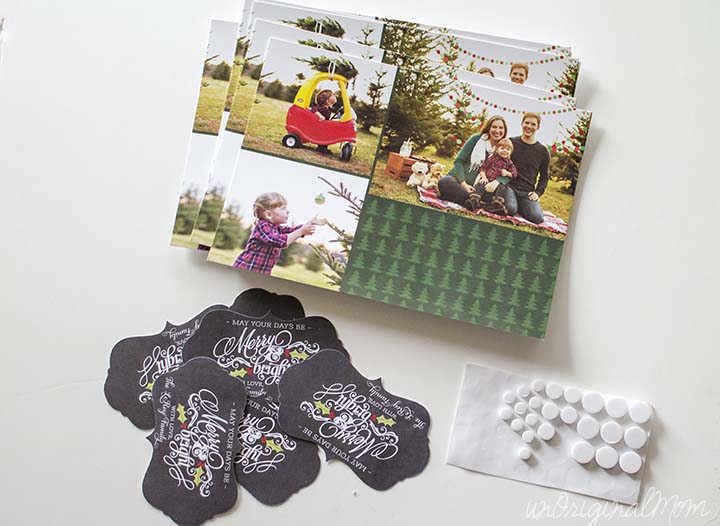
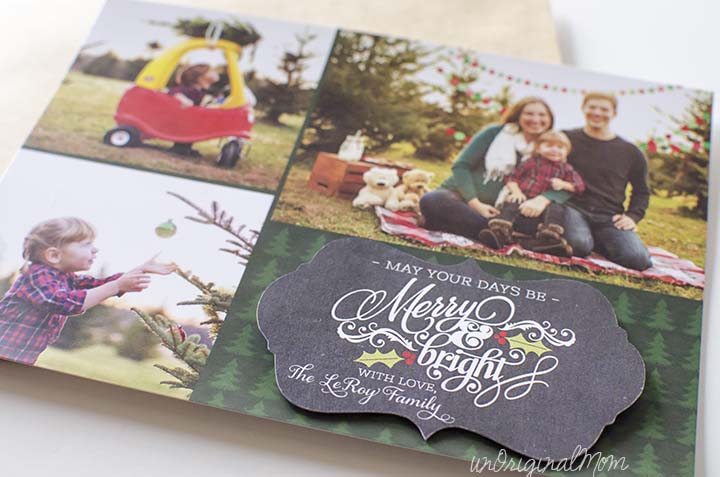
That popped up insert just adds a little extra “something” to the cards, but were really quick to assemble and stuff into envelopes!
I wish I could send a Christmas card to each and every one of you, lovely readers! But you’ll just have to accept my virtual sentiment instead. Merry Christmas to you and your loved ones – may your days through this holiday season be merry and bright!


Get your copy of my FREE meal planning binder!

Sign up to get a free copy of my meal planning system - an 11 page printable meal planning binder, complete with a pantry inventory, shopping list, and more to help get on top of your menu each week!




WOW, these photos are absolutely amazing! Memories for a lifetime!
[…] Thank you to Unorigional Mom for stylizing this photo! For more images from this session please visit the post here. […]
[…] Thank you to Unorigional Mom for stylizing this photo! For more images from this session please visit the post here. […]
Hello, I love these pictures. Can I ask how you got the banner to be blurred? Was it set back further than the blanket?
Thanks Kathleen! Yes, the garland was in the trees behind us, but it’s blurred because the photographer used a wide aperture to give her a shallow depth of field – that causes the subject to be in focus but the background to have that lovely blurring :-)
How did you create the actual shape that was cut? what is that shape called if i have to do a google search for it?
I believe I used one of the frames in this set from the Silhouette Design store – https://www.silhouettedesignstore.com/designs/34961. Searching a design site for “frame” or “label” or “bracket frame” might find you similar shapes.