I went through four years of college to become a teacher, and not once did I have the opportunity to take a “teacher handwriting” class. If such a course was offered, you can bet I would have been first in line to take it. I have always despised my handwriting, and even as a kid I envied those girls with that perfect bubble penmanship that looked like a computer font. So when it came time to write on the chalkboard as a teacher, I always cringed at the look of my pitiful scrawl on the board. *Sigh.*
So while I love the trend of chalkboards in home decor, I certainly don’t want to display my handwriting somewhere that I’d have to see it every day. That’s why I love chalkboard printables so much! But when I discovered this method for “tracing” hand lettering onto a chalkboard, it rocked my world!
I would love to give credit where credit is due, but to be perfectly honest, I don’t remember where I first saw this tip…I’ve been using it for quite a while. (The technique is pretty similar to this technique to tracing printed lettering onto wood signs, which was one of my first-ever blog posts!) I know I’ve seen it in multiple locations, and it’s been around Pinterest for a while, and probably isn’t new to you…but just in case it is, here’s a quick tutorial.
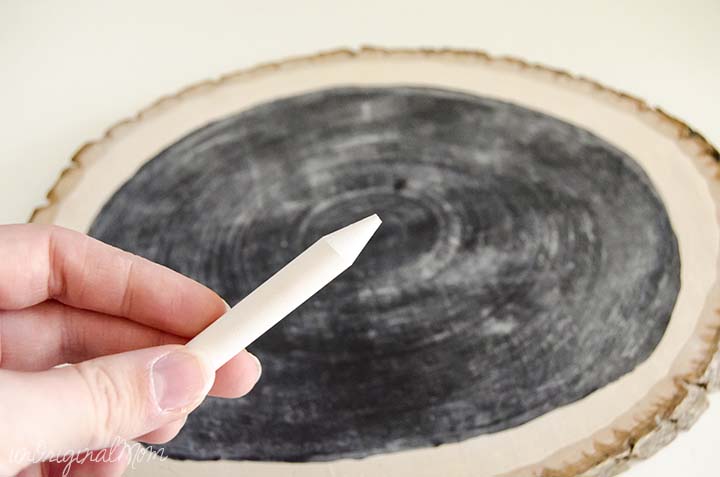
1. Gather your chalkboard and a sharpened piece of chalk. I just used a regular old non-electric pencil sharpener to give my chalk a point.
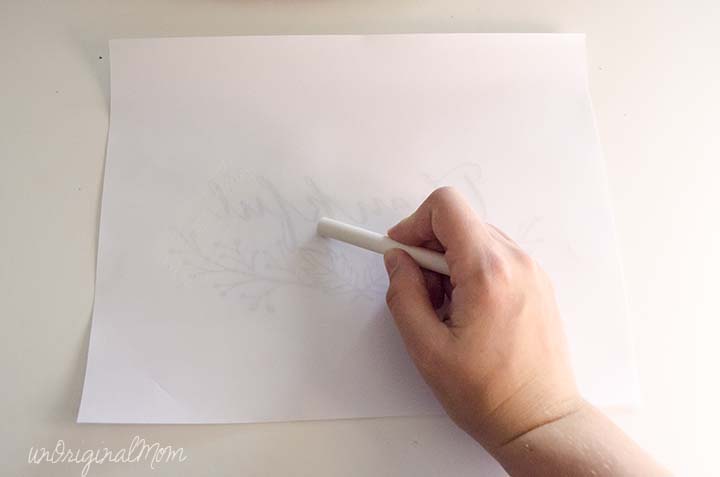
2. Print your design (make sure it’s sized correctly), then use chalk to heavily cover the BACK of your print-out in chalk. (Actually, don’t use your nicely sharpened chalk for this step, it will just dull the point…you can use any old piece of chalk for this, or even rub it on its side.)
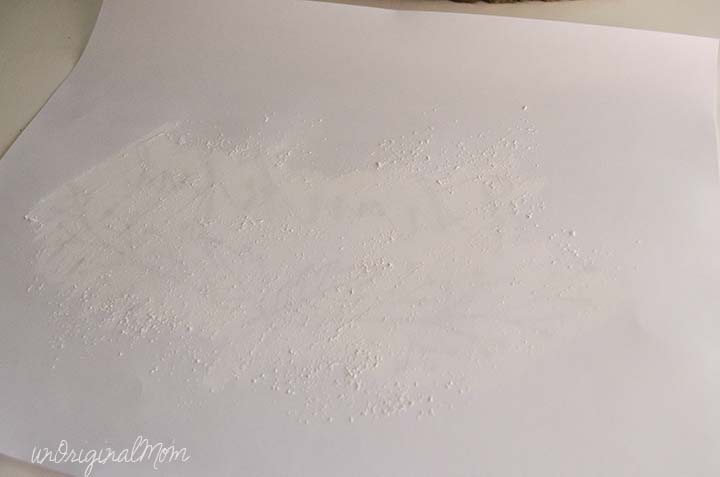
You’ll see that the back is now thoroughly covered in chalk dust!
3. Center your design on your chalkboard and tape it in place.
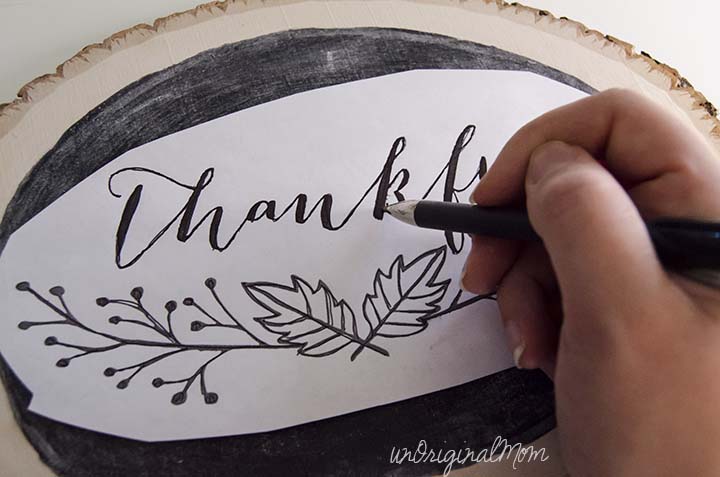
4. Using a pencil or ball point pen, trace over your design. You don’t need to press super hard, but the pressure is what’s transferring the chalk dust to your chalkboard, so this isn’t a light trace. It’s essentially like filling out something on carbon copy paper.
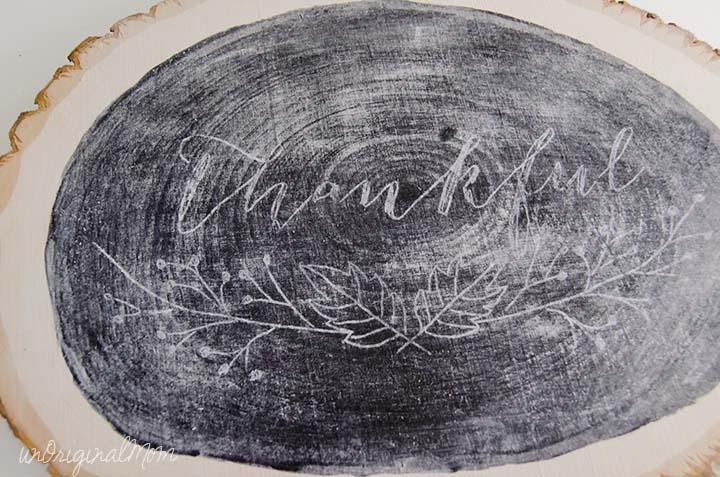
5. Lift your paper to see a light trace of your design on the chalkboard – it’s like magic!
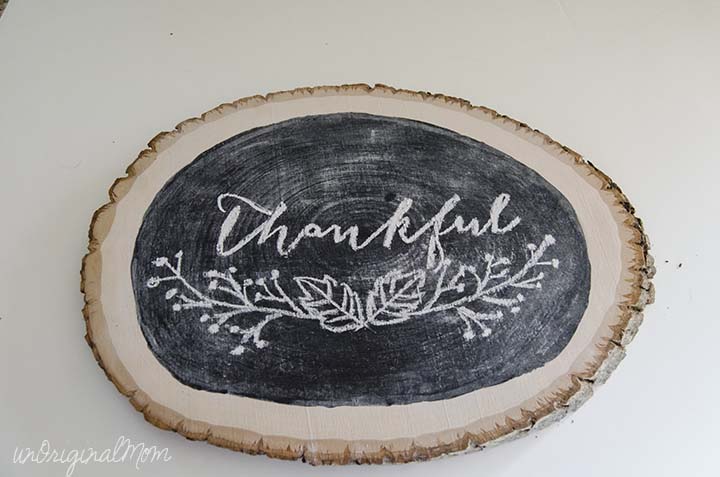
6. Use your sharpened chalk to draw on top of the light trace lines. Presto, perfect hand lettering on a chalkboard – regardless of what your actual handwriting looks like!
You can use this technique for lettering or even more complicated drawings and designs. Think of all the free printables you have probably have pinned (like these!) for various seasons and occasions – how great would they look on a chalkboard??
Here’s a nifty little combined graphic of this technique that’s perfect for pinning:
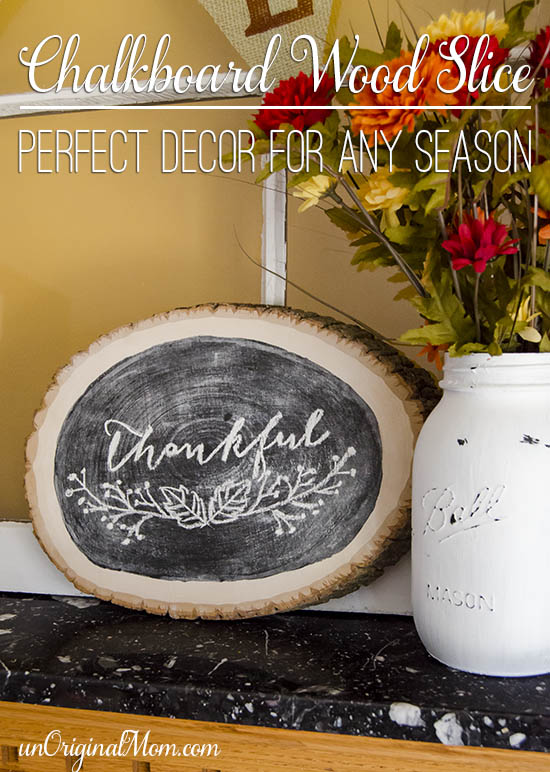
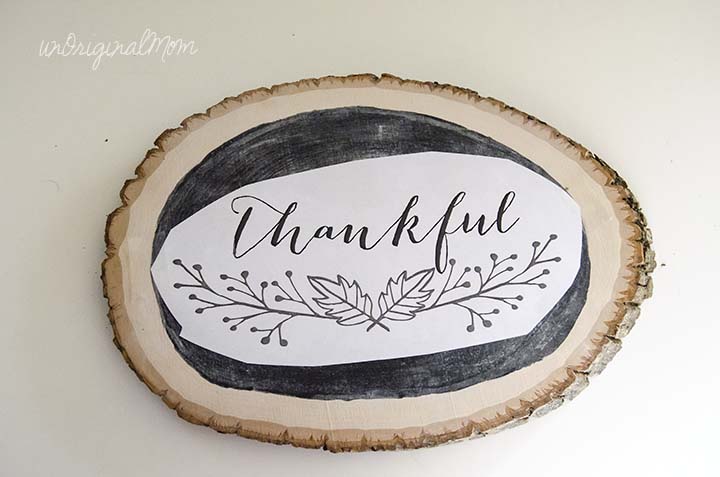
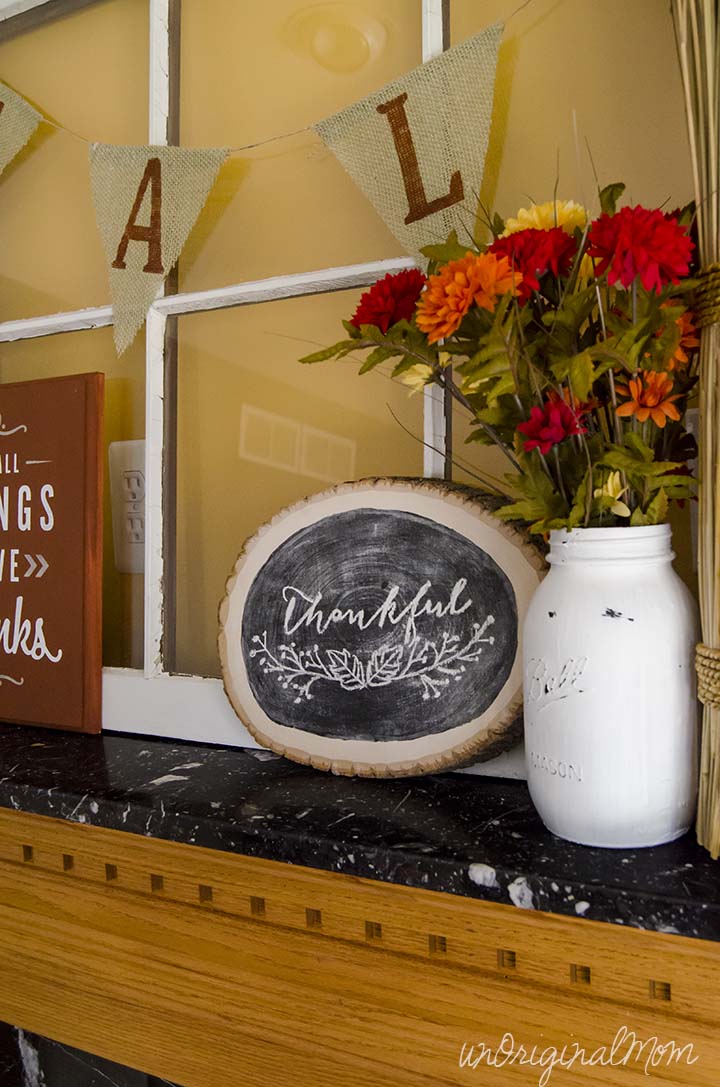
Now, let’s talk about this particular chalkboard element that I made. It’s a simple wood slice that I picked up from Michael’s and then painted with chalkboard paint. I love how simple and versatile it is! You can literally use it for any occasion that you want. Hooray for decor items that can be used year-round! And the other side of it is still plain, so it’s possible I could come up with something for the back to make it reversible…
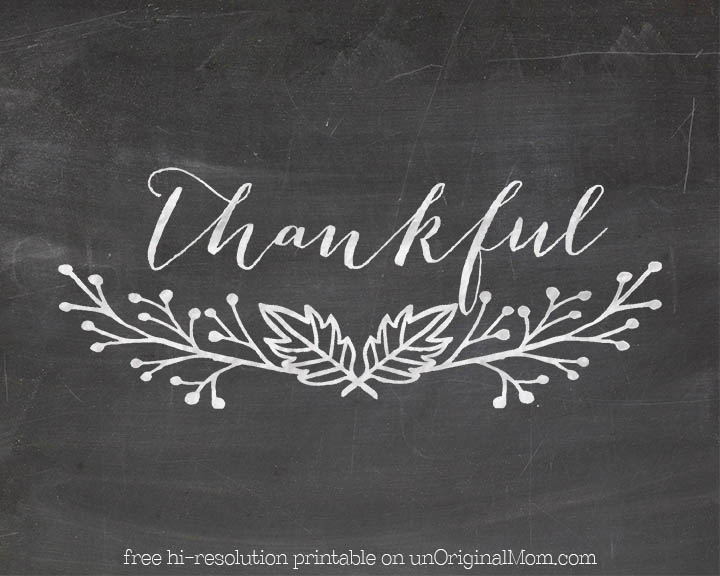
I’m happy to share with you the simple “thankful” design that I created for this project for you to trace yourself, as well as a chalkboard printable version in case you’d just like to print it and stick it in a frame!
Black and White jpg | Black and White PDF | Chalkboard printable version
FINE PRINT – this design is for personal use only. I would love for you to follow me via Facebook, Pinterest, Instagram, or Twitter in exchange for downloading the cut file or free printable. It’s certainly not required, but much appreciated!
Anyone else with horrible handwriting like me? Do you have any other “cheats” for making your artwork look hand-drawn, even when it’s not?


Get your copy of my FREE meal planning binder!

Sign up to get a free copy of my meal planning system - an 11 page printable meal planning binder, complete with a pantry inventory, shopping list, and more to help get on top of your menu each week!





Thanks for sharing this technique…..LOVE it!
How fun! Thanks for sharing this neat idea :-)
what was your process to do the chalkboard on your wood disc? the effect is great.
The wood slice was purchased at Michael’s :-) I’ve tried to make my own wood slices, but have had varying results, so it was easier to just buy this one. Then I just used a foam brush to paint regular black acrylic chalkboard paint on by hand. Super easy!
[…] Get the tutorial via unoriginalmom. […]
[…] on the table would create a prelude into Christmas! Not only is the Wood Chalkboard Sign by Unoriginal Mom adorable, you could use smaller slabs of wood for “place cards” on the table, or as a […]
[…] have a decor crush on this Chalkboard Wood Slice by Meredith and pinned to her {blogging} unOriginal Mom Board. She has an awesome tutorial to help […]
[…] have a decor crush on this Chalkboard Wood Slice by Meredith and pinned to her {blogging} unOriginal Mom Board. She has an awesome tutorial to help […]
Meredith, Do you know the font name for the thankful printable? Thank you for any help!
I believe I started with the font “Bombshell” for the design!
[…] Sie sich das Tutorial über unoriginalmom […]
wowwww, so great
A great idea for those who love DIY and home decoration!
What a clever technique for creating beautiful hand lettering on chalkboards! I can relate to the struggle of not having the neatest handwriting, especially when it comes to chalkboards. This tracing method seems like a game-changer for achieving that perfect, professional look. Thank you for sharing this detailed tutorial – I can’t wait to try it out myself!