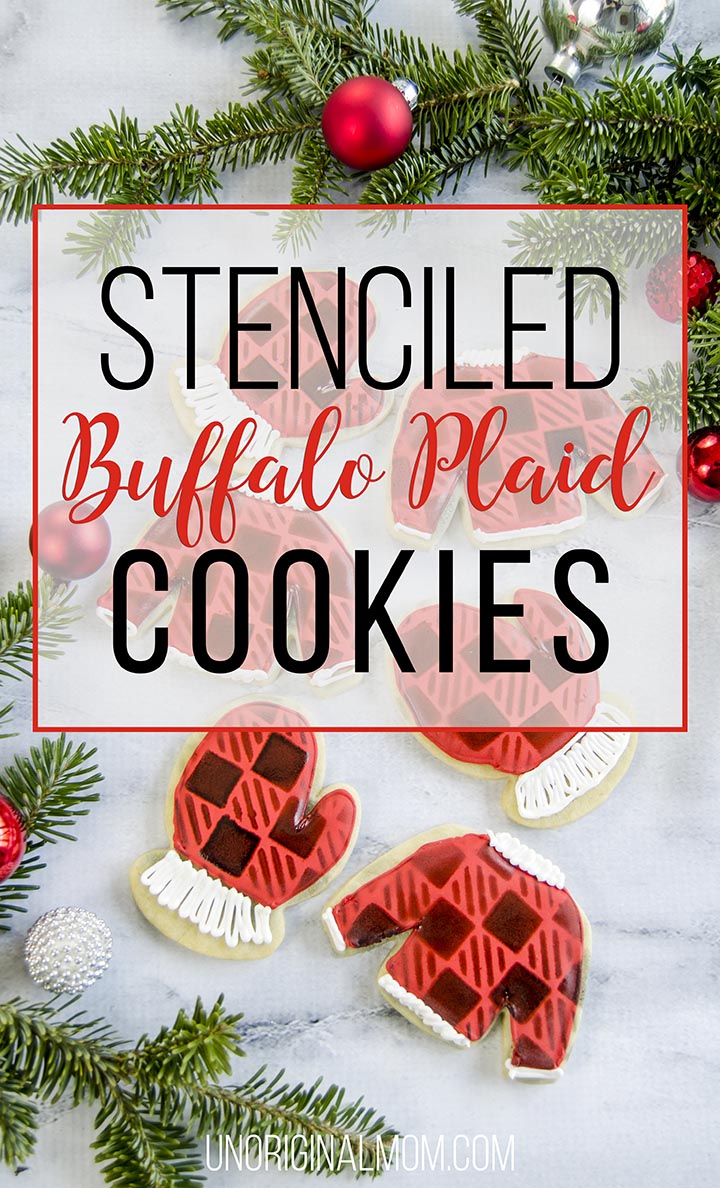
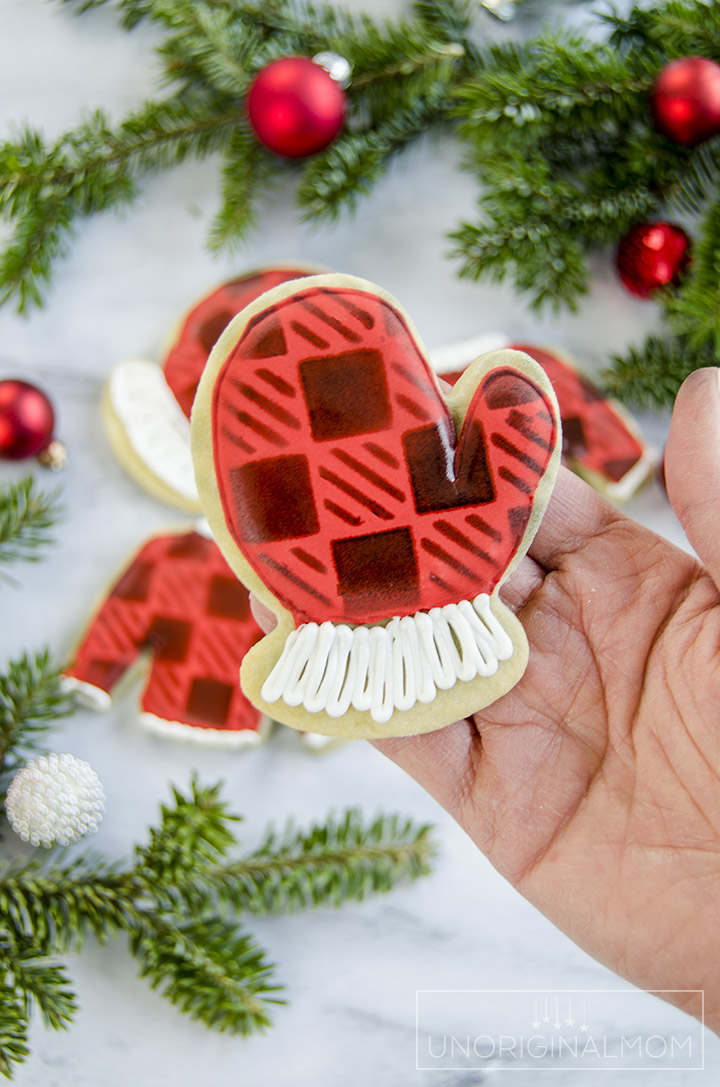
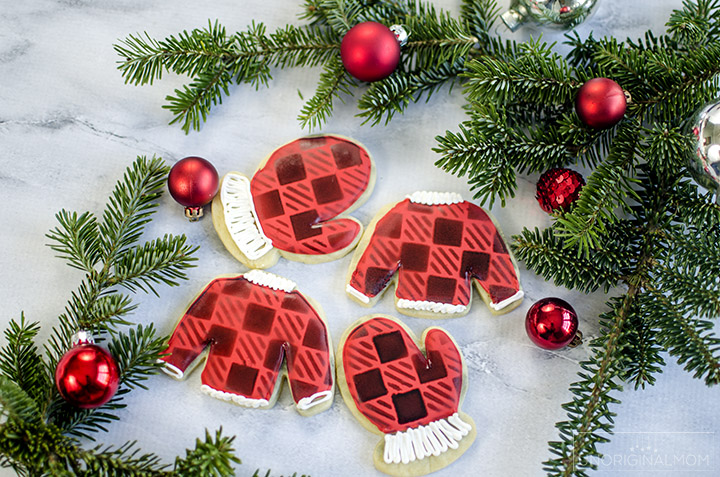
Learn how to make stenciled buffalo plaid cookies using Wilton Color Mist and a stencil cut with your Silhouette Cameo!
Last Christmas, I took a little cookie decorating class from Anne of Flour Box Bakery, held at a local arts and crafts studio. I’m pretty sure the class was supposed to be for families and kids…but two of my girlfriends and I went sans-children and had a blast! Because, let’s be real – cookie decorating with children is a very different endeavor than (and not nearly as much fun as) cookie decorating yourself. We learned the basics of cookie decorating and came home with some beautifully decorated Christmas cookies! That spurred me on to decorate dozens of cookies for Christmas by myself, and those turned out pretty nicely, too! I even got brave enough to share some of my decorated cookies with you on the blog when I made Valentine’s Day Cookie Bouquets last year. So, of course I’m making more decorated sugar cookies for Christmas this year! But, you know me, I can’t leave well enough alone…I had to up my game a little bit. So I set off to attempt some stenciled buffalo plaid cookies!
SUPPLIES:
- Sugar cookies and royal icing (see the recipe I use here)
- Silhouette Cameo or another craft cutting machine and transparency paper or acetate film
- OR – plaid cookie stencil
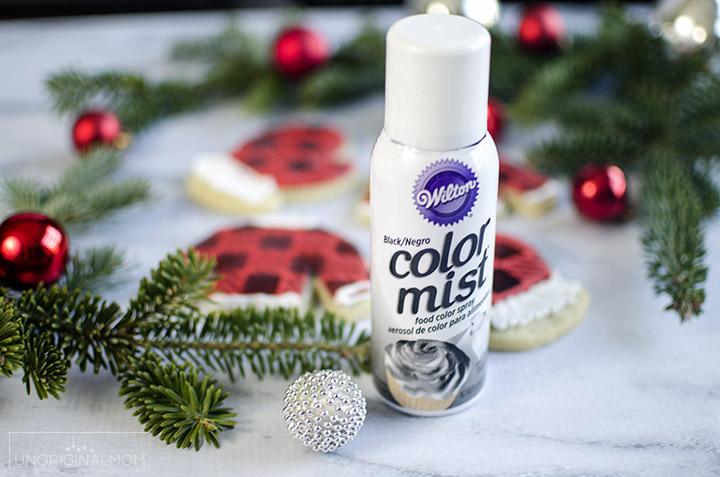
- Wilton color mist
- optional – cookie stencil holder
I’ve seen all kinds of amazing cookie videos that use stencils and an air brush to make designs on decorated cookies, but I wasn’t ready to drop the $$ for an airbrush myself…not to mention the cost of stencils on top of that. I really only make decorated sugar cookies a few times a year, so it’s not worth it for me. But then I had an idea – I could cut my own stencils with my Silhouette CAMEO! That still left the dilemma of the air brush, but I found a handy substitute – Wilton’s Color Mist. It’s like spray paint for food! You don’t have nearly the control with the can that I imagine you’d have with an air brush, but it gets the job done.
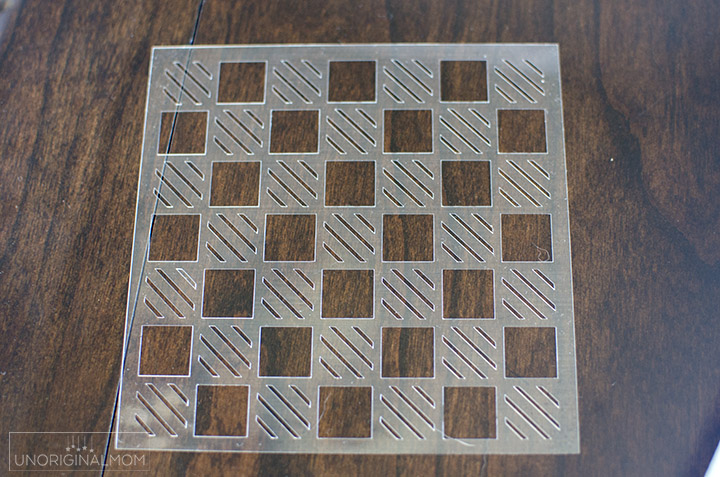
I decided on the trendy and fun buffalo check pattern that has found its way into lots of my Christmas decor. I cut a stencil with my Silhouette CAMEO onto transparency paper, which is what I had on hand. It’s a good idea to use a new, clean blade and mat and even wash and dry your stencil cutting to make sure it’s completely clean.
I designed a simple buffalo check pattern in Silhouette Studio and sized it to 5″ x 5″, which was more than enough to cover the size of my cookies. (I’ve added the cut file to my Silhouette Library if you’d like to use it yourself!)
A few weeks ago I had cut and baked some mitten-shaped and sweater-shaped cookies. I like baking the cookies in advance, since baking and decorating in the same day is a lot of work (and a LOT of mess in the kitchen!). The plain sugar cookies freeze really well! The day I did the decorating, I made a batch of royal icing. I pulled out about 1/4 cup of plain white for piping, then colored the rest red. (I use this red food coloring to get a perfect bright red color.) I pulled 1/4 cup of the red icing out for piping, and the rest I watered down a bit to flood consistency to ice my cookies. You can see in the video below how I piped the red outline and flooded the cookies. Then I let them dry completely (several hours) before I tried the stencil.
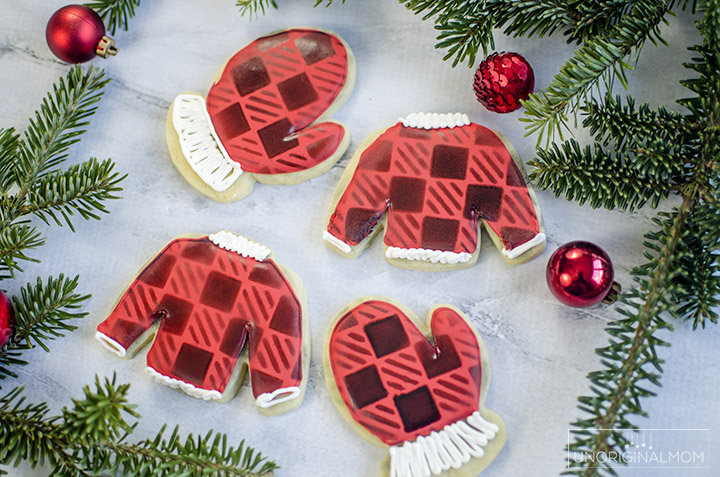
To be honest, I really wasn’t sure if/how these cookies would turn out. In my head, it worked perfectly, but in reality I wasn’t sure if it would pan out. The results, while not flawless, were really pretty terrific! It took a bit of practice to figure out how much to spray, but eventually I got the hang of it. Next time, I’ll try to leave less of a border around the cookie when I ice them, since the stencil does get all the way to the edges and it looked a little bit funny to have the black spray on the plain cookie. But if I’d iced almost all the way to the edge it wouldn’t have been noticeable at all. I may also have sized my stencil so the plaid squares were a little smaller. But overall, for a first try, I think these stenciled buffalo plaid cookies are pretty great!
After the spray had dried, I added the white piping details to finish off the cookies.
Here’s a video of the whole process of how I made my stenciled buffalo plaid cookies!
For a trial run, this went really well! I’m excited to try some other stencils and combinations for the rest of my Christmas cookies! What else do you think I should try?


Subscribe to unOriginal Mom via email and get instant access to my library of FREE Silhouette Studio & SVG cut files - exclusively for email subscribers. Plus there's a new file added every month!







I am trying to download the cut file but can’t make it work. What am I doing wrong?
Thanks!
Hi Gina, I just tried downloading it and both the .studio and SVG file are working for me…can you give me some more details on what’s not working so I can try to help troubleshoot? Are you able to open the file in Silhouette Studio?
Meredith,
Is the buffalo plaid stencil for personal use only?
Thank you
Hi Dusty, yes all my files are for personal use only. Feel free to send me an email if you’d like to discuss commercial use options!
I think your cookies look beautiful…just so simple and yet so festive
[…] Unoriginal Mom […]
What a fun cookie decorating journey! Loved hearing about your classes and adventures. Can’t wait to see the stenciled buffalo plaid cookies. The supplies list is great for trying it at home.