Here’s an easy way to make a fun decoration for any occasion – a simple scrapbook paper bunting!
Bunting is all over Pinterest and blog-world…in party decorations, holiday decorations, vignettes, patios, mantles, even cake toppers! I’ve wanted to try one for a while, and my baby girl’s first birthday is coming up, so I decided to attempt an easy bunting out of scrapbook paper for some party decor.
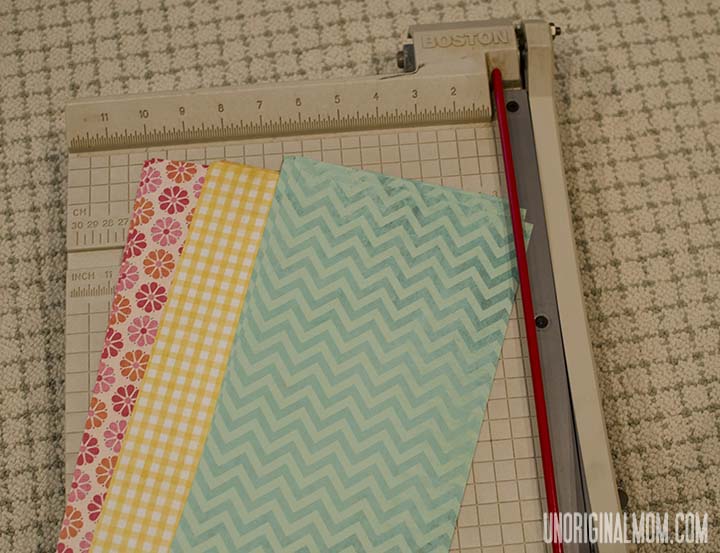
The colors for her party are yellow, pink, and teal…so I found some 12×12 scrapbook paper and cut it all in half to make a bunch of 6×12″ pieces of paper.
Then I used my Silhouette to cut out 36 diamonds out of my 6×12″ papers. I could have probably done this by hand or with a paper cutter, but I am a little Silhouette-obsessed and use it every chance I get :-)
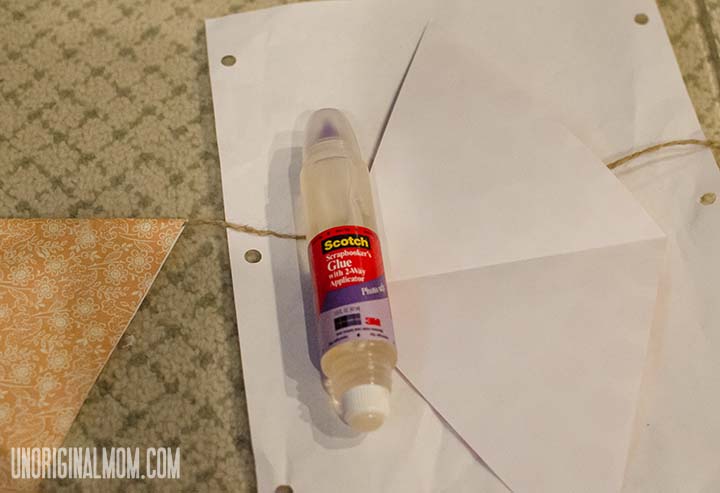
I glued it onto some jute string using scrapbook glue. I figured out a good method – put a healthy amount of glue on the fold (make sure you’ve pre-folded your diamonds so you’ve got a crease to work with) and place the string on it. Then put glue all over one side of the diamond. Be sure to get the edges and the tip. Then – here’s the key to getting it lined up right – fold it over, but line up the tip FIRST – then smooth backwards towards the crease. If you start folding from the fold and smooth to the tip, since the string is in the way, you may not get it to line up perfectly.
I used a spacer that I cut out of cardboard so I didn’t have to measure between each flag. (They are 3″ apart).
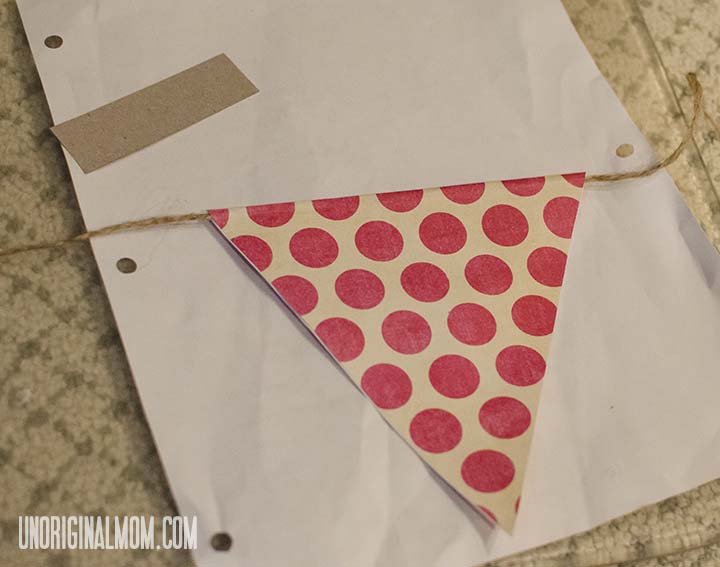
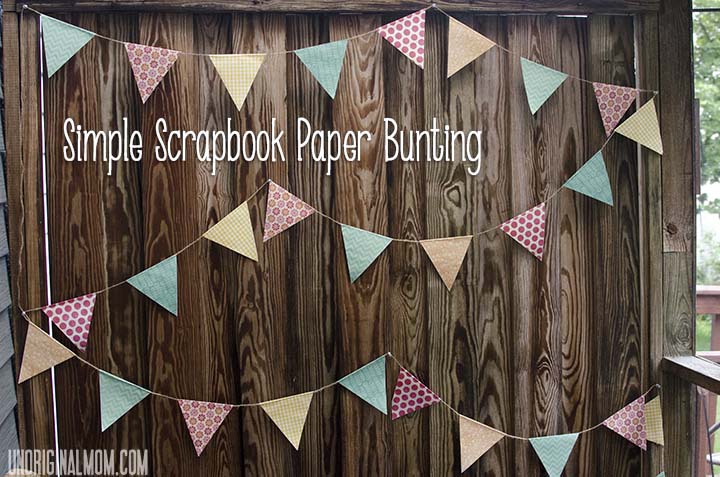
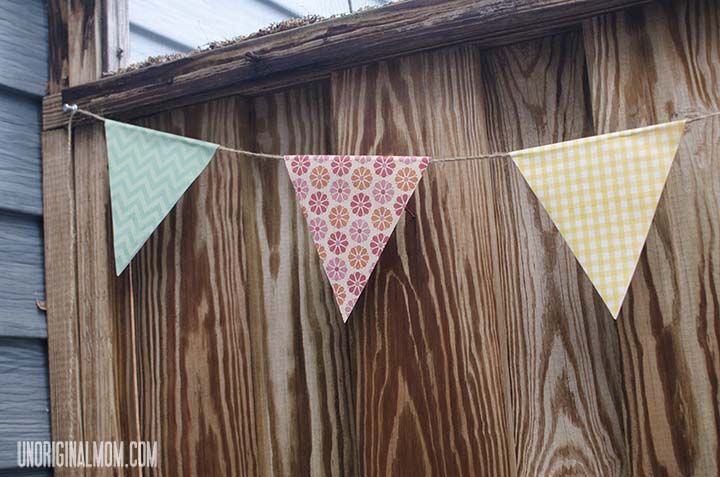
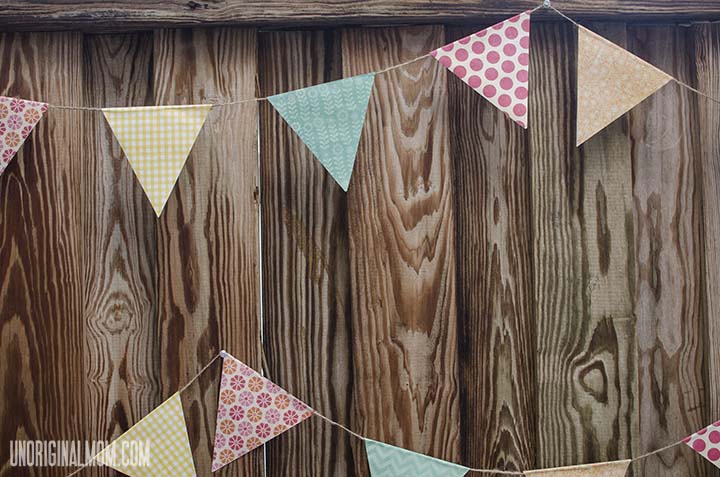
And the result – a very versatile decoration!
I think for the party, it’s going on a deck railing…but for photo-taking purposes (and because it was raining) I hung it on our screened-in porch.
I love how it turned out…and how simple it was to make!
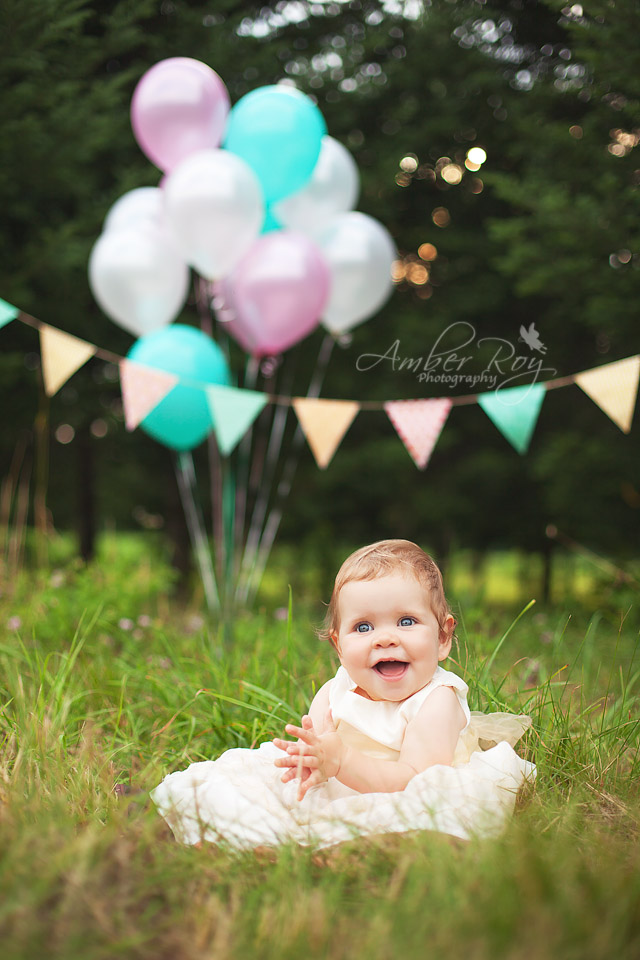
We had an “almost-one-year-old” photo shoot last night for Addy with a dear friend and very talented photographer, Amber of Amber Roy Photography. I brought the bunting along to use as a prop in the background…and I thought you might enjoy seeing a sneak peak of one of the images:
(If you live in the central PA area, I would HIGHLY recommend Amber! She takes absolutely stunning lifestyle images, from newborn and maternity photography to candid family photos. You can visit her Facebook page here!)
Be sure to stay tuned for more birthday party decorations in the coming weeks!


Get your copy of my FREE meal planning binder!

Sign up to get a free copy of my meal planning system - an 11 page printable meal planning binder, complete with a pantry inventory, shopping list, and more to help get on top of your menu each week!



Love it:) Super cute!
Very cute!
New follower via ALl My Bloggy Friends!
I love your blog! I like to create and share but I also like to try out new projects that others create.
I invite you to visit me at http://www.pjstreasures.blogspot.com.
Pam
Thanks so much, Pam! Stopping by your blog now :-)
So cute!! Love it!!
Emily @ elizabethjoandesigns.com
I live in Altoona, so I will have to check out Amber for our next family photos.
I had no clue how easy bunting is. I am going to have do this with old comic books for my sons birthday party. Thanks for the easy tutorial.
Hey neighbor! :-) Comic book bunting is a GREAT idea! If you try it, come back and let me know…I’d love to see pictures! (And I can’t recommend Amber highly enough, she is excellent!)
Great tutorial. Bunting is awesome! Thanks for sharing. I’d love for you to check out our Pattern Party! Those with free patterns and templates to share are invited to link up! Starts on the 1st of each month.
So cute :) Love the paper choices! Thanks for linking up at All My Bloggy Friends!
Super super cute! Love the paper! I would love to have you share this and anything else at my link party!!
http://www.madetobeamomma.com/2013/07/homemade-by-you-58.html
How adorable! This makes me wish I had a Silhouette. I did something similar for my daughter’s 1st birthday but had to cut out each triangle individually. It made a great effect but took WAY too much time! Yours is so cute and I’m sure it was a breeze!
Thanks Brittany! If you have a paper cutter or paper trimmer, you might be able to figure out a quick way to do this…I was thinking about trying it instead, because using the Silhouette was still a pretty long and tedious process – loading and unloading the cutting mat 36 times! (I have a Portrait, so I could only cut one at a time). To use a paper cutter/trimmer, you could trace a diamond on each paper and then extend the lines all the way to the edge of the paper…still a bit tedious, but not nearly as bad as cutting by hand!
Ha! Glad I’m not the only one who makes basic shapes out of my Silhouette! I’m so obsessed with that thing! Thanks for sharing at Pinworthy Projects.
Thanks so much for sharing your tips! I will be attempting this to decorate my VBS room next week :) I’m your newest follower from the Tell Me Tuesday link up! Visit me at New Mrs. Adventures
Thanks a bunch Stephanie! Good luck with VBS! Stopping by your blog now…
Thank you for sharing on Blog Stalking Thursday! I have featured this on Blog Stalking Thursday Features YOU! I would love for you to stop by and grab a feature button. Thanks again for sharing!
[…] even a simple project like sewing fabric triangles would have taken me a loooong time. I made a scrapbook paper bunting for my daughter’s first birthday which was great for a one-time-use thing, but I wanted […]
[…] Cheese Sandwich Simple Scrapbook Paper Bunting Sewing for Kids Mexican Sour Cream Rice Free To Be Journal New Bench Lemon Berry Fruit […]
[…] 5. Simple Scrapbook Paper Bunting from Unoriginal Mom 6. Burlap and Lace from Tiny Sidekick 7&8. Banners and Bunting both from DIY Kinda Girl’s Wedding Open House This week’s features and hostess pick have been chosen by Kristi from i should be mopping the floor: Orange Creamsicle Cake Pops from KC Bakes […]
[…] Simple Scrapbook Paper Bunting […]
Such a lovely DIY project! The scrapbook paper bunting looks fantastic and adds such a cheerful touch to the celebration. Your attention to detail with the colors and the methodical way you assembled it is inspiring. It’s wonderful how simple materials can create such a beautiful decoration. And how sweet to include it in your baby girl’s photo shoot – I bet those pictures turned out amazing!
This scrapbook paper bunting idea is so cute! Love how you used the Silhouette to cut the diamonds. The step-by-step glueing instructions are really helpful. Can’t wait to see how it turns out at your baby girl’s birthday party!