Have you tried using Shrink Plastic Sheets with your Silhouette? I haven’t, but this guest post by Felicita from Casa Moncada makes me want to go try it right now! She made the most adorable floral charm bracelet. I hope you’re inspired by this Silhouette Shrink Plastic Tutorial!
**********
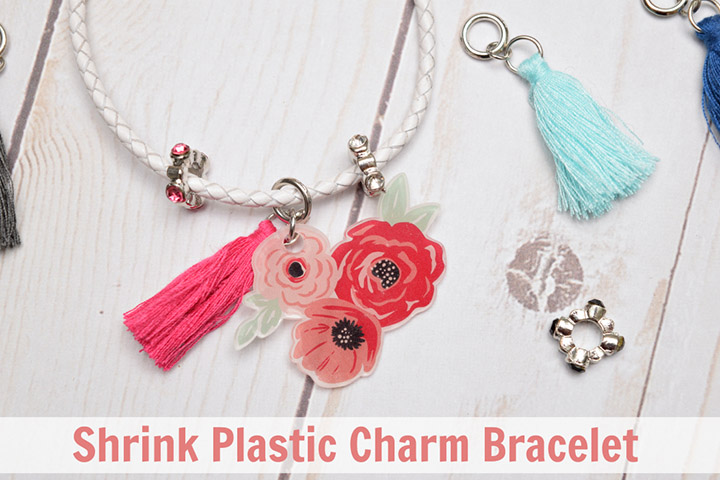
I recently discovered shrink plastic and its amazingness! The material is so versatile – I’ve made keychains, ear rings, and more! Today, I’m going to be showing you how to make your own bracelet charm using Silhouette Shrink Plastic.
Silhouette Design Store is filled with so many designs that are perfect for making charms. I kept it simple and used print and cut files but you can use any design you want.
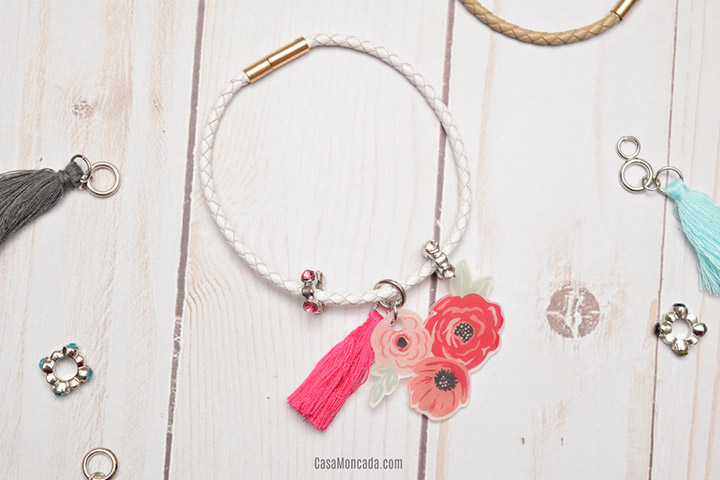
Silhouette Shrink Plastic Charm Bracelet
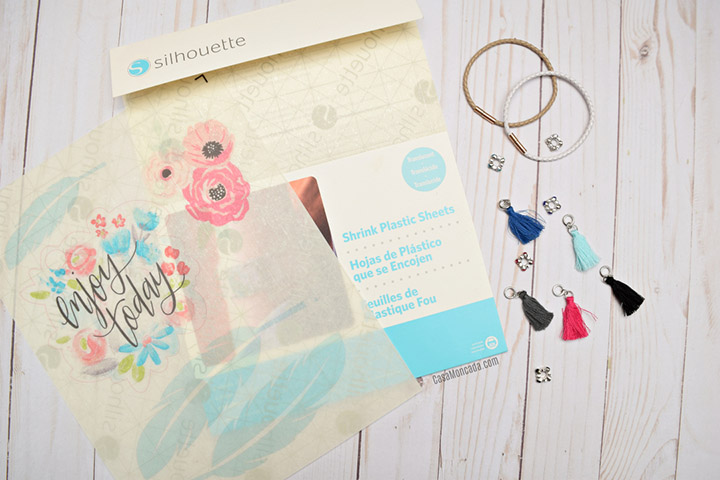
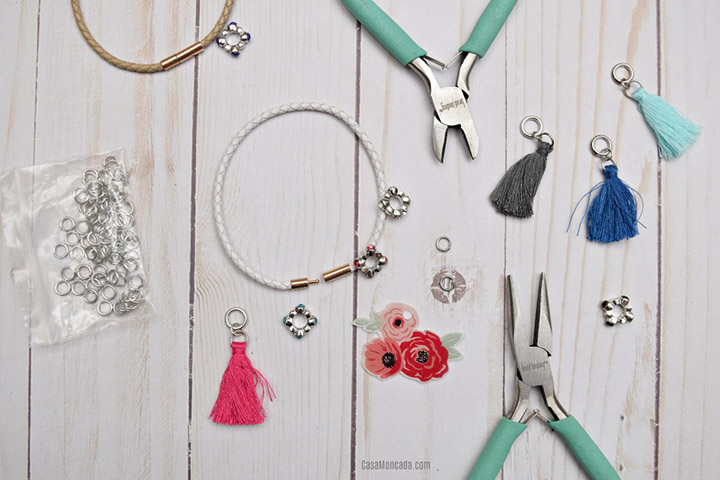
Supplies needed:
- Silhouette Cameo
- Silhouette Cutting Mat
- Silhouette Shrink Plastic sheets – clear
- Bracelet (check your local arts & craft store)
- Jump rings
- Jewelry pliers
- Design ID #231242 or Design ID #134285 or Design ID #274086
Directions:
1. Open Silhouette Studio and setup the page by changing the page size to 8.5 x 11. Turn on registration marks as well.
2. Click over to your library and select the design you will be using. Arrange it on the page and size it to what you need. Keep in mind that the shrink plastic will shrink significantly. Tip: Add different sizes of your design to be sure you get the correct size.
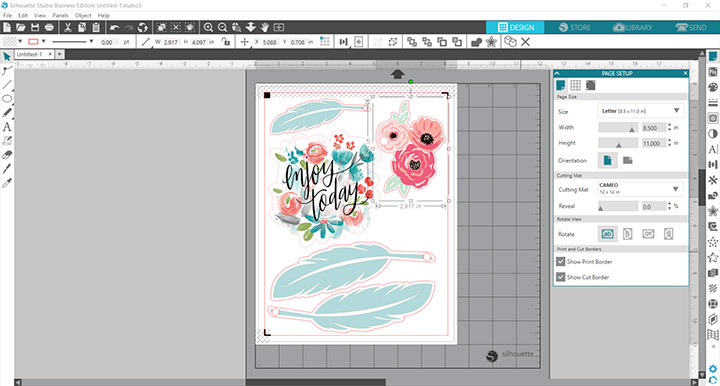
3. Use the shape tool to draw a small circle. Place the circle on the edge of the design. Select the circle and the design then click the modify panel. Click “subtract” to create a hole on the design (for the jump rings).
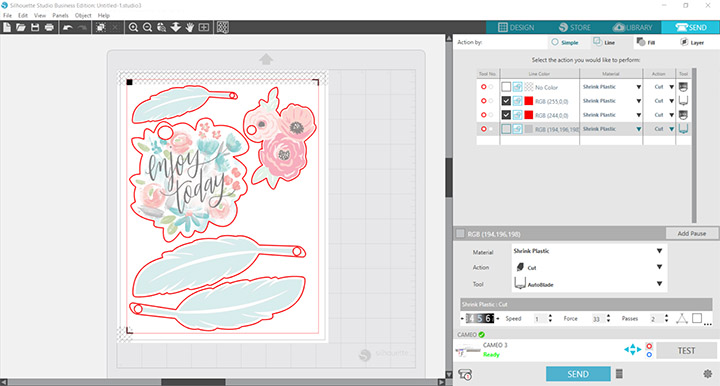
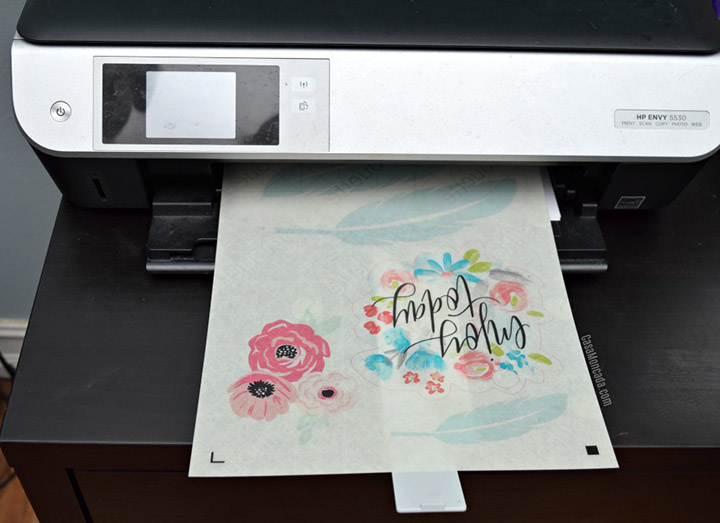
4. Once your design is ready, send to print. Be sure to load your shrink plastic sheets in your printer correctly (Printers load differently so be sure to test).
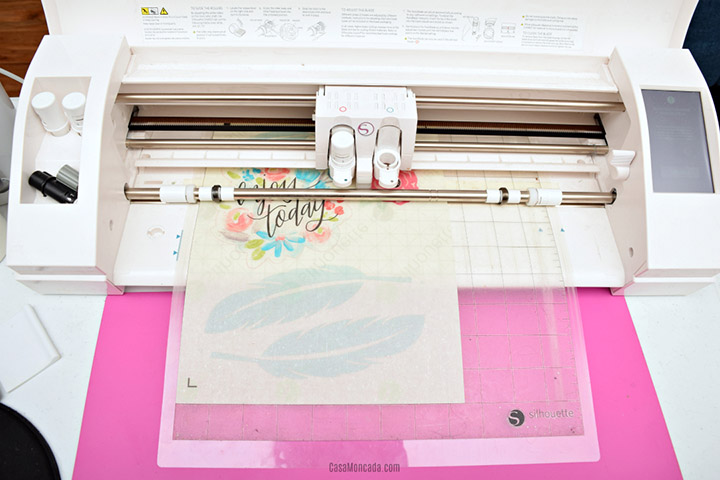
5. Place the shrink plastic sheet on your Silhouette mat and load it.
6. Go to the Send screen. Be sure only the edge and the circle hole is going to cut (I used cut by line). Select the material you are cutting – Shrink Plastic. Send to cut.
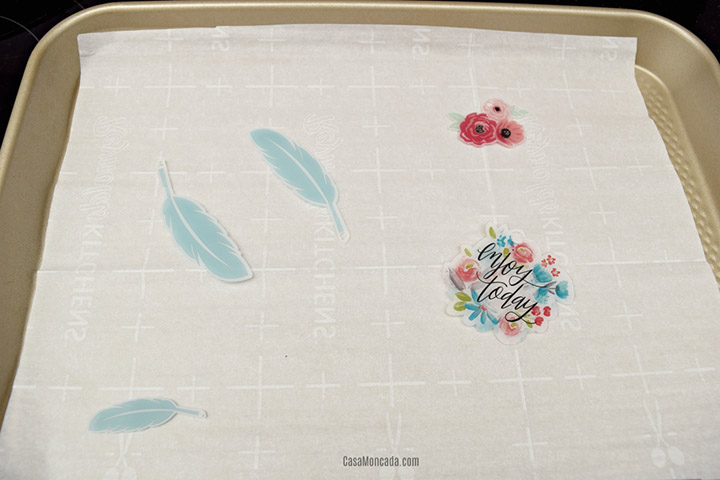
7. Carefully remove the shrink plastic designs. Remove the Silhouette backing. Place the shrink plastic piece(s) on a cookie sheet. Preheat the oven to 325 degrees.
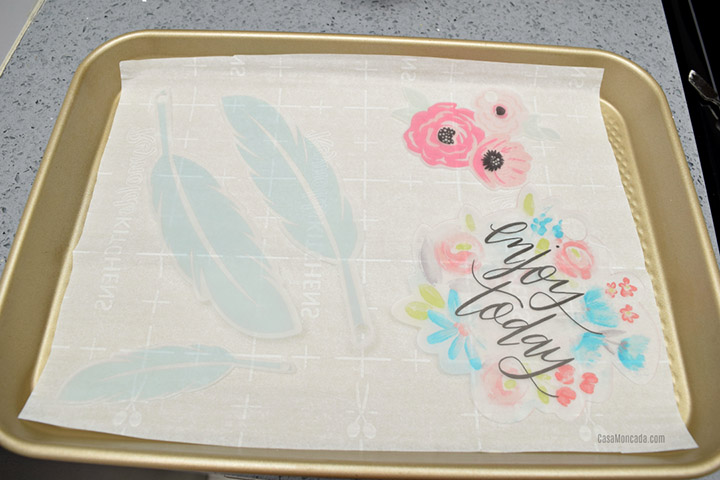
8. Once they have shrunk (a few minutes is all it takes – I stay by the oven) carefully remove from the oven. If they are not laying flat. Quickly use a spatula or something flat and press down to flatten.
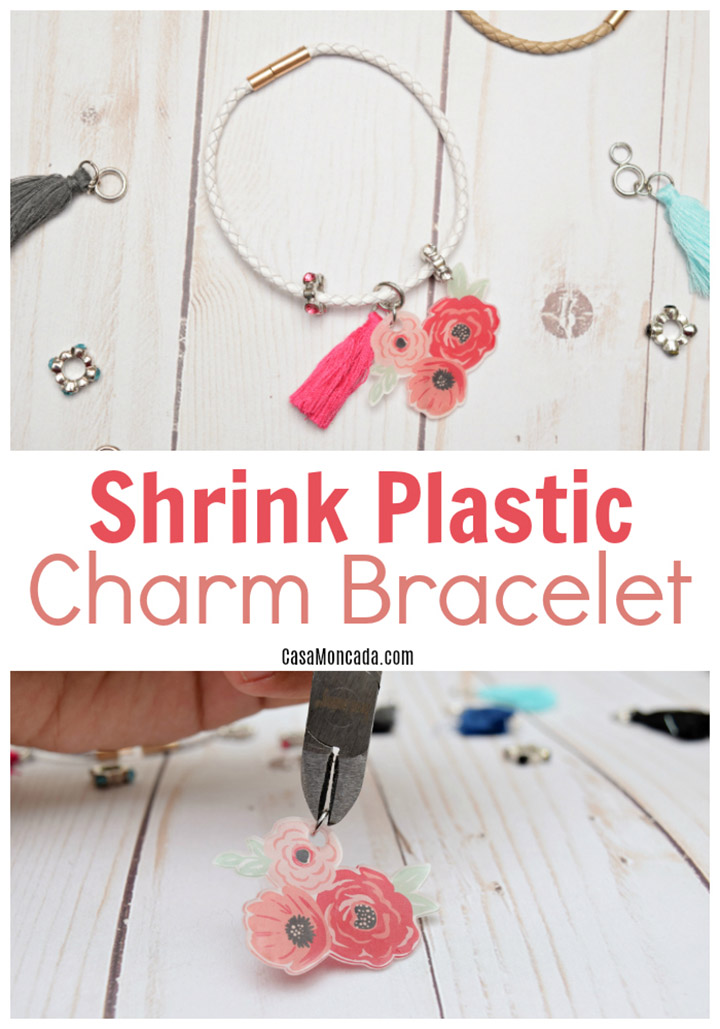
9. Use the jewelry pliers to open the jump ring. Place the jump ring through the hole of the shrink plastic design then loop it through the bracelet. You are all set!
I love that I can personalize jewelry. I’ve done necklaces, keychains, and pins using shrink plastic. Silhouette Design Store has so many designs that it is easy to create something you love. Plus, these are perfect for gift giving!
Have you ever tried Shrink Plastic using the Silhouette?

Felicita Moncada lives in South Florida with her husband, two kids, and German Shepherd pup Roxy. She runs a lifestyle blog called Casa Moncada featuring DIY/Craft projects, easy recipes (her favorite kind of recipes!), and shares her family’s adventures. She loves creating something every chance (usually using the Silhouette Cameo) but also enjoys a good book and some reality TV.
Follow along with Felicita’s creative ideas!
Blog | Instagram | Facebook | Twitter | Pinterest
*************************************************


Subscribe to unOriginal Mom via email and get instant access to my library of FREE Silhouette Studio & SVG cut files - exclusively for email subscribers. Plus there's a new file added every month!


Hi! I have the same printer, but i can’t print on printable Shrink Plastic, could you please tell what settings do you use? The piece of paper gets stuck in my printer. Any insight would be very helpful, thanks in advance
The site was quite useful and packed with a lot of useful information. If you want to learn something new and exciting baldi, it is also helpful to me, but if you want to learn something else, it is also helpful.
This game combines horror and investigation elements in a very unique way. You will not be able to guess who is real and who is fake, making every situation full of surprises. Can you immediately distinguish the doppelganger?
This shrink plastic bracelet tutorial sounds great! Can’t wait to try making one with my Silhouette.
If you enjoy creative DIY projects like making a floral charm bracelet with Silhouette Shrink Plastic, you might also be interested in visualizing your crafting process or planning new designs using flowcharts. The step-by-step method outlined in the Silhouette Shrink Plastic Tutorial—such as setting up your design, cutting, baking, and assembling your bracelet—can be easily mapped out for better organization and sharing with others. For those looking to document or streamline their craft workflows, Flowchart AI offers a simple way to turn your ideas and project steps into clear, professional flowcharts. This can help you keep track of each stage, from choosing your Silhouette designs to assembling your finished jewelry, making your crafting process even more enjoyable and efficient.
My crafting senses are tingling! Floral charms, you say? Intriguing. I wonder if I could adapt this to something geeky, like tiny video game sprites. This Silhouette Shrink Plastic Tutorial sounds totally doable. Felicia’s bracelet has inspired me. I had a similar problem with shrinking expectations during a particularly intense round of Slither io, my hopes inflated like a balloon then poof, gone!
If you love creative DIY projects, the Silhouette Shrink Plastic Tutorial on unOriginal Mom shows how to make a charming floral bracelet using shrink plastic sheets and your Silhouette Cameo. The step-by-step guide covers everything from choosing designs in the Silhouette Design Store to cutting, baking, and assembling your custom jewelry. Whether you’re making keychains, pins, or bracelets, this method is a fun way to personalize gifts and accessories. For those interested in exploring more creative possibilities with technology, check out voice clone for innovative voice solutions.
I really like how simple and creative this tutorial is! I’ve never tried shrink plastic before, but now I feel inspired to give it a go. It reminds me of how I first discovered deepseek italiano —unexpected but really fun to explore.
Sehr schöne Anleitung! Auch ohne Profi-Ausrüstung kann man mit Kreativität tolle Ergebnisse erzielen — ähnlich wie bei chatgpt kostenlos: Einfach, zugänglich und inspirierend
Ever dreamed of hitting a golf ball into space? Now you can! golf hit brings you the most out-of-this-world golf challenge where every shot gets you closer to orbit
What a fantastic idea—thank you for sharing! Sora2 Video Studio delivers a streamlined Sora video creation service powered by AI. You can craft cinematic clips from text prompts or reference images, manage audio-enabled render queues, and track live progress—all in one dashboard.
You can craft cinematic clips from text prompts or reference images, manage audio-enabled render queues, and track live progress—all in one dashboard the baby in yellow free.
Me encantó este tutorial porque explica paso a paso cómo usar Shrink Plastic con tu Silhouette para crear un brazalete con dijes personalizados, desde elegir el diseño hasta cortarlo, hornearlo y montarlo en la pulsera. Es una idea creativa y accesible para hacer joyería única en casa y regalar a alguien especial. Si te gusta explorar ideas DIY similares y ver referencias fáciles de seguir, te puede interesar echar un vistazo a https://colorearm.com/
para más inspiración y proyectos de arte.