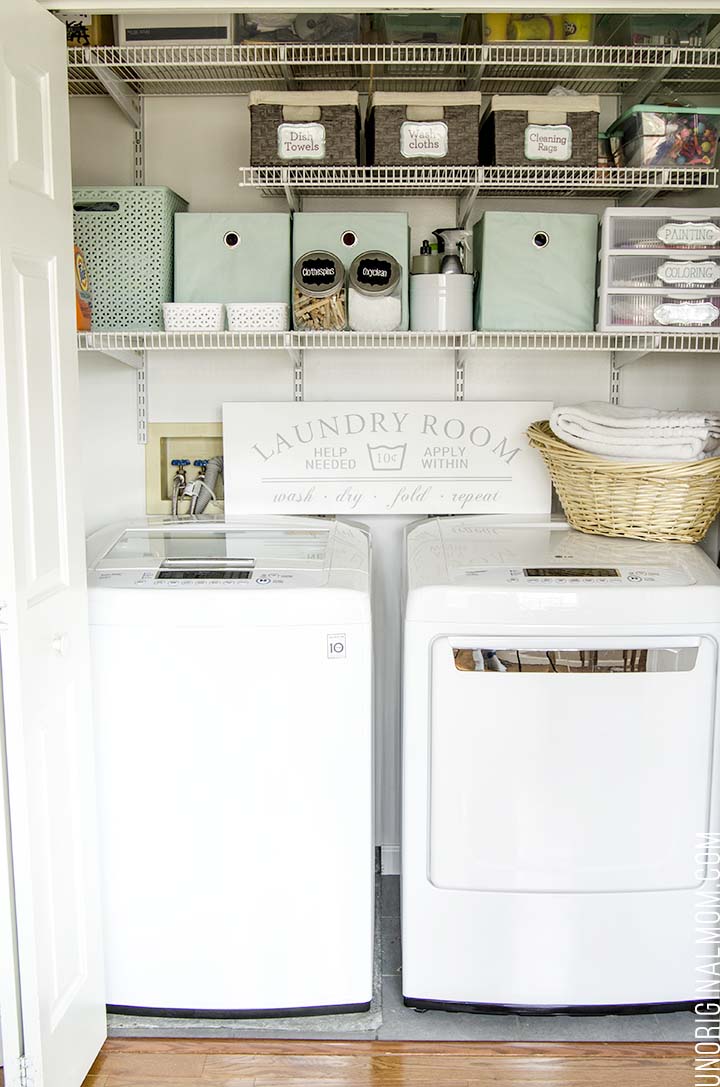
I shared our organized laundry closet with you a few weeks ago, and I am happy to report it STILL looks like this! Hooray! And it hasn’t been difficult to maintain, either, which is the mark of good, functional organization. It only took me 3 years to tackle the mess (those “before” pictures still make me cringe!) but I’m glad we’ve got this closet to a place where it’s pretty AND works for our family.
Not surprisingly, I couldn’t help but add a DIY element to our closet with a painted laundry room sign! When I was making it, but husband looked at me like I was crazy. (Basically, the way he looks at me at least once daily. So, nothing really new.)
“You’re making a sign?” he asked. “For the CLOSET?!?” Then he just rolled his eyes and walked away. (tee hee.)
What can I say? I like pretty things. Plus I knew that 1) I’d be much more likely to keep this space organized if it was pretty; and 2) maybe I’d hate doing laundry just a little bit less. So far, both have been true!
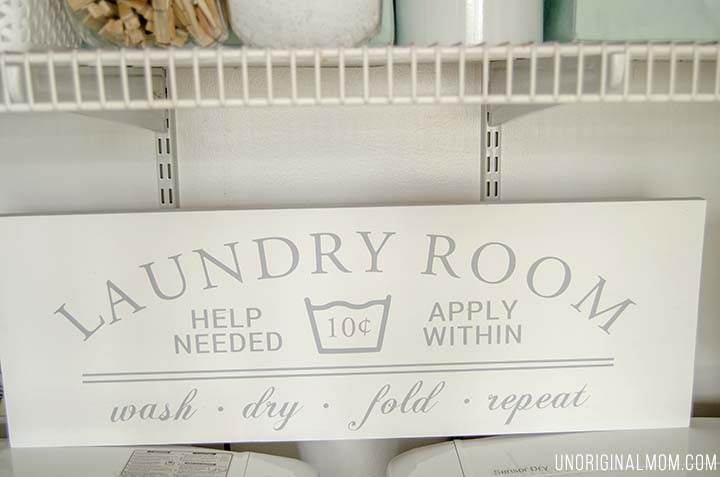
Of course, I’m not going to leave you hanging – I’ll share a tutorial and Silhouette cut file with you! I love how easy it is to whip up custom painted signs using my Silhouette Portrait. For this laundry room sign, I used my favorite sign-making method once again – PVPP. I wrote out a really detailed tutorial for the PVPP method in this post where I shared my painted farmhouse canvas sign, so if you’re new to PVPP I recommend heading over there first. But here’s a quick overview as a refresher!
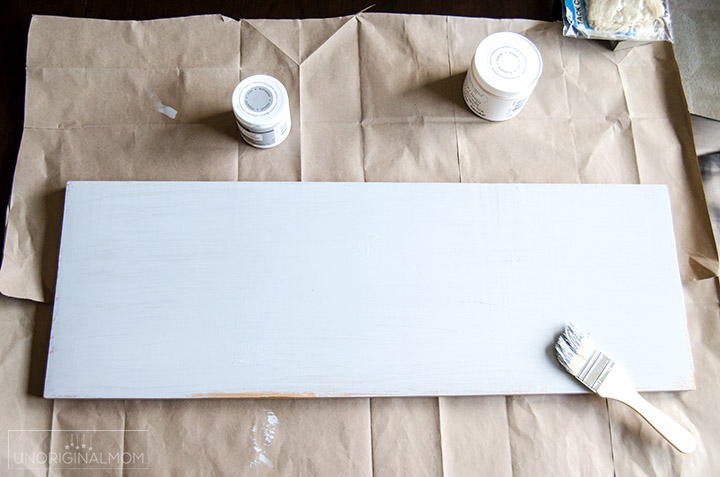
The very first step was to paint my sign the color I wanted my letters – in this case, gray. I used Americana Decor Chalky Finish paint in “Relic.”
I designed my sign in Silhouette Studio and cut it out of some extra indoor vinyl I had laying around. I have a Silhouette Portrait, which only cuts up to 8″ wide, so I cut my design in two sections.
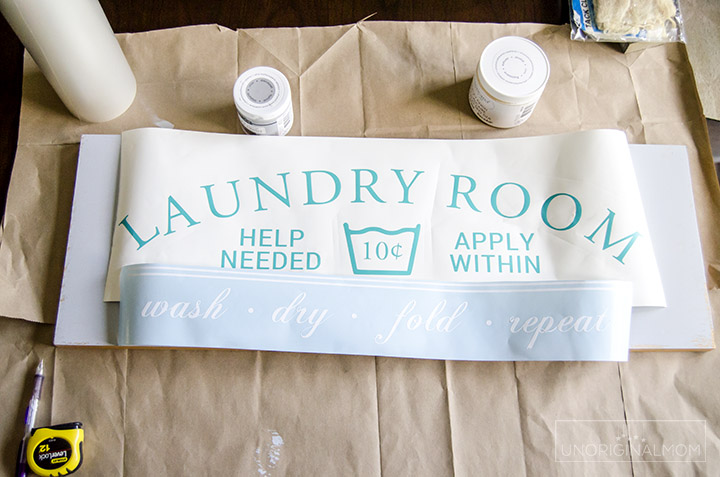
Then I used transfer tape to apply my vinyl to the sign, making sure it was centered and straight.
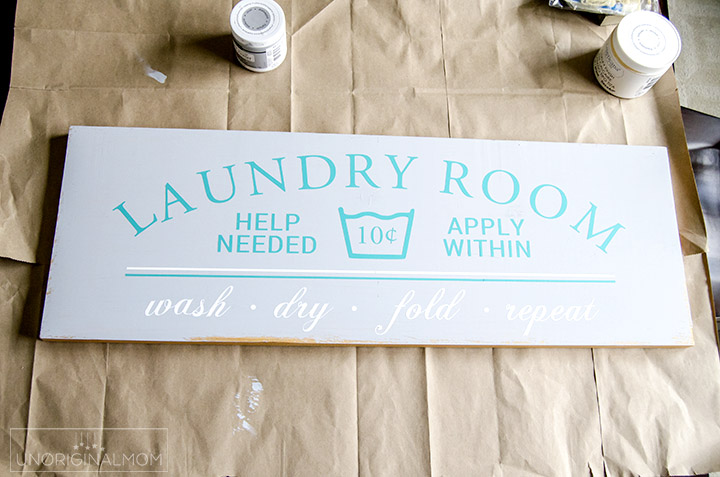
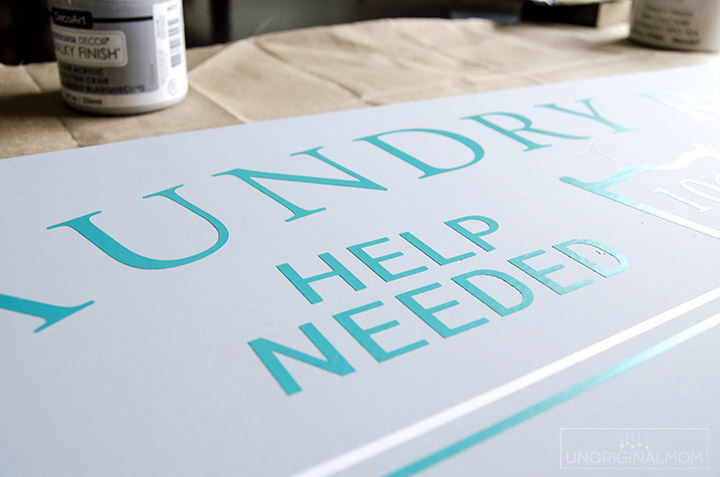
Then I painted over my vinyl letters AGAIN with the gray. This makes sure that the edges of the vinyl are sealed down, and if anything bleeds underneath them it’s okay.
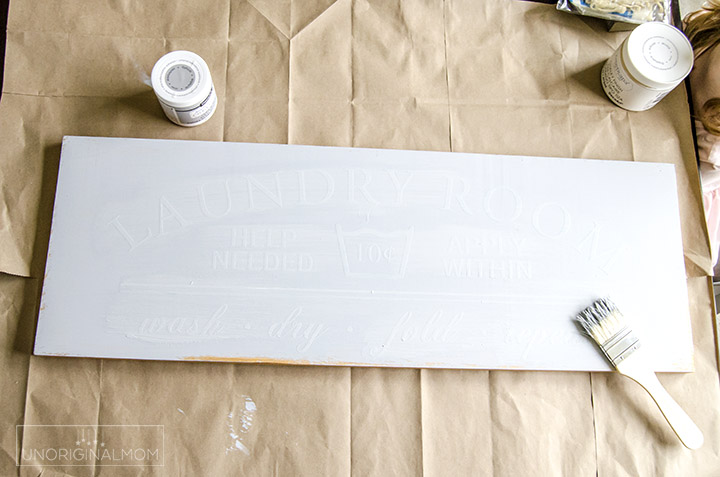
Once that coat is dry, I added a few coats of white until the gray was completely covered.
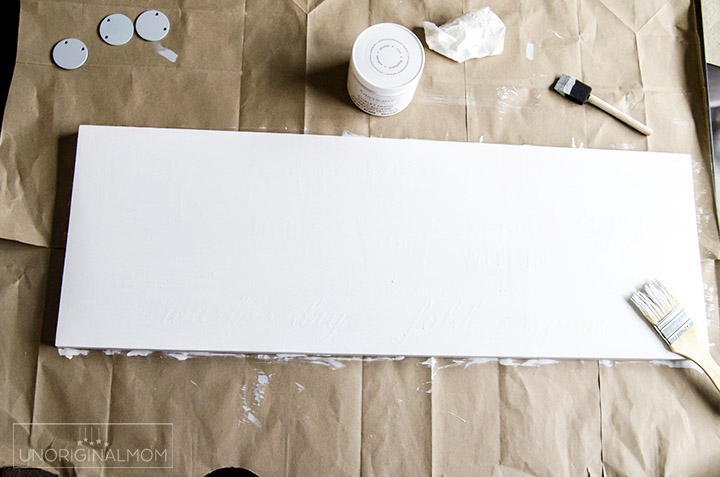
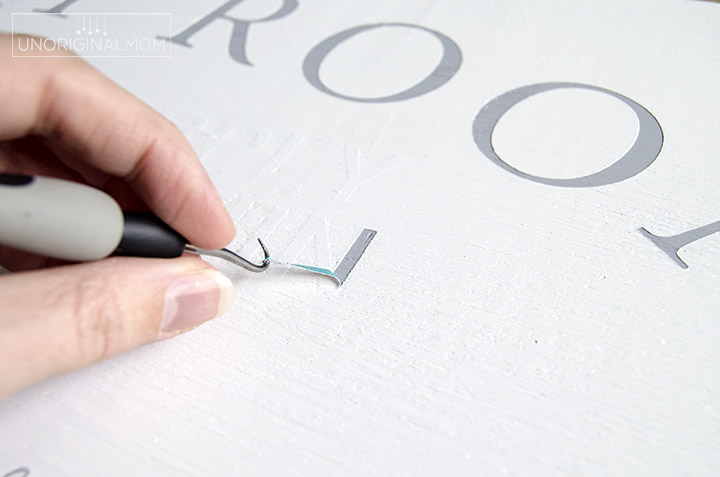
Lastly, my favorite part – peel up the vinyl. Look at those crisp, clear lines!
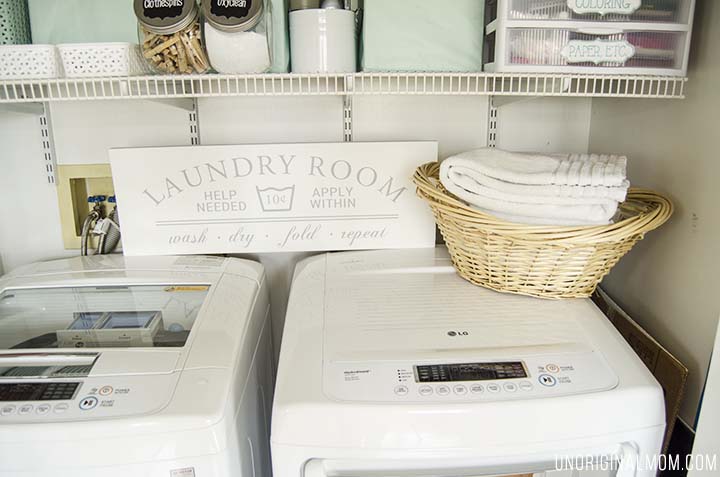
It just makes the whole closet look prettier and feel homier, doesn’t it? (Help needed…help is always needed around here, especially when it comes to laundry…any takers? I’ll pay you in brownies!)
If you’d like to make this sign yourself, you can find the FREE Silhouette cut file in my Silhouette Library! Just sign up for access via the form below, and you’ll be emailed the link and password to get in. The library is full of dozens of cut files, with more files being added all the time!
Don’t forget to pin this project to save it for later!
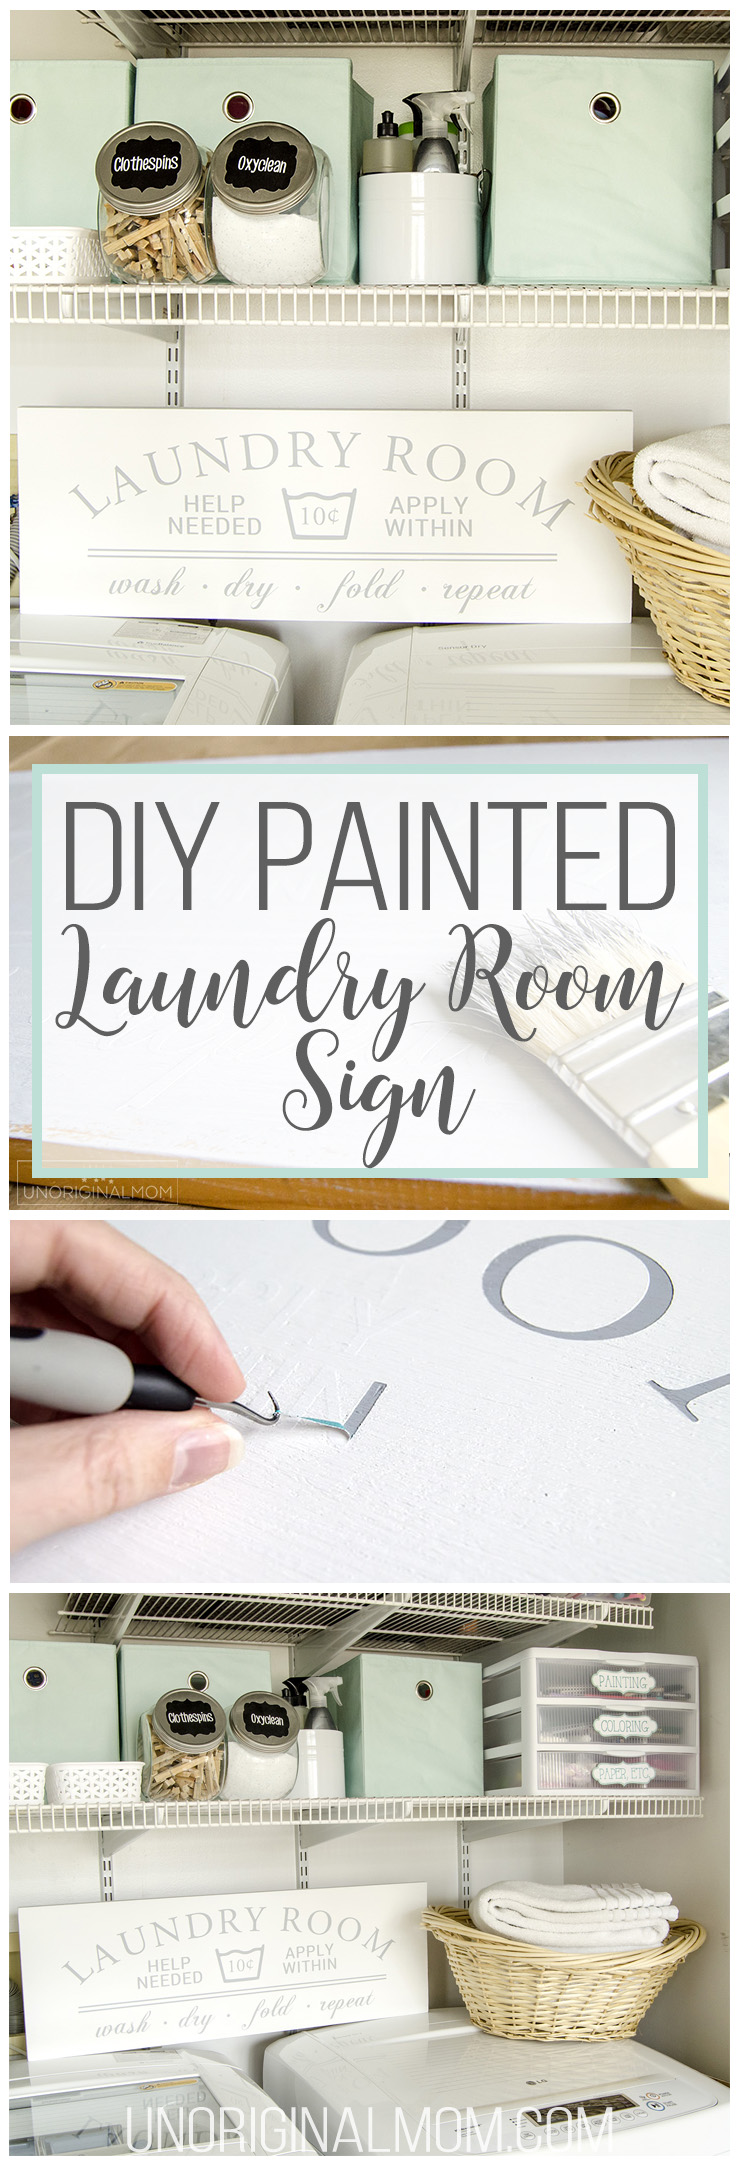
So what do you think…was it silly of me to make a sign for the closet? ;-)


Subscribe to unOriginal Mom via email and get instant access to my library of FREE Silhouette Studio & SVG cut files - exclusively for email subscribers. Plus there's a new file added every month!




I love this! Can you tell me what size the wood piece is?
[…] Laundry Room Sign via Unoriginal Mom […]
I’m stuck Meredith. I downloaded the file for laundry room project but I’m having trouble working with the design in silhouette software. When I open the design, the design itself seems ok but the mat in the background is only about 2 inches big. I can’t get the mat up to 12 x 12 for working on design. I need to be able to work with smaller pieces. Why isn’t the mat in the back of screen standard size and how do I change it?
Hi Joyce, the file defaults to a Portrait sized mat, and the design is the actual size of the sign I made (32″ wide x 11″ tall), which is why the mat appears to be so small in comparison. I ended up cutting it in multiple pieces since the whole thing didn’t fit on my mat at once. You should be able to change the mat under the “Design Page Settings” window and then resize the design to whatever dimensions you need. Hope that helps!
[…] 2. Painted Laundry Room Sign […]
Your laundry closet organization is truly impressive! It’s wonderful to hear that it’s still looking great and easy to maintain. The DIY painted sign adds a personal touch – it’s lovely how you’ve made it both functional and aesthetically pleasing. Looking forward to seeing the tutorial and Silhouette cut file to try it out myself!
Your organized laundry closet is amazing! Love how you added a painted sign. Can’t wait for the tutorial and cut file.
It’s great that you’ve turned a small corner like a laundry closet into a space that’s both beautiful and neat, and that cute DIY sign definitely adds inspiration to your chores