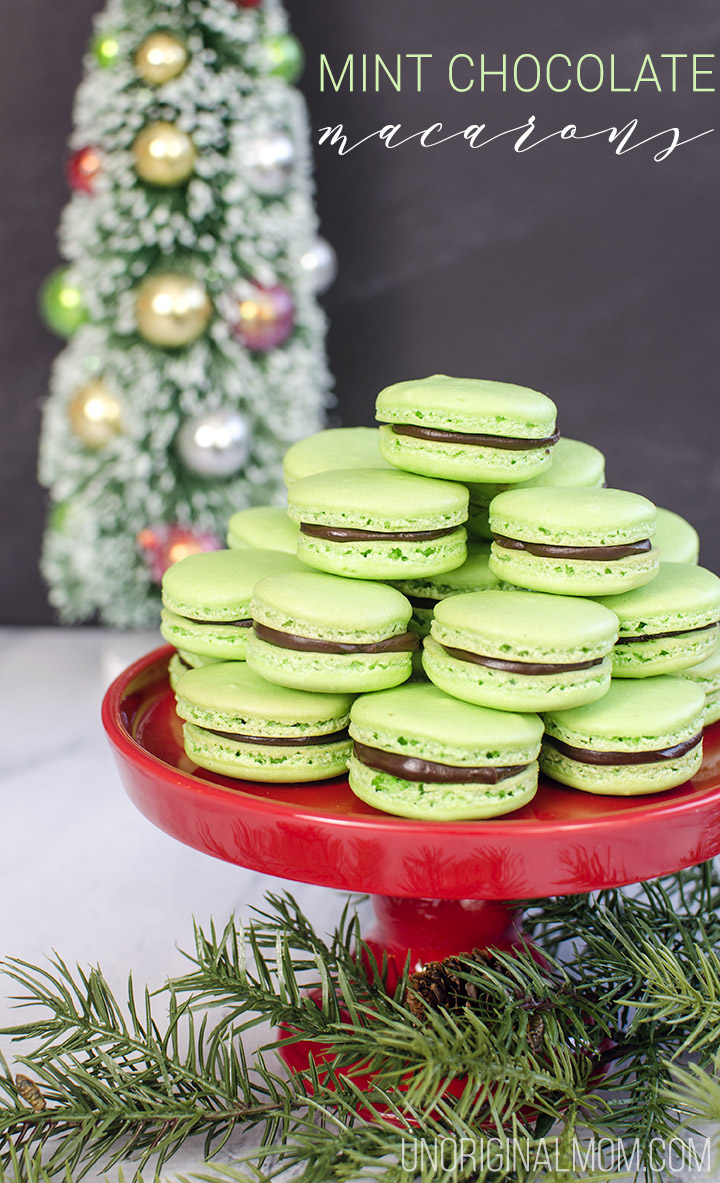
Whew! We made it to the last day of the Handmade Holidays blog hop…and I don’t know about you, but I’ve been on inspiration-overload from all the fabulous ideas that I’ve been browsing through. If you haven’t checked them out yet, head to this post for lots of handmade gift ideas and this post for holiday decor ideas. Today is all about holiday recipes – I’m sharing a recipe for mint chocolate macarons – so I hope you’re hungry!
This post contains affiliate links – click here to read my full disclosure.
If you saw the enormous macaron tower I made for my sister’s wedding, you know that I have a thing for making macarons. To be honest, after making 400 of them for the wedding, I did take a rather lengthy hiatus from my macaron making…but now I’ve started up again for the holidays! Last year I made about 10 dozen macarons for Christmas – starting in November and stocking the freezer with them, one batch at a time – and I’m planning on doing the same this year. They’re always a crowd pleaser (duh, cause they’re DELICIOUS) with a big “wow” factor, so that makes it worth the time and effort it takes to make these pretty little cookies.
First, let me say, if you’ve never made macarons before – YOU CAN DO IT! Trust me, if *I* can do it, anyone can. Yes, they are tricky, yes, they are time consuming, and no, I don’t get them right every single time, but I do know how to make them pretty darn well and they do turn out fabulously about 4 out of 5 times. Want to know my secret? I took a class. Yup, there’s no way I was going to simply follow a recipe or look up some random video on YouTube and be able to whip up macarons just like that. I stumbled upon this online class about a year and a half ago and it completely rocked my world. I watched the video once, then watched it again step by step while I followed along with the instructor. And on my first try, I got pretty darn close to perfect macarons. Really truly, I cannot say enough good things about this class! If you want to learn to make macarons, it’s worth the cost of the class times five.
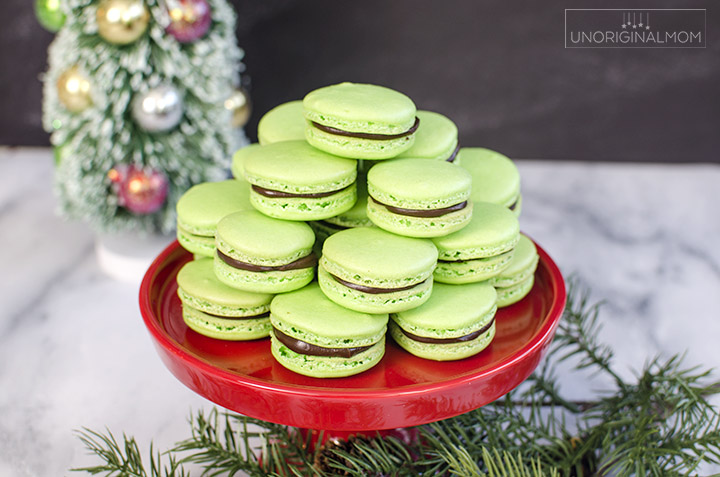
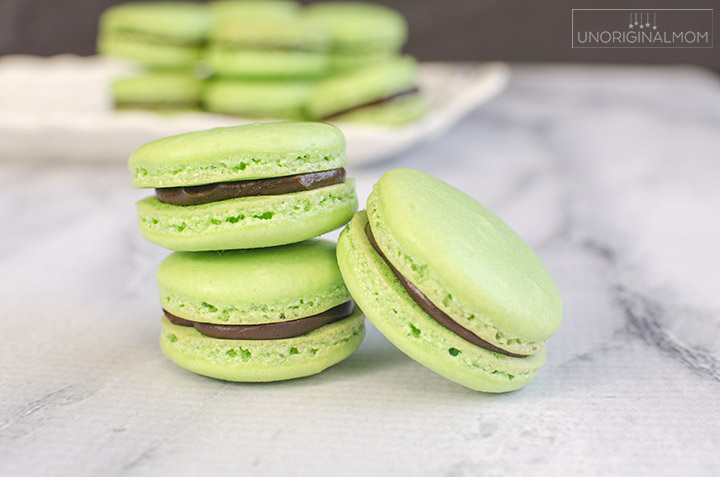
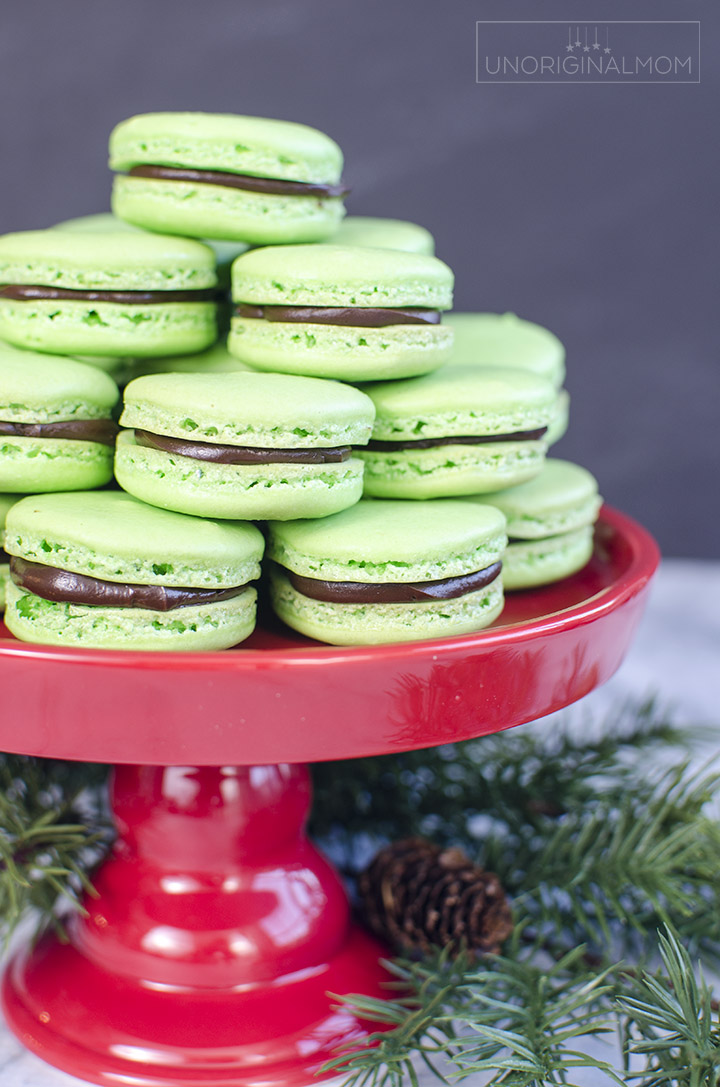
So, mint chocolate macarons. I made these last Christmas and they were my husband’s favorite, so I knew they’d be making another appearance this year. I do love buttercream fillings, but there’s something about a ganache filled macaron that is so flavorful and decadent…mmmmmm. It’s just so good.
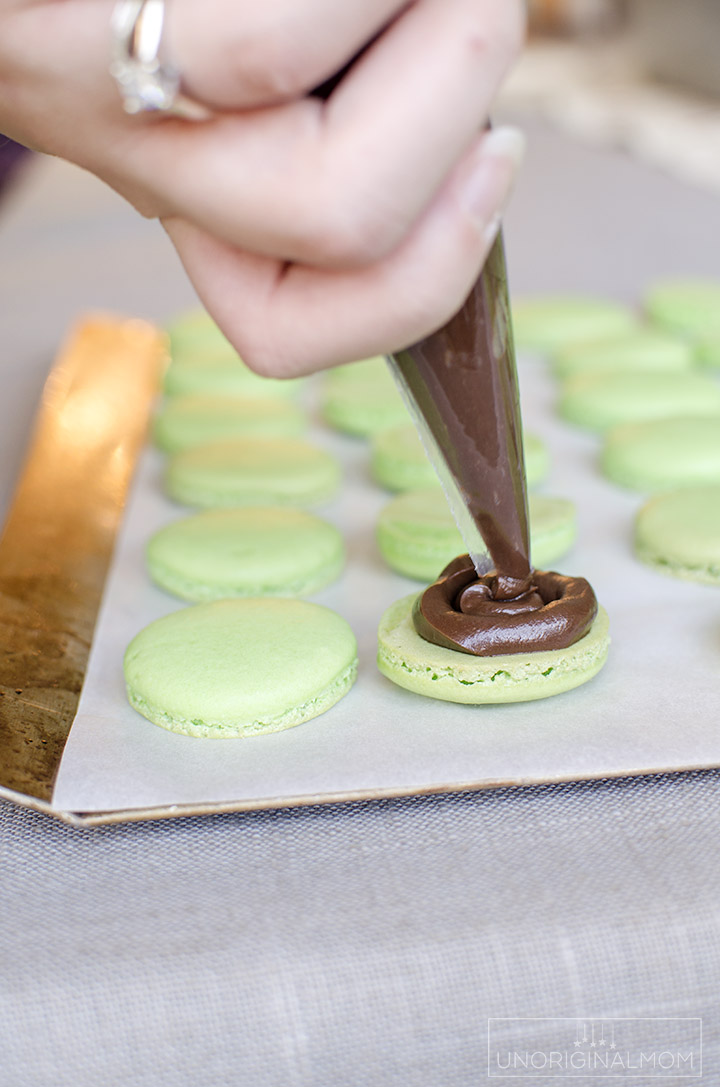
Plus the mint chocolate ganache is really easy to make. I can put it together while my macarons are drying, and by the time the macs are out of the oven the ganache is ready to pipe.
I’m planning on pairing these mint chocolate macarons with some red velvet macarons as well as some egg nog macarons – the green, red, and white will look so pretty on Christmas platters! I’ll also box them up in handmade macaron boxes like this to give as gifts.
A few macaron tips & tricks…
Yes, you must measure by weight. Volume measures just aren’t exact enough for macarons.
I like to use parchment paper on my macs, but some people swear by Silpat mats. Try both and see what works for you.
Let your macarons “mature” for about a day before serving. Store refrigerated. – OR – freeze macarons for up to 6 weeks in an airtight container. (For best results, freeze them on their sides.) Allow them to come to room temperature before serving.
Here’s the recipe I use for my macaron shells – I added a few drops of peppermint extract to the shells, but most of the mint chocolate flavor comes from the ganache filling!
Mint Macaron Shells
(makes 25-30 macarons)
INGREDIENTS:
- 200 g powdered sugar
- 113 g almond meal
- 113 g egg whites
- 100 g granulated sugar
- 1 g cream of tartar
- 2-3 drops peppermint extract (or use vanilla if you want plain flavored shells)
- gel food coloring
INSTRUCTIONS:
- Line two baking sheets with parchment paper
- Layer half the powdered sugar, the almond meal, and the rest of the powdered sugar in a food processor and pulse for about 15 seconds. Set aside.
- Whip the egg whites and cream of tartar in a stand mixer on medium speed until they look like light foam. The whites should not appear liquid.
- Slowly add the granulated sugar.
- Whip the meringue on medium-high speed until it is soft and shiny.
- Stop the mixer and add the peppermint extract and gel color.
- Whip the mixture on medium-high speed until the lines of the whisk are visible on the surface of the meringue and has a stiff peak.
- Carefully fold in the almond meal mixture, 1/3 at a time.
- Deflate the mixture slightly by “painting” it up the side of the bowl with a flat spatula. Repeat about three times until the mixture slides slowly down the side of the bowl by itself.
- Put the mixture into a piping bag fitted with a No. 12 tip. Pipe onto the prepared baking sheet.
- Slam the baking sheet down on the counter 5 or 6 times to release any bubbles.
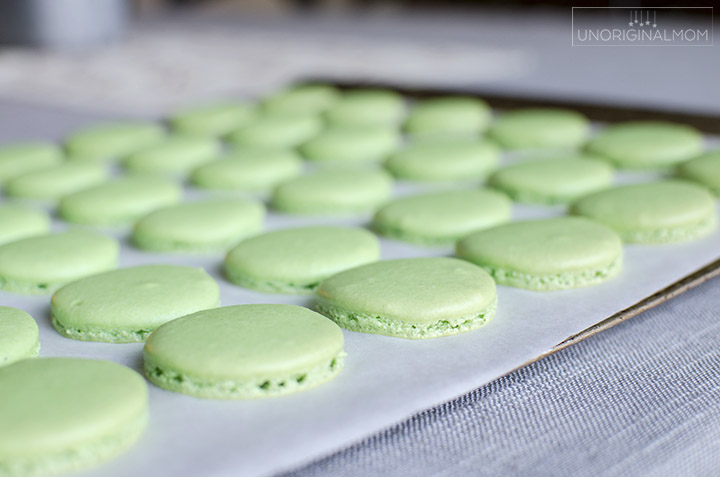
- Let the macarons “dry” for about 20-30 minutes, or until they look dull. (You may need longer in more humid climates, but no longer than an hour.)
- Preheat the oven to 325 F
- Bake macarons – one sheet at a time – on the middle rack.
- Ovens vary, so keep a close eye on them. At about 11 minutes, check to see if the tops slide – if they do, let them bake for an additional 2-3 minutes until they release without sticking.
- Let the macarons cool for 10 minutes before removing from the baking sheet.
- Match up like-sized macarons in pairs to fill. Pipe your filling onto one cookie, sandwich together with another cookie, and turn 1/4 turn as you press them together.
- 4 ounces semisweet or bittersweet chocolate, finely chopped
- 1/2 cup heavy cream
- 2 teaspoons light corn syrup
- 1 tablespoon butter, cut into small pieces
- 1/2 teaspoon of peppermint extract, more or less to taste
- Place chocolate into a heatproof bowl.
- Heat the cream and corn syrup in a small saucepan. Remove the cream from the heat once it begins to bubble around the edges.
- Pour the hot cream over the chopped chocolate and let sit for one minute.
- Slowly stir or whisk the chocolate and cream together until combined. Stir in the butter until smooth.
- Add peppermint extract and stir until combined.
- Let the mixture sit at room temperature, stirring or whisking occasionally, until the ganache is fully cooled and just thick enough to spread. Once it reaches the right consistency, use immediately since it will continue to harden.
- Pour ganache into a piping bag (just snip the end off, no need to use a piping tip) to fill the macarons.
And that’s it! I know it’s intimidating if you’ve never made macarons before, but I’d encourage you to give it a try and see what happens. They make a really delicious and special holiday treat that everyone will love! (They’re gluten free, too!)
Looking for more holiday recipes? You’re in for a treat! Browse through these fabulous ideas from other bloggers participating in the Handmade for the Holidays Blog Hop!
That’s not all…enter to win this terrific prize package, courtesy of these fabulous sponsors!
The fun doesn’t end here, though…there’s two more days of Handmade Holidays Inspiration!
Handmade Holidays – Gifts: Christmas Potpourri Jars + Free Printable Tags
Handmade Holidays – Decor: Reversible Thanksgiving-Christmas Farmhouse Sign


What if you MADE your Christmas gifts this year instead of buying them? Find out how to set yourself up for success in your Handmade Christmas journey - plus get a free printable gift list planner!





These look great and are perfect for the holidays.
I tried couple of times to make macarons by myself, but it was a bummer. I would love to try your recipe, they look amazing. Thank you for sharing this!
These really look great! I’ll definitely try to make them with a friend. She loves macarons! I think it will be fun trying your recipe! Thanks for sharing this!
The macaroons turned out to be really good considering it was my first time making macaroons. I was a little afraid before I made it because a lot of people said macaroons are very hard to make. After making it myself with this recipe, it really wasn’t that hard at all. The key is to make sure you read and follow the recipe thoroughly. There was just a hiccup with the recipe, it doesn’t say if we’re supposed to remove the macaroons from the baking. I took the baking parchment off so it will cool
this is detailed recipe to prepare macaroon. i am sure gonna try this with my besties.
this looks so delicious. this macarons recipe is very easy to understand
thank you
By far the most reliable macsron recipe I’ve found. So far I’ve used this recipe to make 9 different flavors, and each turned out perfectly!
Yummy,and fairly simple. I subbed cocanut cream for whipping due to a dairy allergy, needed a a tbsp or 2 of icing sugar to thicken the ganache.
Tasty and yummy.
Macarons are so impressive! Can’t wait to try your mint chocolate recipe. #handmadeholidays