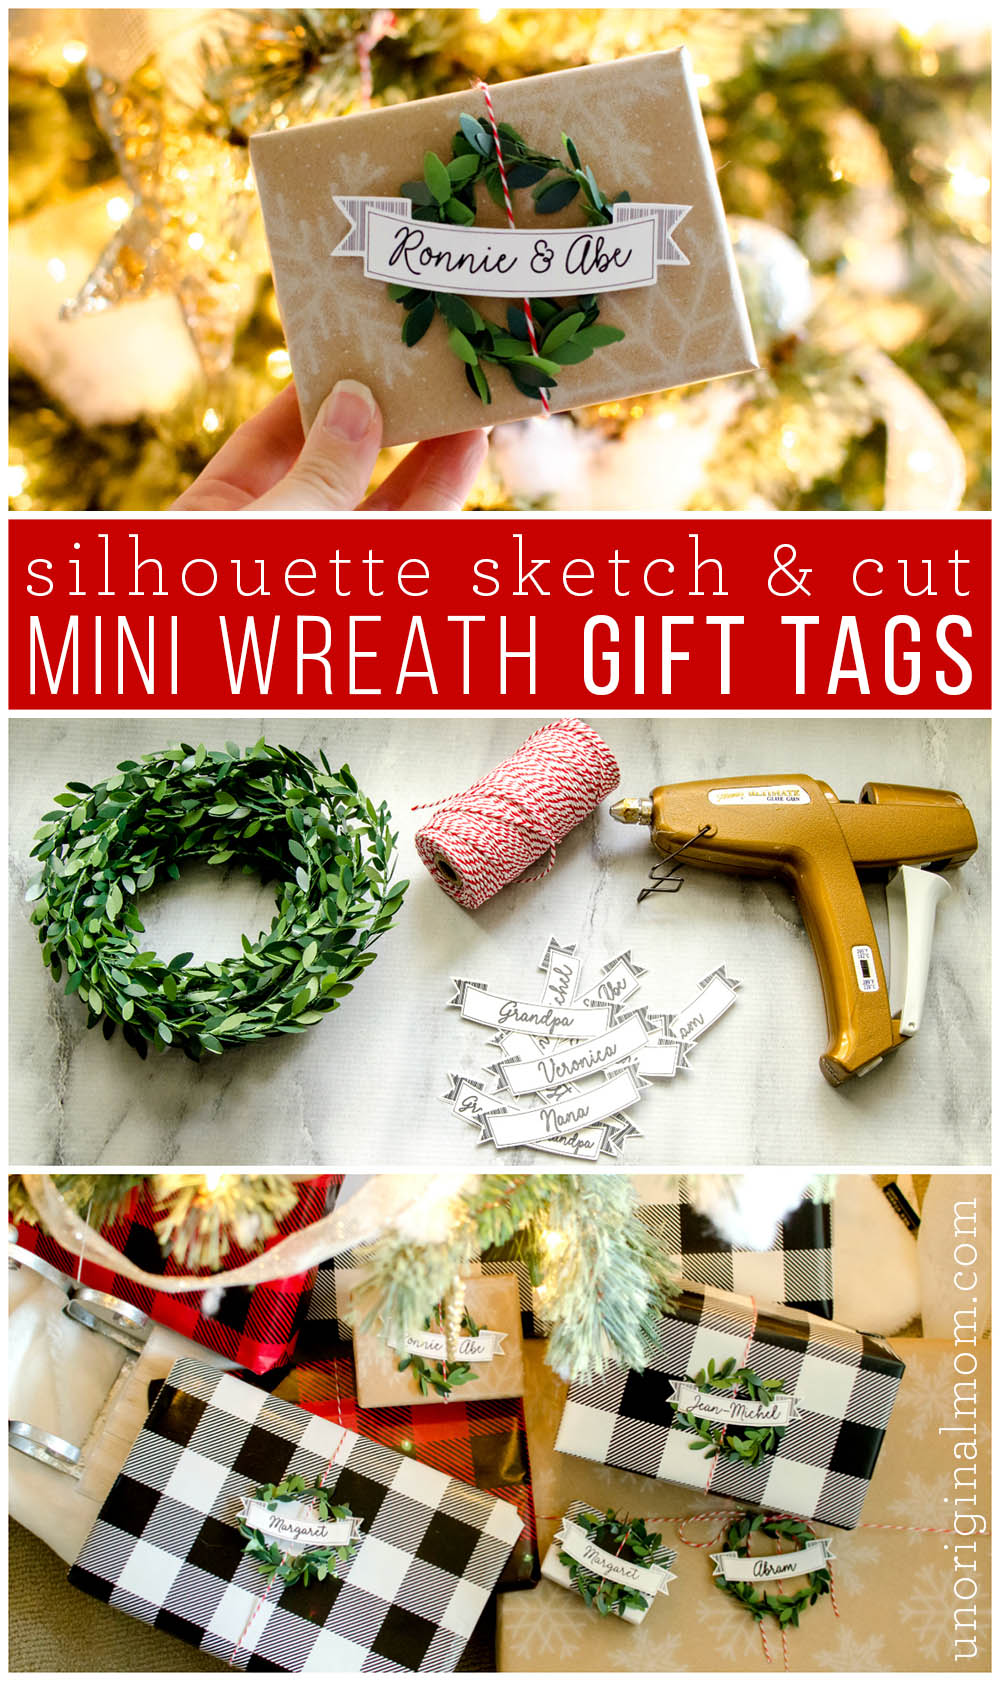
Use your Silhouette to sketch and cut these simple DIY Mini wreath gift tags for Christmas! They’re inexpensive, easy to make, and will add some major WOW factor to your wrapped gifts under the tree.
Thanks to my friends at Silhouette America for sponsoring this post. As always, all thoughts and opinions are completely my own! I only associate with companies and products that I love and personally recommend. This post contains affiliate links – click here to read my full disclosure.
“Brown paper packages tied up with string, these are a few of my favorite things…” :-)
It’s true! I adore neatly wrapped, pretty packages under the tree. It’s gotten to the point where my husband knows he needs to come and ask me what kind of wrapping paper he’s allowed to use before he starts wrapping gifts, hehe. But first, let me tell you about our Christmas tree situation. We have a real tree in our living room that’s the “family tree” – it’s a beautiful hodge podge of photo ornaments, ornaments we’ve been gifted, baby’s first Christmas ornaments, handmade ornaments from preschool, etc. That’s where the presents for our immediate family go, but they don’t “appear” until Christmas morning. Those are wrapped in more colorful printed wrapping paper with regular old stick-on to/from tags. A few years ago, though, I started putting up “Mommy’s tree” in the piano room…and it’s all MINE. I get to decorate it however I want to, and it makes me so happy! I’ve started wrapping all the gifts for our extended family in pretty matching paper with handmade gift tags and baker’s twine, and those gifts get set out under “Mommy’s tree” as soon as they’re purchased and wrapped…so they’re essentially part of our Christmas decor!
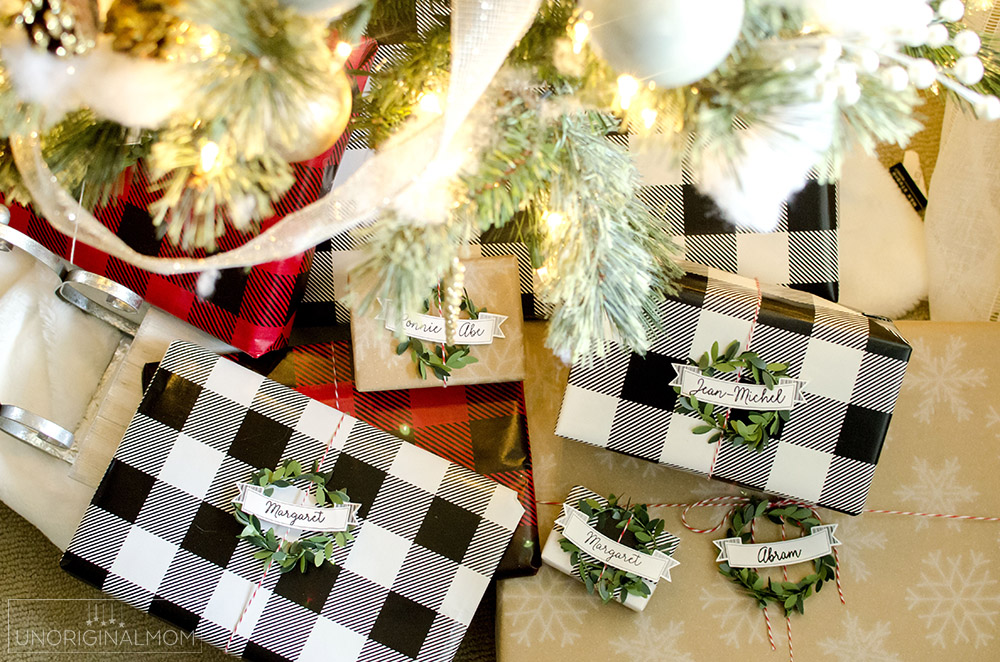
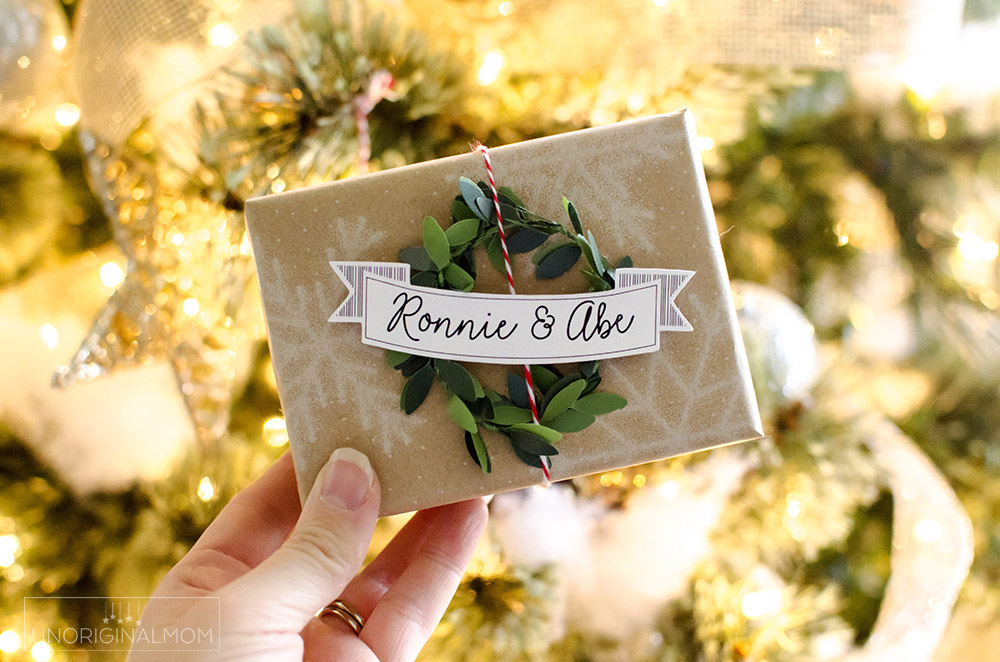
Wrapping beautiful presents doesn’t have to be difficult or expensive – all it takes is a coordinated wrapping paper scheme, some baker’s twine or pretty ribbon, and gift tags with a “wow” factor, like these mini wreath gift tags! They were really simple to make, thanks to my Silhouette CAMEO. If you’d like to make your own DIY mini wreath gift tags, I’ll walk you through how I made mine with a quick tutorial.
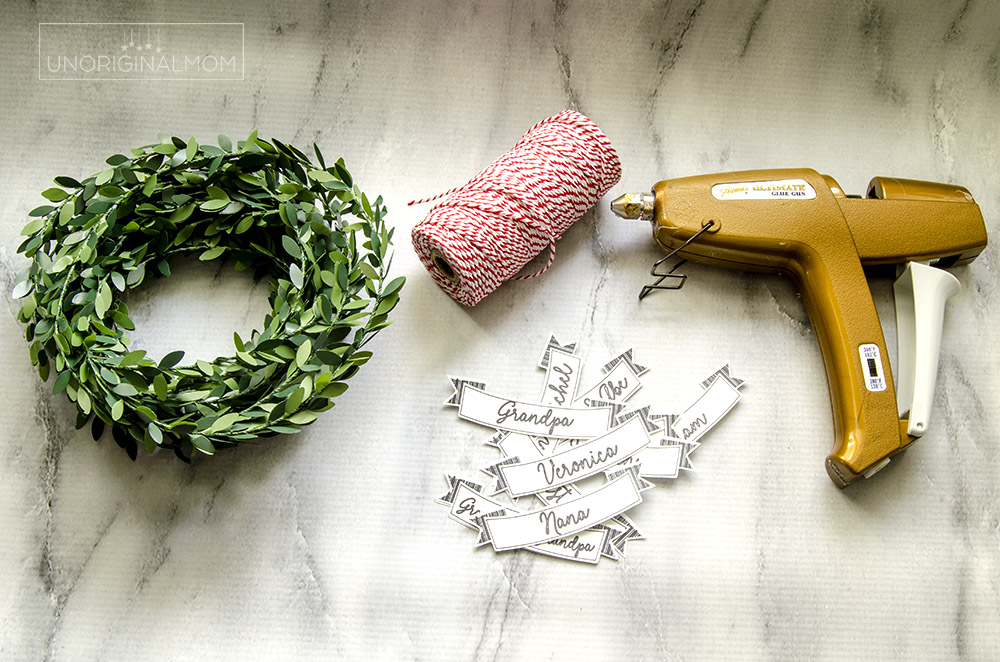
MINI WREATH GIFT TAGS – SUPPLIES
- Silhouette CAMEO or Portrait
- Silhouette sketch pens, OR black pen or fine tip permanent marker with pen holder
- white card stock
- Small garland
- hot glue gun
- twine or ribbon to attach wreaths to packages
MINI WREATH GIFT TAGS – TUTORIAL
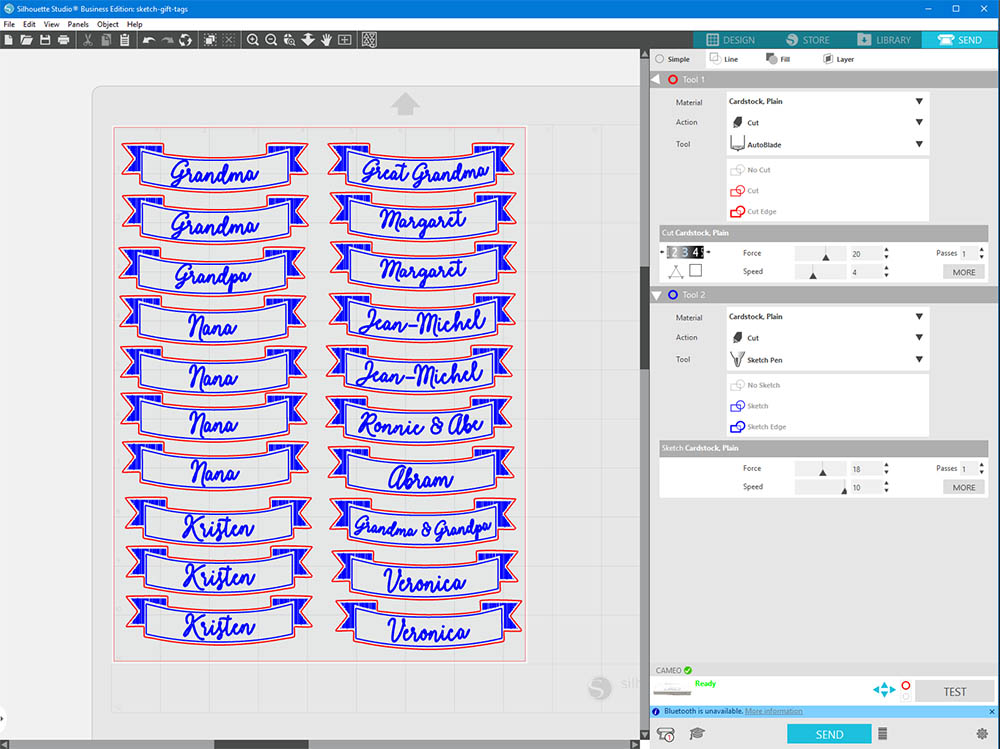
Start by making mini wreaths with your garland – I found mine from the Target Dollar Spot last year and just cut short pieces to twist into small wreaths. (Make sure you’re checking the size of your wreaths against the size of your tags – the tags should overlap slightly so you can glue them on.) Then, design your banners in Silhouette Studio. I used Design #72809 from the Silhouette Design Store and modified it slightly. Add text in whatever font you like! The Design Store has a bunch of great sketch fonts, but any thin font will work for sketching. If you want your text to be filled in, you can experiment with some of the sketch effects in Silhouette Studio, or just add an internal offset to “fill” the text.
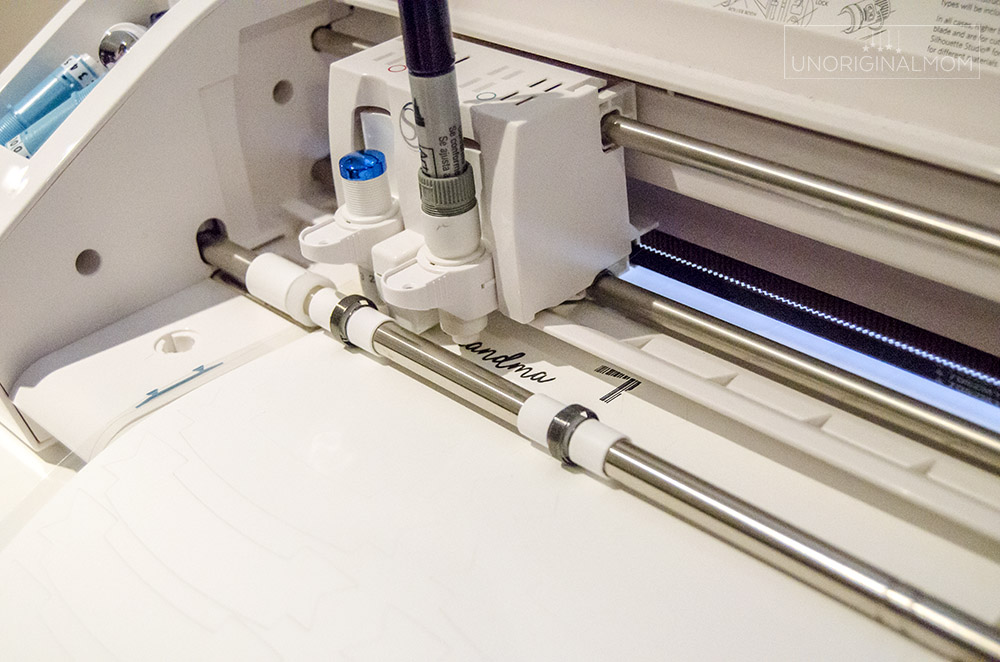
You can make these tags either as a print-and-cut or as a sketch/cut project. I tried them both ways. I love the look of the sketched tags, but it definitely took more time – probably about 5 minutes to sketch and cut one entire sheet of tags. If you’re doing print-and-cut, turn on your registration marks, print on white card stock, then load into your machine to cut. (Make sure your lines and text have weight/fill in order for them to print.)
If you’re doing sketch, load a sketch pen, or regular pen/fine-tip sharpie with pen holder into the machine. If you have a CAMEO 3 or 4 or a Portrait 2, you can take advantage of your dual blade cartridge and do the cutting and sketching at the same time! Load a blade into one tool cartridge, and the pen holder into another tool cartridge. Make sure the outline of the banners are set to cut with your blade and the sketch lines are set to sketch with your pen.
After your tags are cut, use a dab of hot glue on each side of the wreath to adhere the tags.


That’s it! Now, attach your tags to your gifts any way you like. I threaded between the tag and the wreath with baker’s twine to tie them onto my wrapped gifts.
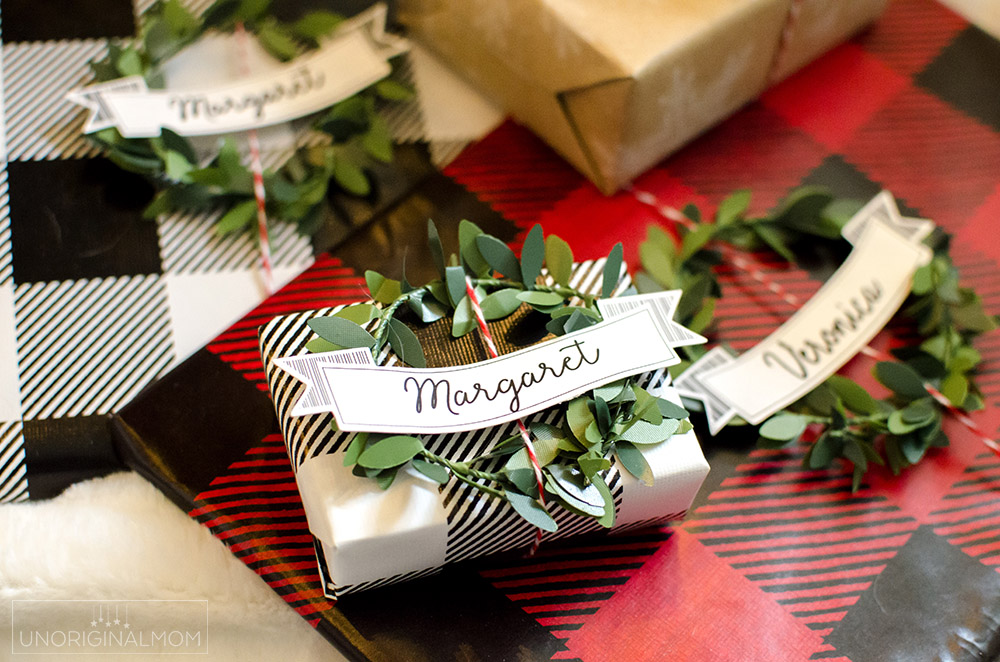
I think these would look great with a slightly wider ribbon too…maybe burlap or buffalo check!
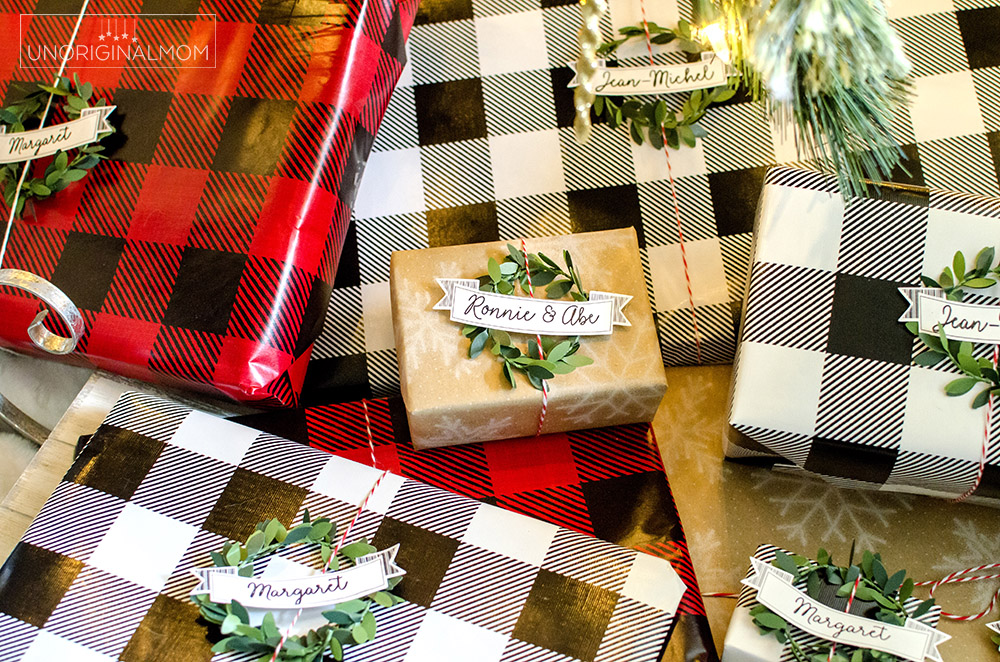
These little tags would be great place cards, too…or you could even make them into napkin holders. So many variations and possibilities!
SILHOUETTE BLACK FRIDAY SALE

Don’t forget!! The Silhouette Black Friday Sale is still going strong for just a few more days, until December 6. If you haven’t already, head on over and read my sale picks and recommendations!
Happy Christmas crafting, friends!


What if you MADE your Christmas gifts this year instead of buying them? Find out how to set yourself up for success in your Handmade Christmas journey - plus get a free printable gift list planner!


