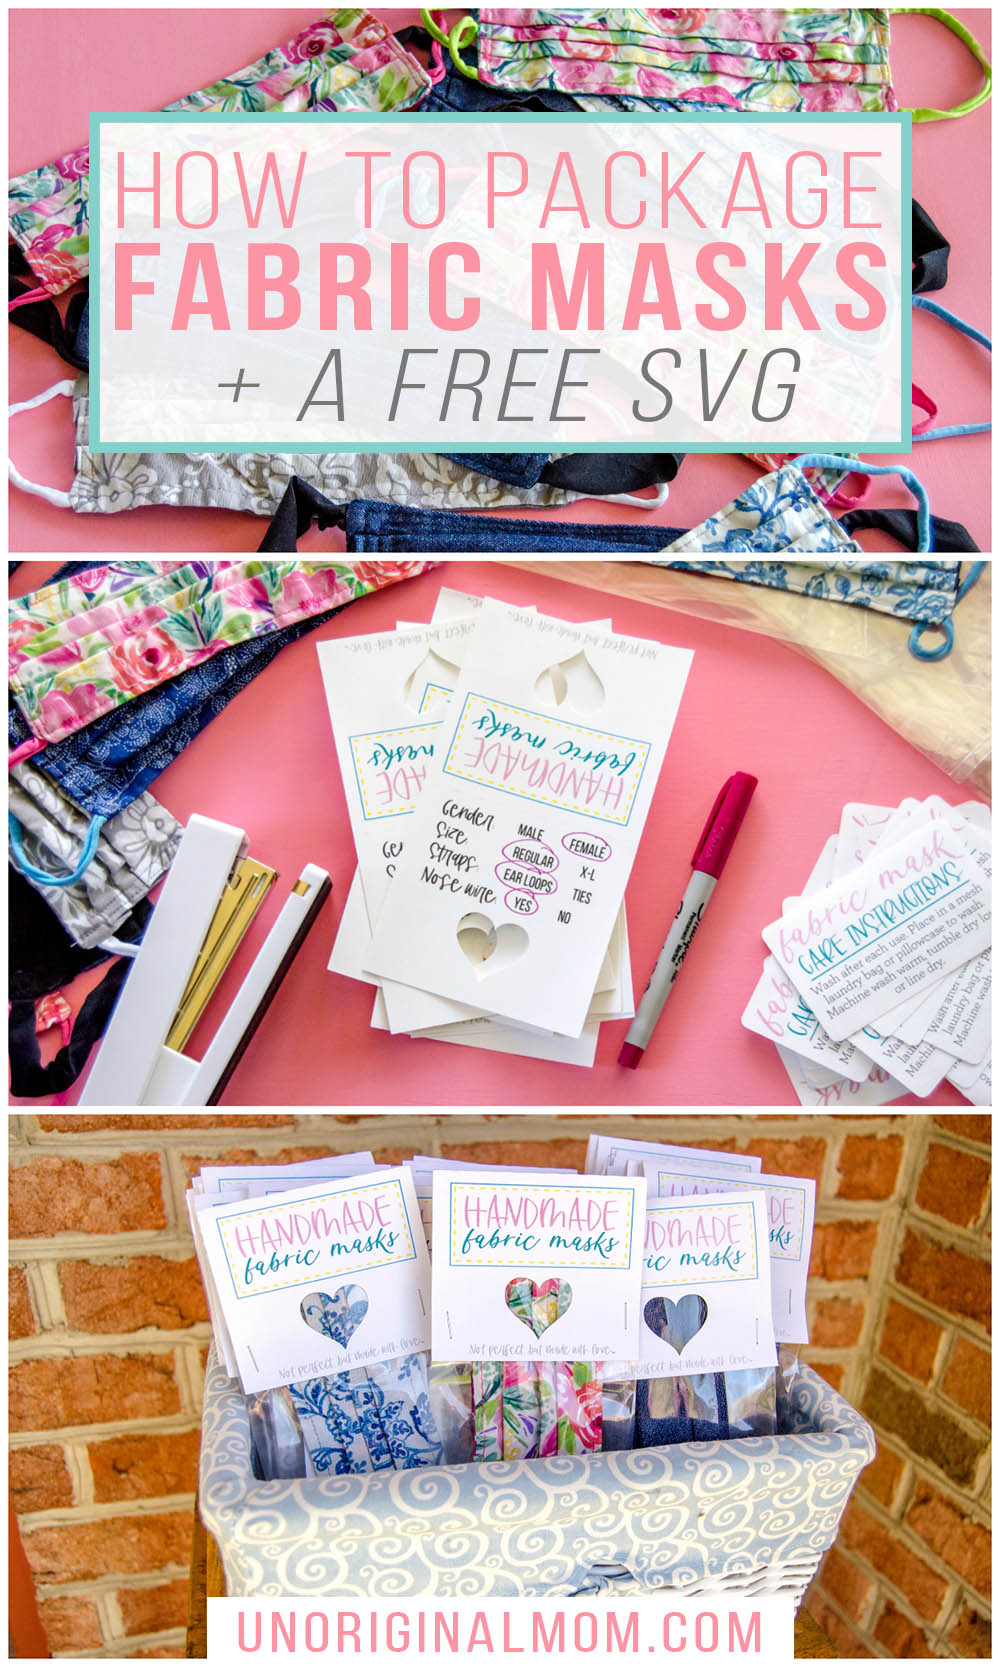
Wondering how to package fabric masks? Here’s a pretty and functional way to individually wrap lots of handmade fabric masks either to sell or to gift. There’s a free print-and-cut SVG to use with your Silhouette or Cricut, too!
We’re finishing up week 6 of quarantine, and most of the time it still feels like life has just been put on pause. Of course, we have good days and bad days, but we honestly haven’t been affected too much beyond the obvious not-allowed-to-go-anywhere stuff. My husband can work from home, my kids are young and not missing out on too much, and we don’t have any health issues that cause extra worry or anxiety. I know we are very fortunate, and that most people are not in the same boat as we are. Honestly, that has me feeling pretty helpless. Maintaining our house, schooling/occupying/supervising three children, and feeding 5 people three meals a day has got me pretty maxed out, but I’ve still been feeling like I need to help out our community in some way. So, I decided to make masks!
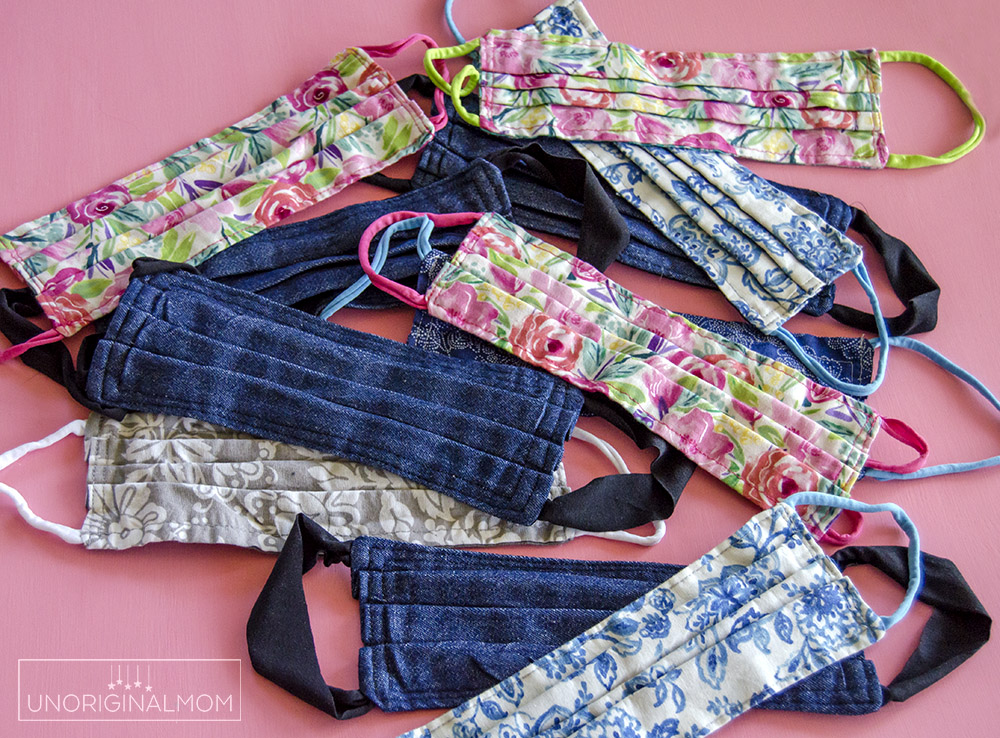
The mask movement has been going strong since the beginning of all this when health care workers declared shortages of PPE. I didn’t immediately hop on board, since A) I’m not a super experienced sewer and I wasn’t going to be able to crank out tons of masks, and B) we live in a relatively rural area with a low amount of virus cases, and our hospital isn’t in need of handmade masks. But when the CDC started to recommend that everyone in the general public should wear masks, I went ahead and made some for my family. That’s when I realized that I had more of a fabric stash than I had initially thought, and that masks actually weren’t *that* difficult to make, once I got the hang of it!
I decided to start making masks with the intention of gifting them to neighbors and friends that needed them. My sewing machine is in our basement playroom/rec room where the kids and I have been spending most of our time, so I’ve been able put in a few minutes here and there every day. And I’ve actually been enjoying it, because making masks has helped me to feel a lot more productive!
HOW TO PACKAGE FABRIC MASKS
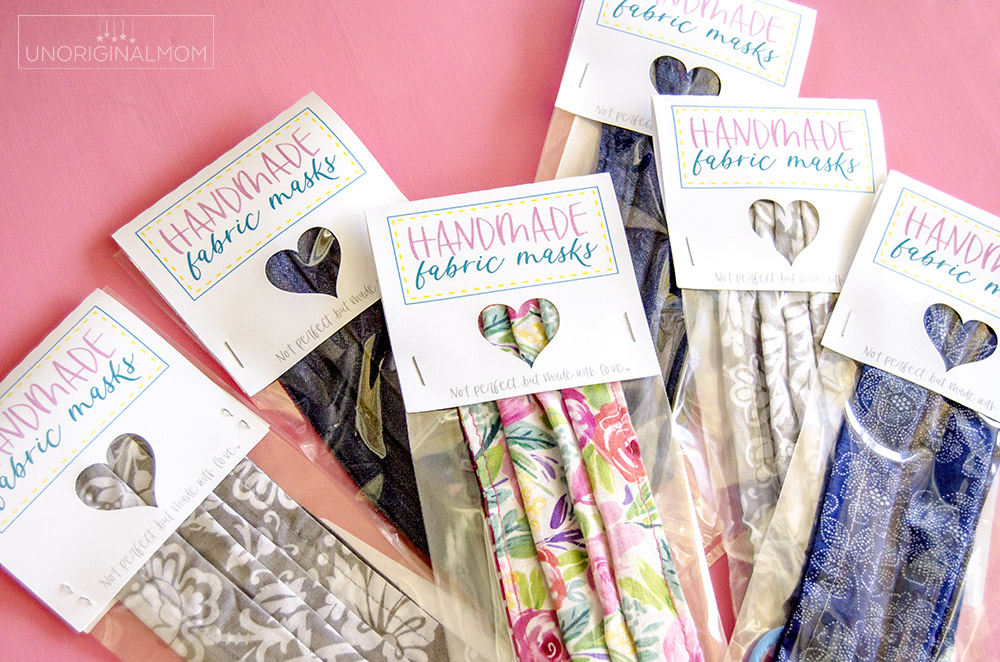
Of course, being the crafty perfectionist that I am, I couldn’t leave well enough alone and just put a pile of masks in a basket on the front porch for people to grab. (Not to mention, that’s not the most sanitary way to do things, either!) There was also the question of how I could designate the differences in the mask styles/features to people as they were choosing them. I had a bunch of cellophane treat bags in my stash that fit a single mask perfectly, so I decided to package them up individually and include a little tag on each mask where I could include the sizing information and other details.
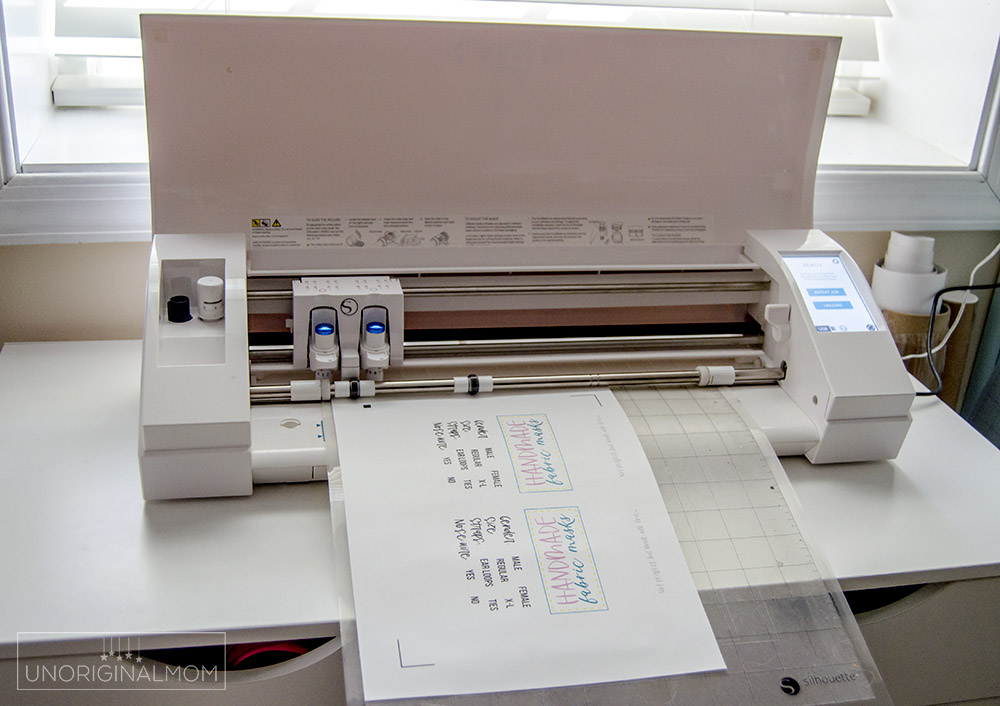
I whipped up a simple little design in Silhouette Studio and put my Silhouette Cameo to work cutting them out! This is a print-and-cut design, which means I print it onto card stock using my printer, and then my Cameo reads the registration marks to know how to align itself when it cuts the design.
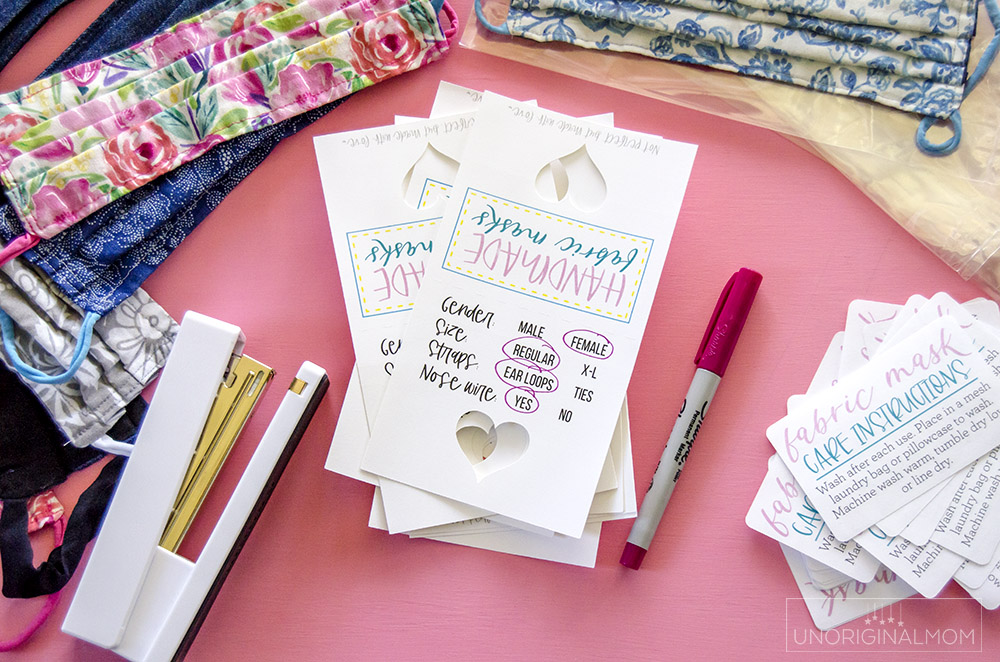
The cards are perforated at the halfway point to make them easy to fold, and the back has a place for me to circle the mask sizes/styles.
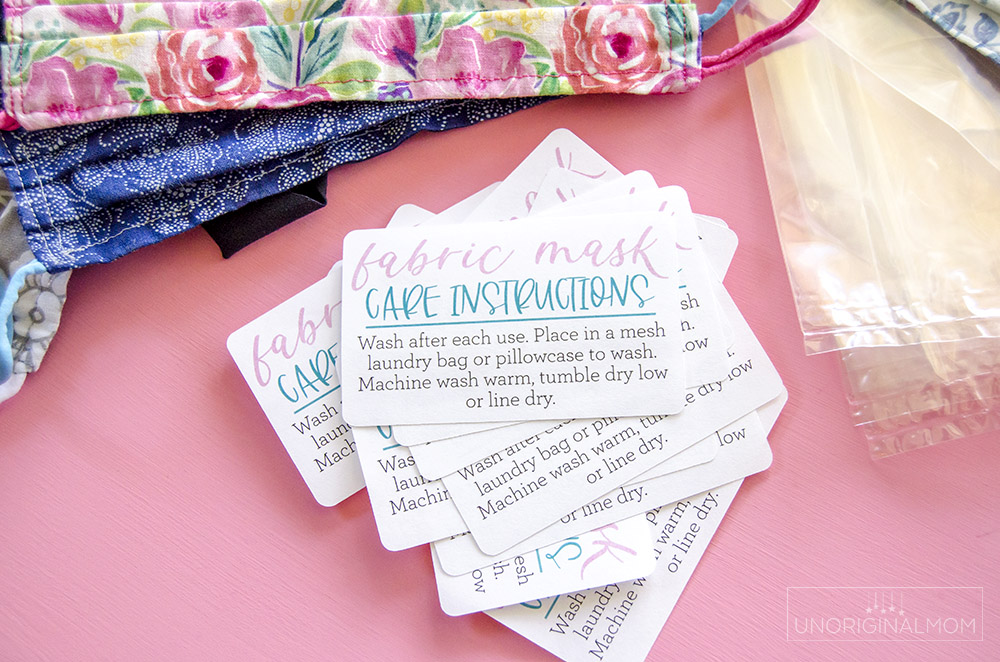
I also did a quick print-and-cut with the washing instructions, which I put inside each bag with the masks.
A quick staple on either side, and the masks are all packaged up!
I stuck them all in a basket and set them on a stand on my front porch. They look pretty darn professional, all packaged up in cellophane! Just don’t look too closely at the seams ;-)
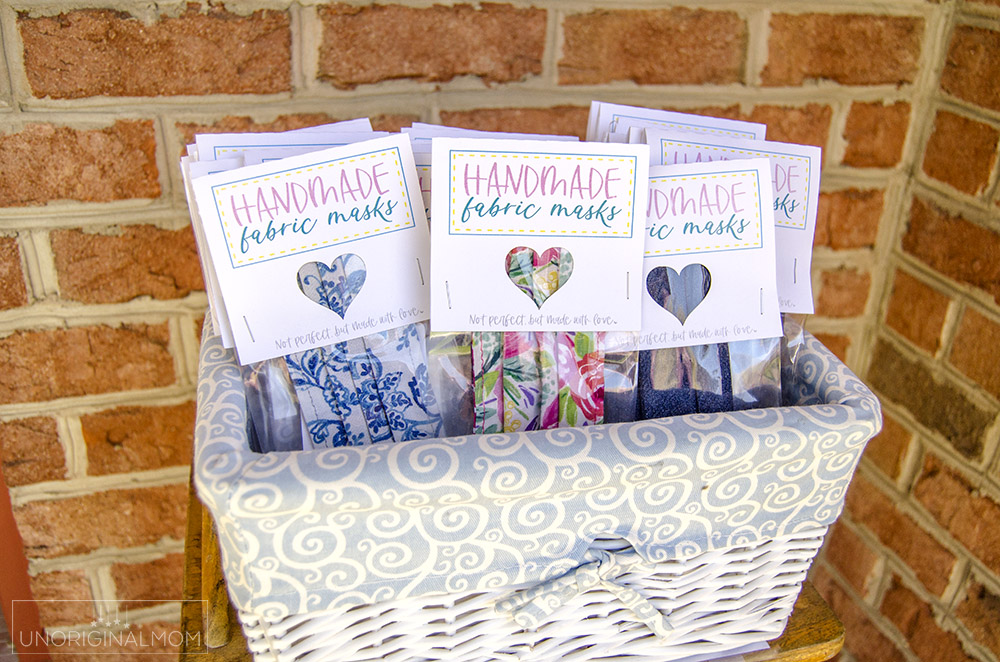
Less than 24 hours after I set them on the porch and emailed the neighbors, half of them were already gone! It makes my heart so happy to know that my fabric stash and basic sewing skills can be helping people in this crazy time.
HOW TO PACKAGE FABRIC MASKS – FREE CUT FILE
I added the bag topper design (minus the size details on the back – you can type those on yourself if you need them!) and the care instructions as an SVG and .studio file to my Silhouette Cut File Library. Subscribe via the box below and you’ll get instant access to my library with this file and 50+ others!
No cutting machine? No problem! Here’s are printable PDF versions of the labels and care instructions that you can cut apart with a paper trimmer/cutter:
PRINTABLE MASK CARE INSTRUCTIONS
MY FABRIC MASK MAKING TIPS & TRICKS:
Y’all, I am NOT a sewer. My sewing machine usually only sees me during the month of October for Halloween costumes. So, I am not the person to be writing a “how to make a fabric mask” post. I have, however, done a TON of reading other people’s tutorials…and I’ve gotten a fair amount of questions from other people, too…so I’ll share some of the tips & tricks I’ve learned with you. (This list contains affiliate links – click here to read my full disclosure.)
- I make the “Deaconess” style of masks with elastic ear loops, but I’ve found that 7″x9″ is a better fit than 6″x9″. That said, the mask I made for myself is 6″x9″ and I haven’t remade it yet, so I think 6″x9″ works fine. That extra inch in height just adds a little bit more chin coverage.
- The actual Deaconess pattern has you sew all the way around the whole thing, but I actually like sewing the top and bottom first, then putting in the elastic, and then sewing the sides. (I think it’s easier to place the elastic at the corners that way.) If you’re doing it like that, watch this video and see how she uses the scrap of wide velcro to keep from having to lift the needle and trim the thread after each seam – it’s GENIUS and saves SO MUCH TIME.
- I use a folded piece of card stock as a guide for my pleats, and it saves my perfectionist-self SO much time in getting them even! I think most people just eyeball them, but I like them to be perfectly even, so having a fold template is super handy. Check out this video to see how to make your own.
- Speaking of folds, it is SO much easier to clip the pleats than to pin them! I have clips like these and they are super handy. I did try just ironing them and not doing any clips/pins, but that left too much wiggle room when I got it to the machine and my sides weren’t always even.
- To add a “nose bridge,” I just sew three sides of a piece of 1/4″ ribbon in the seam allowance, slide in a piece of doubled over floral wire with the ends turned under, and then sew it shut. I’ve also heard of people using coated twist-ties or pipe cleaners (though the pipe cleaners will likely rust after several washings). This allows the mask to get a better seal around the nose area, which is helpful to keep glasses from fogging up.
- ELASTIC ALTERNATIVES – once I went through my initial elastic stash, I had to come up with some elastic alternatives while I waited to get more. I tried making some with ties made from strips of a cut-up T-shirt, and that worked fine (I followed this tutorial from Made Everyday.) But my favorite option was using looming loops from my daughter’s weaving kit! I think they work just as well as elastic, but are much comfier on the ears to wear. They’re not quite as sturdy as elastic, but they did hold up well in the wash.
Hopefully that was helpful. If any of you are making masks and have some tips to share, I’d love to hear them! I’m still cranking out masks until I run out of fabric.
Stay healthy, sane, and safe out there, friends! <3


Subscribe to unOriginal Mom via email and get instant access to my library of FREE Silhouette Studio & SVG cut files - exclusively for email subscribers. Plus there's a new file added every month!




Love the handout to include with the masks. Can you provide a copy of the instructions only for those of us who don’t have a cutting machine?? Thanks
That’s a great idea Karen! I just added printable PDFs of both the labels and the care instructions that you can print and cut out yourself. I hope they’re helpful!
you are just the best! thanks so much for offering these printables, I really appreciate it. I won’t use them as is but it will help me create new ones for my masks with all the infos. Thanks.
It’s heartwarming to see how you’ve turned to making masks during these challenging times to help your community. Your initiative to gift masks to neighbors and friends is truly inspiring. It’s amazing how a simple act of kindness can have a significant impact. Keep up the great work, and I’m sure your handmade masks will bring comfort and safety to those who receive them!
This is such a great idea! Loving the SVG for mask packaging. And kudos to you for wanting to help during quarantine. 👏