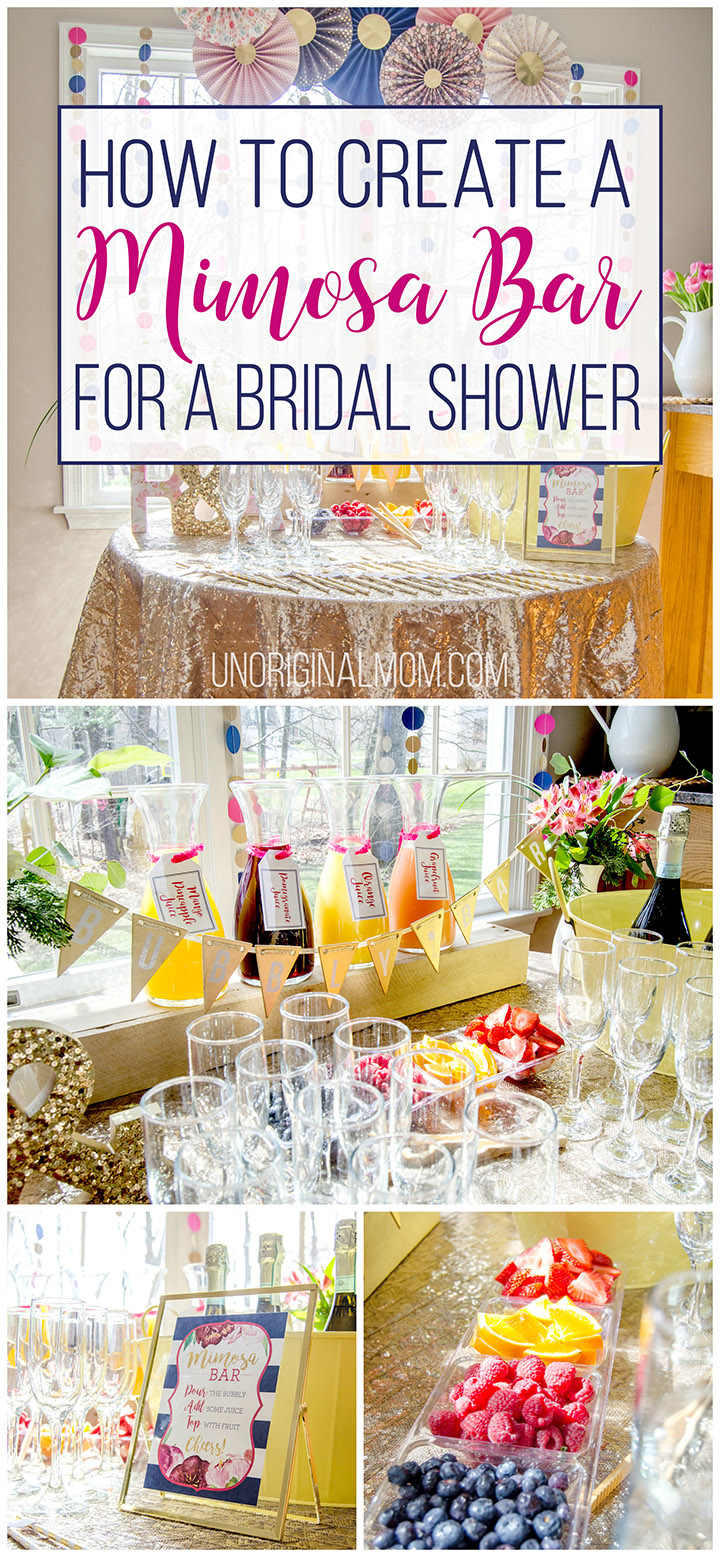
I hosted a Bridal Shower brunch for my sister a few months ago (remember the Yogurt Parfait Bar I posted about?) – and as part of the “Brunch and Bubbly” theme I put together a bridal shower Mimosa Bar! Mimosa bars are really not that difficult to put together, plus they’re really trendy and fun, so I wanted to share the details with you. A mimosa bar would also be great for a bachelorette party, a baby shower with non-alcoholic options (“Mom”-osa bar, anyone?), or even a Girl’s Night or “Sip n’ Paint” style get together. And once you’ve stocked up on some glasses and carafes, it’s even easier to put together a mimosa bar for any kind of event you might be hosting.
This post contains affiliate links – click here to read my full disclosure.
INGREDIENTS.
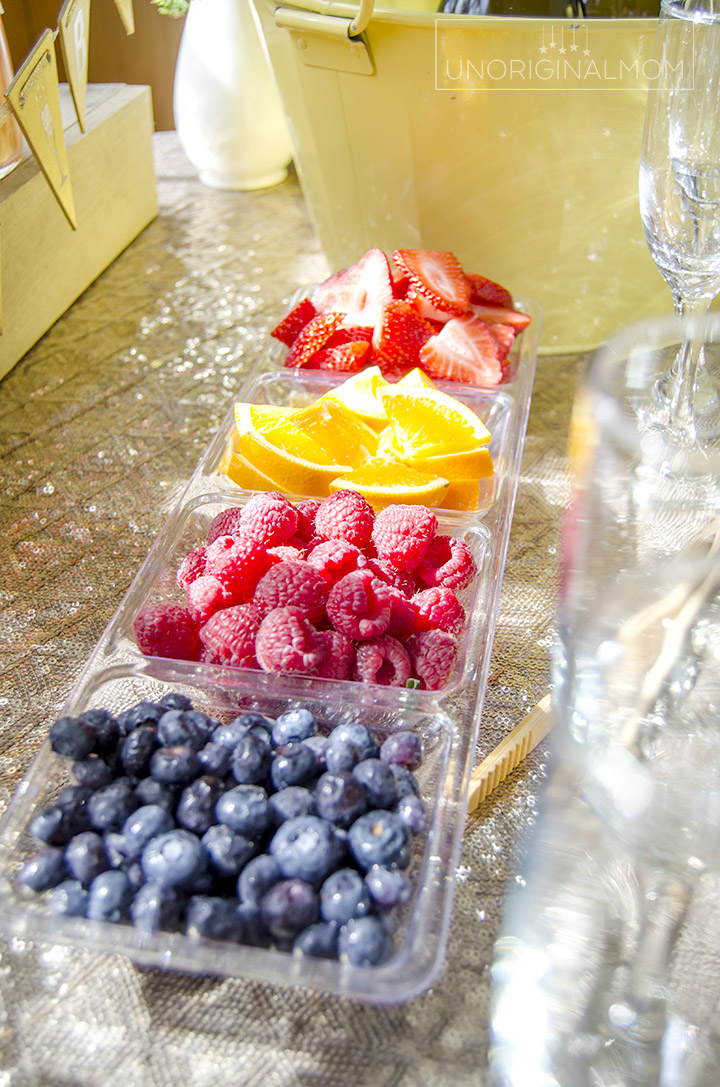
Let’s start with the ingredients you need for a mimosa bar – a few different kinds of juice, a variety of berries and other fruit slices, and (of course) champagne! It’s also nice to have some sparkling water for guests who’d like to skip the alcohol but still have a yummy drink.
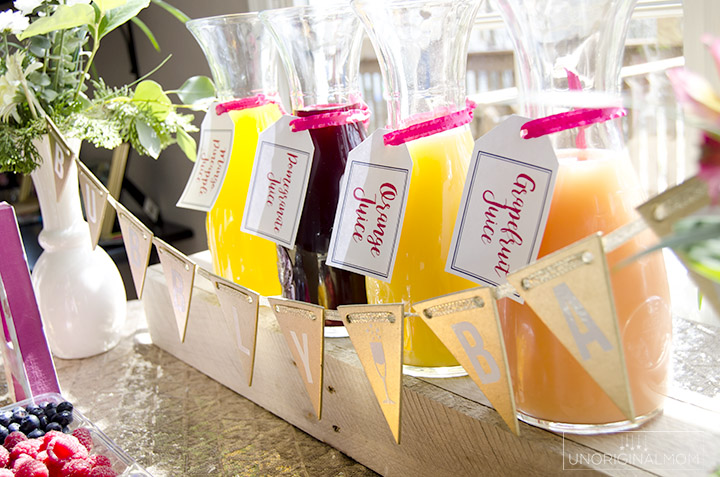
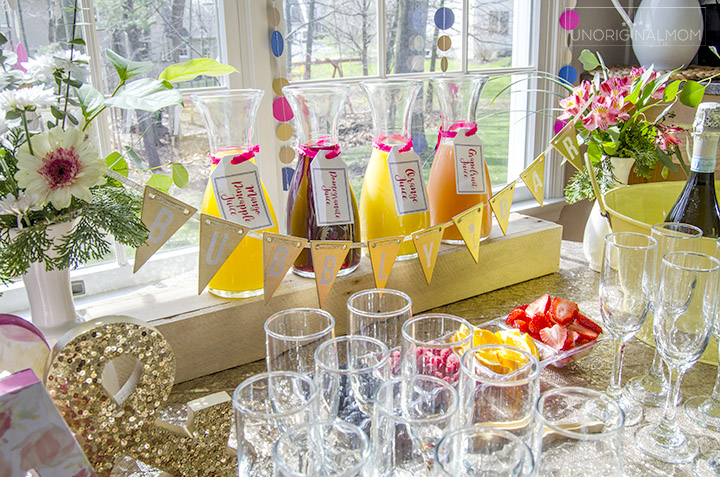
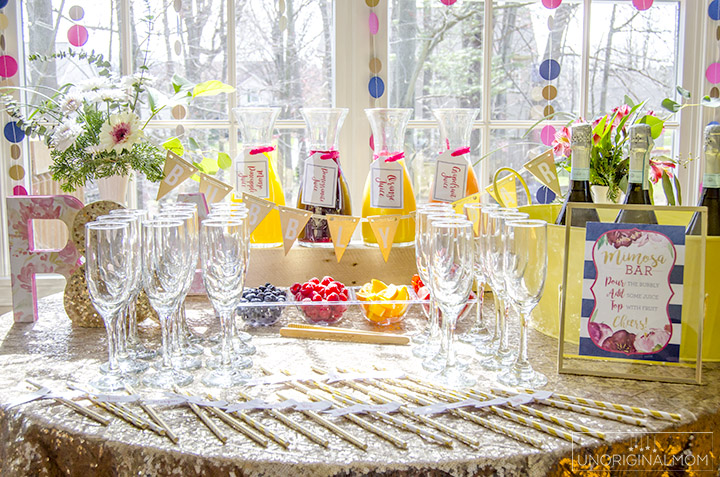
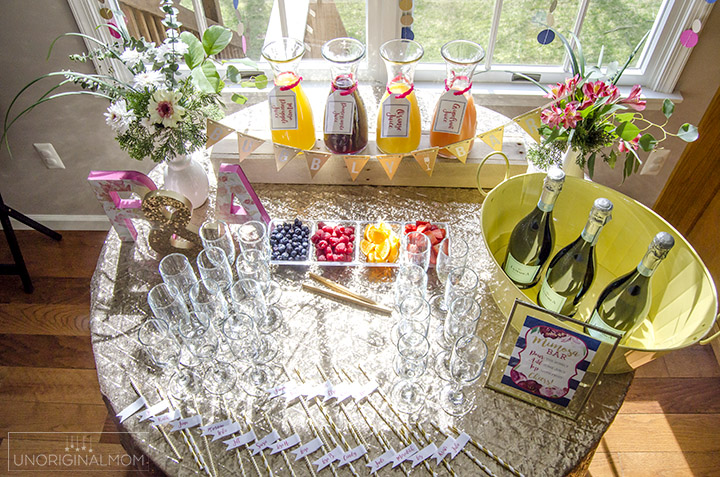
My mimosa bar had blueberries, sliced strawberries, raspberries, and orange slices. The juices I served were orange (gotta have the classic mimosa ingredient!), pomegranate, mango-pineapple, and grapefruit.
GLASSWARE.
The first thing you need are some pitchers or carafes for the juice. I bought four of these 33 3/4 oz glass pitches on Amazon and they were perfect! Really nice quality, heavy glass carafes.
If you’re going for a classy mimosa bar, glassware is the way to go. You can still pull it off with plastic champagne glasses (something like these), but drinking champagne out of Solo Cups just isn’t very glamorous! I wasn’t really ready to drop $75 or $100 on 30 champagne glasses, though, so after a bit of searching I found them at the Dollar Tree! I assumed they’d have enough in stock at the two Dollar Tree stores near me, but I actually ended up buying out both stores and still being a few short, so I supplemented with some champagne glasses I already owned. No big deal. Turns out, though, you can buy them by the case online! I’d definitely recommend that so A) you are sure to get as many as you need, and B) you have a nice box for storing them. You can order them online here! They were really nice quality and the perfect size for mimosas.
ADD SOME DIY.
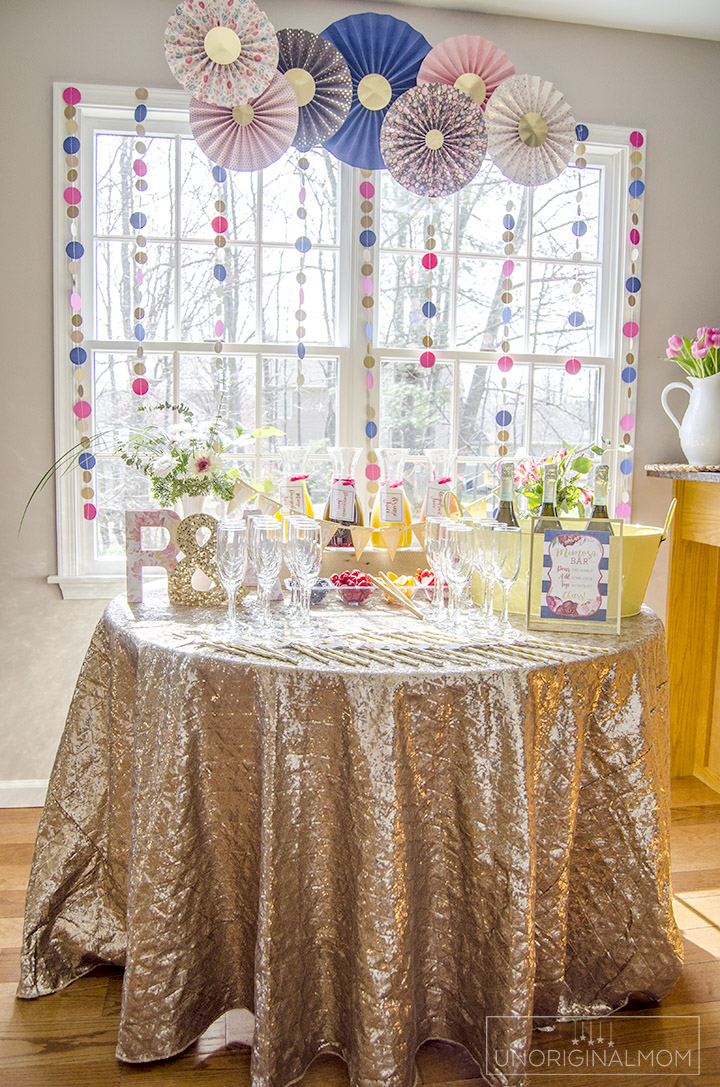
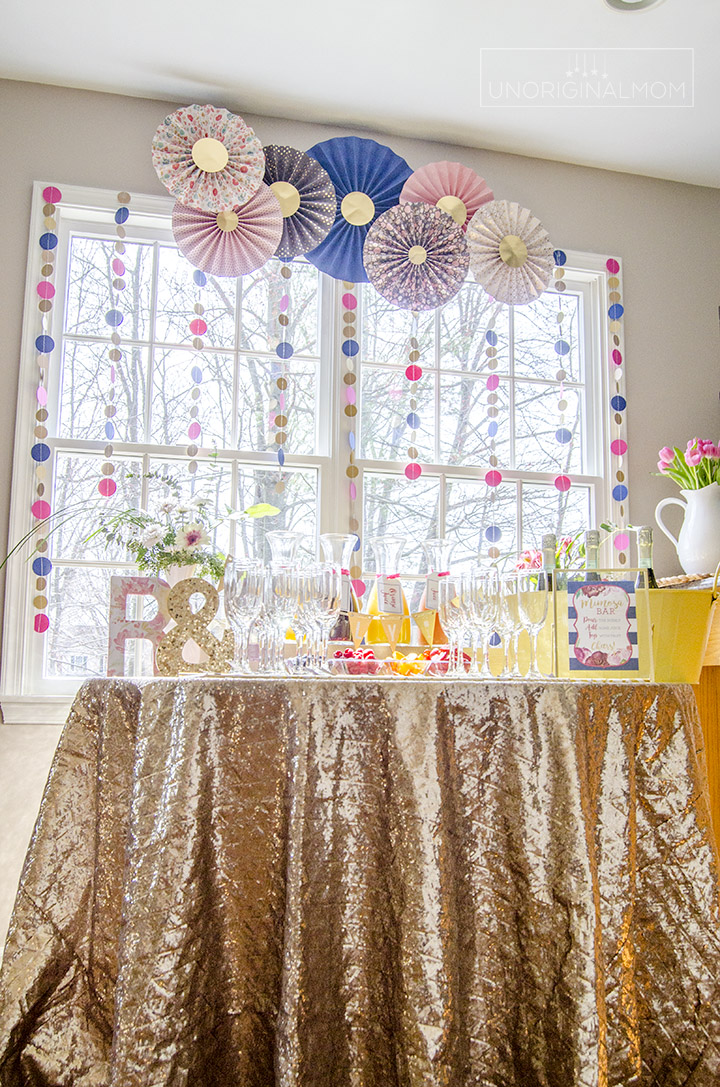
If you have a theme going with the bridal shower, or even just some colors you’re going with, be sure to add them to your mimosa bar set up, too! Our colors were navy, hot pink, and gold. The gold sequin tablecloth is amazing, isn’t it?? (I borrowed mine from a friend, but here’s a similar one on Amazon!)
I made the paper rosettes and paper dot garland for the window to help the mimosa bar really serve as the focal point for the shower. I just love how it turned out! The paper dot garland is SO easy – I used my Silhouette but you could also use a paper punch to make a bunch of card stock circles. Then I sewed them into a garland on my sewing machine. Yup, just sew right through the paper! (Don’t use a nice needle, though, ’cause it will get dull in a hurry.)
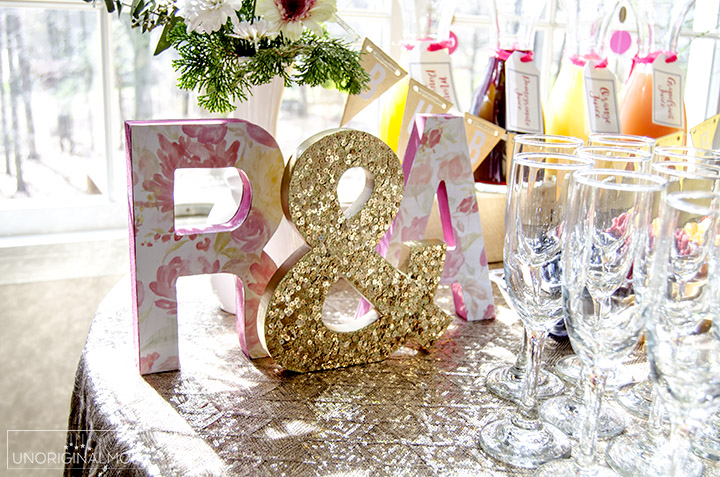
A really simple DIY addition to this table were the bride and groom’s initials. I bought wooden letters from Michael’s, painted the sides of the letters with craft paint, and used Mod Podge to decoupage some floral print scrapbook paper to the front and back. Simple, but big impact! The gold sequined ampersand was a purchase from HomeGoods.
I stocked up on a bunch of mini wood pennant garlands from the Target Dollar Spot last Halloween when they were on clearance for 33 cents each. I just spray painted them gold, used my Silhouette to cut “BUBBLY BAR” out of white vinyl, and voila! Cute little DIY touch.
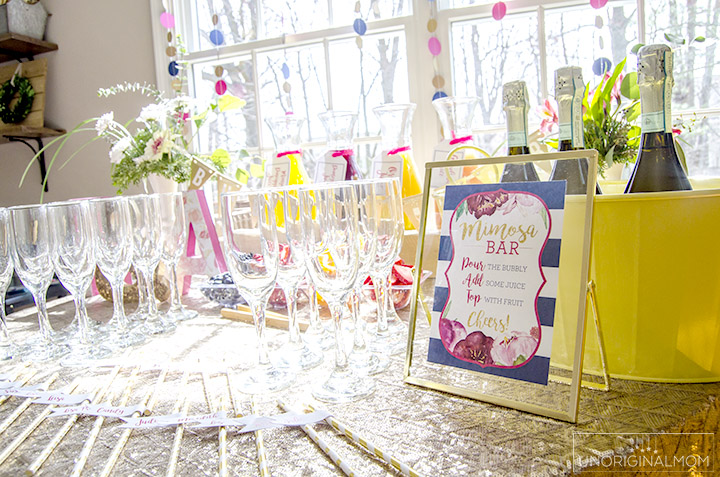
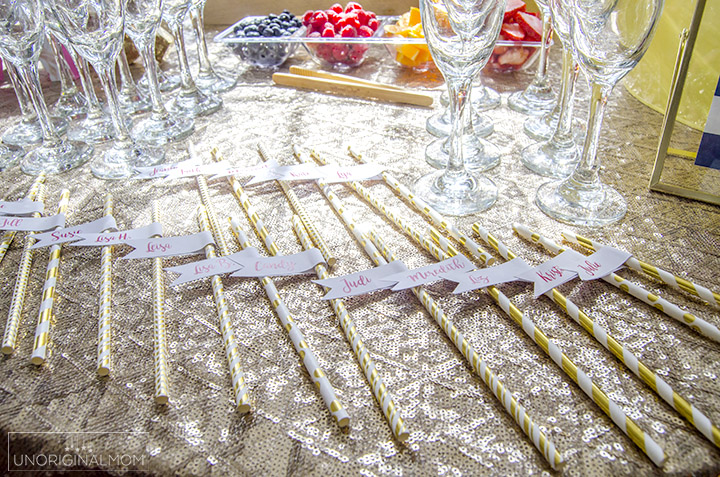
One thing I was concerned about was identifying whose glass was whose – I thought about wine glass charms but didn’t have the time to DIY 30 of them. Then I thought of making tags for straws out of sticker paper! It took me about 15 minutes to print them, cut them out with my Silhouette, and attach them to straws. Then I laid them out on the table so everyone could easily find their own. (I am bummed that I forgot to get a picture of the other side of the tags – they all said “Sip Sip Hooray for R&A!”) These are the gold straws I used.
SET THE TABLE.
Finally, once you have all the elements you’d like, it’s time to set a pretty table! I used my pallet box centerpiece turned upside down to create a higher level to place the juice carafes on. Using levels really helps to give your table some visual interest.
Our friend Lisa did the flower arrangements, and they were a beautiful pop of color on the table. The fruit added some pretty color, too!
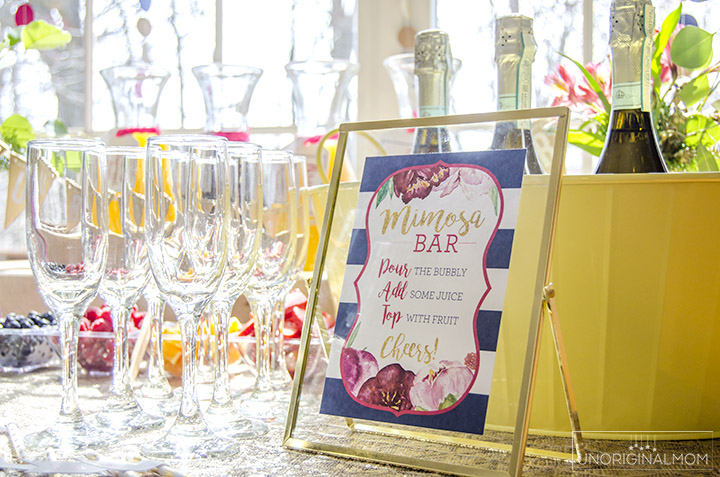
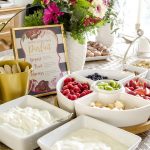
Finally, I pulled it all together with a printable in a floating glass frame. (The frame was another Target Dollar Spot find, isn’t it great?)
This printable – along with several other matching ones from the bridal shower – are available for purchase in my Etsy shop here!
This bridal shower mimosa bar was a BIG hit with all the guests! It was a festive and beautiful party, and my little sister loved it. The best part is, I have all these supplies stashed away so I can easily throw together a mimosa bar for another event. Now I just need an excuse to get it all out again! ;-)


Get your copy of my FREE meal planning binder!

Sign up to get a free copy of my meal planning system - an 11 page printable meal planning binder, complete with a pantry inventory, shopping list, and more to help get on top of your menu each week!



Hi Meredith. I am planning my daughter’s bridal shower & the main thing she wants is a nice mimosa bar. I thank you for all the tips & hints. It will definitely help a novice like me. But three things that you didn’t address that i would appreciate your input on:
1) What type of champagne do you recommend? I know some people like a little sweeter and some might like a little drier. Any thoughts? Suggestions?
2) What has been your experience on how many mimosas per person? i was planning on 2 – 3 per person. Does that sound logical?
3) Finally, how much champagne do you need per mimosa? Wasnt sure if you get about 5 per bottle or more than that. What did you experience with your guests?
Thank you again for your article and sharing your experience. I am sure it will help me a lot. I look forward to your reply.
Hi Mark! All great questions. I am NOT a champagne connoisseur by any means so you might find a better answer to that question somewhere else on the internet, haha. I think I asked someone at the liquor store for some help picking something out, but I don’t remember what kind I got, sorry! I do think 2-3 per person is a good estimate, though it does depend on the crowd. (i.e. college friends will probably drink more than the great aunts!) So take a quick glance at the guest list and take a guess. It’s been two years since this shower so I don’t recall exactly how many pours per bottle we got…but the typical proportions of a mimosa is half champagne and half juice, so you can kind of figure out from there based on the size of your glasses. Of course, it’s always better to have too much rather than not enough. Some wine stores will even let you return unopened bottles, so maybe double check their policy about that when you buy them. I hope that’s helpful! Best of luck with the shower, I’m sure it will be beautiful!
[…] Credits: Bubbly Bar: Unoriginal Mom, Favors: Catch My Party, Bride and Wedding Party: Mariel Hannah Photo via Martha Stewart Weddings, […]
I love all your ideas! Everything is so cute! I’m thinking I should get a good printer and a Silhouette too, it seems like so much fun to add a personalized touch to the decorations… I’m going to bookmark this!
This mimosa bar setup looks absolutely stunning! Such a creative way to add a fun and elegant touch to a bridal shower. Planning events like these reminds me of how much I enjoy relaxing games like Stardew Valley, where you can build and customize your own farm just like designing a perfect party setup. For those who love cozy games on the go, the Stardew Valley APK is a great way to enjoy the game anytime, anywhere! https://stardewvalleyapkdl.com/stardew-valley-for-ios/
The idea is absolutely gorgeous! Such a fun and creative way to elevate a bridal shower. It’s always inspiring to see well-thought-out setups like this—just like how a well-structured curriculum shapes a great learning experience. Speaking of education, the Matatag Curriculum is an exciting step toward improving the quality of learning, ensuring students gain essential skills for the future! https://matatagcurriculum.com/
What a fantastic idea to set up a Mimosa Bar for various occasions! I love the creativity in offering different juice options and fruit selections. The glassware choice truly adds an elegant touch to the setup. Your attention to detail and budget-friendly tips are so helpful for anyone looking to recreate this fun and trendy idea. Thanks for sharing!
What a fantastic idea for a bridal shower mimosa bar! Love how you included various fruits and juices. It’s not only trendy but also customizable for different events. Those glass pitchers from Amazon sound like a great choice. Can’t wait to try this for my next girls’ night! 🍹