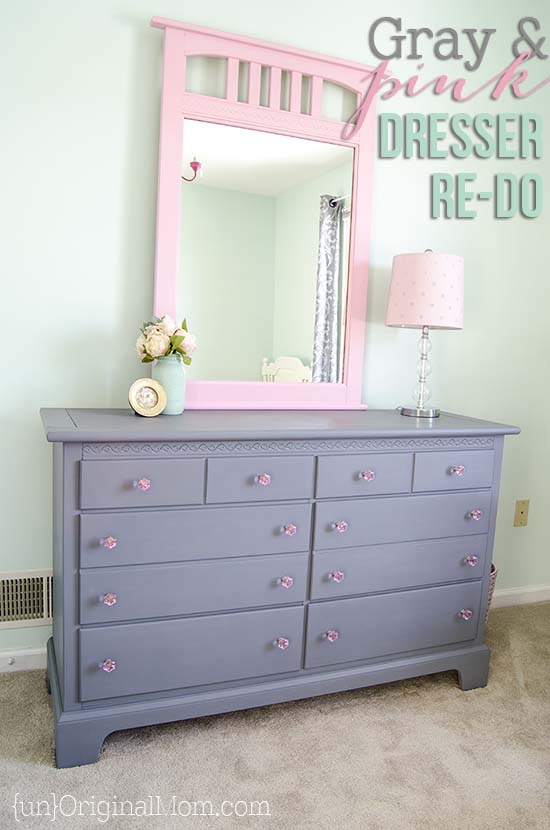
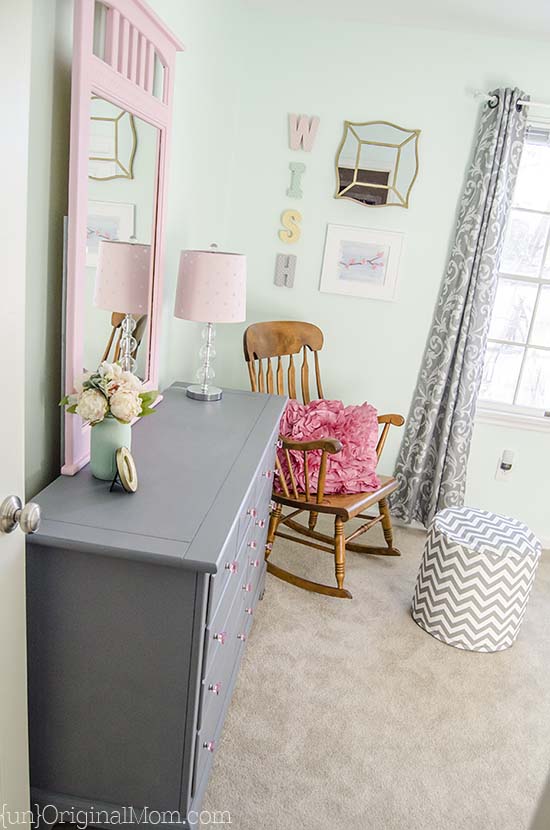
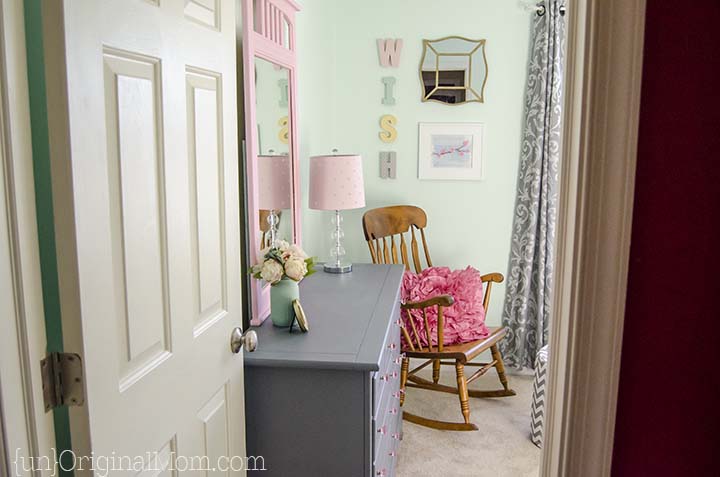
This project has been a LONG time in coming, but I can finally share it with you – my first ever furniture makeover! We had plans to do this back in September with a hand-me-down dresser, but ended up not getting the dresser we thought we were getting…so it was back to the drawing board. After scouring Craigslist for weeks, we ended up finding a dresser we liked at a local used furniture store, but of course it sat in the garage for a month after we bought it. Finally, in early November, we got around to painting it…but then, some of the drawers needed repairs and we needed to find new drawer hardware. I think the whole thing was finished around Thanksgiving, but of course with the craziness of the holidays and preparations for a baby, the “big reveal” got delayed until now! But I am excited to bring you this amazing transformation of a second hand dresser, turned into a beautiful piece of furniture worthy of our little princess’s “big girl room!”
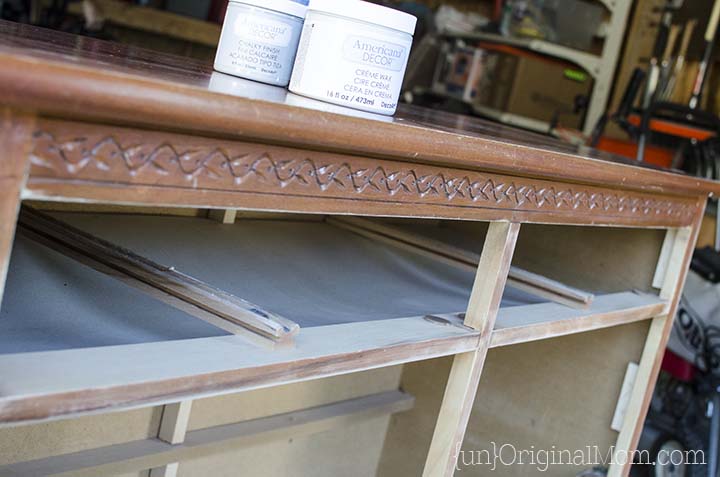
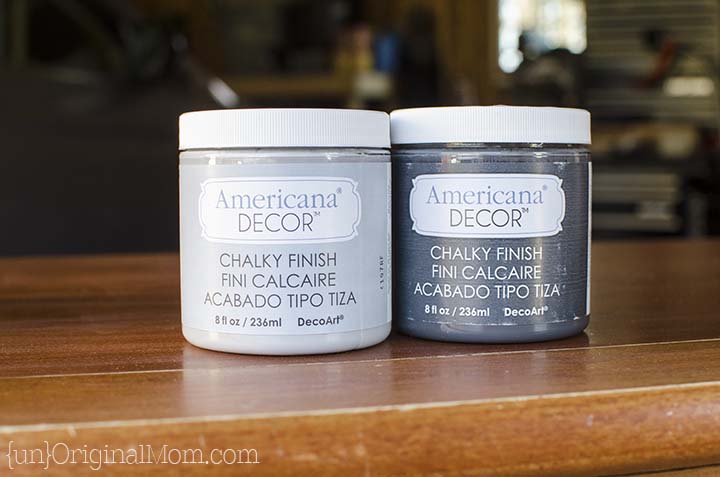
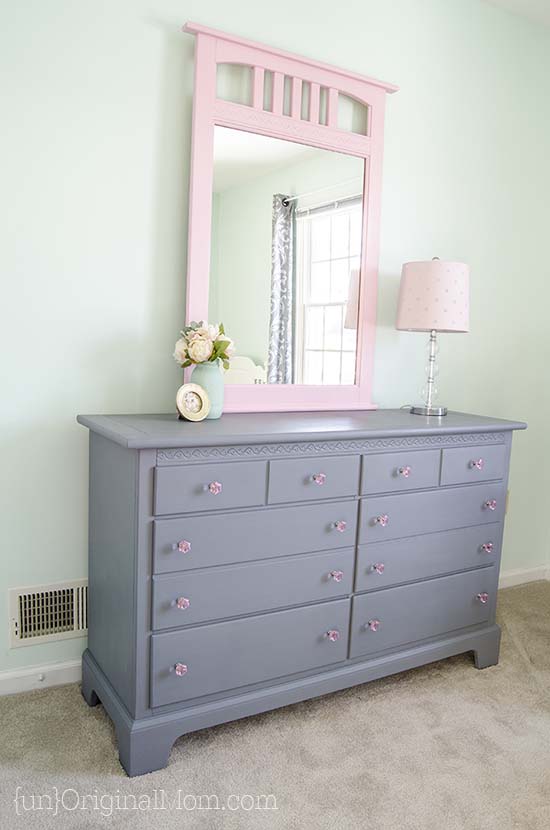
I’m no furniture makeover expert, but I will walk you through our dresser’s transformation! You can see in the photo above that it had good “bones” – mostly solid wood, with some detailing along the top of the dresser and the attached mirror. We used Americana Decor Chalky Finish Paint and Creme Wax, and it was SO easy to work with. I actually wanted a more medium shade of gray than they have, so I mixed a light gray (“yesteryear”) with a dark gray (“relic”) and ended up with just what I was looking for.
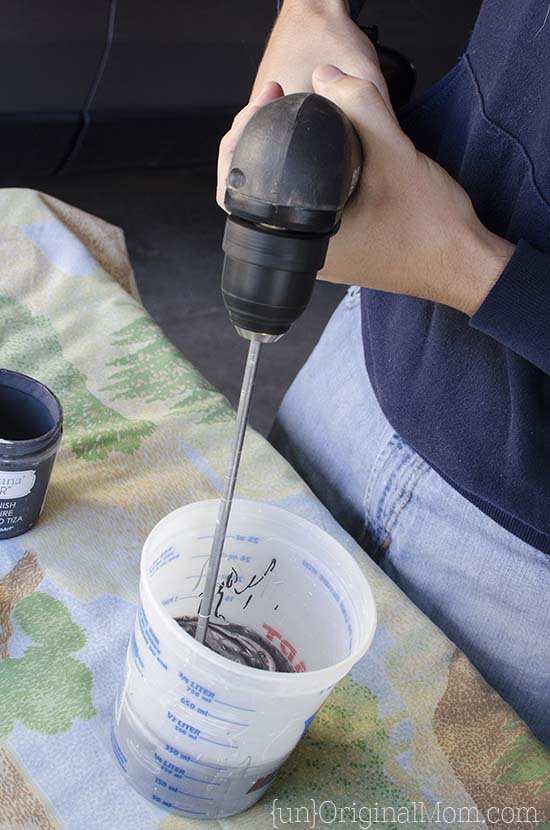
To ensure an even mix of the colors, my husband used this drill attachment on his drill to mix the paint in a separate container.
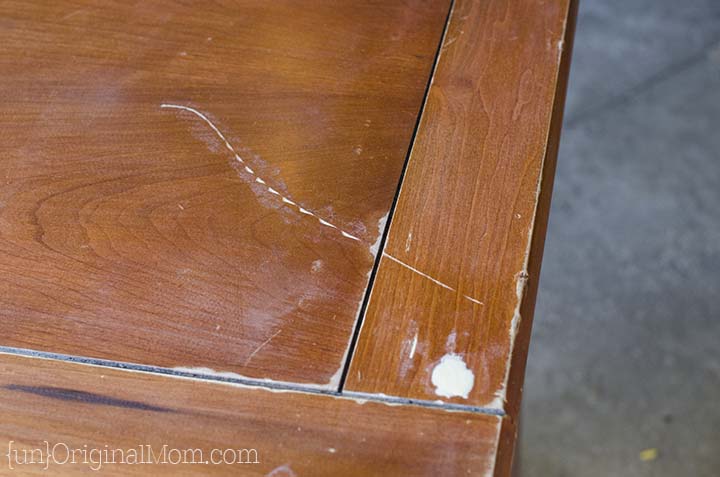
There were a few scratches and gouges in the top of the dresser that my husband filled and sanded before painting, and after a coat of paint you’d never know they were there! That’s the beauty of painting secondhand furniture.
I don’t have any great “in-progress” photos, so you’ll just have to believe me when I tell you it was super easy! I did two coats of gray chalk paint, then followed the instructions on the DecoArt website to apply a layer of Creme Wax on top. The wax really brought out the depth of color that I was hoping for. I just love how it turned out!
The pink mirror was actually a bit of an afterthought…originally it was going to be gray like the dresser, but I decided I wanted something to add a bit more color, so I used the chalky paint shade called “Promise” to paint the mirror, along with a coat of creme wax. Isn’t it pretty?
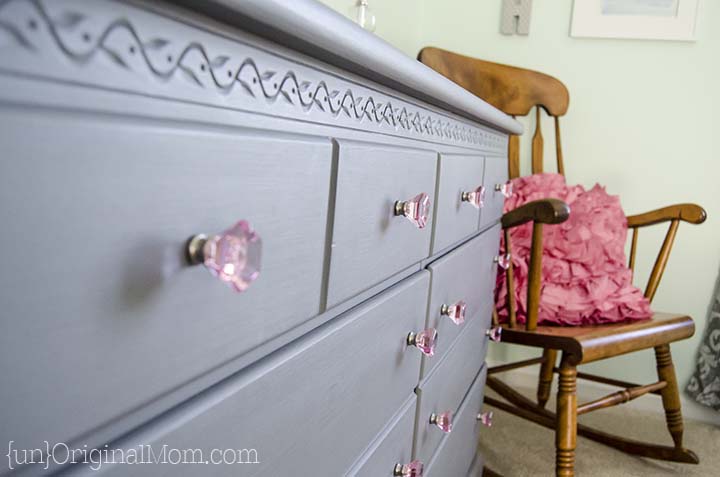
The finishing touch to give it a bit of “glam” were these terrific pink acrylic knobs from D. Lawless Hardware. I think they’re my favorite part of the project!! I love the little bit of class and sparkle they bring to the room.
I had a hard time picking which knobs I wanted from the big selection at D. Lawless, but ultimately these were the right choice. And they arrived at my door step only a few days after I placed my order!
Addy has been moved into her “big girl room” for over a month now, and absolutely loves it! If you missed the sneak peek of the reading corner of the room, make sure you check it out. I still have a few finishing touches I need to get to (mostly some more things to hang on the walls) but you’ll be seeing bits and pieces of it revealed in the coming weeks…including a DIY pink crystal chandelier, cheap bookshelf makeover, and more!
I’ve teamed up with the great folks over at D. Lawless Hardware for a terrific giveaway…a $50 Gift Card for not one, but TWO lucky winners! A big thanks to D. Lawless for sponsoring this giveaway. Enter using the Rafflecopter widget below by 11:59 pm on Friday, January 30. Good luck!
Have you ever attempted a furniture makeover? Or do you have one on your to-do list? After this success, I’d love to try another one soon!
Disclosure: I received free product from DecoArt and D. Lawless for this project in exchange for an honest review. D. Lawless Hardware provided the gift cards for the giveaway. No other compensation was provided. Please know that all thoughts and opinions are completely my own!


Get your copy of my FREE meal planning binder!

Sign up to get a free copy of my meal planning system - an 11 page printable meal planning binder, complete with a pantry inventory, shopping list, and more to help get on top of your menu each week!



I accidentally typed in the wrong instagram name for my in the rafflectoper…it should be 4uwluv. Thanks for the giveaway and your dresser/mirror turned out BEAUTIFULLY
This looks great! What type of brush did you use to paint the chalk paint on? How many coats did it take? Did you have to sand the entire piece first??
Meredith, this is sooo lovely! I’m loving pink and gray now. I just loved how the natural light gives vibrance to this modish makeover! I’m thinking of applying this same color combo in our newly installed vertical units.
[…] Enter this Giveaway at unOriginal Mom […]
How much of each color did you mix to get your gray? Do you know? It’s perfect!
Hi Stacey! It was just a 50/50 mix of the two grays – Yesteryear and Relic. I was really pleased with the shade of gray we ended up with!
[…] Big Girl Dresser in Gray and Pink […]
[…] Gray And Pink Dresser Makeover from unoriginalmom.com […]
[…] Gray And Pink Dresser Makeover from unoriginalmom.com […]
I absolutely love the idea of giving a dresser a fresh makeover, especially for a big girl room! The combination of gray and pink is such a cute, soft color palette that would make any space feel cozy and stylish. If you’re on the lookout for some solid, quality furniture to work with, I’d recommend checking out levin furniture. They offer a wide selection of pieces that are both durable and trendy, perfect for any room transformation project. Has anyone else done a furniture makeover? I’d love to hear about how you personalized your pieces!
What a fantastic transformation! Your attention to detail really shines through in the way you addressed the scratches and gouges on the dresser. Mixing your own custom shade of gray was a clever idea, and the end result looks stunning. It’s inspiring to see how a little creativity and effort can turn a secondhand piece into something truly special for your little princess’s room!
What a journey to transform that dresser! Love how you mixed the paints for the perfect gray. Can’t wait to see the final look in your little princess’s room!