This post is brought to you by my friends at Silhouette America! All thoughts, opinions, and all-out love for my Silhouette are completely my own.
I’ve told you before and I’ll say it again – the 4th of July is one of my favorite holidays! I have so many great childhood memories of taking a picnic supper to the Penn State campus with lots of family friends to watch the fireworks. (And our town puts on no ordinary fireworks display – 4th Fest is actually one of the top rated shows in the country, right in our own backyard!) Of course, the fireworks didn’t start until dark, so just about twilight when we still had another 20 minutes or so to wait for the fireworks, we’d break out the sparklers. The fireworks were definitely the highlight of the night, but the sparklers were so much fun, too!
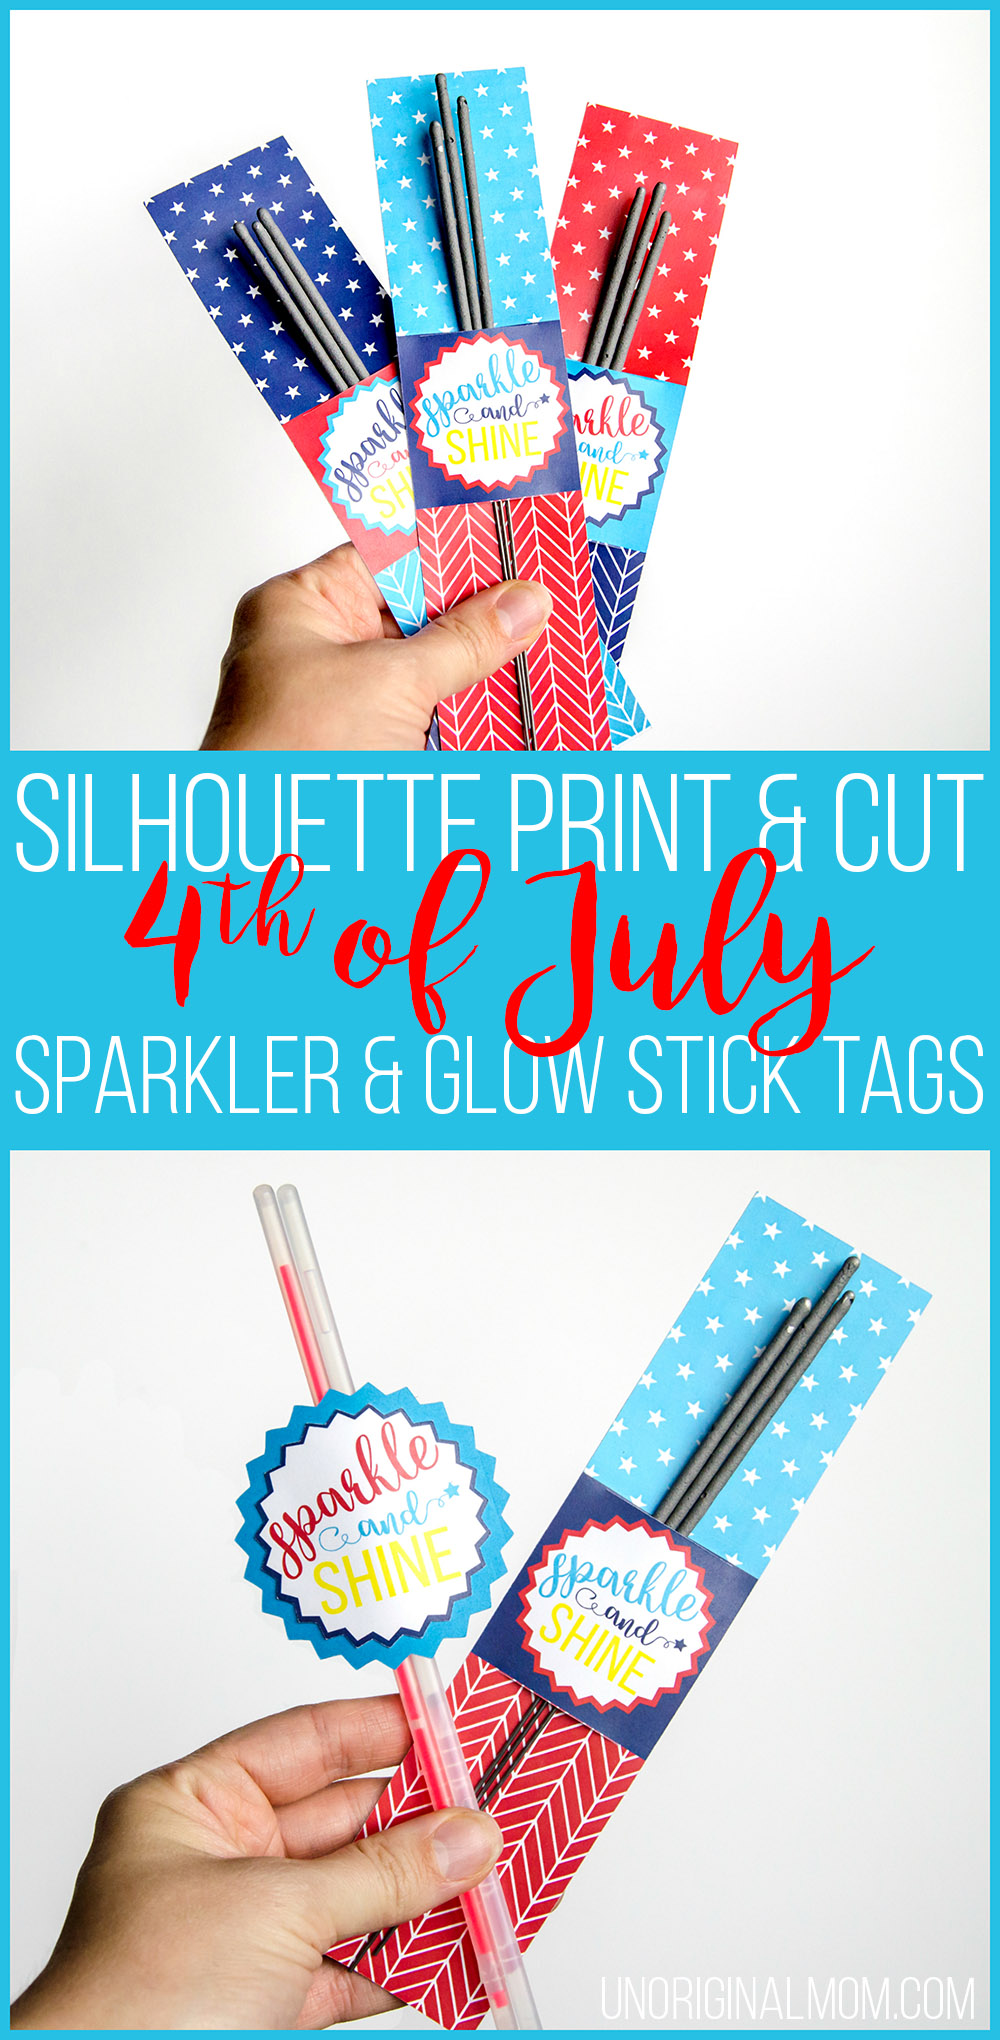
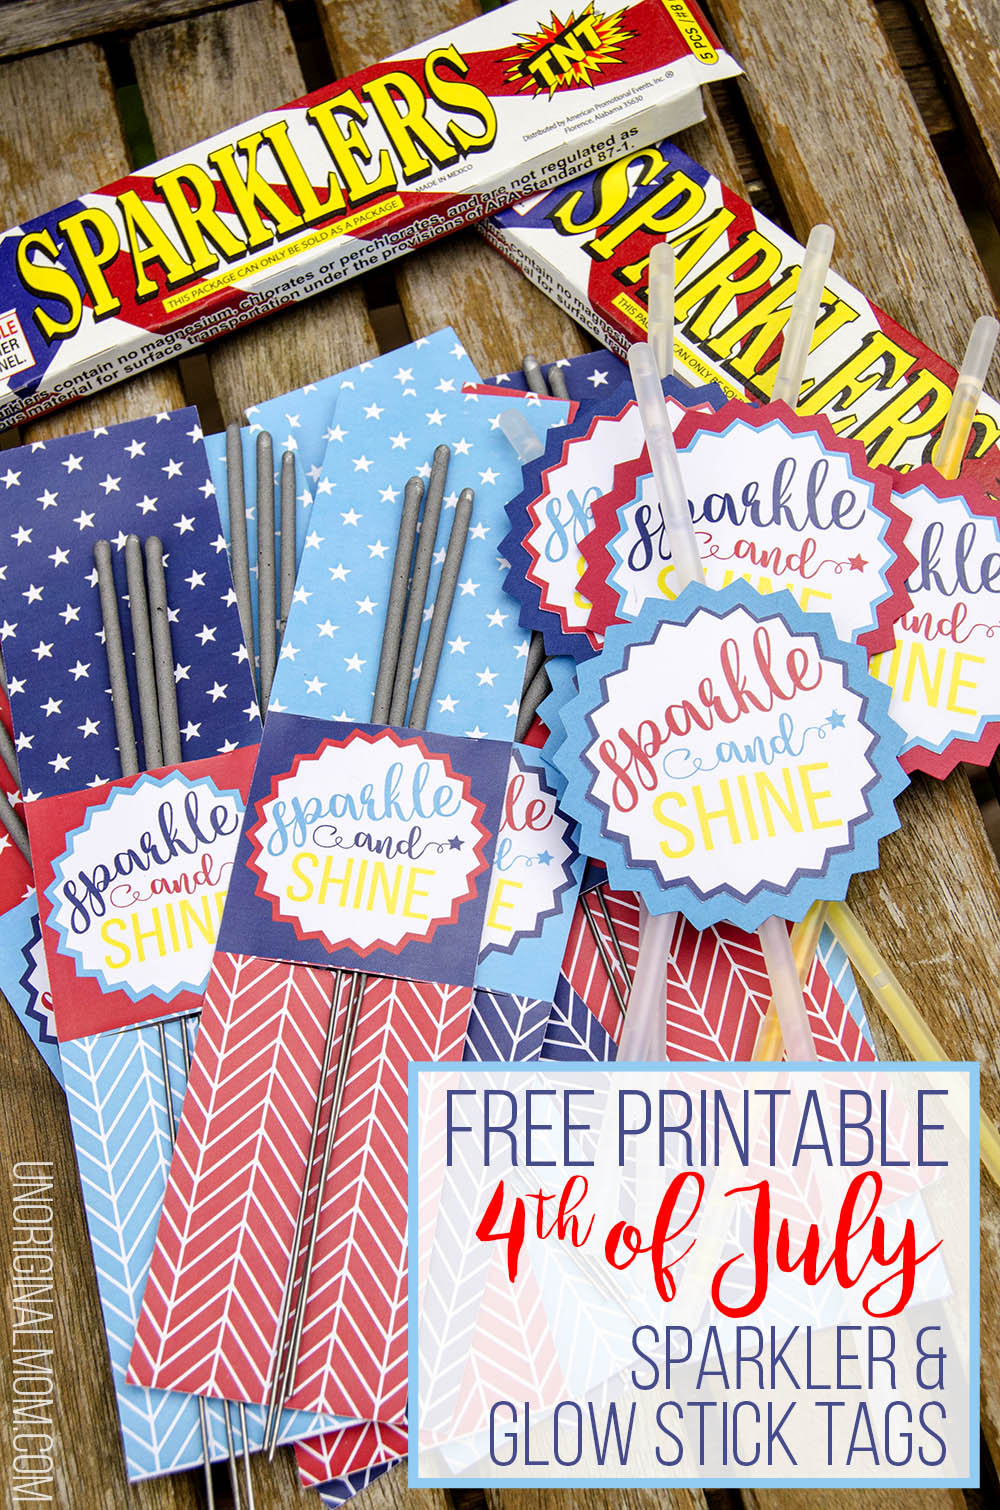
Sparklers are such a great 4th of July tradition all over the country, I thought I’d use my Silhouette to whip up some fun tags to pair with them. Whether you’re hosting a 4th of July party and handing them out to your guests, gifting them to the kids on your block, or just preparing them for your own kiddos or grand kids, these free printable sparkler tags are a breeze to print and cut – and they add a little patriotic pizzazz to plain sparklers! I also made a tag to use with glow sticks – my kids aren’t quite big enough yet to do sparklers on their own, but they sure do love glow sticks!
SUPPLIES: (this post contains affiliate links – click here to read my full disclosure)
- Silhouette Cameo or Silhouette Portrait, blade, and cutting mat
- card stock
- sparklers
- glow sticks
(Psst – if you don’t have a Silhouette machine but still want to grab these sparkler tags to cut out by hand, you’ll find a free printable at the end of this post!)
If you’ve never used your Silhouette to do a print-and-cut project, boy oh boy you’re missing out on a TON of crafting possibilities! It can seem pretty intimidating but it’s actually pretty simple. Let me walk you through it.
First, download the free Silhouette Studio cut file for the sparkler tags here. Open it in Silhouette Studio.
Some people who aren’t familiar with the Silhouette think when they hear “print and cut” that the Silhouette can actually PRINT and cut. That’s not the case. Your Silhouette can sketch things, but that’s another technique all together ;-) What your Silhouette CAN do is read registration marks to calibrate itself on a printed image, so it can cut out all kinds of shapes that you’ve printed with a regular printer. To do this, you need to add registration marks. Go up to the Registration Marks Window and turn on “Style 1” registration marks. It should look something like this.
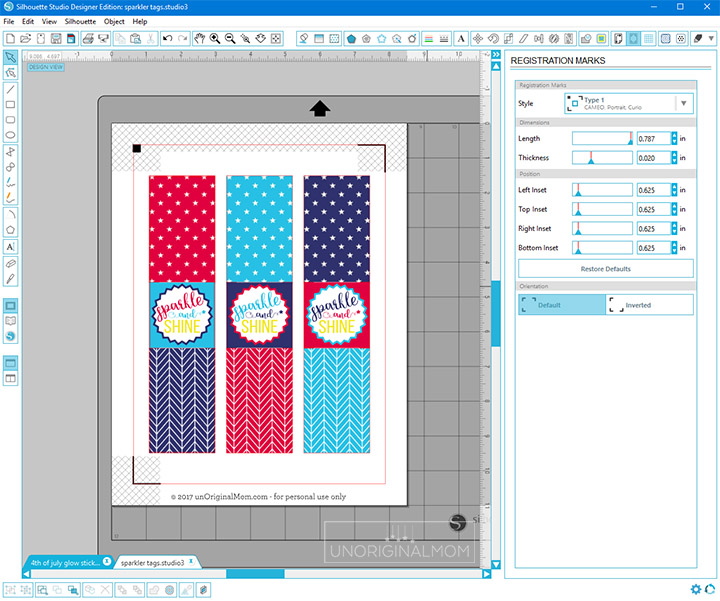
You need to make sure your design stays inside the red lines, and try to avoid putting your images inside the hashed areas as that can cause your machine to get confused when trying to read the registration marks. Note that any lines without thickness or unfilled shapes will not be visible on your printed image, so if you want outlines to show up when printed, make sure you go to the Line Style Window to add thickness.
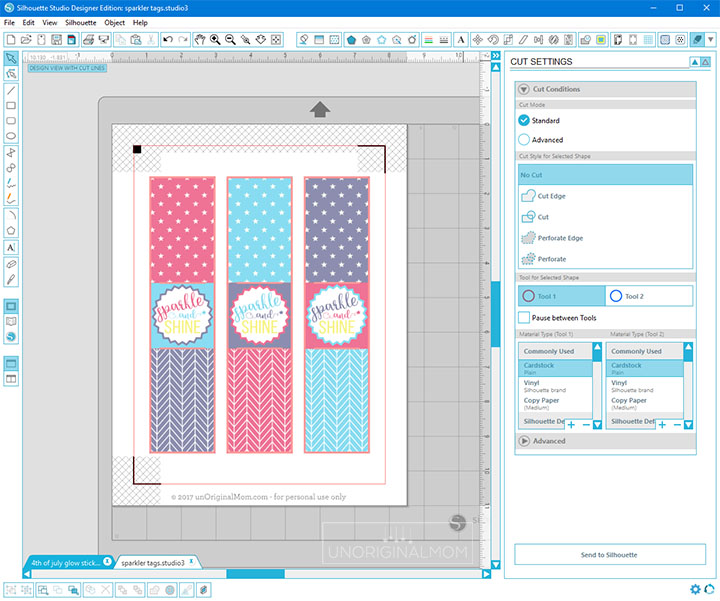
The next important step is to double check your cut lines. You don’t want your machine to cut all those little shapes and words inside your design! Head over to the Cut Settings Window, just like you would for any cut job. You’ll want to select “card stock” as your material, but double check that all your cut lines are turned on and off correctly. In this case, I actually created a rectangle that’s just barely smaller than the sparkler tag to cut instead of just selecting “cut edge.” Your Silhouette can accurately cut within a millimeter or two, but if you’re cutting the outline and it’s off by just a smidge you’ll see a white line down the side of the tag. By making a smaller rectangle inside the shape (I did that with the “internal offset” tool), that allows a small margin of error for the cut to be off slightly without any problem. (In the print world, they call that “bleed.”) So, you’ll see that I have that internal rectangle set to cut, as well as a slit on the top and bottom of the middle square – that’s where the sparklers will slide through.
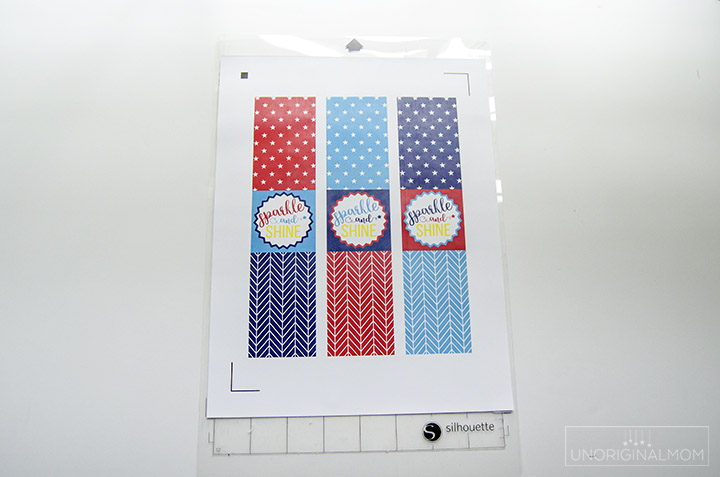
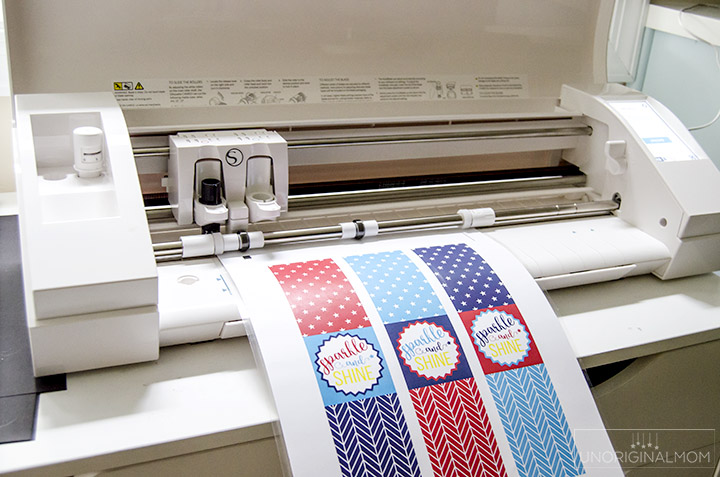
Once you’re happy with your design, go ahead and print it onto your desired paper – I used plain white card stock. (If you don’t have a printer or want print shop quality printing rather than using your home printer, click here for a tutorial on how to do that!) It should look like this:
Load the mat into your machine and click “Send to Silhouette.” The machine will automatically “read” your registration marks, and then cut your design! If it fails to read the registration marks, try unloading your mat and shifting it a teeny bit to one side or the other, then try again. Another trouble shooting idea is shining a flashlight on the marks as the machine is reading them, if you are in a space with low lighting. If all else fails, restart your Silhouette machine and also quit and reopen Silhouette Studio – that usually does the trick for me when my machine is being finicky.
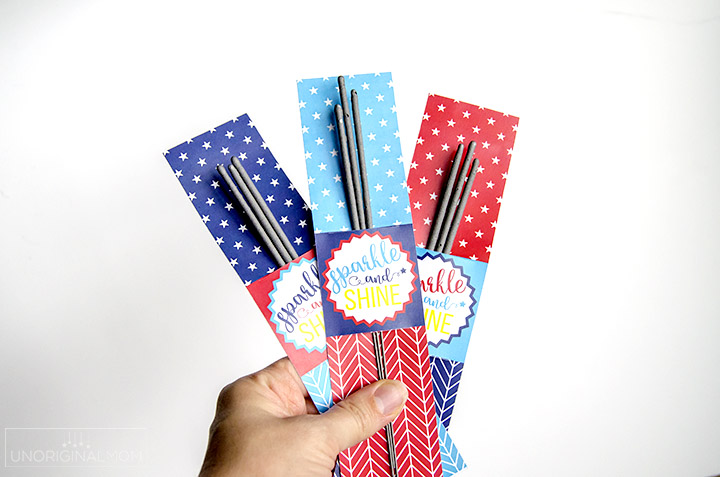
That’s all there is to it! Add some sparklers, and you’re done!
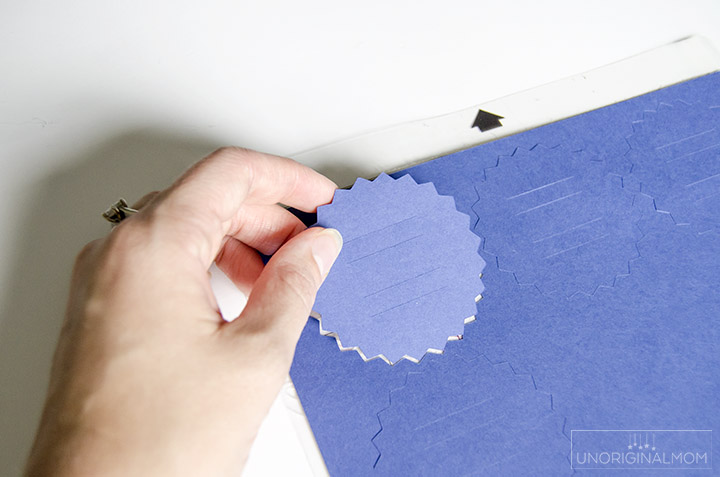
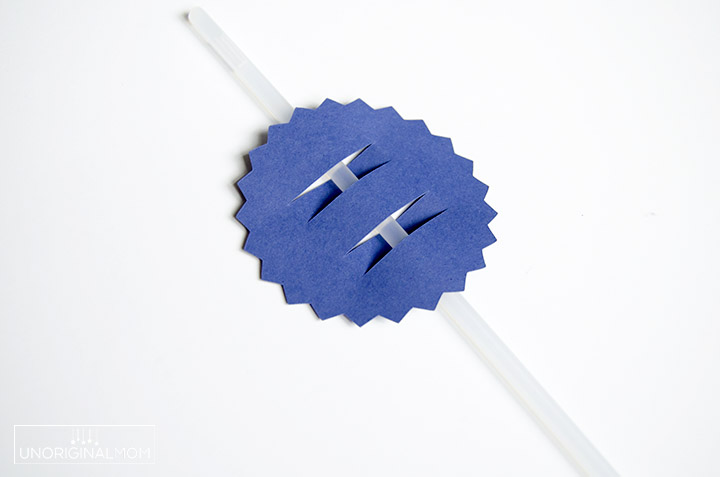
Now, for the glow stick tags. Start by downloading the free glow stick tag cut file here, then open it in Silhouette Studio. Print and cut the tags, just like you did with the sparkler tags. You’ll notice, though, that there are also cut lines to make backings for the tags – this is what the glow sticks will slip through. They don’t need to be printed – just cut out of card stock – so turn off your registration marks and cut as usual.
I used my handy ATG to attach the tags to the backing, making sure to only tape around the edges so the slits didn’t get taped down.
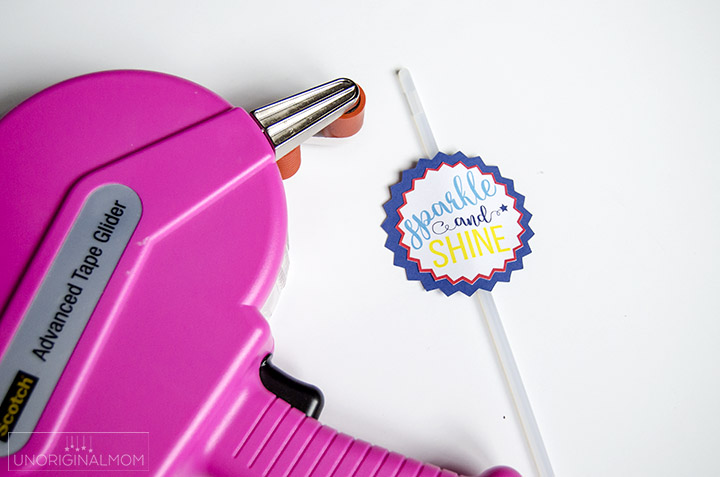
Then I carefully slid a glow stick through the slits on the back. (Go slowly – if you bend the glow stick it will start to glow, and it only lasts a few hours – you don’t want to crack it yet!)
Here’s how the glow stick tags look when they’re finished! You can fit one or two glow sticks through each tag.
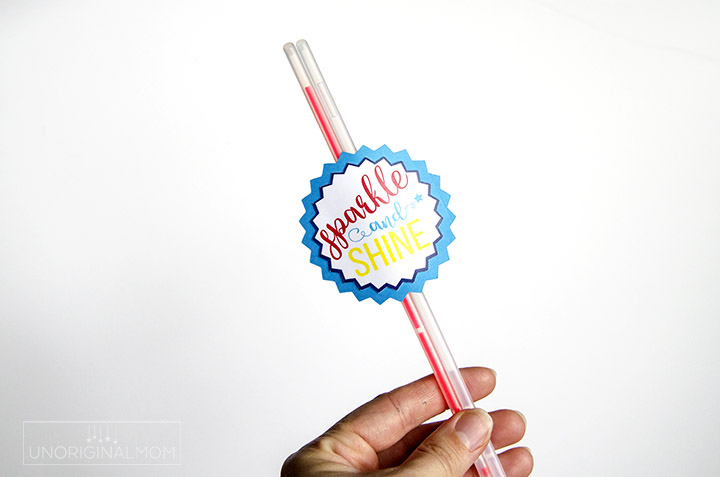
Aren’t these just so darn fun?
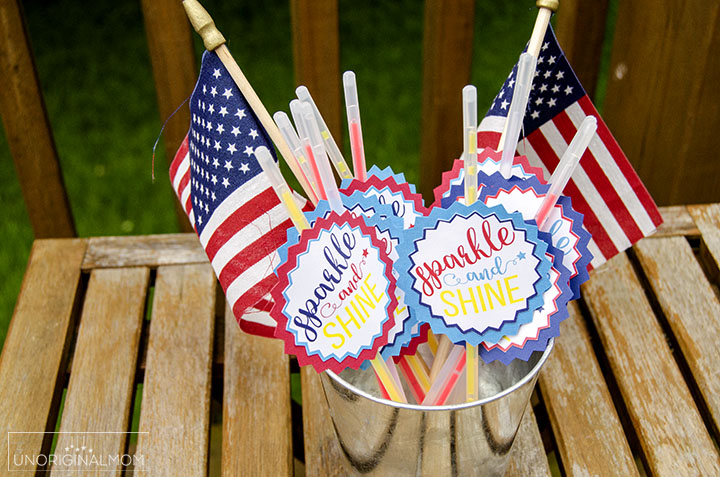
What a great party favor for a 4th of July party, don’t you think?
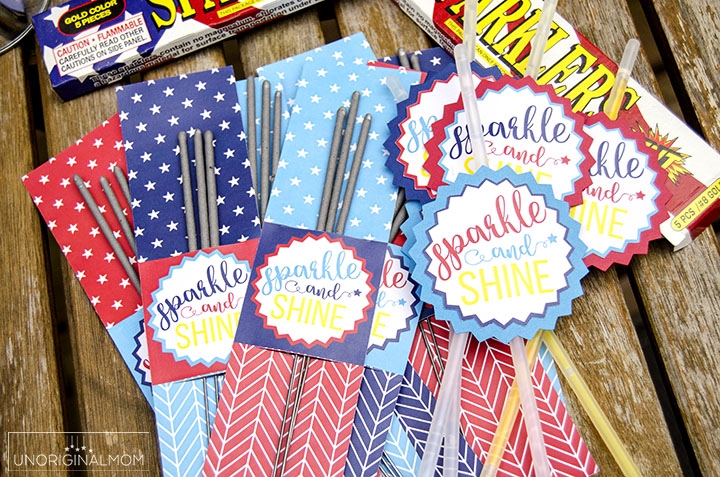
FREE PRINTABLE SPARKER TAGS
If you don’t have a Silhouette, the rectangular sparkler tags are still easy to cut by hand or with a paper cutter! I’ve created a PDF version for you to download for free here. (For personal use only, please.)
Before you go, Silhouette friends, take a minute to sign up for access to my Silhouette Library! It’s full of FREE cut files, and you’ll get lots of quick-and-easy Silhouette tips and inspiration delivered straight to your inbox.
Do you have any print-and-cut tips, or questions? Leave a comment!




[…] Sparkler & Glow Stick Tags from Unoriginal Mom […]
Thanks for your post!
What a lovely 4th of July memory! Those sparkler tags are a great idea. I’m sure they’ll add a special touch. Can’t wait to try making them with my Silhouette!