After spending 13 years of my life in public school, 4 years in college, and 4 years teaching in a public school, it is SO strange at this time of year to not be in that “back-to-school” season. This is the third year that I haven’t been preparing for a new school year, and it’s still pretty foreign to me. It’s like we miss an entire season! Plus I’m seeing all these great back-to-school ideas pop up on Pinterest…teacher gifts, school lunch ideas, first day of school pictures…and absolutely none of them apply to me!
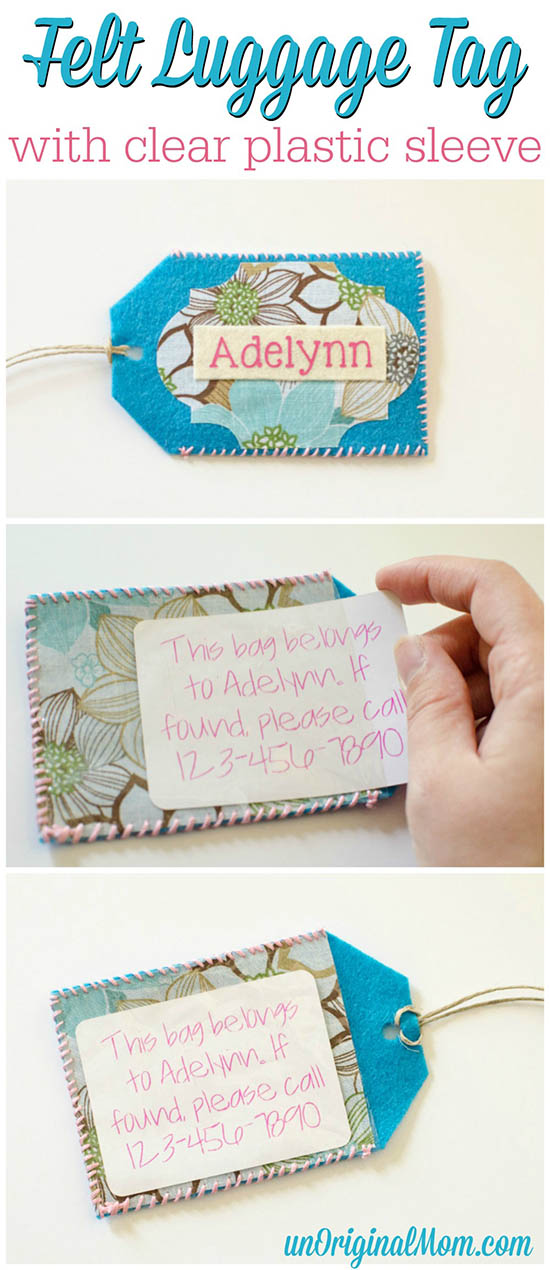
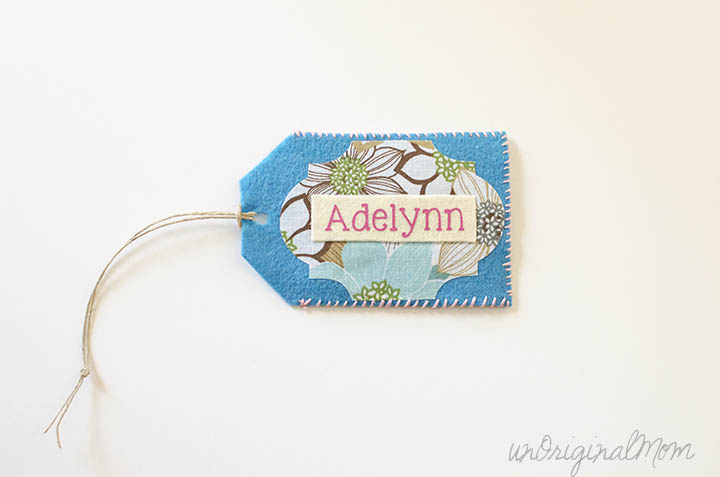
I’ve been racking my brain for an idea to share with you that could be helpful for those of you with kiddos heading back to school this month, and I think I finally came up with one that could fit that category. Here’s my felt luggage tag with clear plastic sleeve -perfect for strapping onto a backpack or lunch box for the inevitable time (or times) that it gets left behind somewhere. In my case, I’ll be strapping it onto our diaper bag to replace our current labeling system…a piece of masking tape :-)
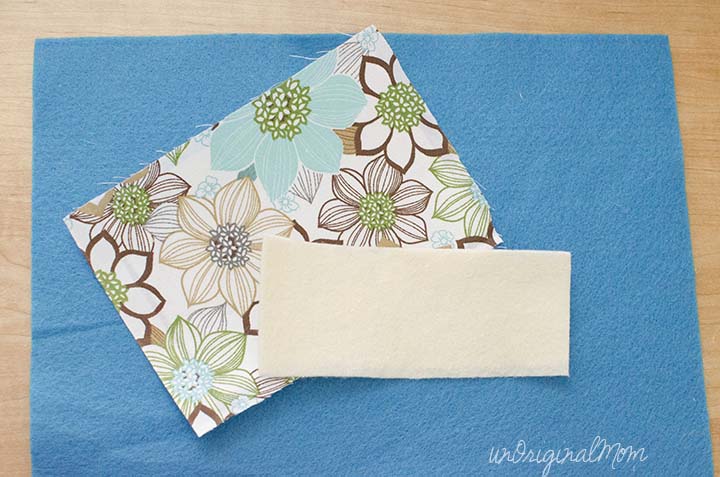
This was a pretty quick and easy project I was able to whip up with scraps I had lying around. I used felt, but you could also use some other sturdy fabric – maybe canvas, or even cut up an old pair of jeans to get a square of denim! Here’s the fabric I used – teal felt for the tag, some fabric from a fat quarter, and cream felt.
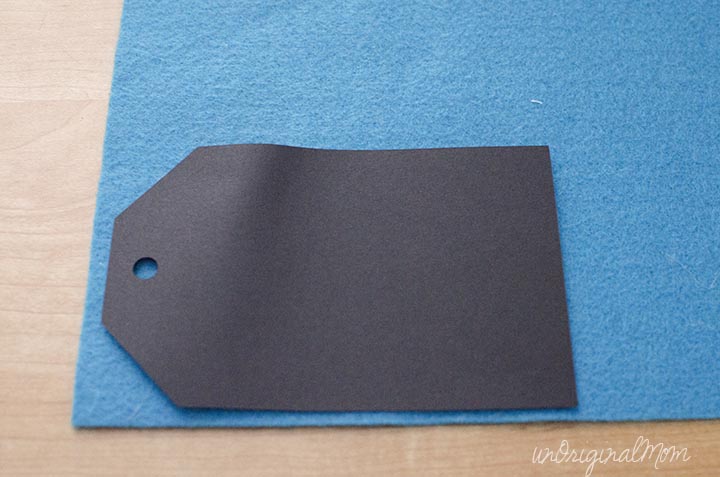
This is one of those projects where a Silhouette will come in handy, but you don’t necessarily need it. I designed my whole project in Silhouette Studio and then cut a card stock template to trace and cut both pieces of felt.
Note: It IS possible to cut some kinds of felt with your Silhouette, though I didn’t have the right kind on hand…check out this post at Cutesy Crafts to read more about it!
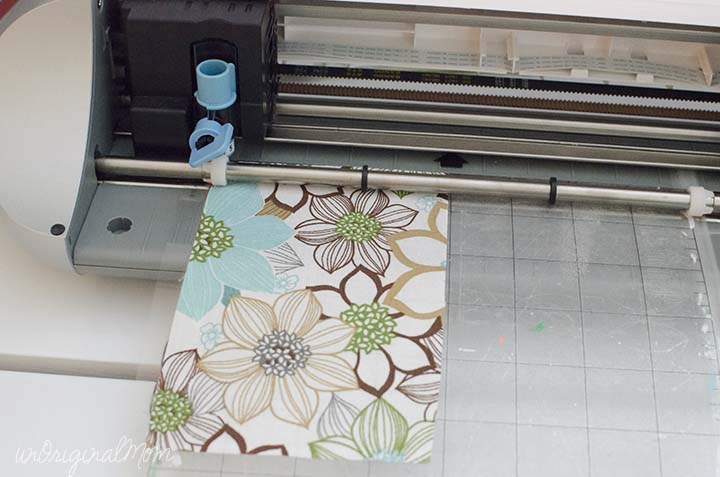
The next step was to cut my cotton fabric – I used my Silhouette for that, too. (Check out this post for more of a a how-to on cutting fabric with your Silhouette!)
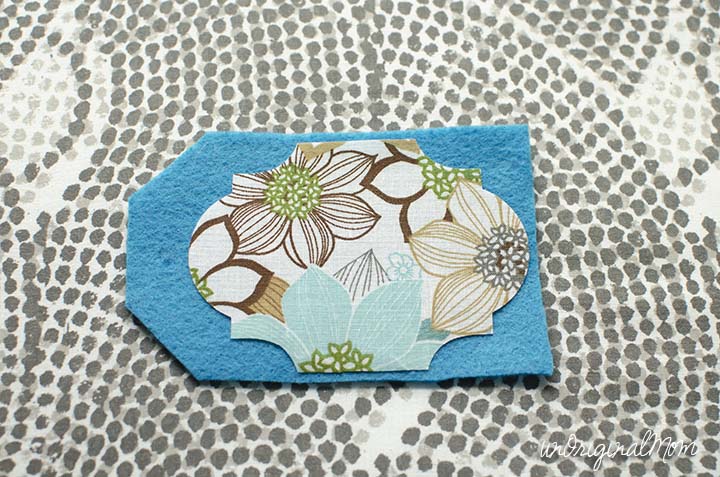
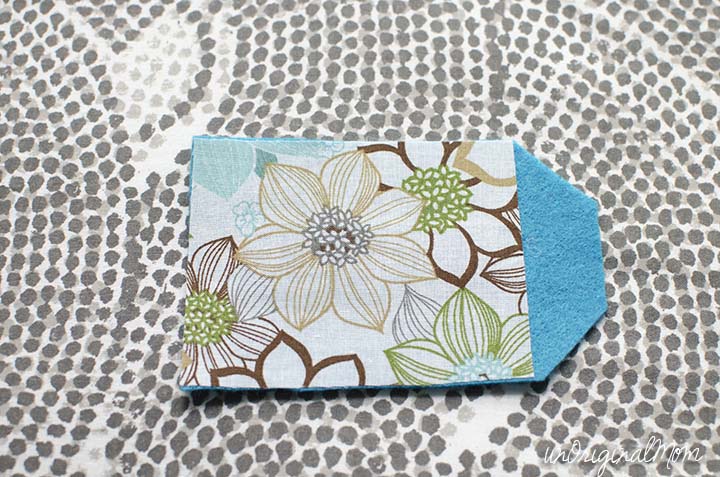
Since I had interfacing on the cotton fabric and cream felt, I just layered them all together! First I ironed the cotton fabric onto the tag base.
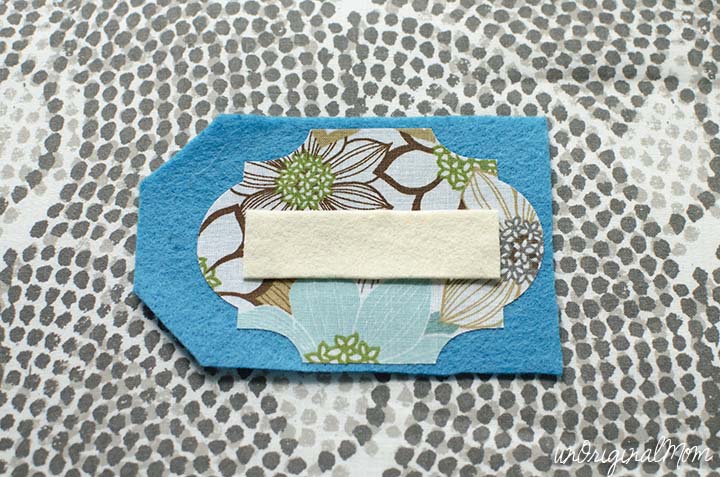
Then I ironed on the cream felt nameplate.
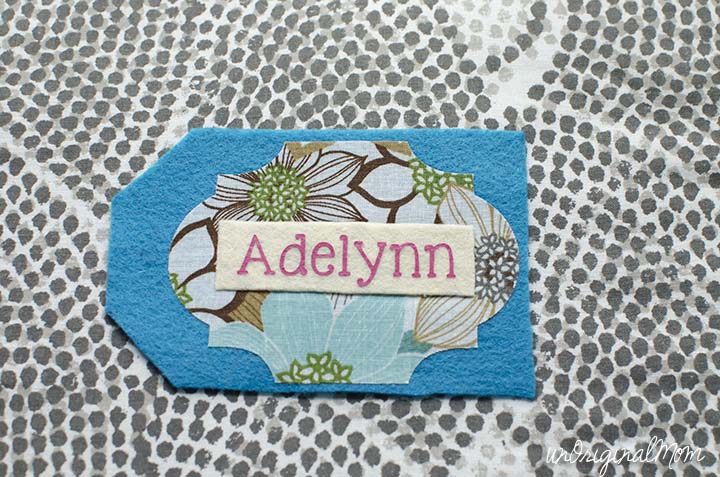
You could just use a fabric marker to write on the name if you’d like, but I used a scrap of heat transfer vinyl to add my daughter’s name.
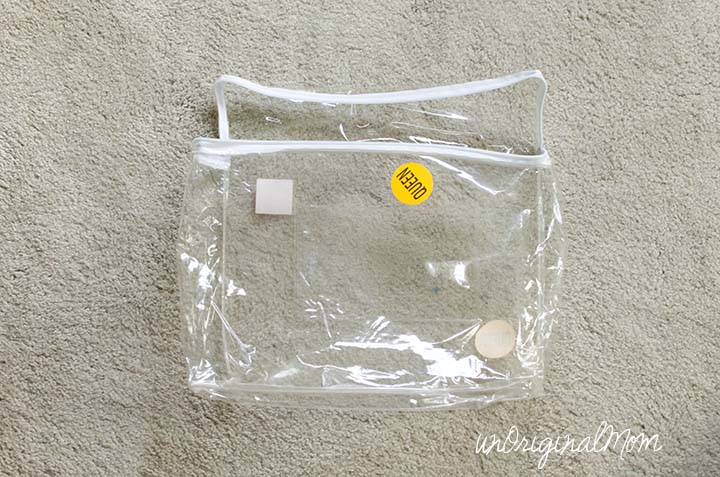
Yay! It could have been done now, but I really wanted to add something on the back to hold a piece of paper with our phone number – just in case the diaper bag got left behind somewhere! I found an old zip-up plastic bag that some sheets came in – it was the perfect thickness to turn into our clear plastic sleeve. Not too thick, but still durable.
I ironed on another rectangle of the cotton fabric to make the back a little more interesting.
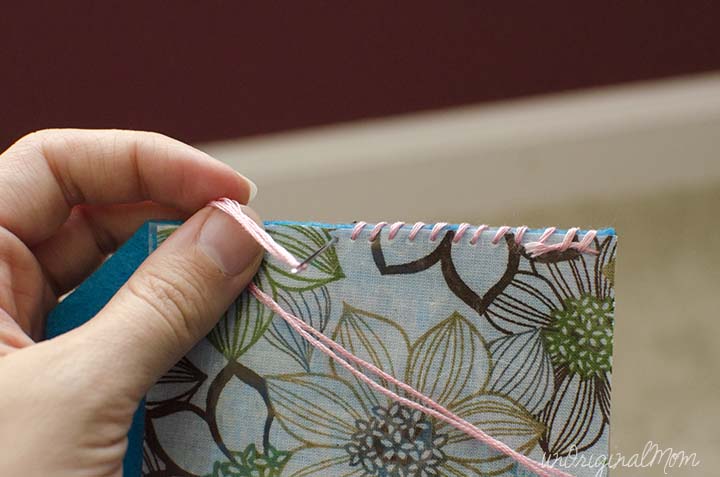
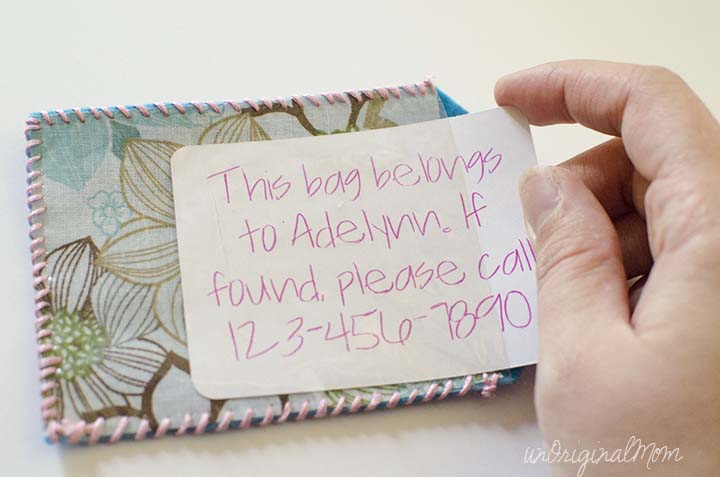
Then I cut a rectangle of the plastic to size, and used some embroidery floss to stitch it onto the back! My sewing isn’t perfect…but I like what the whip stitch border adds to the tag!
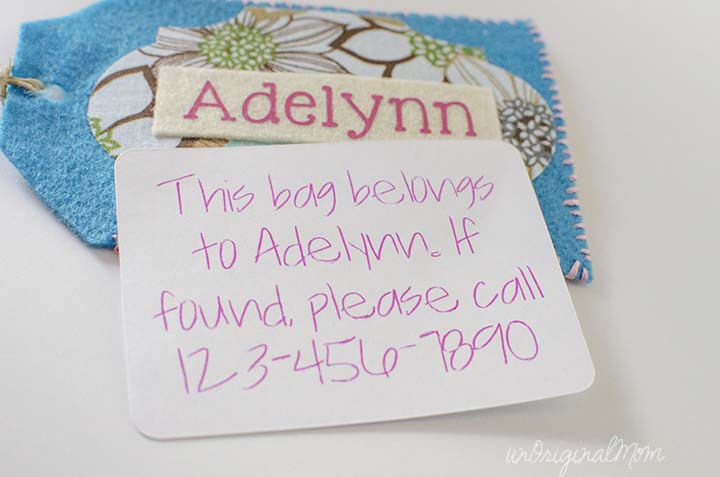
Finally, I used my Silhouette sketch pens to sketch and cut a little tag to put in the sleeve. (Don’t worry, that’s not our real phone number… ;-)
It fits right into the little plastic sleeve!
I just love how it turned out! I think I’ll be adding a grommet to make the hole a little more durable, I just didn’t have any that were the right size. Boy, it will be nice to rip off the masking tape label from the side of our diaper bag!
A Silhouette Promotion
Have you been toying with the idea of getting a Silhouette? I really can’t recommend it enough…I use it ALL the time, for big and small projects! I’m excited to use it for educational-type projects and activities for my 2 year old as we try some pre-preschool activities at home this fall.
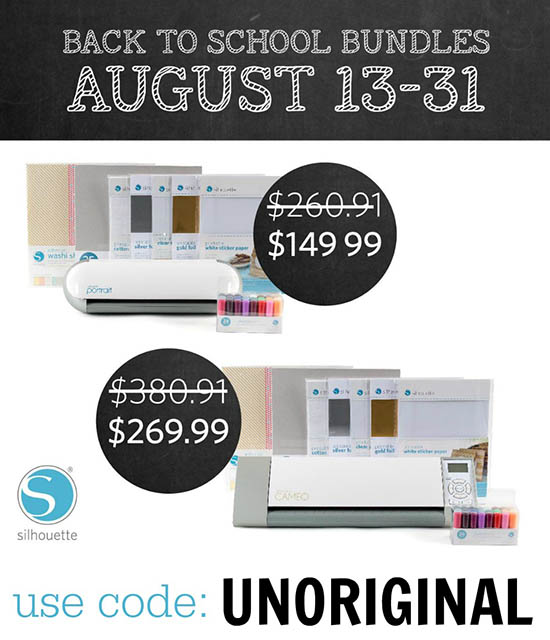
Now through August 31, you can get a great deal on a “Back-to-School Bundle” with a Portrait or Cameo when you use the code UNORIGINAL. Click HERE to see the deals – just don’t forget that you’ll need to use the code at checkout to get those fantastic prices!
Have you done any back-to-school projects yet? Or are you like me, where back-to-school isn’t really a season at all in your house?


Get your copy of my FREE meal planning binder!

Sign up to get a free copy of my meal planning system - an 11 page printable meal planning binder, complete with a pantry inventory, shopping list, and more to help get on top of your menu each week!





I just love this idea!
What a lovely idea, (and great plastic reusing!) Love that pretty fabric.
Love all the many ways you used your Silhouette for this project! (And that’d be pretty cool if that WAS your phone number, no? In fact, I wonder who does have that number…hmmm….). Thanks for sharing this at The Creative Spill this week!
I totally get what you mean! Even though I’ve been out of school for years, I still get that little pang of nostalgia around this time. It’s so ingrained in us! It’s funny how we miss a ‘season’ we’re not even actively participating in anymore.
What a unique and thoughtful idea with the felt luggage tag! It’s great how you repurposed materials to create something practical. The step-by-step process you outlined makes it seem doable for anyone, even without a Silhouette. Your attention to detail and resourcefulness really shine through in this project!
This is such a creative idea! Love the felt luggage tag. It’s a great solution for keeping track of kids’ stuff. Can’t wait to try it.