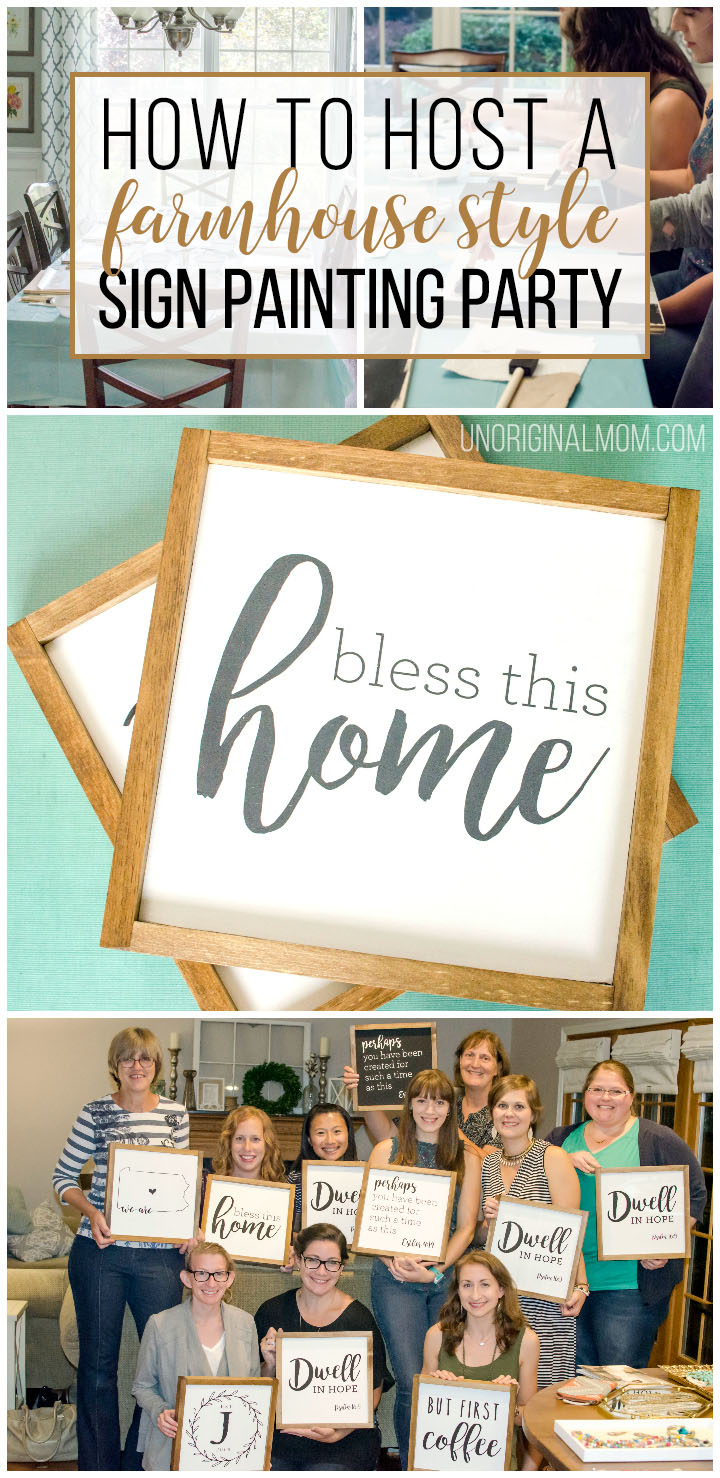
I hosted a farmhouse style sign painting party last weekend, and it was so much fun! Really – crafting, wine, snacks, shopping, and friends…does it get any better? I don’t think so! Read on to see ALL the details on how to host a sign painting party of your own.
I’d been thinking about hosting a sign painting party for a while, so when my friend Rachel approached me about hosting a Trunk Show for her Noonday Collection business, I knew it would be a perfect opportunity to do both together! The tricky thing about a sign painting party is all the drying time between coats – what do you do instead of watching paint dry? The Trunk Show was a great pairing – Rachel brought all her beautiful jewelry and in between pain coats, we were able to hear the incredible story of Noonday as well as browse the unique and stylish collection. If you’d like to read more about Noonday’s mission and look through their amazing jewelry and accessories, you can do that here!
Thinking of hosting your own sign painting party? Here’s what you’ll need.
SUPPLIES: (contains affiliate links – click here to see my full disclosure)
- pre-cut boards (we used a sheet of 1/2″ plywood and cut it down into squares)
- pre-assembled pre-stained frames (I used this color stain)
- Black and White craft paint
- 2 foam brushes for each person
- small paintbrushes for touch-ups
- plastic bowls or cups for paint
- plastic tablecloth
- Silhouette machine
- indoor/removable vinyl or contact paper (UPDATE – I’ve since discovered Oramask stencil vinyl and it works really well for signs like these!)
- transfer tape or clear contact paper
- scrapers
- weeding hooks or toothpicks
- brown paper bag, cut into squares
PREPARATION:
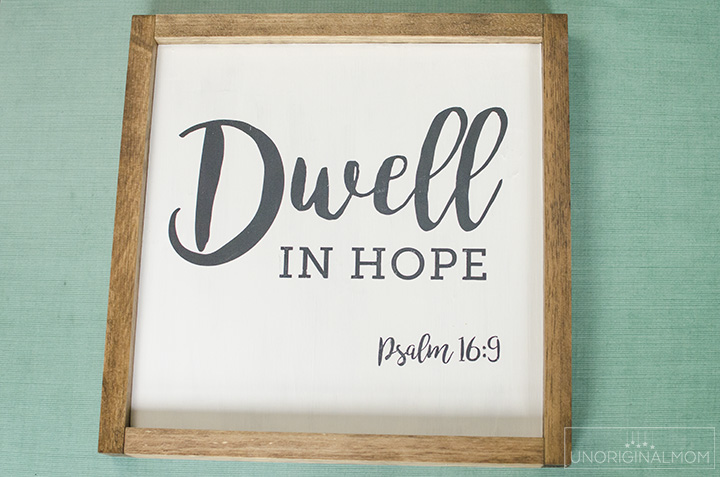
If you’ve never actually made a farmhouse style sign before, you should definitely make a few of your own before you host a party! My favorite way to do it is by cutting a vinyl or contact paper stencil with my Silhouette, then using using the “PVPP” method to paint 1/2″ plywood. (You can see a very detailed tutorial for the PVPP method in this post.) Then I add a frame made out of stained 1×2 common pine boards.
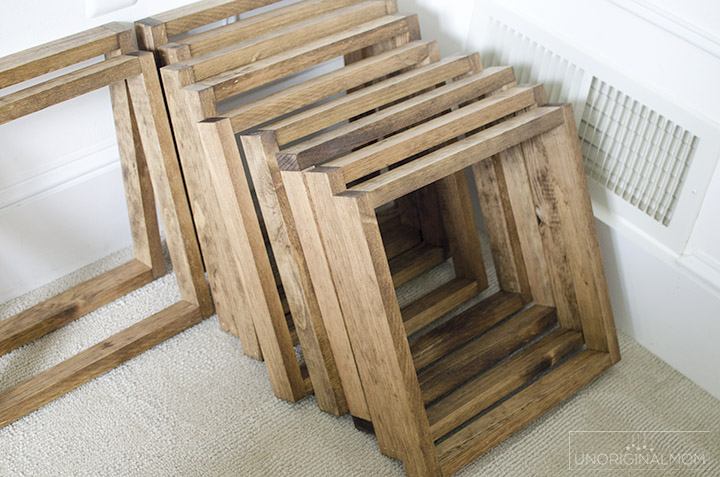
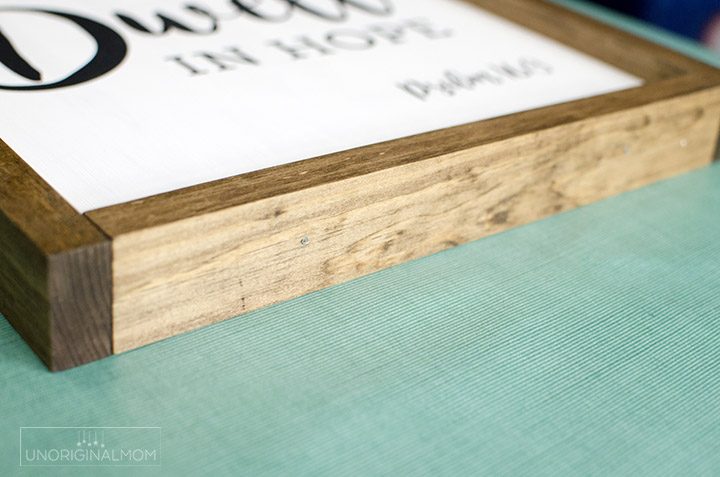
For the party, My husband used his table saw to rip down a few sheets of 1/2″ plywood into 11 3/4″ square pieces. You can do whatever size you like, although square does make things a little bit easier to work with as far as cutting the wood goes. He also cut down a bunch of 1x2s to make the frames. I sanded down all the pieces (which was no small task) and then stained all of the 1×2 pieces. Once the 1×2 pieces were dry, my husband assembled them into squares with his nailer.
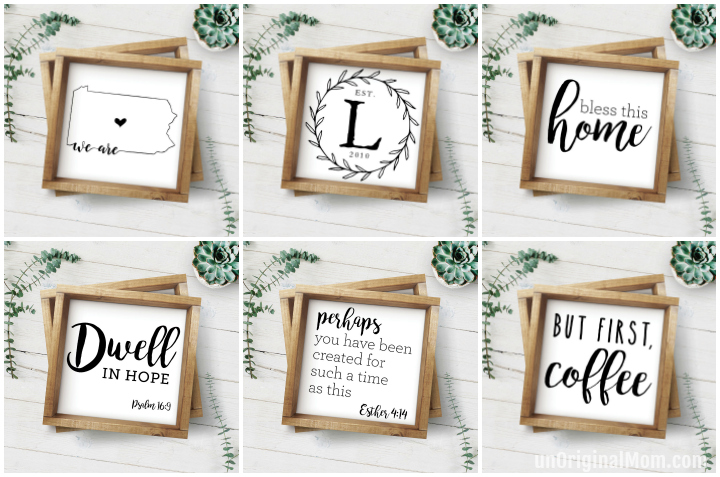
When I emailed out the party invitation, I gave my guests a few different designs to choose from for their signs and asked them to RSVP with their choice. (Since I had to cut each stencil individually anyway, it really didn’t matter how many different designs I offered!) I mocked them up on a styled photo image I’d purchased from Etsy so they could get a good sense of what they would look like on a sign. I also asked my guests to bring $5 each to help cover the cost of the materials for the signs, which I thought was pretty reasonable. That covered probably 60-70% of the wood/stencils/paint. I didn’t actually add everything up, but I would guess that it cost about $9 per sign in materials (not including my labor, of course). If I were doing this as a business on a regular basis, I think I’d have to charge at least $30-35 per sign to make it worth my while. But as a one-time party for friends, it was totally worth it!
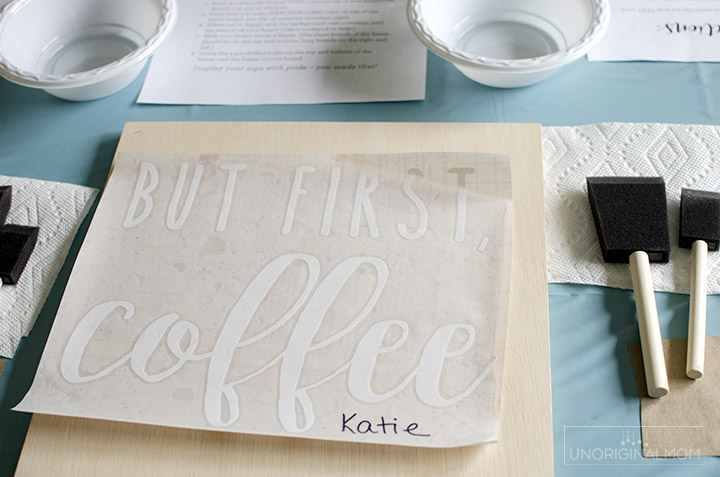
I used my Silhouette Cameo to cut the stencils. In the past, I’ve just used vinyl for my sign stencils…but cutting 12 stencils would have required a lot of vinyl! So I decided to go with contact paper. Contact paper works a lot like indoor vinyl – it doesn’t stick quite as strongly but it removes well, which makes it good for stencils. I had to adjust the “thickness” on my cut settings down just a bit from the regular vinyl cutting settings, but otherwise it cut and weeded very easily! To save time (and also because I knew that my none of my guests had ever worked with vinyl before), I weeded all of the designs and applied the transfer tape. It turns out, though, that the transfer tape I had on hand was too sticky and wouldn’t release the contact paper onto the wood. Uh oh! Luckily I did a trial before I applied it to all the stencils. I discovered that clear contact paper actually worked best! So I ended up using white contact paper as the stencil and clear contact paper for transfer tape.
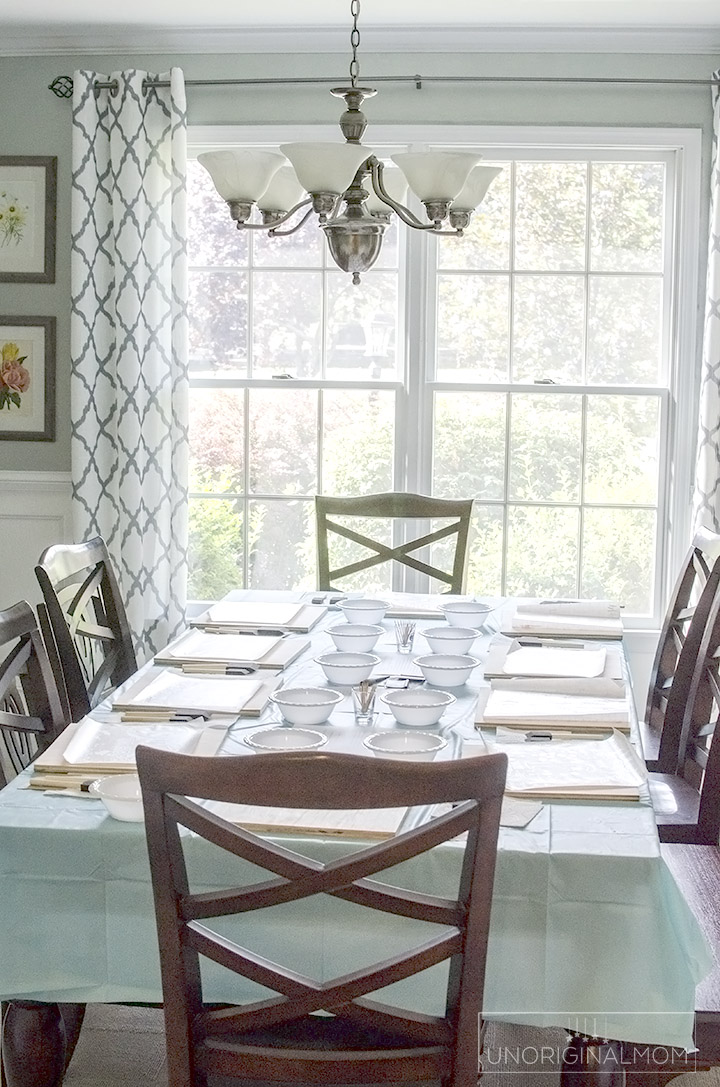
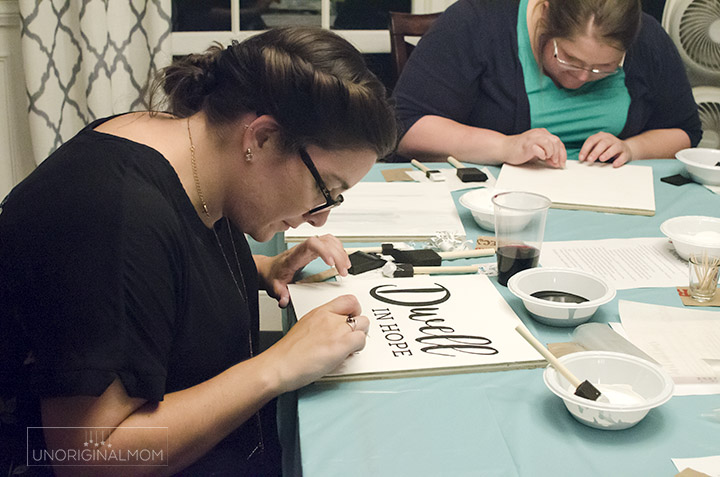
To set the table, I used a disposable plastic tablecloth underneath and then placed a board, two foam brushes, and a stencil at each place. I also set out plastic bowls to hold paint, toothpicks to use for removing the stencil from the board, and credit cards to use as scrapers for applying the stencils. (It turns out, though, that those don’t work very well at all! My Silhouette brand scrapers made the stencil applications go twice as fast. In hindsight, I should have just bought a few extra scrapers to share around – the two I already had weren’t quite enough.)
AT THE PARTY
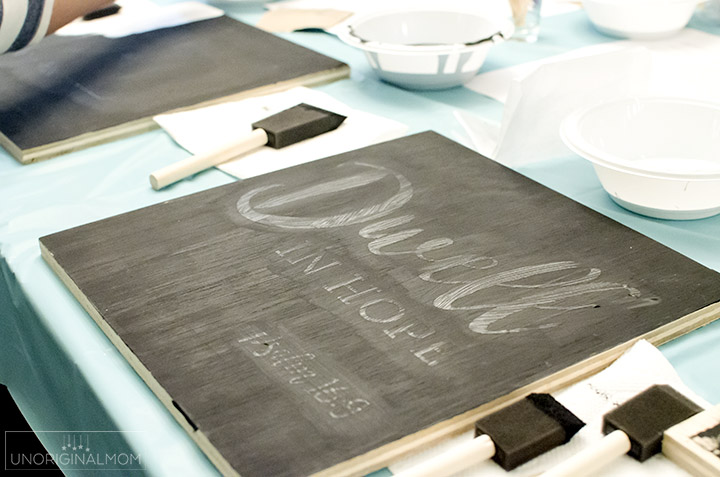
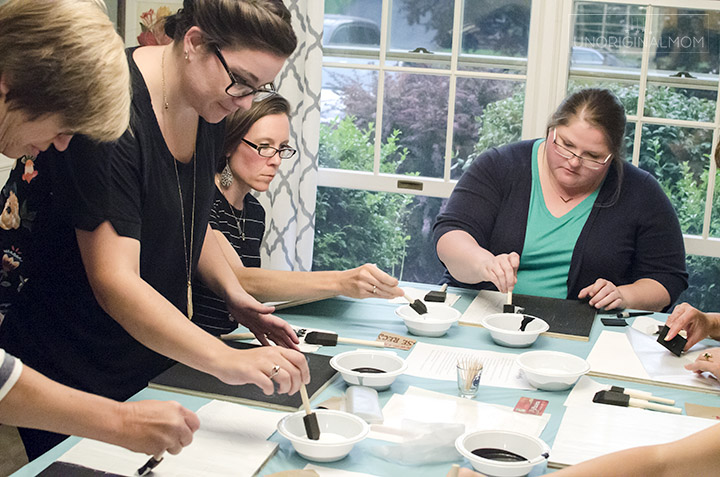
1. After most of my guests had arrived, I had them paint the first coat on their boards. Since we were doing the PVPP method with a reverse stencil, that meant painting the board the color they wanted their TEXT to be. That was really confusing for them at first, but I told them to trust me! 11 of my guests decided to do black text with a white background, and 1 brave soul opted for more of a chalkboard look with white text and a black background. (And hers turned out great, too!)
That coat had to dry really well before applying the stencils, so at that point everyone grabbed a snack and a drink and mingled for a bit. In hindsight, this would have been a good time to do the Noonday Collection presentation, because the paint took about 20-25 minutes to dry. So if you’re combining your sign painting party with some kind of direct sales party, that’s something to consider!
2. The next step was the most challenging – applying the stencils. I honestly thought of doing the first two steps for everyone ahead of time, but I really wanted them to feel like they had ownership of the whole project, so I decided not to. It went fine, but because of only having two actual scraper tools it just took a while. Side note: Before we applied the stencils, I had them rub their dry paint with a square of brown paper to smooth the surface – it did help the contact paper stencils stick a little bit better. Not a completely necessary step, though.
3. Step three is applying one more coat of that background color on top of the stencil – this seals down the letters so that if any paint seeps underneath the edges, it’s the same color and doesn’t matter. We let that dry, and this is the point where we adjourned to the living room to hear about Noonday Collection.
Here’s one very important thing that I wish I had stressed a lot more to my guests as they were painting: use very thin coats of paint. It took a long time for coats of paint to dry, and though part of that was just because of summer humidity, it was also because I wasn’t careful about making sure they were painting thin coats.
4. Once that coat was dry, guests had to paint over the whole board with their background color until they achieved their desired look. Some folks wanted more of a distressed look, so having a little black show through was okay – others were going for a crisp white and needed an extra coat or two. Covering black paint with white took about 3-5 coats in total, with probably 10 minutes of drying time between each coat. (If you try to paint another coat on top before the previous one has dried enough, it will actually take OFF the paint underneath and you’ll be left with a big mess!) Guests would paint a coat, head to to the kitchen to get another snack or drink or browse some jewelry, come back and do another coat, and repeat. It was great fun!
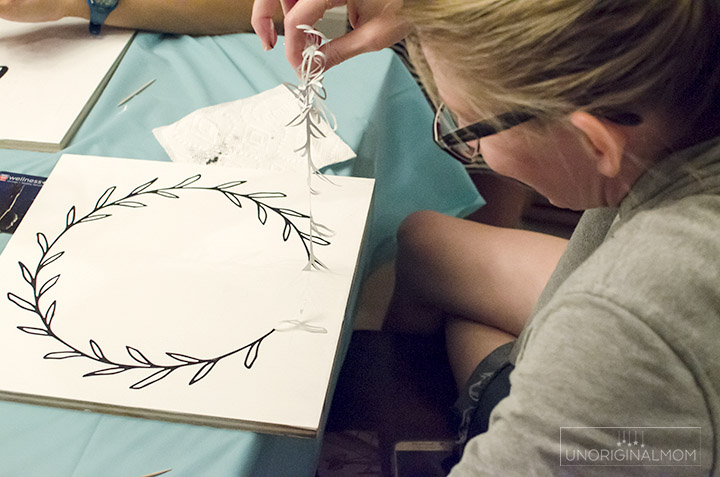
5. After getting to the desired background look, it’s time to peel off the stencil! Toothpicks worked decently well for that. The paint doesn’t actually have to be dry in order to peel off the stencil, it just gets your hands messy, but it doesn’t mess up the sign if you’re careful. Everybody loved this step – peeling off the stencil and seeing those nice crisp lines is so satisfying!
6. The last step was adding the frames. My husband and I had dry fit each board into a frame and numbered them so they matched up, so all the guests had to do was find the frame that had the same number as what was written on the back of their board. It was a tight fit, but each board slid perfectly into the frame. My husband had predrilled two holes in the top and two holes bottom of each frame so the signs could be nailed in to secure them, so we just sent each guest home with four nails to hammer them in at home if they wanted.
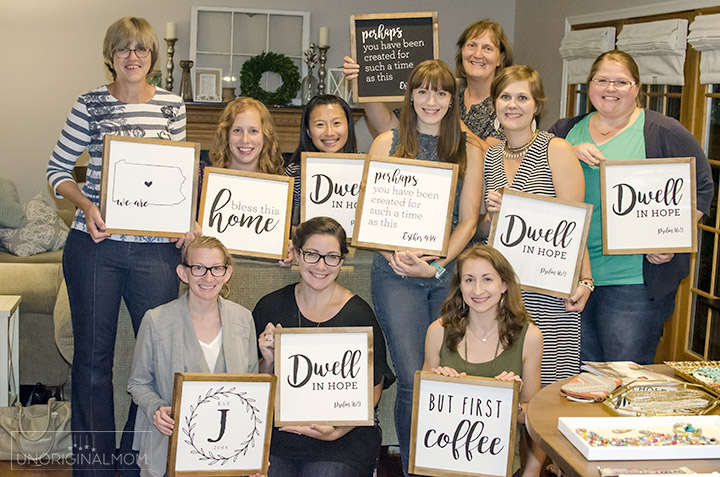
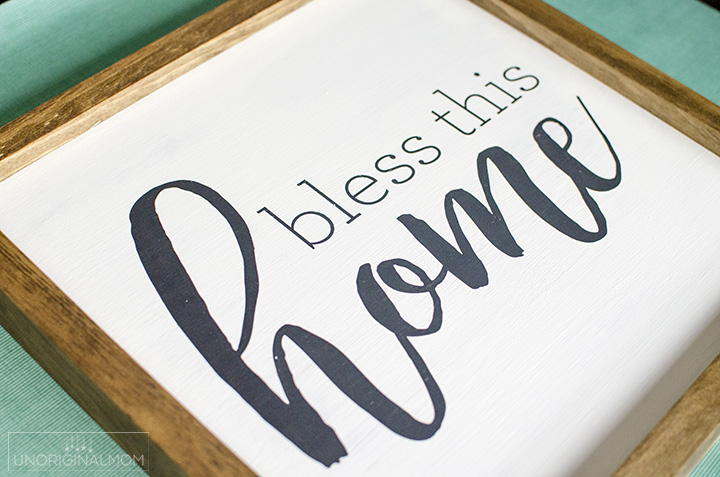
Want to see how everyone’s signs turned out?? Here they are:
Aren’t they fabulous?!? I can’t get over how great everyone’s sign looked! It’s just like what you see on Instagram or Etsy shops for $40+ a piece, but they were able to make it themselves in one evening!
The party itself lasted about 2.5 hours, so it’s definitely not a short process – if you host a sign painting party, be sure to allow for enough time to get it all done. This was more labor intensive because of all the prep work to get the signs ready, but a lot of the work could have been skipped by not doing the frames. I’m thinking it would be fun to do another sign painting party for Christmas signs! And I’d really like to make this girl’s craft night a regular thing – it was so fun to just sit around the table together and chat and make stuff. Do you have any good craft night project ideas? What should we do next?


Subscribe to unOriginal Mom via email and get instant access to my library of FREE cut files - exclusively for email subscribers. Plus there's a new file added every month!



Sorry, comments are closed for this post.