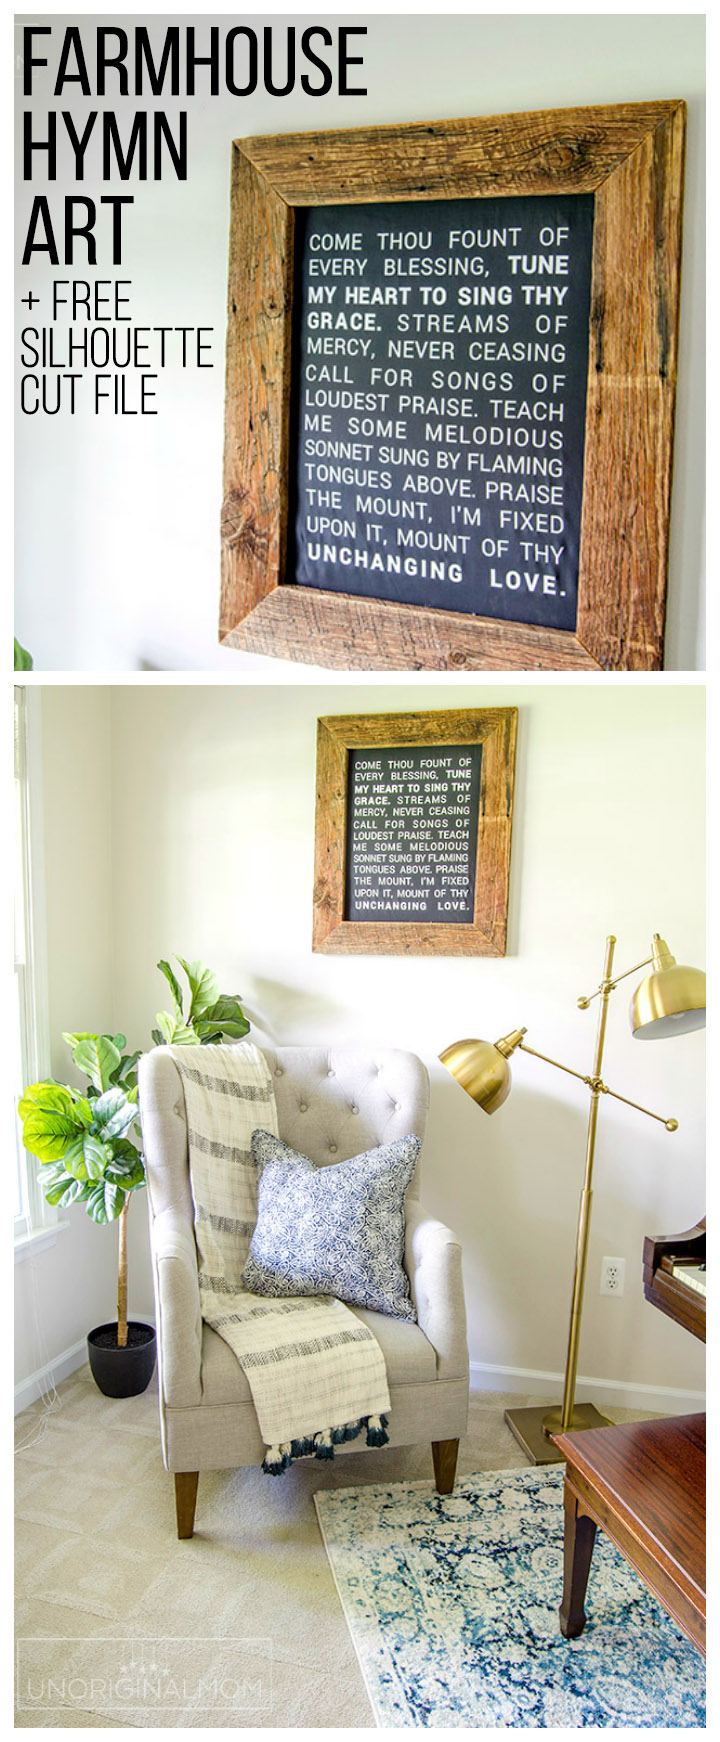
Here we are at week #4 of the One Room Challenge! Can you believe there’s only one more post after this one, and then it’s reveal day?? I can’t wait!

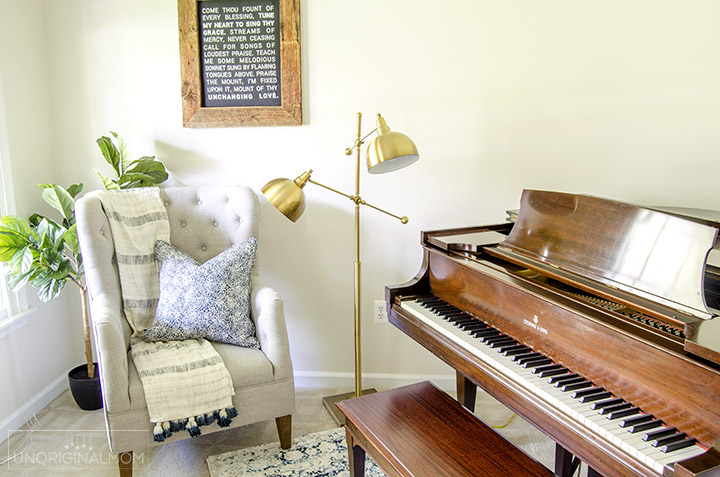
I was at the SNAP blogging conference in Salt Lake City last week (which was amazing!!), so I haven’t made too much progress in our music room/office since week 3…but I wanted to share this sweet corner of our room that is now completely finished, along with a tutorial (and a story) of how I made some DIY Farmhouse Hymn Art for our space.
 Sources:
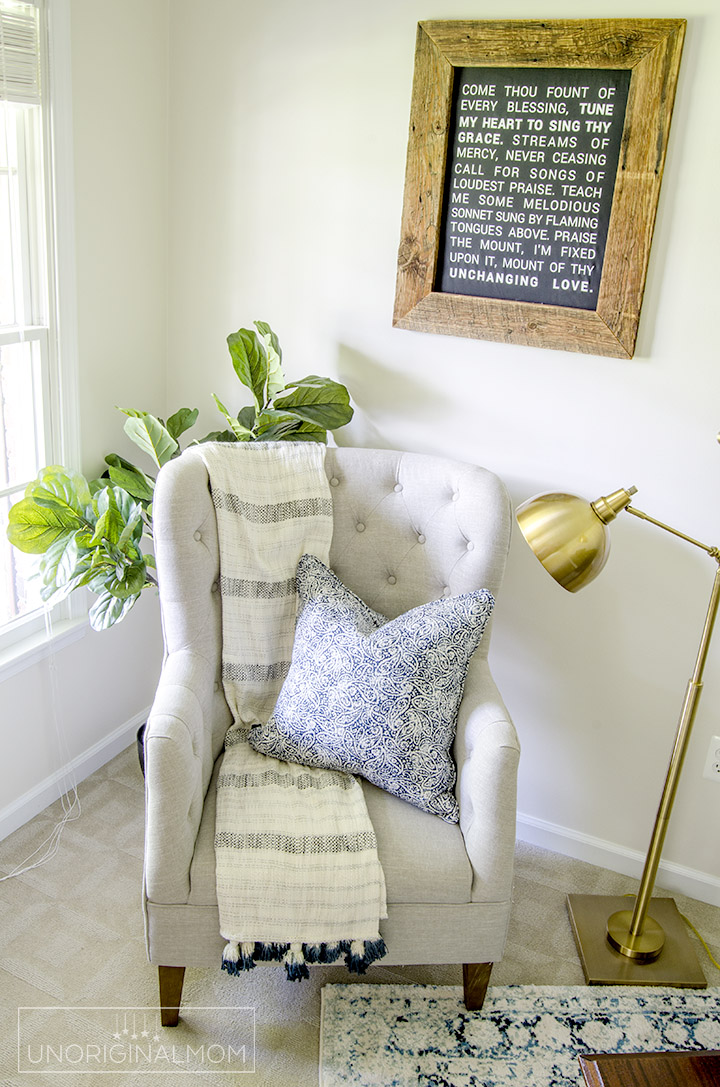
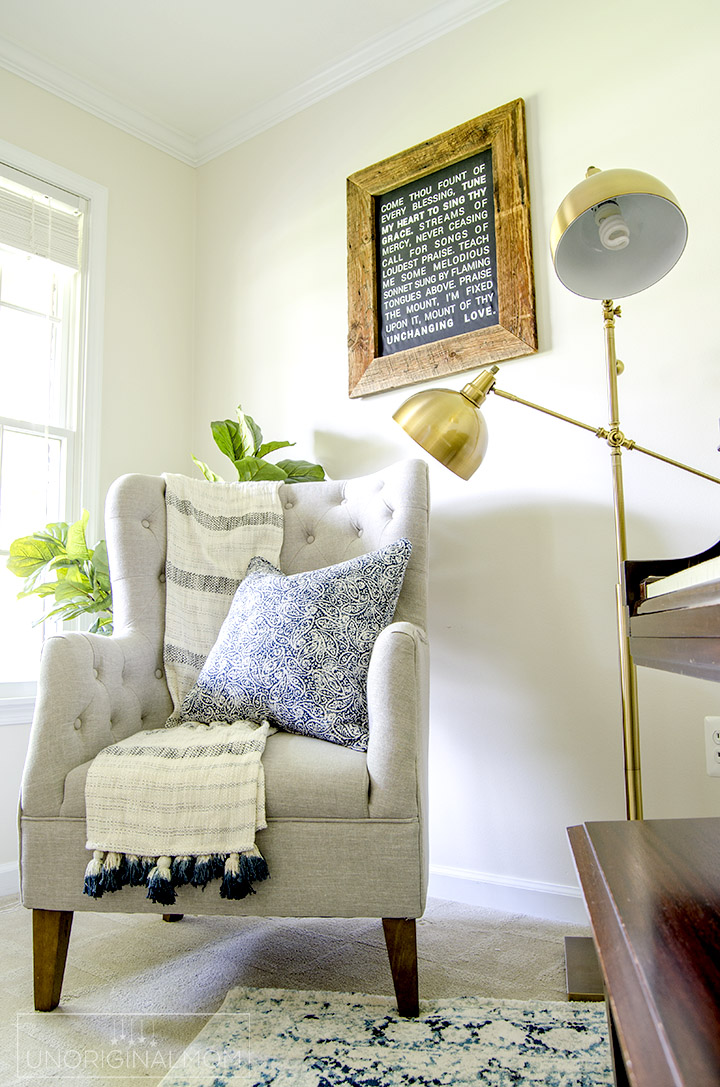
lamp – Lamps Plus | chair – Joss & Main | rug – Rugs USA | pillow & throw – HomeGoods | faux fiddle leaf fig – Ross’s
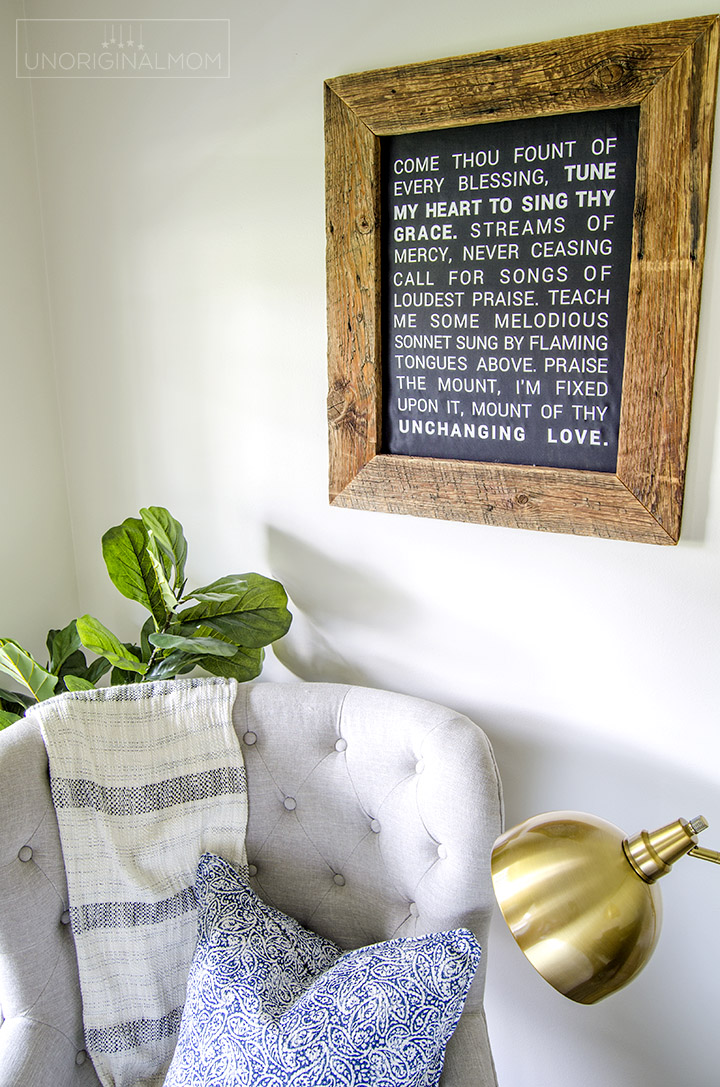
You saw a peek of the chair and lamp in this corner back in week 2 after we painted – all I did this week was add the fiddle leaf fig, throw pillow + blanket, and some DIY wall art…and all of a sudden, this spot of the room is looking fabulous!
“Come Thou Fount of Every Blessing” has always been one of my favorite hymns…in fact, I even made a Thanksgiving table runner with those hymn lyrics. When I was thinking through what kinds of DIY wall art I wanted to include in our music room, though, those lyrics kept coming back to me. Not only is it so on point for a music room, the text has layer upon layer of meaning and is so significant to me in many ways. (You can read more about my thoughts on the meanings of this hymn text here.) So I decided to turn it into wall art for this room. And I knew just what to do!
I’d found this super classy sign at Goodwill a few months ago and stashed it away for the perfect project. There was a note handwritten on the back of it…this was a housewarming gift for someone back in 1977. Yikes! But the frame was beautiful rustic barn wood – definitely worth upcycling!
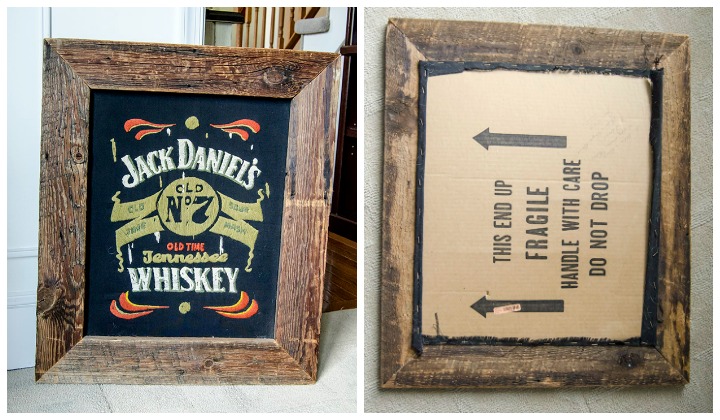
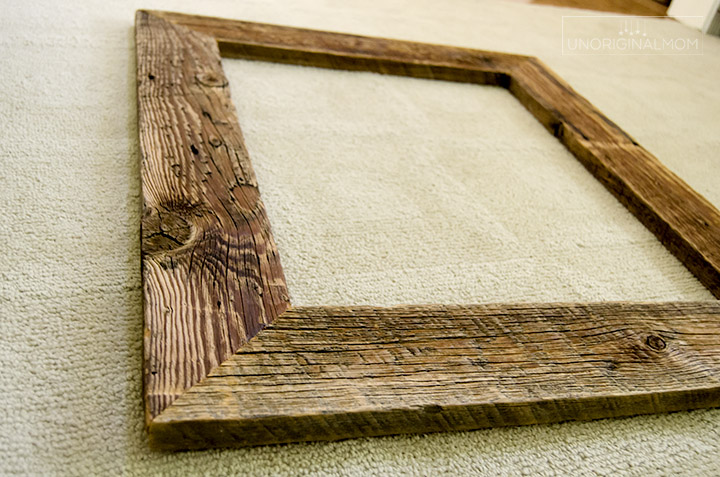
There was no glass in the frame or anything – just a piece of fabric stapled onto some cardboard, so it was easy to pull the staples out so I was left with just the frame. My plan was to use my Silhouette to cut the hymn lyrics out of white heat transfer vinyl, iron it onto black fabric, wrap it around the frame, and staple it back on the frame. Pretty straightforward, right?
Well, my straightforward craft project quickly turned into a story of perseverance. This project took me not one, not two, not three, but FOUR attempts to get it right. After attempt number two, I was ready to throw my Silhouette across the room in frustration. After attempt number three, I threw my hands up in the air and was *this close* to calling it quits on the whole project.
My first attempt at this project was a Silhouette rookie mistake (even though I’m no rookie…and I make it pretty regularly, oops) – I forgot to mirror my design. You see, when you’re cutting heat transfer vinyl, you’re actually cutting from the underside of the material, so when you’re working with text you need to flip your design so it reads correctly once it’s ironed on. I cut the whole thing (in FOUR different pieces of white HTV) before I sat down to weed it and realized my mistake. Even worse, I had no more white HTV on hand so I had to order more and wait for it to arrive before I could try again.
Attempt number 2 went pretty flawlessly…I mirrored my design, it cut perfectly, I weeded it, lined it up on my fabric, and ironed it on. It was looking pretty great! Until I showed it to my husband and he said, “you know, tongues only has 1 ‘u,’ right?” I thought he was joking about finding a typo, but unfortunately this wasn’t a joke. I’d spelled it “toungues” instead of “tongues.” (I even took a photo of it without realizing the mistake!) HTV is not forgiving…once it’s on there, it’s not coming off. So I had to try AGAIN.
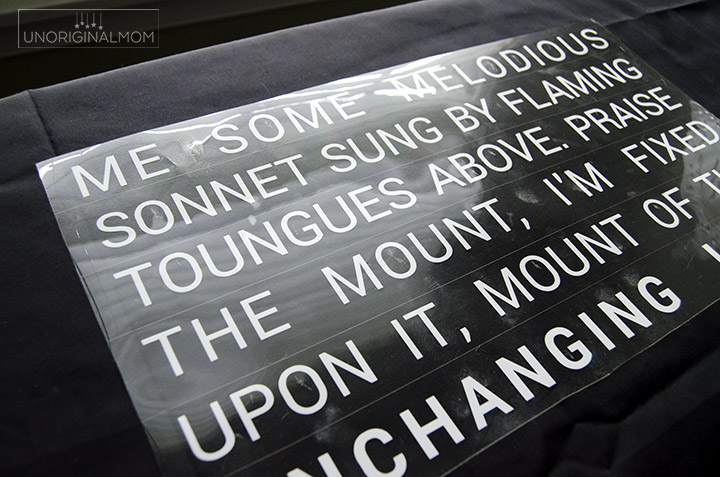
Attempt number 3 was kind of a double attempt as my machine decided to get caught on something and eat my HTV halfway through cutting. Luckily the first half of the design was salvageable, but I had to re-cut the second half again. (And waste even MORE vinyl…needless to say my frustration level was through the roof, and my wallet wasn’t happy either!) Since this was such a large design, I was actually cutting it in two pieces – the top 7 lines of text, and then the bottom 6. I thought I’d be smart and cut the middle line on both the top and bottom half so that all I had to do to line them up was overlap them, but only iron one of them on. Well, somehow I left the transfer sheet on the bottom layer about 1/8″ too long, and the bottom of the letters of the 6th line ironed onto the transfer sheet. If you’ve never used HTV before I know that probably doesn’t make any sense, but the bottom line is there was no way to fix it. I had to start over, AGAIN.
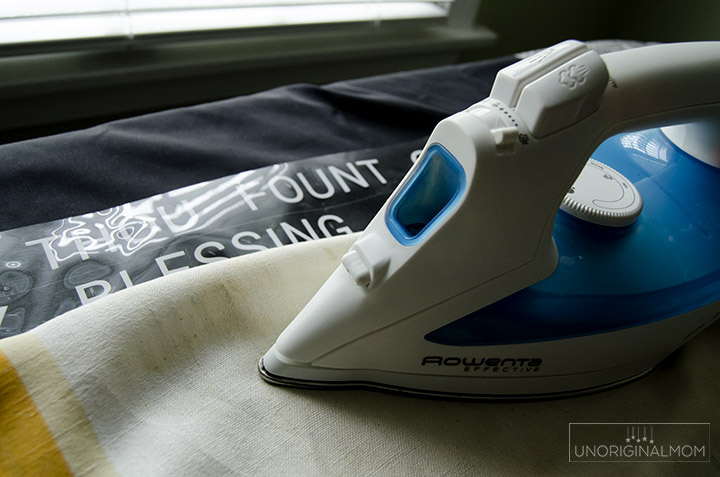
Thankfully, the FOURTH time was the charm. The HTV cut correctly, I was super careful when weeding and ironing, and it turned out just as I had envisioned it the first time. I trimmed the fabric and wrapped it tightly around the cardboard…
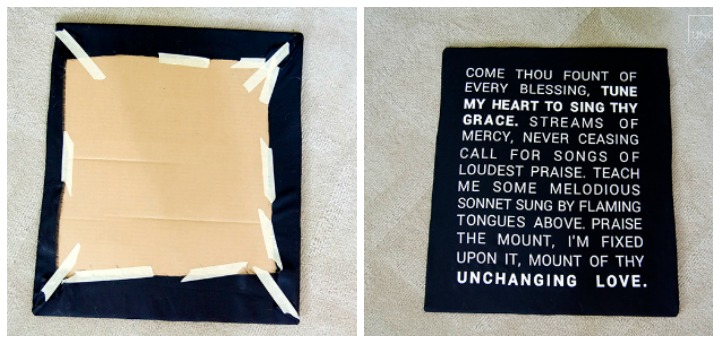
…then stapled it on the frame.

You can bet that I was extremely thrilled to see how this piece FINALLY came together.
So, why am I telling you this whole story? I very easily could have shared this project and just shown the final result, choosing to omit the (embarrassing) failed attempts…but I thought it was important to be honest. And real. And authentic. I’ve owned my Silhouette for four years and have used it hundreds of times, but I still forget to mirror my design. I make typos, even with spell check. I’ve used heat transfer vinyl on many, many projects, but I still royally screwed it up. In the process of making this simple wall art, I screamed at my Silhouette with my kids near enough to hear me, got annoyed with my husband, and even cried alone in my room with my ironing board. Yeah, I’m not proud of any of that. The truth is, even though I may be a seasoned crafter, I have craft fails all the time. And even though it sometimes *looks* like I have it all together, I certainly don’t. That’s real life.
I don’t think anyone would have blamed me if I had walked away from this project after the first few attempts. Goodness knows I wanted to! But I knew that the end result of this project would be really great – not only a beautiful piece of art for our music room, but also a powerful and present reminder of my need to be “tuned” by the Fount of our every blessing. And now, every time I see this piece I’ll be reminded of the process that it took to create it. A long and difficult process, but a worthwhile end result. Yes, maybe it was just a bunch of stupid mistakes and craft fails, and it is only a piece of DIY wall art – but there’s meaning there for me now. Meaning that wouldn’t have been there if I’d gotten it right the first time. (Or the second time, or the third time.)
All of that to say – don’t be discouraged, friends! Whether it’s craft fails or everyday frustrations or maybe a life trial where the stakes are much higher – you have no idea what sweet blessing is planned for you on the other side.
Browse the rest of my music room makeover posts:
 ORC #5: Farmhouse Cabinet Makeover
Want the Silhouette Studio cut file I used to make my farmhouse hymn art? It’s available for FREE inside my Silhouette Library! Get instant access via the form below my signature.


Subscribe to unOriginal Mom via email and get instant access to my library of FREE Silhouette Studio & SVG cut files - exclusively for email subscribers. Plus there's a new file added every month!

 ORC #1 - Music Room Mood Board and Design Plan
 ORC #2 - Paint and a New Layout
 ORC #3: Styled Pipe Shelves
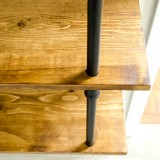 Industrial Pipe Shelving Tutorial
 ORC #4: Farmhouse Hymn Art
 ORC #6: Industrial Farmhouse Office REVEAL!



Looks beautiful & what a lesson in perserverance! That hymn is one of my all time favorites, it’s soothing to the soul to sing it. …even though I can’t carry a tune in a bucket. LOL
Your perseverance demonstrates how important to you were the words of that hymn!
It’s beautiful!
What font did you use for the text?
Thanks so much!! It was a labor of perseverance for sure, but years later I still absolutely love this wall art. I’m really sorry, I don’t remember the name of the font I used!
What a lovely transformation of the music room/office! The DIY Farmhouse Hymn Art adds such a personal touch. I appreciate how you repurposed the Goodwill find – it’s not just decor but a piece with a story. The thought and meaning behind choosing “Come Thou Fount of Every Blessing” as the hymn text is beautiful. Can’t wait to see the final reveal!
You can have a lot of fun and amuse yourself playing games online. Check out our website if you’re looking for a place to play entertaining online games.
I absolutely love the outcome of this corner transformation! It’s especially fantastic because it’s a DIY project. hat little bit of personal touch really creates a huge impact on the final look.