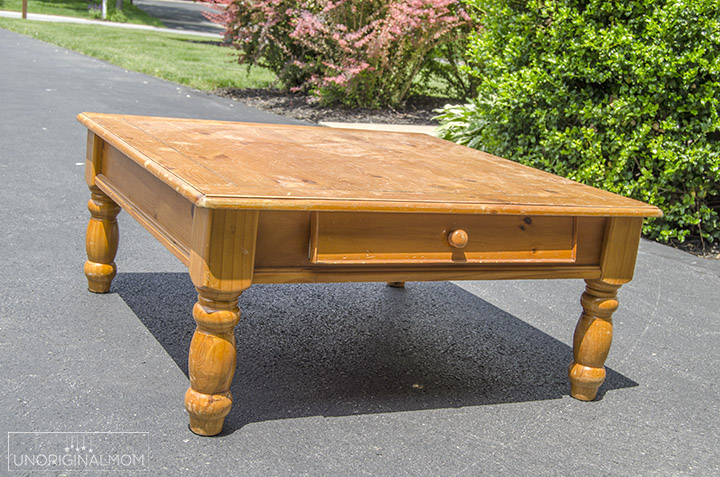
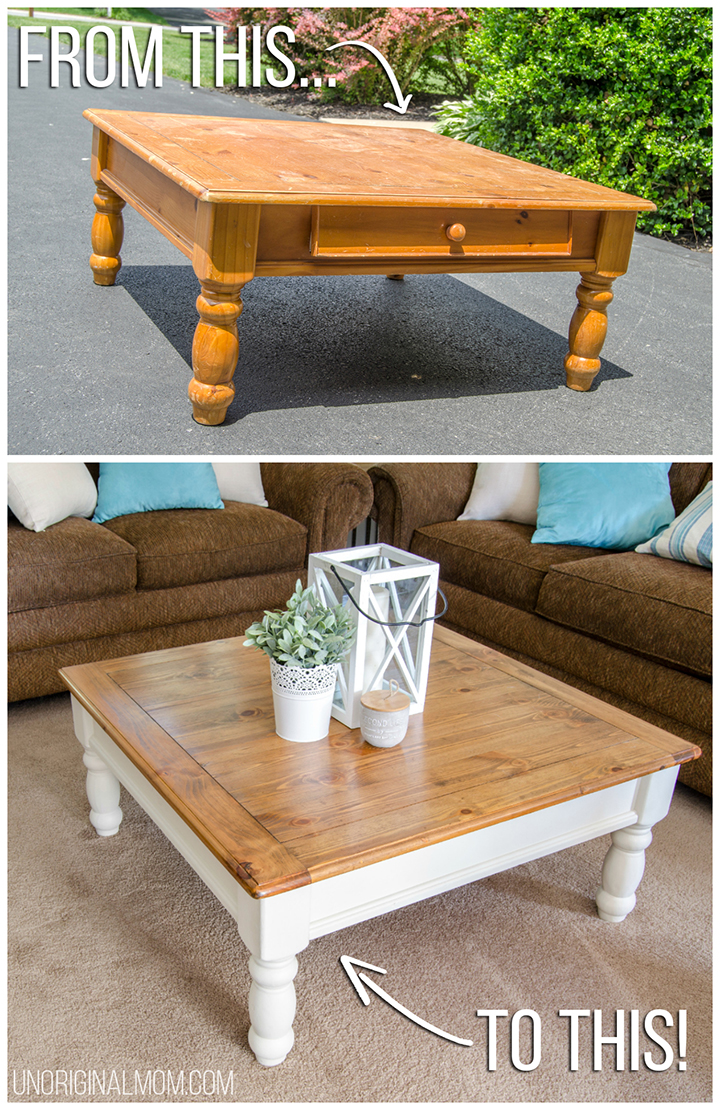
Do you ever wonder what styles of furniture or decor will be the ones that we look at in 20 years and say, “what were we thinking??” The “orange” stained wood furniture from the 90s definitely falls under that category. Stained wood can be so beautiful…but orange? Really, folks? That’s just not natural. It’s like orange self-tanner. Does anyone really think that looks good? Of course, I say this knowing full well there will be things that are currently in my living room that people will say the same things about in another 15 or 20 years. Ha.
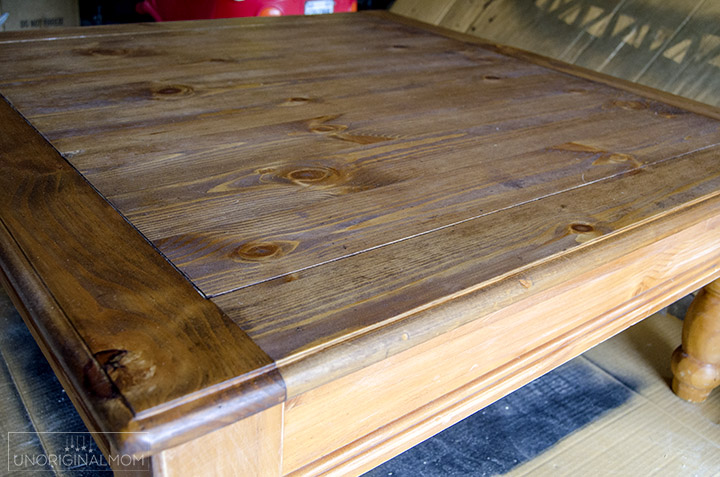
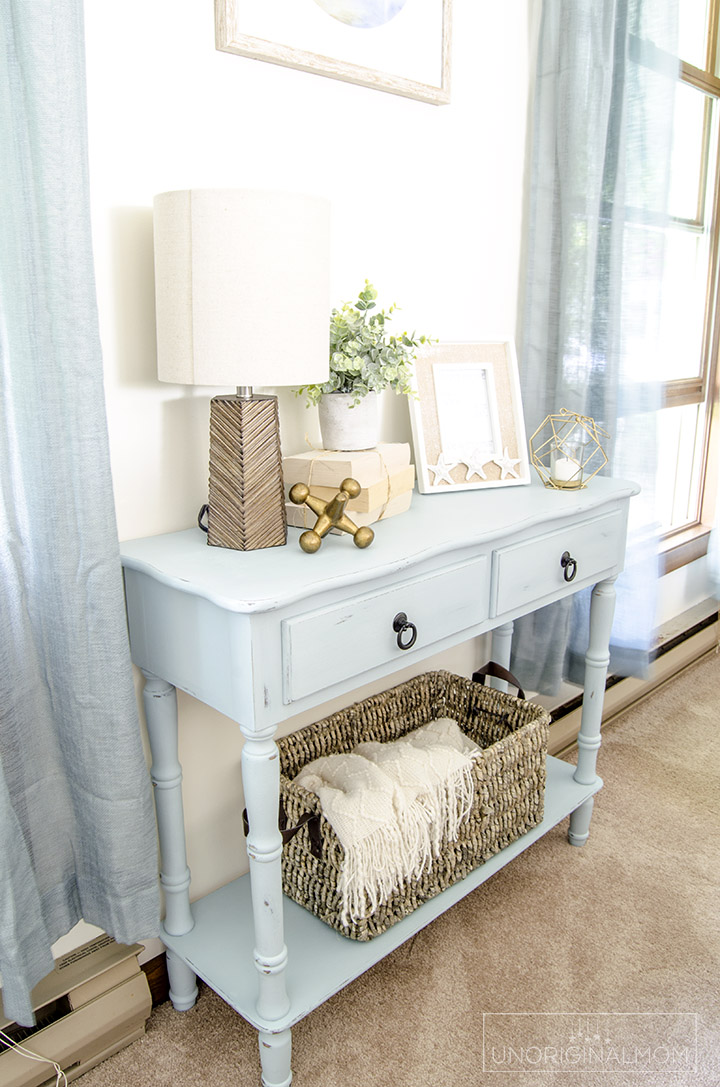
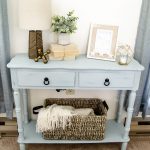
Have you seen coffee tables like this around Craigslist and buy and swap pages? Or maybe you even have one in your house right now! We found this guy on Craigslist for $10, and decided to try to refinish it for my parent’s surprise living room makeover. (I also refinished this side table with beachy blue chalk paint!) Since we were on a budget of about $300 for the whole room (which had to buy paint, curtains, curtain rods, pillows, lamps, picture frames and wall decor!), the price on this coffee table was right, even if nothing else was.
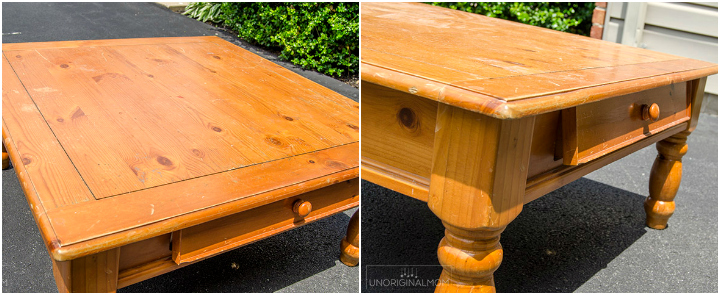
It was dated, beat up, and the drawer was broken – but it was solid and had good bones, I knew the size was right to fit in the room, and I had a vision for a rustic farmhouse coffee table makeover that would give this thing a second life.
This post contains affiliate links. Click here to read my full disclosure.
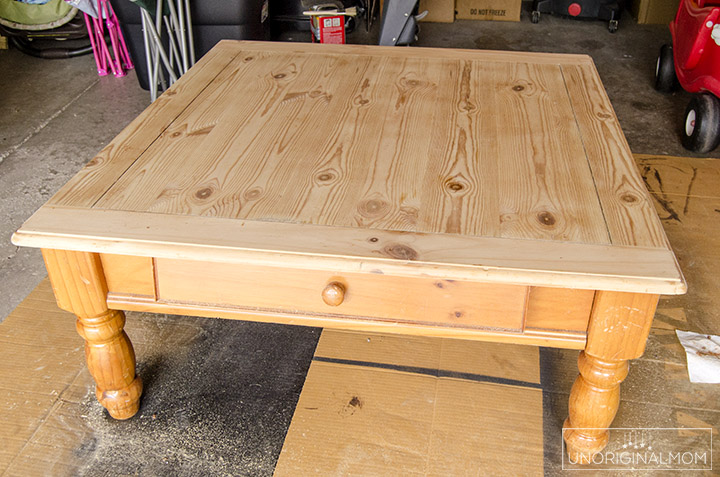
I wanted to make this into a two-tone coffee table – strip and stain the top, and paint the bottom white. So the first thing I did (okay, okay, you got me, my husband did this part) was strip the top of the coffee table using wood stripper. It worked well on the clear coat, but didn’t quite get all the stain off, so I went to work with the palm sander until the top was raw wood.
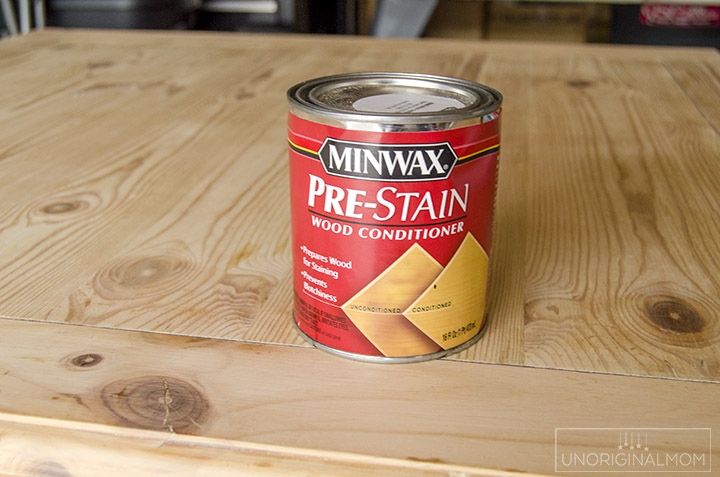
Then I used some Minwax Pre-Stain Wood Conditioner on the top, followed by two coats of Minwax Special Walnut.
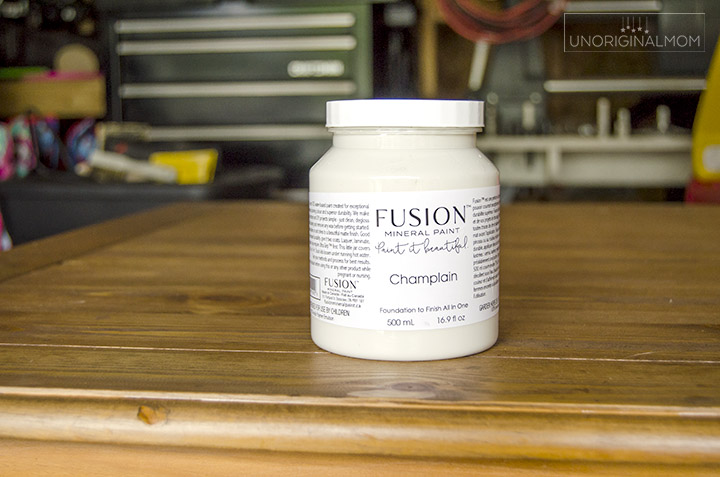
I had some Fusion Mineral Paint in Champlain leftover from my farmhouse cabinet makeover, so I decided to use that on the bottom of the coffee table. I LOVE this paint! It flows so smoothly and looks so pretty. I only wish I had a distributor nearby so I could see all the colors in person. But I do recommend this color as a good creamy white with just a hint of beige. It works so well for two toned farmhouse furniture like this! I sanded down the legs and apron, wiped it clean, and then applied two coats of paint.
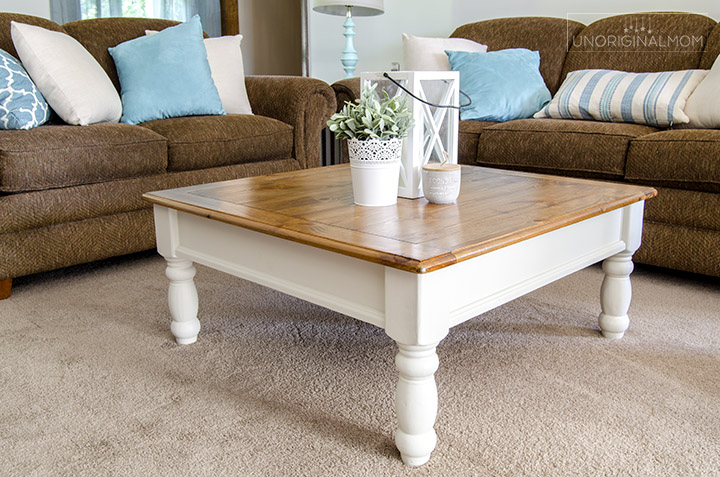
The last step was wiping on about four coats of satin finish polyurethane to the table top to make it a nice, durable surface. Want to see how it turned out?
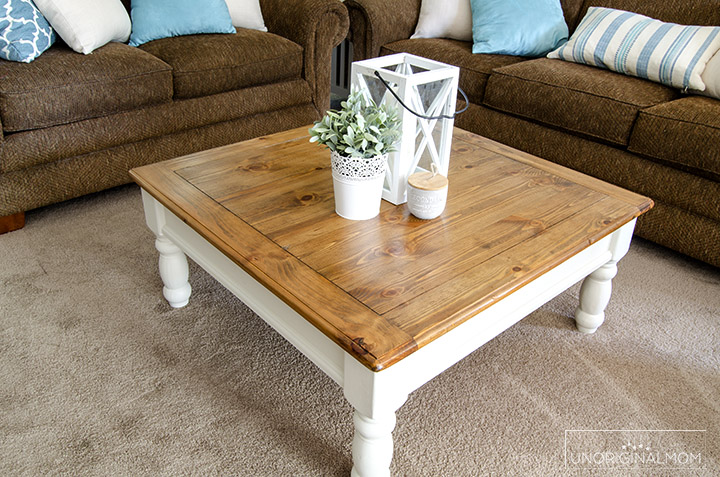
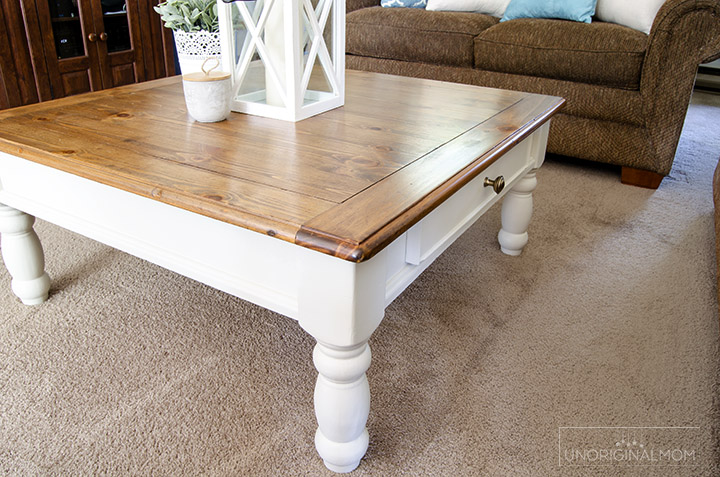
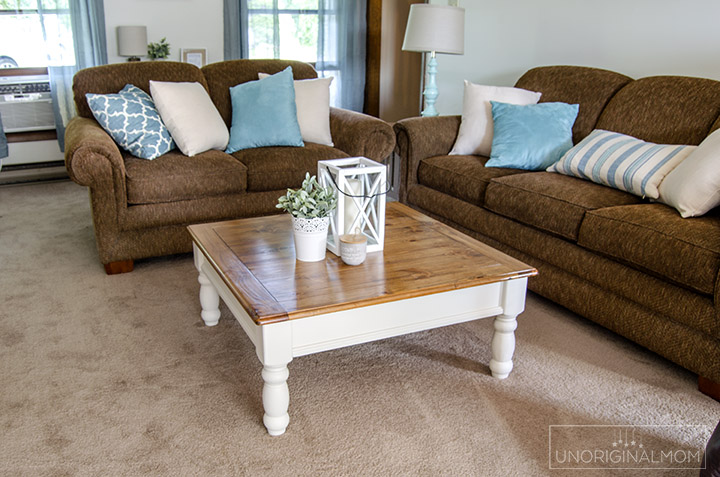
What a transformation, huh?
Oh, right, and my husband fixed the broken drawer with a new drawer slide, and we gave it a new knob, too.
It’s beautiful in the new space, but still rustic enough that you’d feel fine putting your feet up on it – right? ;-)
Let’s see this farmhouse coffee table makeover before-and-after one more time, just in case you already forgot what it looked like…
Can you believe that thing was only $10?? Never underestimate the power of paint, stain, and a little elbow grease. This farmhouse coffee table makeover was totally worth it!
If you liked this transformation, you’ll love seeing how I transformed a dark wood side table into some beachy blue furniture for this space, too!


Get your copy of my FREE meal planning binder!

Sign up to get a free copy of my meal planning system - an 11 page printable meal planning binder, complete with a pantry inventory, shopping list, and more to help get on top of your menu each week!




The coffee table looks amazing, you did a great job! Who would have thought, that some sanding and applying a new coat of paint can do such miracles. The table practically looks like new without using a professional renovator, which is surprising.
No. I wouldn’t feel comfortable putting my feet up on that beautiful coffee table. ? It’s too pretty. The transformation is amazing.
I’m inspired! I found a similar coffee table and end table to work some magic on! Thanks for the tutorial!
I am really impressed! I didn’t expect that this old table will look like that after a coat of paint! I have similar furniture at home, now you inspired me on what to do with them!
What did you use to sand the lower part? Because of the rounded legs. Did you do it by hand?
Yes, I just used a sanding block…since I was painting the legs and not stripping them like I did on the top, I just needed to scuff them up enough for the paint to stick, so it wasn’t too hard.
Wow it looks amazing! I love the contrast between the wood top and the white legs, great look!
Thanks so much!! :-)
This came out wonderful! I actually found the same exact that I am working on now. Thanks so much for your helpful tips! I just ordered the paint you used after falling in love with the color. Can’t wait to try it! Quick question – what sandpaper grit did you use on the legs and on the top? Thank you!
Isn’t it a great color?? I just love it. I honestly don’t remember exactly what grit I used, I know for the legs I used just a medium grit sanding sponge to scuff them up so the paint would stick. For the top, I started with a rougher sandpaper to get the finish off and once I was down to the raw wood I used a finer finishing sandpaper to get it nice and smooth for the stain. Hope that helps! Have fun with your project :-)
Hi Meredith, sorry for asking multiple questions! I just finished the first coat of mineral paint but wanted to ask you what brush you used before I continue with the second coat. I know Fusion sells specific paint brushes but they may not be worth purchasing. From your pictures, the finish looks flawless with little to no brush stroke marks. Could you please share how you were able to achieve that? Did you sand after painting with a very fine grit? Thanks for your help!
I just used a nice quality paint brush we already owned (likely a Purdy brand one) – I didn’t use any of the special paint brushes that Fusion sells. I don’t remember for sure but I’m pretty sure I did sand with a very fine grit between coats. There definitely are some brush marks visible if you look closely at the finished table but nothing super obvious or flawed looking. Fusion paint is really great at self-leveling so it fills in and levels as you paint. Hope that helps! :-)
Is the table real wood or pine veneer? I found a similar if not the same table to try myself.
The legs were real wood but the top of the table was just veneer. I sanded through it in just a few spots around the edges, but I was going for a distressed look so it worked out and looked fine!
Wow, Meredith, that’s a fantastic job, what a transformation. You’ve inspired me to tackle my own coffee table. Thankyou, for all the detailed steps.
Oh, I’m glad to hear that! Good luck with yours, I’m sure it will turn out wonderfully!
The link to the paint stripper isn’t working. Could you list the brand or fix link. Thanks! I love this look and want to do it with a dining table
Hi there! It looks like the stripper we used has been discontinued. The type we used was Klean Strip “Strip-X”. It looks like they’ve replaced it with Klean Strip “Premium Stripper”. Hope that helps!
The table looks terrific – I have the same project to do. Can you tell me how you applied the stain and polyurehtane – with brushes or wiped on?
It’s been a few years since I did this project, but believe I wiped on both. I definitely did for the stain but I may have used a foam brush for the poly.
I love this! My boyfriend has the EXACT same coffee table and I have been dying to redo it now that we are living together and this is exactly what I had in mind! We are going to try and recreate your masterpiece this weekend
This is my exact coffee table and I adore how this turned out! Thanks for the suggestion, I can’t wait to bring mine into this century. :)
Absolutely beautiful! How did you fix the drawer? I’m stumped on how to fix mine.
Thank you! We just took off the old slides, bought new drawer slides from Lowe’s and installed them.
Hi Meredith! The table looks awesome! I had a question for you. I am trying to replace the exact same coffee table for someone and am unable to find the brand name or model number. You wouldn’t have happened to have any information on it would you? Thank you so much!
Wow, what a transformation on that coffee table! The two-tone finish with the stained top and painted bottom is such a smart choice. The rustic farmhouse vibe must look amazing in your parent’s living room. It’s impressive how you stayed within budget while creating such a beautiful piece. Great job on the makeover!