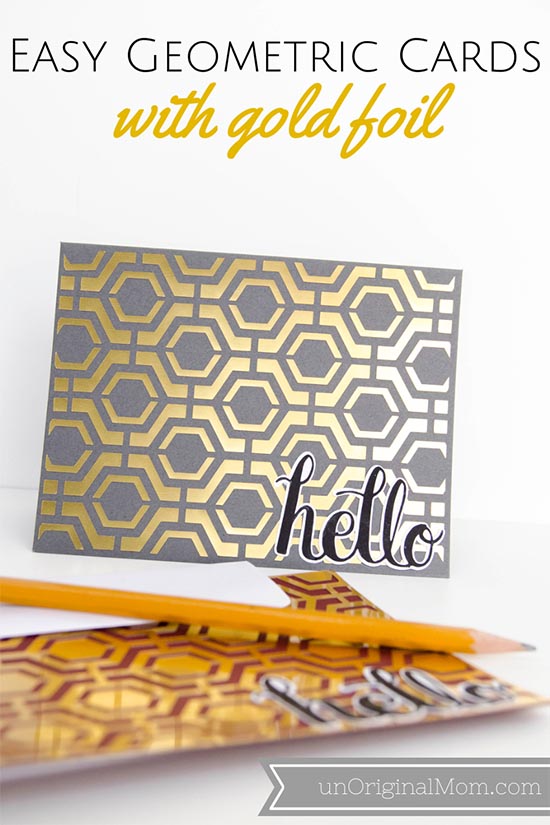
I have never really gotten into card making with my Silhouette…sure, I had made some cards before but it’s just not something that I have a very good eye for. So when the Silhouette Challenge FB group announced a card exchange, I almost didn’t participate. I knew I couldn’t hold a candle to many of the ladies in our group who design cards that are mini works of art, and I didn’t want to be the one that had the lamest cards in the swap. But then I thought I need to challenge myself a bit outside of my Silhouette “comfort zone,” (and I really wanted to get 25 different handmade cards from the other participants), so I set to work designing my card!
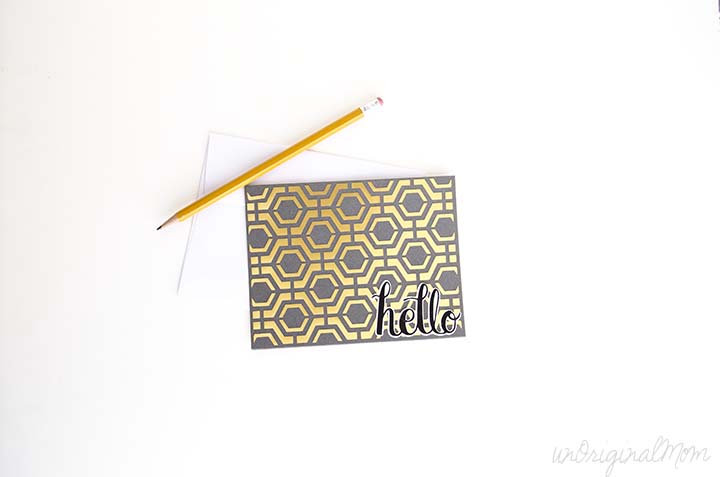
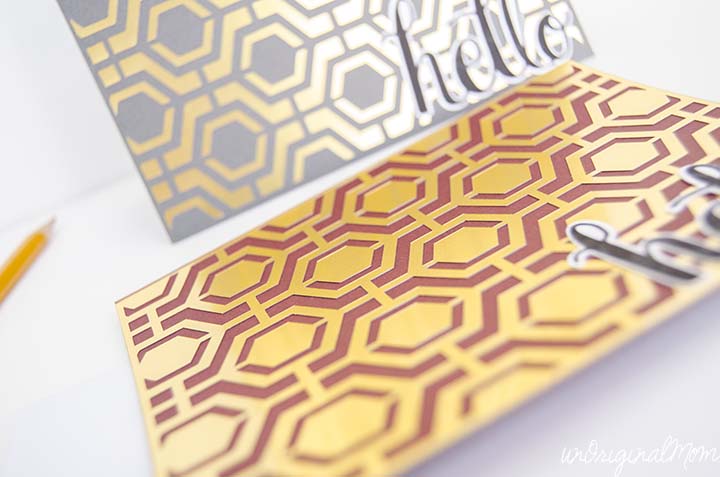
I was inspired by a few shapes from the Silhouette Store that I’d picked up when they were offered as the Free Shape of the Week – design #46333 and design #56374. I’d received some Printable Gold Foil as a Christmas gift and wanted to use it in some way, so rather than using it to print and cut a design, I decided to use the geometric background shape and cut it out of the foil for the front of the card. I cropped the shape using the subtract option – I created a rectangle the size of my card, put it on top of the geometric background shape perfectly centered, then selected them both and clicked “subtract.”
The foil cuts like a dream!
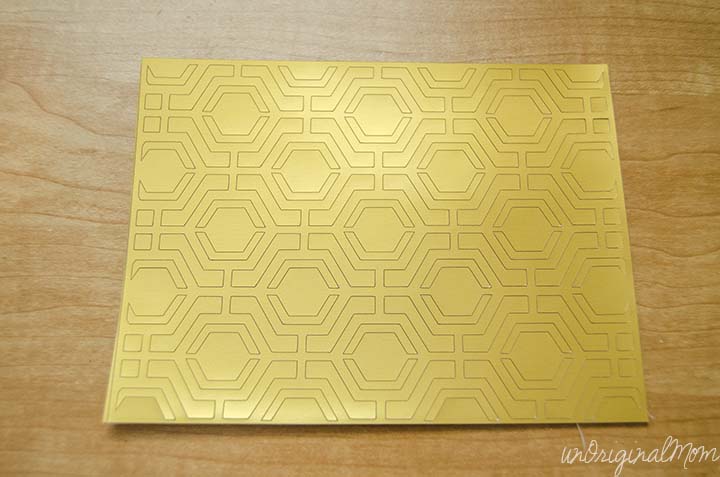
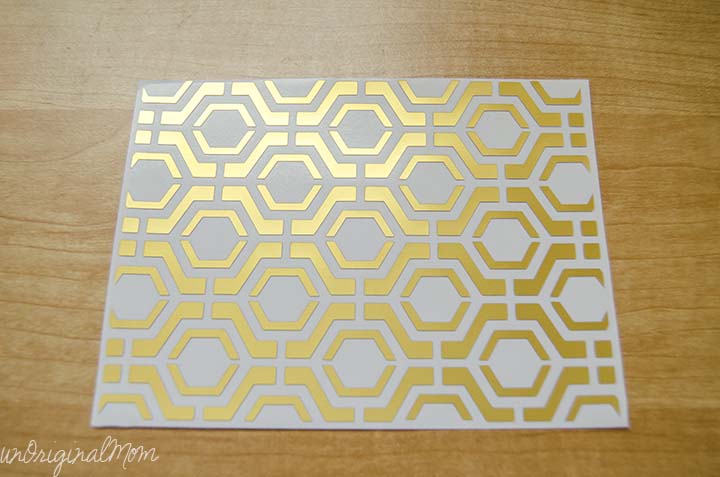
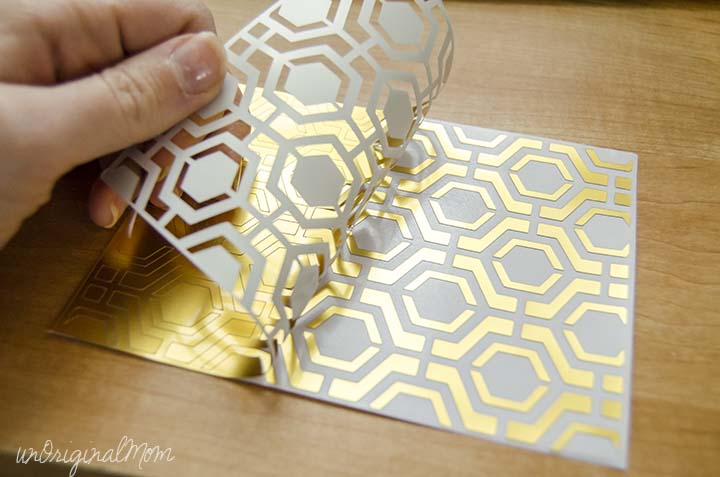
Once I cut the first background, I peeled off the design (which was easy, since it was all in one piece) and applied it to the card.
Then I realized that the negative image remaining on the backing would be a shame to waste, especially since I had to make 26 cards for the swap!
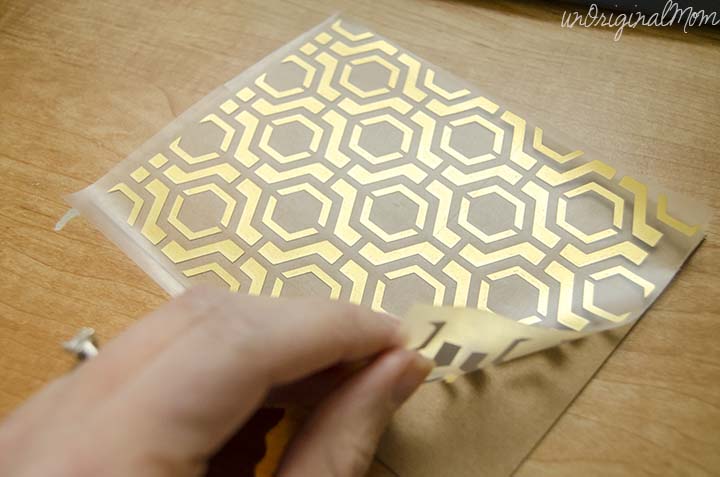
So I attempted to transfer the design using contact paper. It was a little bit tricky, since the foil was very sticky and would come off on my fingers if I touched in accidentally, but after I did it once or twice I got the hang of it.
Half of the cards I sent had the positive background image, and half had the negative. I think they both look great!
I wanted to keep the card relatively simple to let the gold foil “shine” and not detract from it…plus, I wanted to use a generic greeting so the cards could be used for any occasion. It was this card from the Silhouette blog that was my inspiration for the simple “hello” greeting. The black card stock text didn’t pop enough on it’s own, so I used the offset tool to create a border for my text and cut it out of white card stock. I used my new Xyron to adhere them together and then to the card.
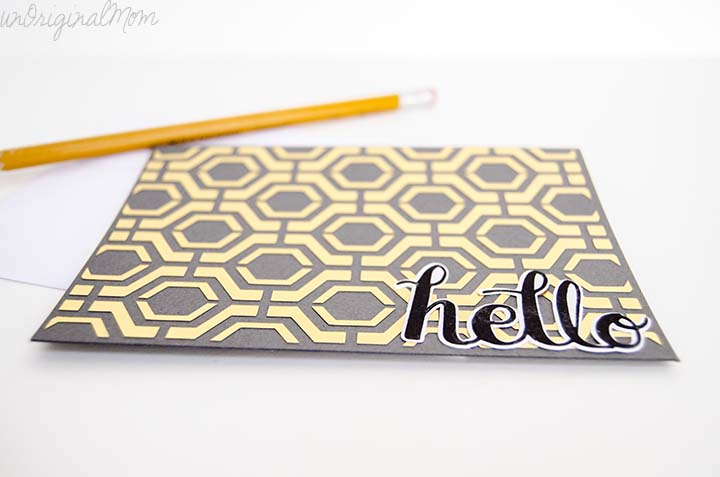
Not bad for a card-making-newbie, huh? I was really pleased with how these turned out! I wish I had made a few extra to hold onto myself!
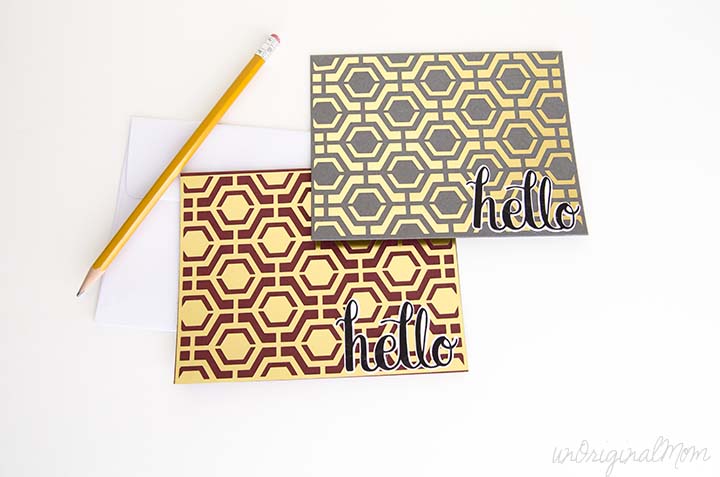
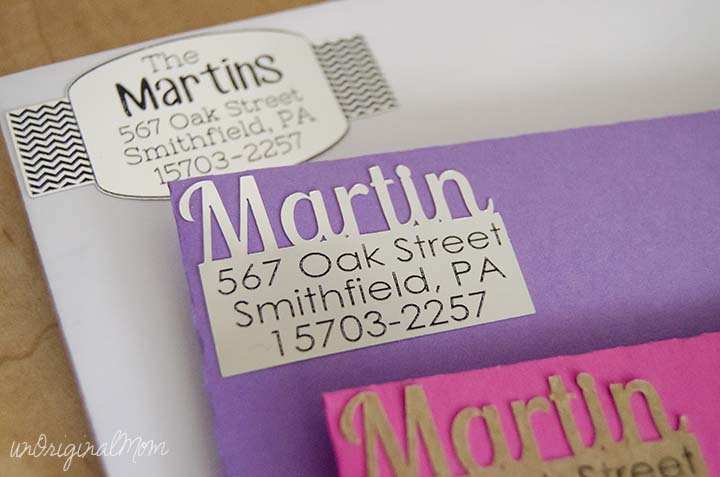
Psst! Guess what? Silhouette is currently having a sale for 30% off all specialty media – that includes the printable gold and silver foil! So if you hurry on over there by March 31st, you can get that special price by using the code UNORIGINAL! And if you’re looking for other nifty things to make with the printable foil (or other specialty print and cut media) – check out these DIY Return Address Labels!
The Silhouette Challenge Card Exchange
I have to tell you, I was like a kid on Christmas morning when my big envelope arrived from the swap. I didn’t even make it to sit down at the table – I stopped at the kitchen counter, opened up the envelope, and looked at each beautiful card I had received! They were all stunning, and so unique! Here are the cards I received:
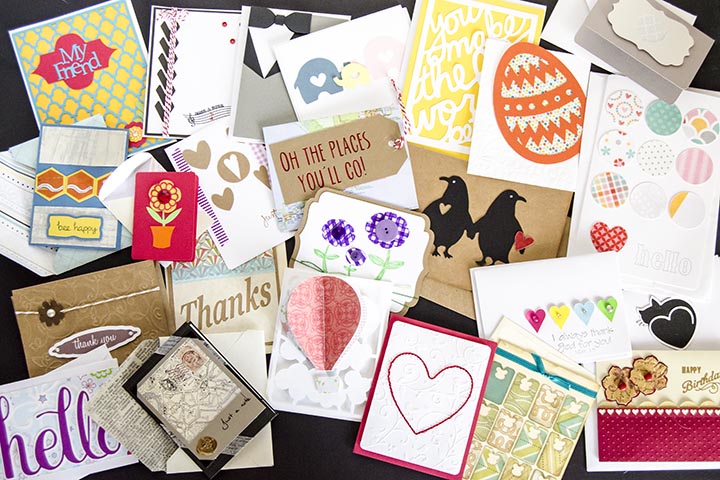
Aren’t they all so beautiful??
I pulled out a few of my favorites so you can see them close-up:
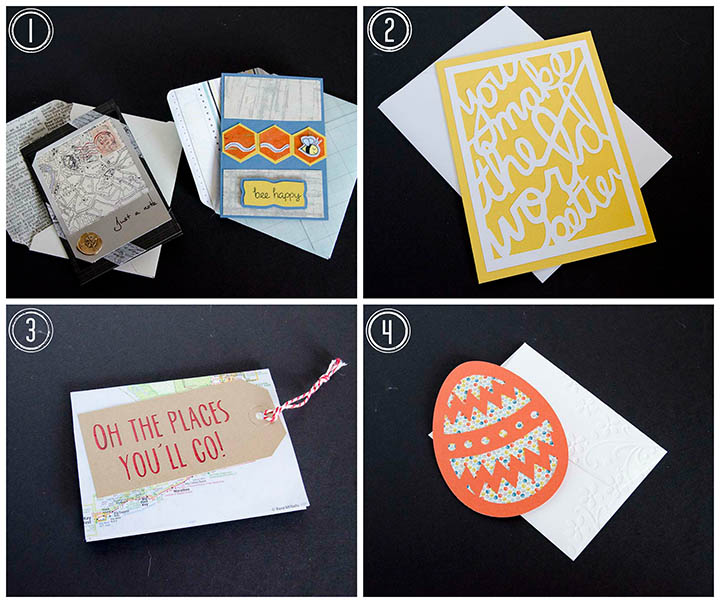
1. By Kristy from Please Excuse My Craftermath – includes tutorial! (She was the coordinator of the swap and did a WONDERFUL job with all the logistics and details…plus she made two beautiful sets of cards as well! Wow!)
2. By Vanessa from Tried and True – includes tutorial!
3. By Michelle from Weekend Craft – includes tutorial!
4. By Joyce from Peace, Love, and Joyce
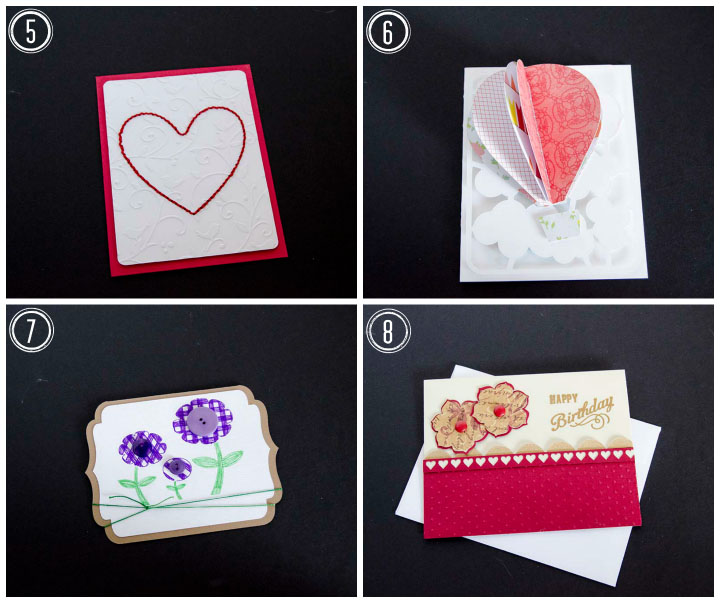
5. By Meredith from What’s Next Ma – includes tutorial!
6. By Rachel Davis
7. By Brenna from Life After Laundry
8. By Becky from My Paper Craze
I’ll tell you what, I am certainly uber-inspired by all of that beautiful card craftiness! I think I’ll be trying some more cards in the near future.
So, when it comes to the world of card -making…would you rather make a card, or get a handmade card? Leave a comment and join in the conversation!


Get your copy of my FREE meal planning binder!

Sign up to get a free copy of my meal planning system - an 11 page printable meal planning binder, complete with a pantry inventory, shopping list, and more to help get on top of your menu each week!



I love how economical you were with the foil…not wasting a bit of it! And I don’t blame you – – the foil is so fabulous. It’s one of my favorite of the specialty media products, fo’ sho’. I’ve already told you this on Facebook, but I absolutely LOVE your cards. You’d never in a million years know they were your first attempt at card-making. Also, it’s so inspiring to see the whole slew of cards you received in the swap. What a talented group of women that Silhouette Challenge Facebook group is! ;-) Pinning this now!
Thanks so much, Lauren! Foil is my favorite, too. I love shiny things :-) I think it was beginner’s luck that I came up with such a simple and easy design that looks more difficult than it actually was…but now that I’ve got all these beautiful cards to use as inspiration, I think I could try to tackle some more!
Now I’m off to find gold foil! Love these cards so happy I received one. Also I absolutely love the hello font and how its offset.
Thanks for featuring my card! Can’t wait to finish my post!
Yay! The foil is my favorite – so easy to work with for such a big wow factor! And I love your card, it will be hard to give away, haha!
Great tutorial and way of using negative! I love your cards and you got lots of beautiful cards!
I love making cards and always rejoicing when I receive handmade cards, too :D
Thanks so much, Helen! And yes, I can’t believe how many beautiful cards I got…it will be hard to give them away, but I know how special it is to receive a handmade card!
I love how these turned out. I really want to give the foil a try after seeing this!
Thanks Pam! Foil is probably my favorite of anything at the Silhouette store…it is just so darn easy to get a nice, clean cut and neat designs! And it looks great with printing on it, even just in black ink. You should definitely try it!
Thanks for linking up at my site’s first ever link party Meredith.
Well I took your advice – I’m giving the foil a try – I’ve ordered some silver to try out :)
These are great, Meredith! and if you only need one card, could use the “negative” on the flap of the envelope and maybe have a row left to decorate the inside of the card! And then use your cool return address labels, of course.
Ooo, that’s a great idea! Thanks Sharon!
I got one of the cards with the negative image and love it! Thanks so much for thinking up such a cute card!
You had me at gold foil! Wow what a brilliant design. Love how you get a different look depending on the cardstock. I’ll have to add that foil to my shopping list asap. Thanks for the inspiration, Meredith!
Those turned out beautifully! I love that gold overlay! Thanks for linking it up at Monday Funday. Pinning to our board!
Such super projects! Your swap cards look super. I especially love the look of the foil – and the fact that they’re great for anybody (male or female)!
Love those DIY labels too. I’m going to have to give those a go!!
Very cool! Will have to try this! Thank you
I love how you challenged yourself to step outside your comfort zone and participate in the card exchange! Your creativity in using the Printable Gold Foil for the geometric background is inspiring. The idea of using both the positive and negative images for your cards is brilliant and adds a unique touch to each one. Your attention to detail truly shines through in your designs!
What a great story! I love how you stepped out of your comfort zone for the card exchange. Using the foil was a clever idea. Can’t wait to see the final cards!
I cropped the shape using the subtract option – I created a rectangle the size of my card, put it on top of the geometric background shape perfectly centered, then selected them both and clicked “subtract.”