This post contains affiliate links – click here to read my full disclosure.
Well folks, my little sister is MARRIED! It was an absolutely perfect weekend. We couldn’t have ordered nicer weather (mid 70s and sunny), the ceremony was unique and beautiful, the reception was super fun, and – nothing major went wrong! We had a terrific time celebrating the happy couple with friends and family. The months of preparation (and crazy days leading up to it) certainly paid off! (UPDATE: you can see all the wedding photos – along with lots of DIY details – in this post!)
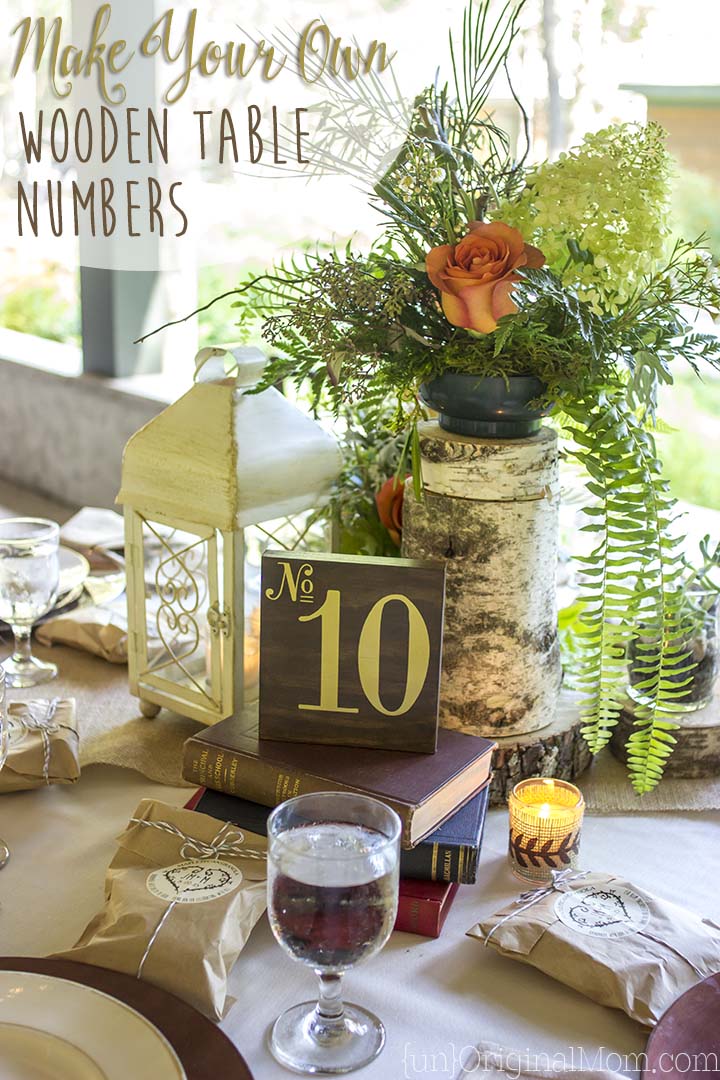
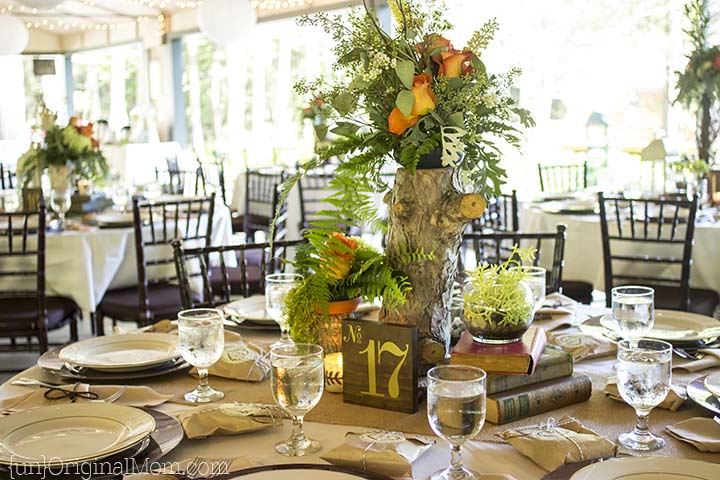
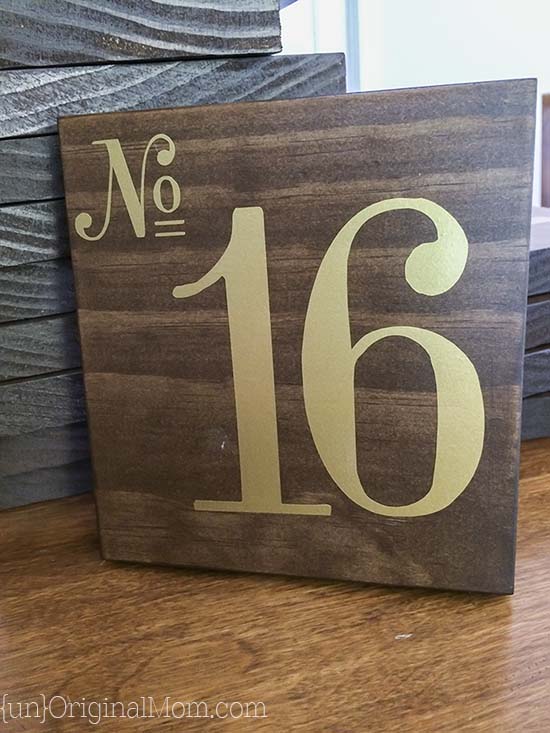
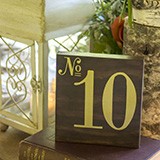
This is the first of several posts you’ll see highlighting different aspects of the wedding – I’ll certainly put together an “overview” type post once we get the photos back so you can get a sense of the whole wedding, and I have a few more tutorials for some of the DIY elements up my sleeve! First up are these DIY wooden table numbers that my handy hubby and I made for the tablescapes.
This wedding was a creative collaboration between myself and our dear friend, Lisa Hackman. She is an amazingly creative and talented woman who has done the flowers and decor for the weddings of many friends and family members in the past (including mine!) so both my sister and I were so grateful to have her on board. Along with the help of her equally talented daughters, Lisa put together all of the flower arrangements and tablescapes for the reception.
The inspiration for the table numbers came straight from Pinterest via this image. I found the numbers here. I knew I wanted a dark stain with white or gold numbers, so together, my husband Matt and I got working on designing and making them!
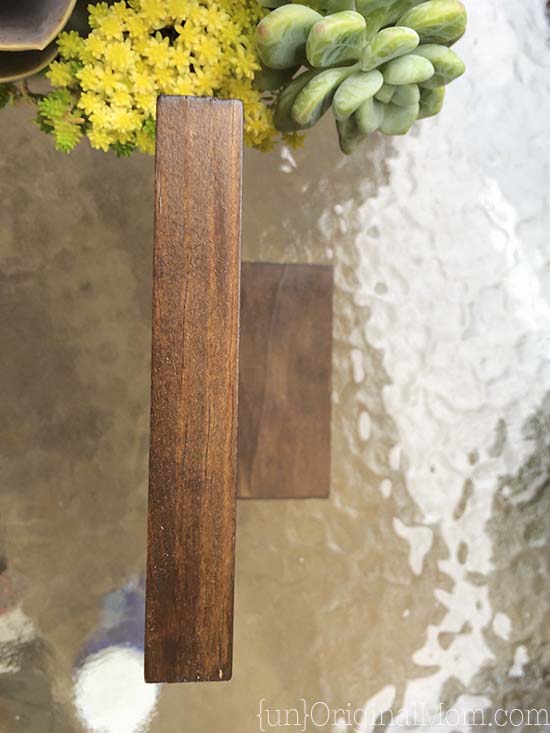
I didn’t think to take any photos as we were slicing up the wood, but we started with an 8′ 1×6 board for the numbers and a 6′ 1×2 to use as the support piece in the back (both were “select pine” from Lowes). Using a compound miter saw, Matt cut the 1×6 into 18 pieces – the dimensions of each table number ended up being 5″x5.5″. The 1×2 board also got cut up into 18 pieces.
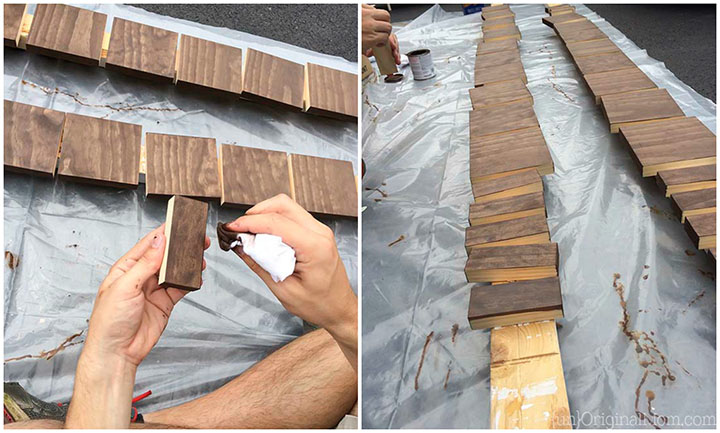
The staining was pretty easy – 1 coat of Minwax Dark Walnut stain (we bought an 8oz container and it was more than enough) wiped on with a clean cotton rag. First we stained the top and two edges, let them dry on some scrap boards, then did the back and the other two edges.
Here’s where I did some experimenting. Initially, I thought I would cut vinyl stencils and paint the numbers on with gold acrylic paint – the result was not great – I had to do some touch-ups by hand, and even then it was not very good.
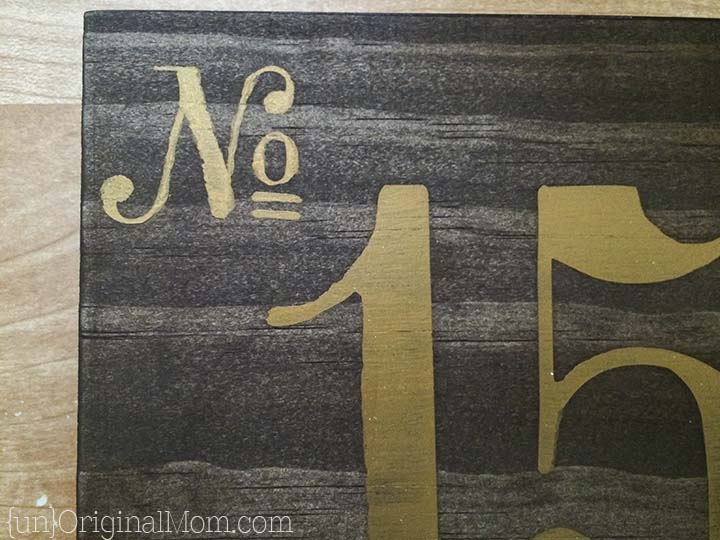
Luckily, I had some gold vinyl on hand, so I tried adhering that to the wood. It was a real pain to transfer and get to stick to the wood, but it looked great! So I ordered more of this gold vinyl to do the rest of the numbers.
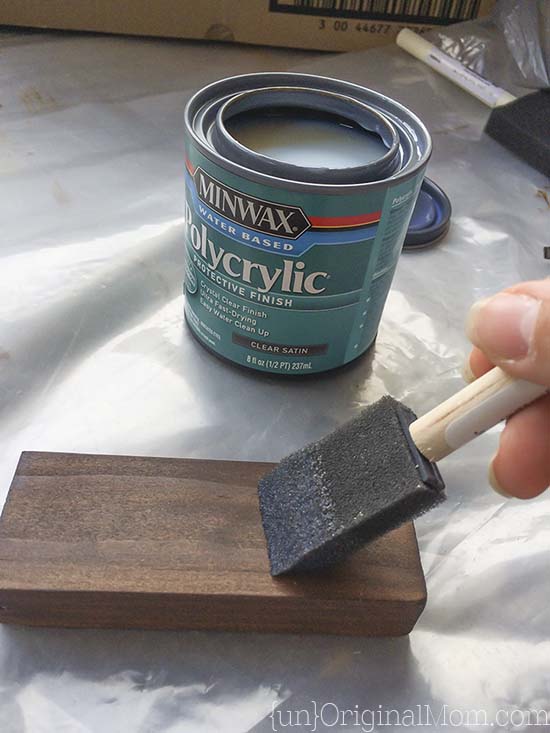
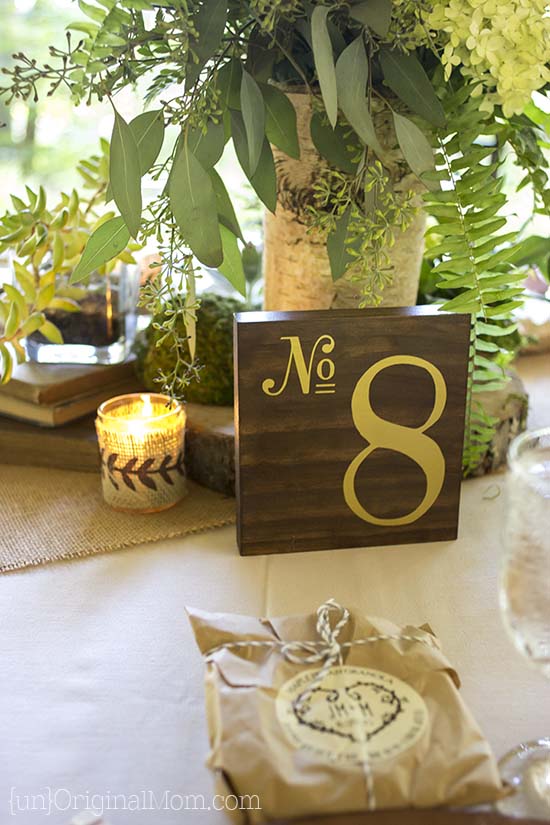
To help the vinyl stick better to the wood – and also to give it a nicer, more finished look – I applied 2 coats of Minwax Polycrylic to the stained wood. It is really difficult to capture in photos, but it made such a big difference! After the polycrylic, the stained wood looked darker, richer, and more beautiful.
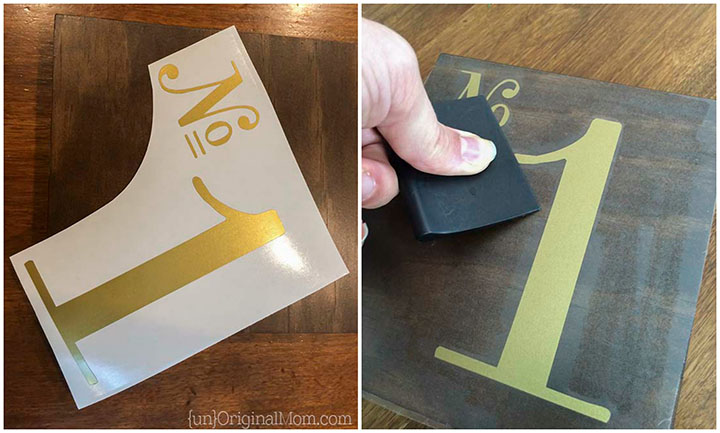
Once the vinyl arrived, I used my Silhouette to cut out all the numbers. The polycrylic helped immensely with the vinyl – it transferred and stuck to the wood like a dream! (Note: if you don’t have a Silhouette, you could use this method to trace the numbers onto wood and then hand paint them – it would be more time consuming but still achieve the same effect, and I’m sure it would look lovely!)
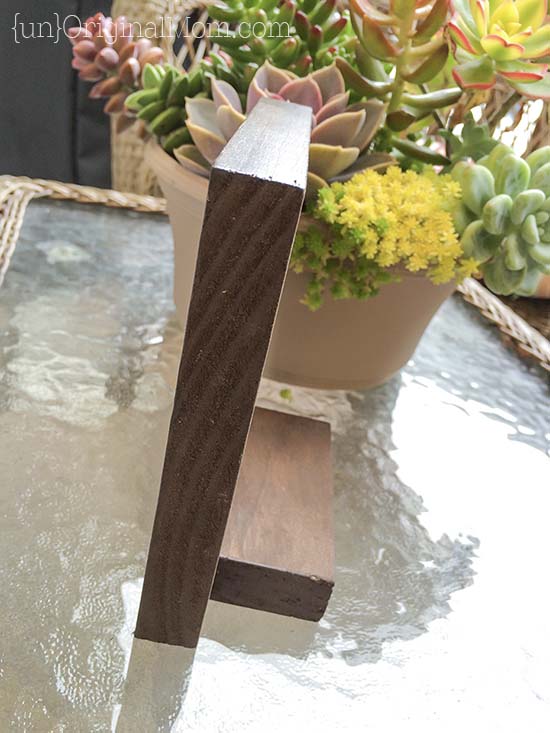
I didn’t take great photos of this step either (sorry!) but Matt pre-drilled the stands and then used long screws to attach them to the table numbers. Even though they did stand up on their own without the backs, it really helped to give them more stability and look more “finished.”
And that’s it! It was a bit of a lengthy process, but each step was really pretty easy. In fact, I love the crisp, clean look of the vinyl on the rich dark stained wood so much that I’d like to try it on another project that I could use around the house somehow! So you may be seeing this technique again soon :-)
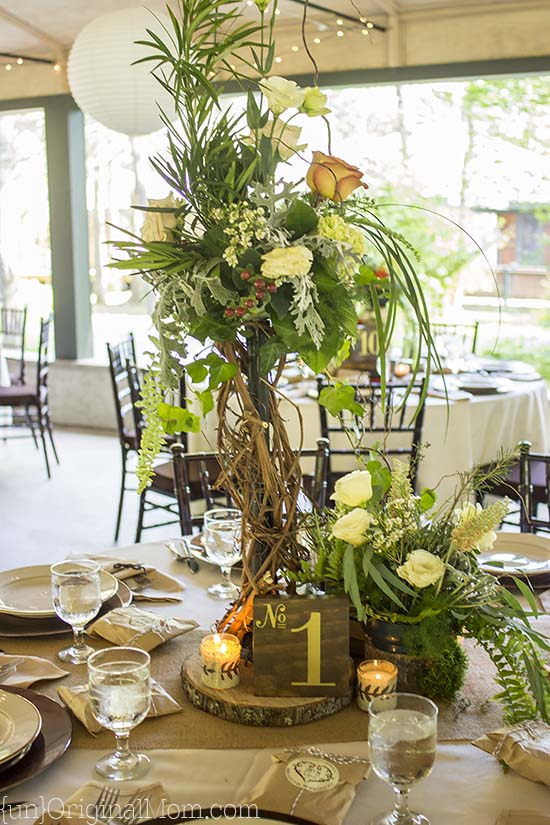
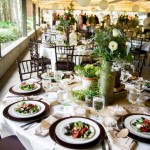
Aren’t those tablescapes just beautiful?
Thanks to the incomparable Julie Murphy of Sandpiper & Co for the reception table photos!
Margaret’s Vintage Travel Bridal Shower & Woodland Wedding!
This post contains affiliate links – click here to read my full disclosure.


Subscribe to unOriginal Mom via email and get instant access to my library of FREE Silhouette Studio & SVG cut files - exclusively for email subscribers. Plus there's a new file added every month!

 Details from a Woodland Wedding
 Burlap Wrapped Votives
 DIY Wood Table Numbers
 DIY Boarding Pass Bridal Shower Invitations
 Map paper strip heart tutorial
 Map Themed Decor with your Silhouette
 Free Printable Travel Quotes
 He Said She Said Shower Game Printable



LOVE how they turned out! Can’t wait to see more!
These are absolutely gorgeous! I can’t believe how pretty they turned out, I must also mention that your sister’s wedding theme is to die for. I’ll be pinning this :)
[…] your wedding theme is a little more “rustic elegance”, then these wooden table numbers from UnOriginal Mom might be the perfect choice. Meredith combined rich walnut stain with gold […]
Do you have the font or template you used for the table numbers. I’m making table numbers for my friends wedding. Thank you.
Hi Stephanie, the link to the image of the numbers I used is in the post. I just traced them to use with my Silhouette.
[…] Vous pouvez également bon nombre d’éléments de décoration DIY afin de mettre la nature en scène sur vos tables de mariage. Je vous propose d’ailleurs de découvrir ce très joli DIY by unoriginalmom : […]
[…] How about building your own DIY wood numbers for your reception table at the wedding? Once you have crafted the signs or cut out the wooden stands or pieces, all it is going to take is painting the numbers on the wood surface. unoriginalmom […]
What a heartwarming celebration! It sounds like your sister’s wedding was a true labor of love with so many personal touches. The DIY wooden table numbers are a lovely idea, and it’s great that you and your husband put your creativity to work for the occasion. Lisa’s expertise in floral arrangements must have added a beautiful touch to the event. Looking forward to more wedding highlights!
What a wonderful wedding celebration! The perfect weather, unique ceremony, and fun reception sound amazing. Can’t wait to see all the photos and DIY details in the upcoming posts. The wooden table numbers made by you and your hubby sound like a great touch. Kudos to Lisa and her daughters for the beautiful flower arrangements!