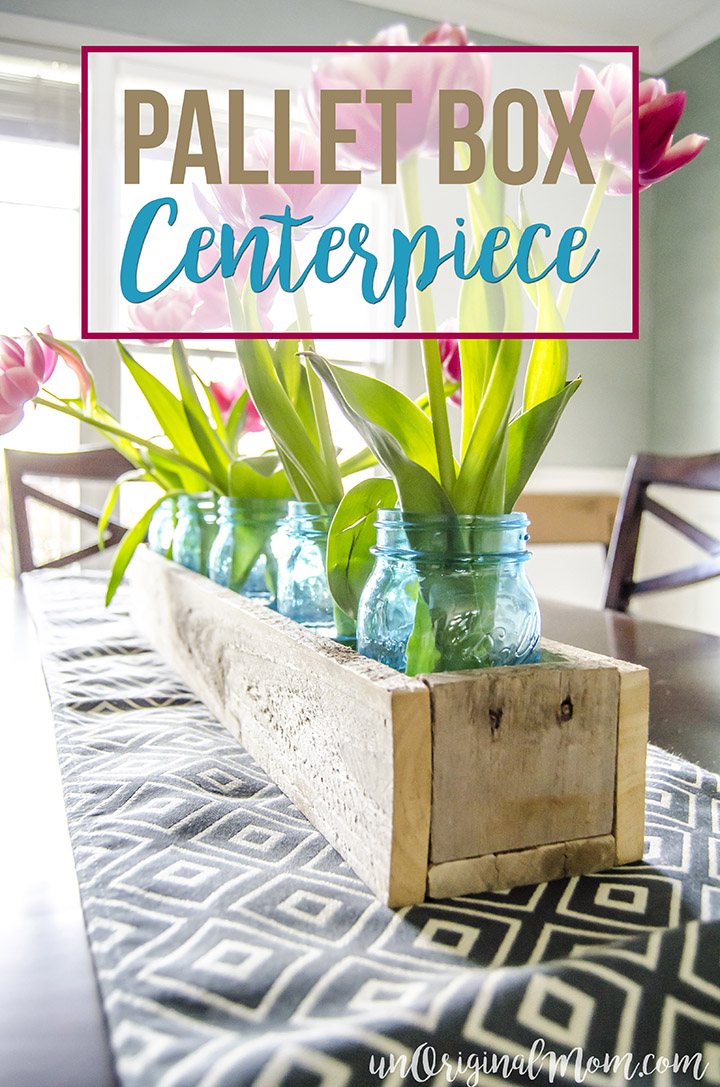
I wish I had the time, energy, and creative vision to create a beautiful centerpiece for my dining room table for each season. We don’t use our dining room very often, though (big family dinners are usually hosted elsewhere, and we don’t do much entertaining these days with two small children running around), so I hate to spend a lot of time and money on a big elaborate centerpiece that will only get seen by a few people. But let’s be honest, I like pretty things…and on the rare occasions when we DO have people over to our house, I like having some kind of decor on the table. So when I came across an idea for a rustic wood pallet box centerpiece on Pinterest eons ago, I knew I wanted one for our table!
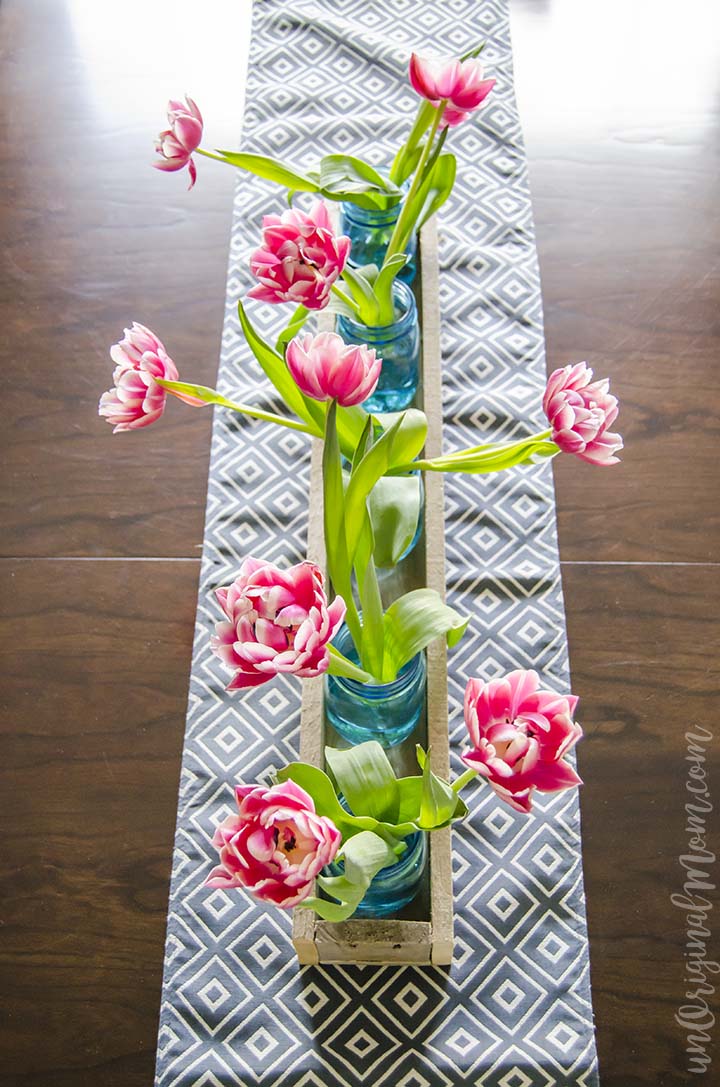
I’ll admit, I’ve been holding out on you guys. My handy hubby actually built this for me about a year ago and I’m just now getting around to posting about it…sorry about that! I’ve used it a few times but just never gotten really great photos to show you – until now. :-)
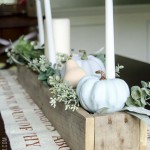
Basically, this is just a long skinny wooden box made out of pallet wood. It was super simple to make. I don’t have step-by-step photos, so I just drew you a little diagram that hopefully explains how we put ours together. There are lots of tutorials out there on how to make your own. But quite honestly, there’s no real “right” or “wrong” way. You’re just building a box! First, decide on the dimensions of the box you want based on the size of your table – you’ll need four sides and a bottom. Here’s how we made ours:
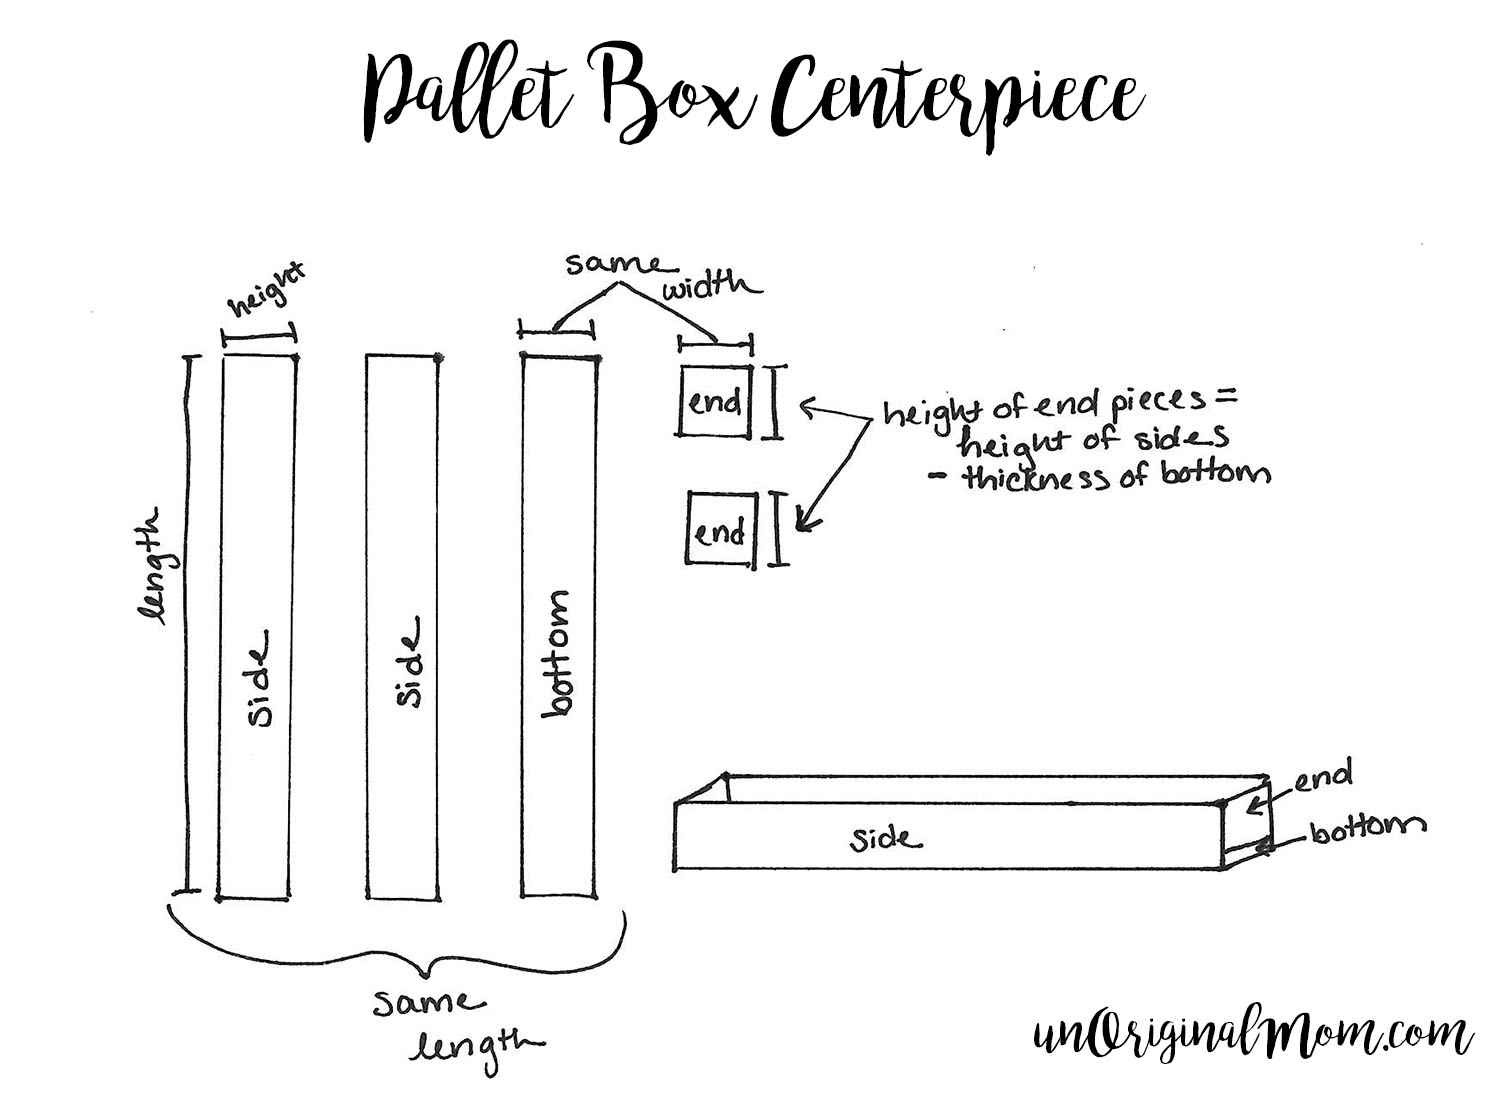
We wanted a long skinny box, so we took 3 pieces of pallet wood that were the same width and cut them to the exact same length to be the two long sides and the bottom. Then we cut two little pieces to be the ends – the same width as the other pieces, but here’s where it gets a bit tricky…the height of the end piece actually ends up being the width of the long skinny boards minus the thickness of the bottom piece. You can see in the photo below how the end goes together. Clear as mud?
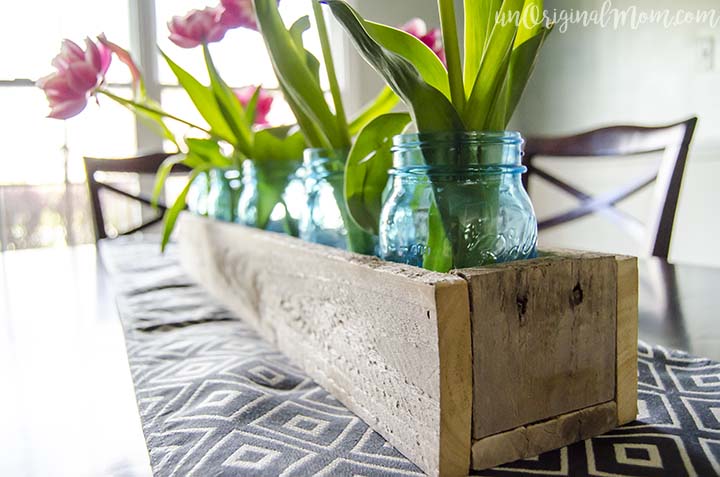
Once your pieces are cut, give the edges a light sanding to get rid of any splinters or roughness. Then you’re ready to assemble your box! If you want to get fancy you could drill pocket holes using a Kreg Jig* (we love ours and use it a lot!), but we just used a brad nailer*. You could use nails or screws, too…anything to hold it together! That’s the beauty of a rustic DIY ;-)
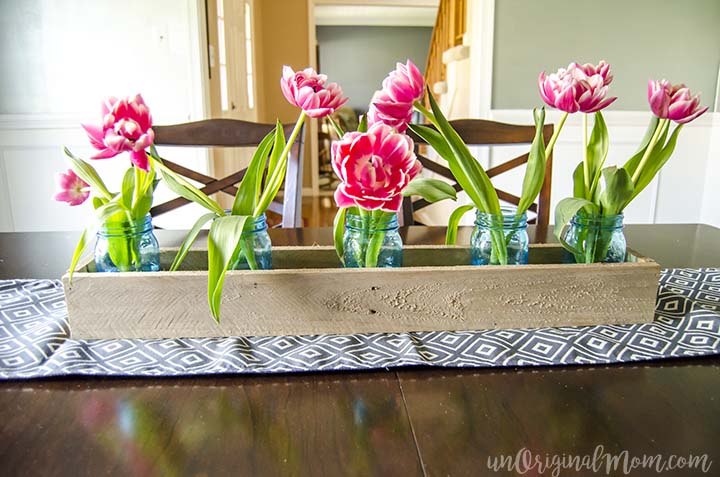
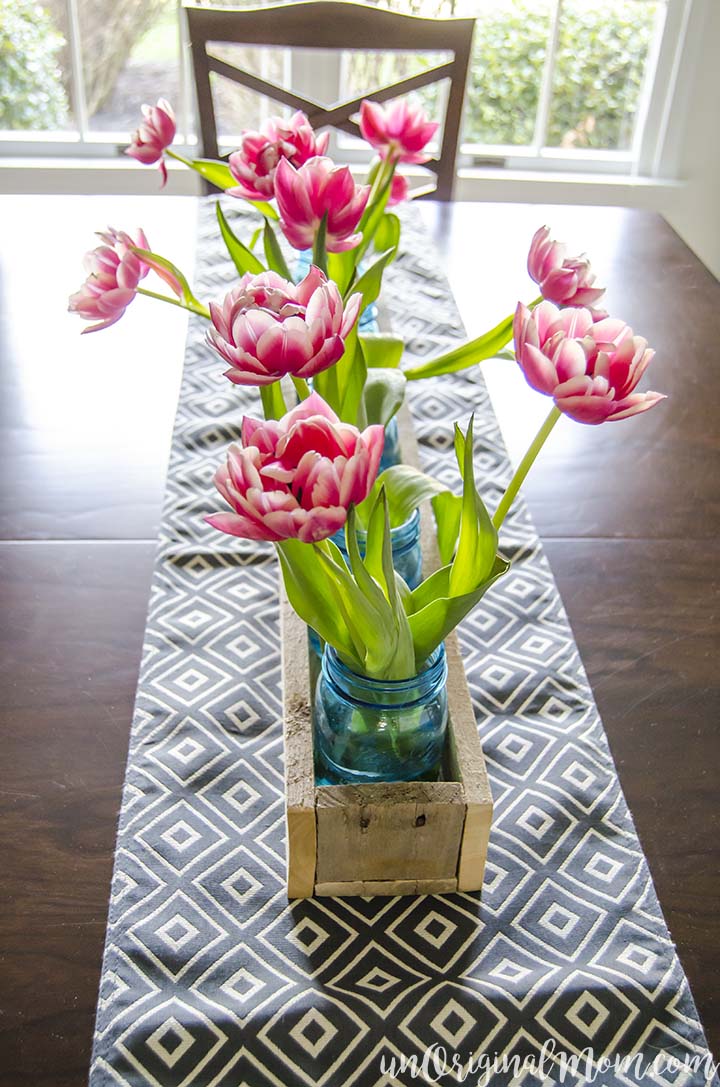
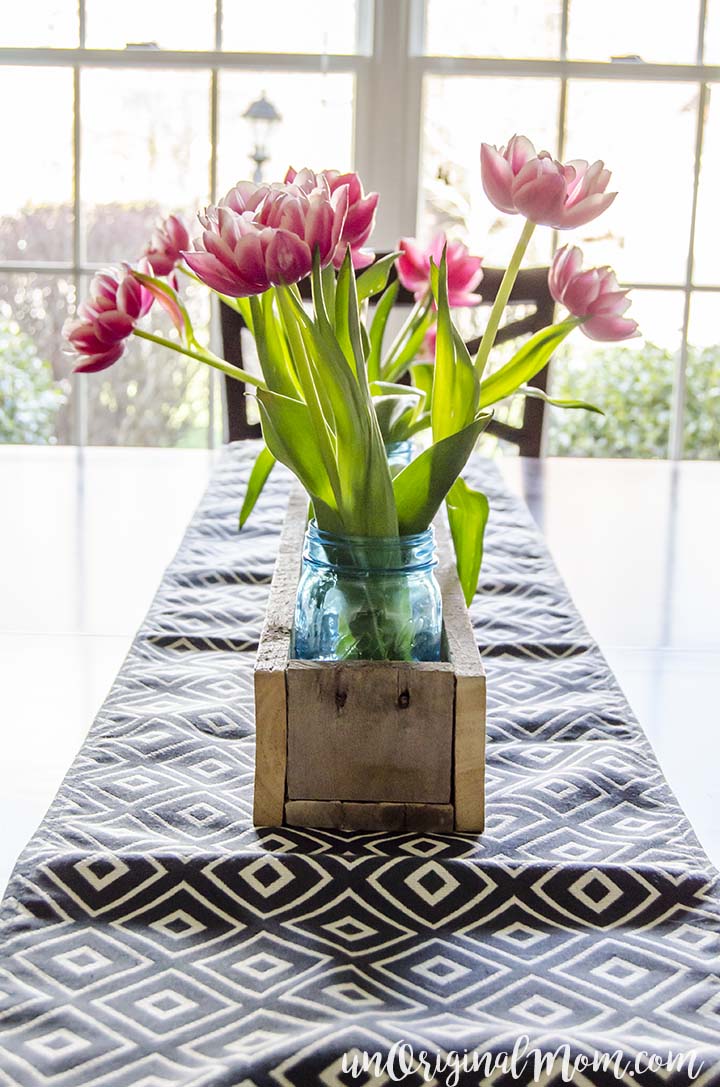
This wood pallet box centerpiece is so versatile! I found a ton of ideas and inspiration in this post from Far Above Rubies. For Thanksgiving, I filled it with cedar branches, candles and mini gourds. Then for Christmastime I swapped out the gourds for glass ball ornaments. I love the simplicity of this spring arrangement, though – the aqua mason jars are so pretty, and I can fill them with any kind of flower I want! I love the pink and aqua combination of these tulips, but I think after the tulips are done I might try some hydrangeas.
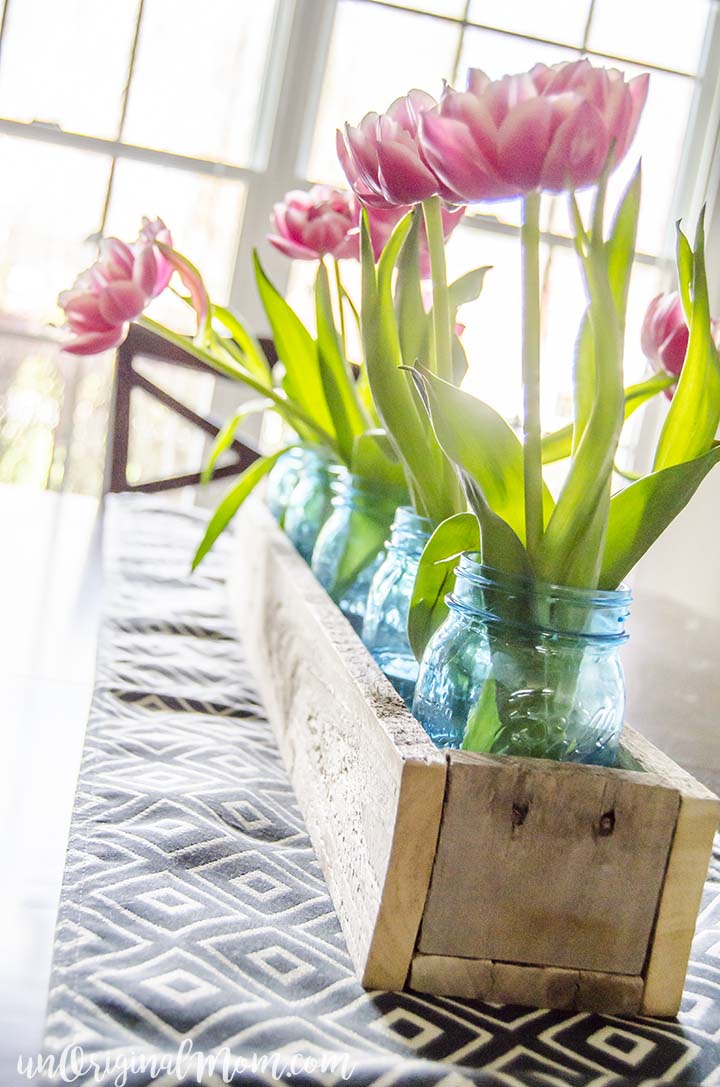
The best part about this centerpiece box, besides it’s versatility, is it’s price. Free! That’s why I loooove pallet projects so much. But if you’re not up for this DIY, there are lots of these types of boxes for sale on Etsy, too!
Do you create centerpieces for your table? I’d love to hear what you do with yours!
*This post contains affiliate links.


Get your copy of my FREE meal planning binder!

Sign up to get a free copy of my meal planning system - an 11 page printable meal planning binder, complete with a pantry inventory, shopping list, and more to help get on top of your menu each week!



I love this! I’ve been wanting to make one as well. Thanks for sharing at Work it Wednesday!
[…] Wood Pallet Box Centrepiece at Unoriginal Mom […]
[…] Wood Pallet Box Centrepiece at Unoriginal Mom […]
[…] […]
[…] You can make the most out of the wood lying around or left out of your wooden projects by creating this pretty and functional wooden box out of them and use as the pretty centerpieces for your dining tables. You only need to bring together four pieces of the wood together and shape up this gorgeous box to hold your planters in.You can check out the overall details of the idea here unoriginalmom […]
[…] Tutorial via unOriginal Mom […]
I love how your rustic wood pallet box centerpiece turned out! It’s such a simple yet charming idea for adding a touch of decor to your dining table. The diagram you shared makes it seem so doable for someone like me who’s not very handy. It’s great that you finally got around to sharing it with us, and the photos look fantastic!