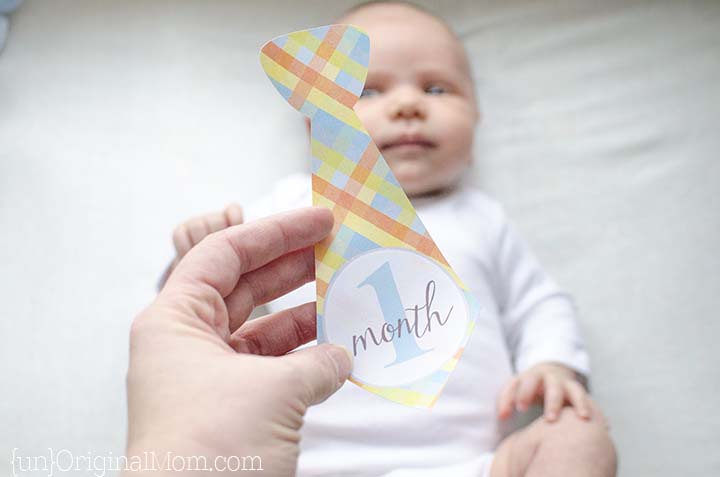
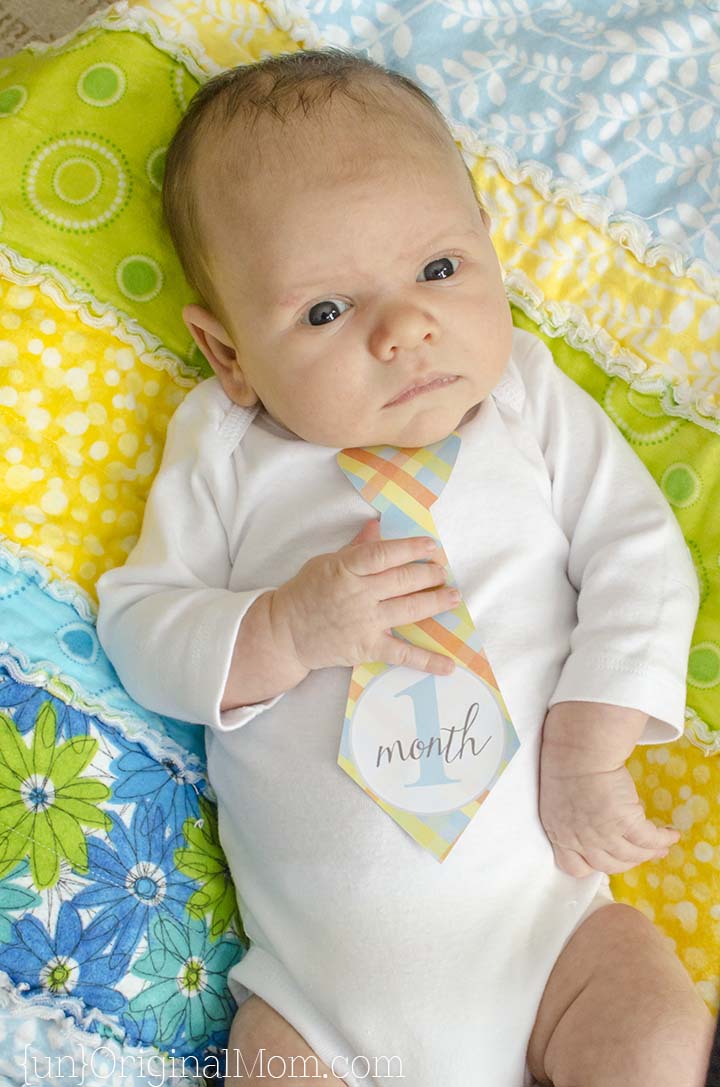
I seriously can’t believe my little man is one month old already. It’s amazing how even though each day (and night) seems so long, the past month has just flown by! I appreciate your patience as I’ve stepped back from blogging a bit over the past few weeks to get settled as a family of FOUR (it’s still a little hard to believe!)…and as I continue to post a little more sporadically than usual in the coming weeks as I have precious little time to myself for crafting and blogging these days. But I did manage to put together these fun baby tie stickers in time for my baby boy’s 1 month birthday, so I thought I’d share them with you!
This post contains affiliate links – click here to read my full disclosure.
I wasn’t very good about keeping on top of the monthly photos when my daughter was a baby. When they’re this little, it seems if you miss the couple of days around their actual “monthiversary” they’ve already changed so much that it’s not really a true representation of what they looked like on that day! So I figured I’d hop on board the monthly-baby-sticker trend as some motivation to actually take the monthly photos.
Etsy is FILLED with all different kinds of these baby monthly stickers – a huge variety of shapes, patterns, colors, and sizes. That’s a great option if you don’t have a Silhouette or don’t have the time to make your own. But of course, I knew I could put my Silhouette to work to make a set for my little man. Want to make a set for your baby, or as a gift for a mom-to-be? Here’s how to make your own!
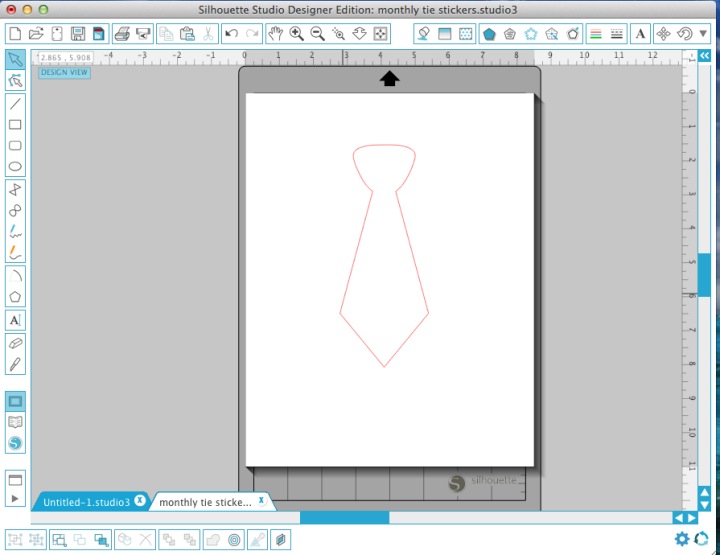
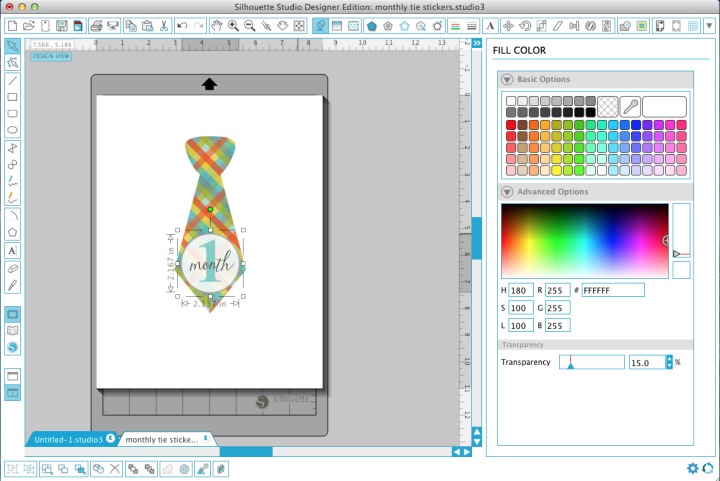
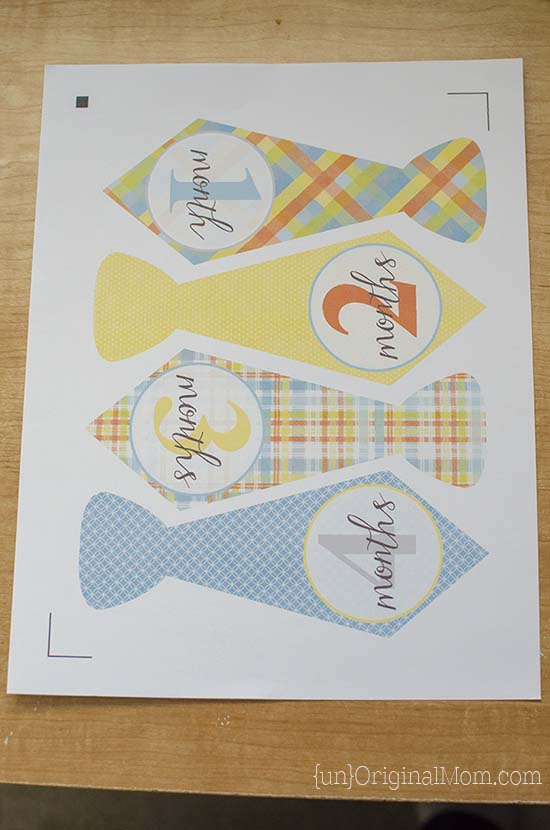
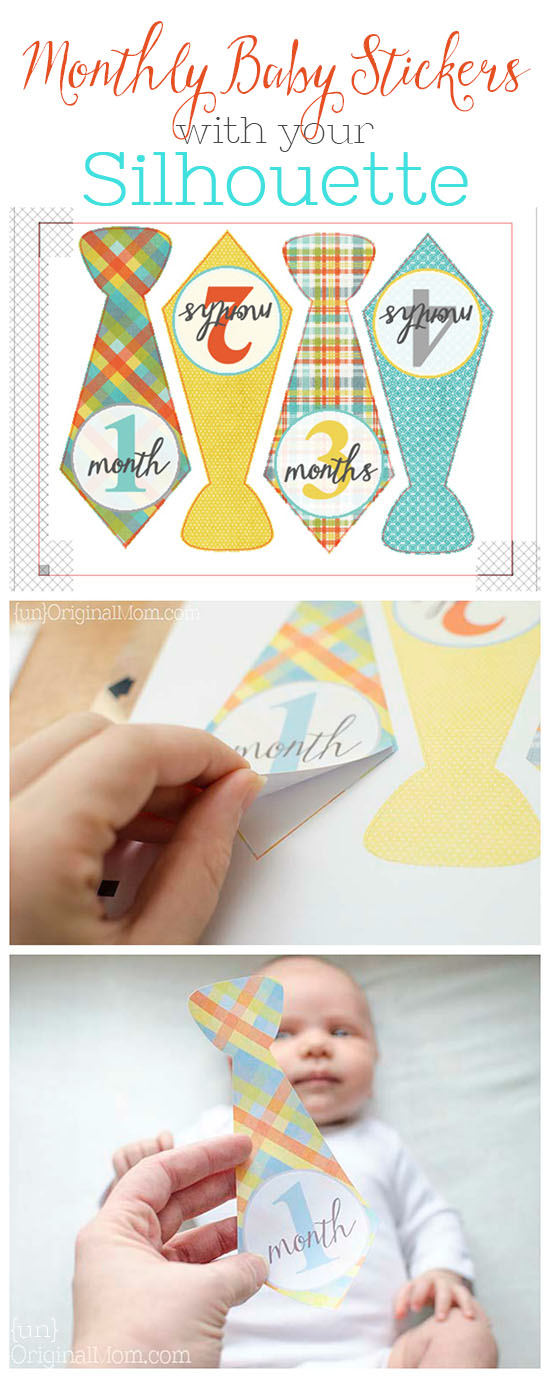
Start with the outline of the shape you want – trace a free clip art image or purchase the shape from the Silhouette Design Store. I decided to do a neck tie, but you could do anything you want. (Most people just do a circle.)
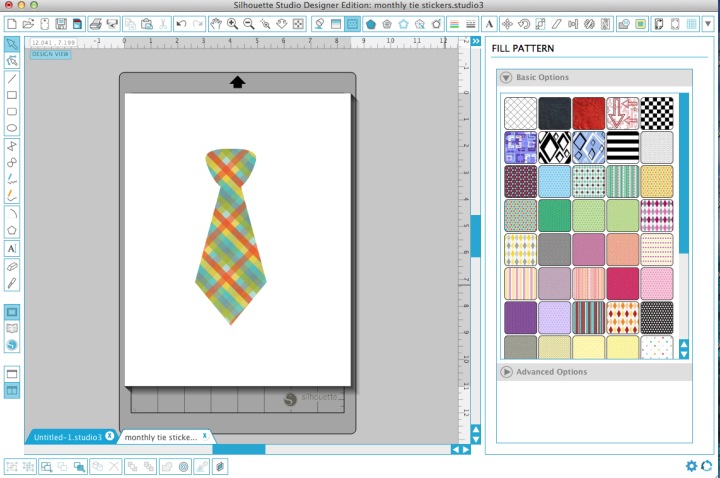
Next, decide on a color or pattern and fill your shape. (There are lots of free “digital scrapbook papers” out there that make great fill patterns. Silhouette School has a great tutorial on importing patterns into Silhouette Studio if you don’t know how to do that.)
Create your text however you’d like to and add it to your shape. I used a white circle, but set the transparency to 15% so you could still see the pattern through it a little bit. Then I added a thick colored outline to the circle. Don’t forget that the align tool as an easy way to center your text.
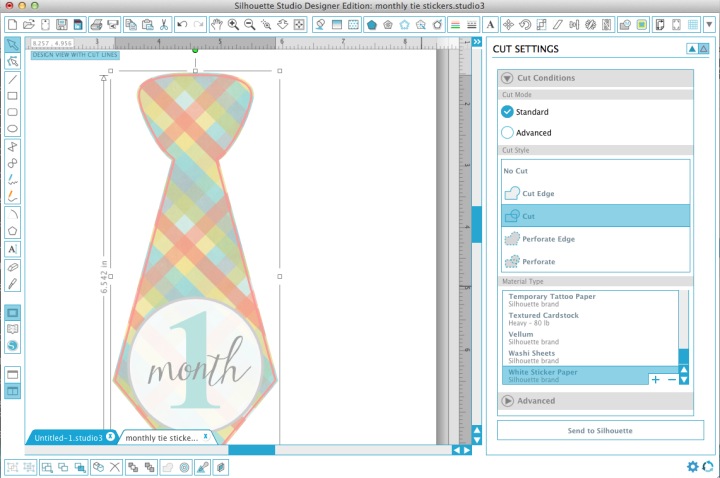
I like to create a cut line using the internal offset tool so that even if the cut is off by a tiny little bit, the background pattern still goes from edge to edge of the cut sticker. Take a moment before you duplicate your shapes to select all the lines to “no cut” except the internal offset line you just created. (In the V3 software, this is under “adjust cut settings” in the cut settings menu.)
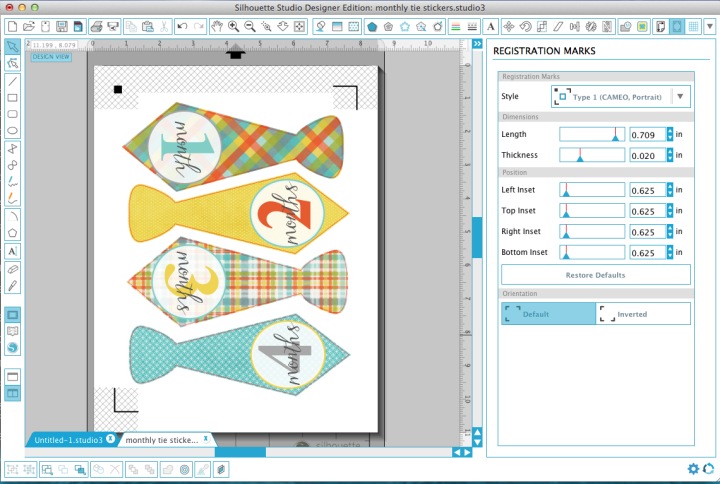
Once you’ve duplicated your design into 12 months (you can use the same design for all 12 months or create variations like I did), you’re ready to print and cut. Add registration marks and arrange as many as you can fit onto one sheet of paper.
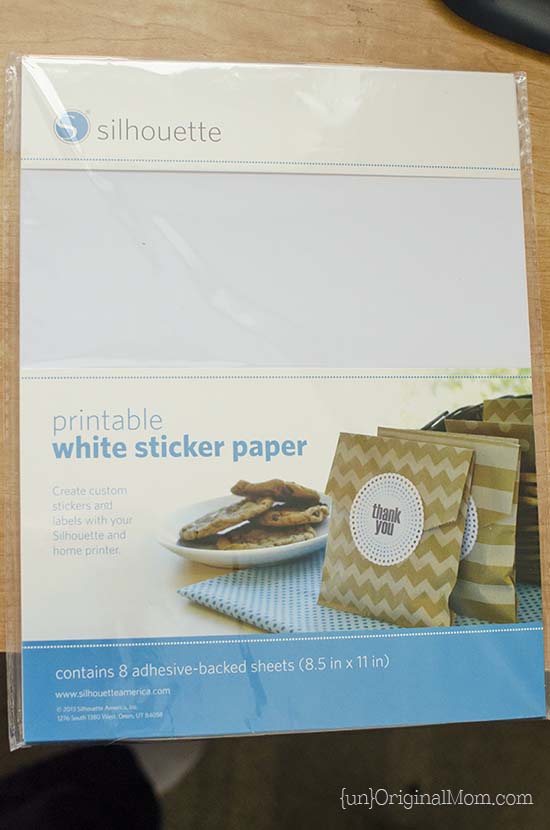
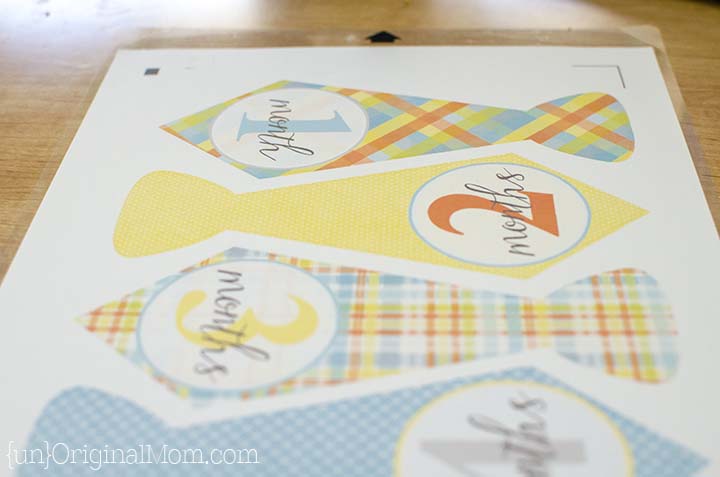
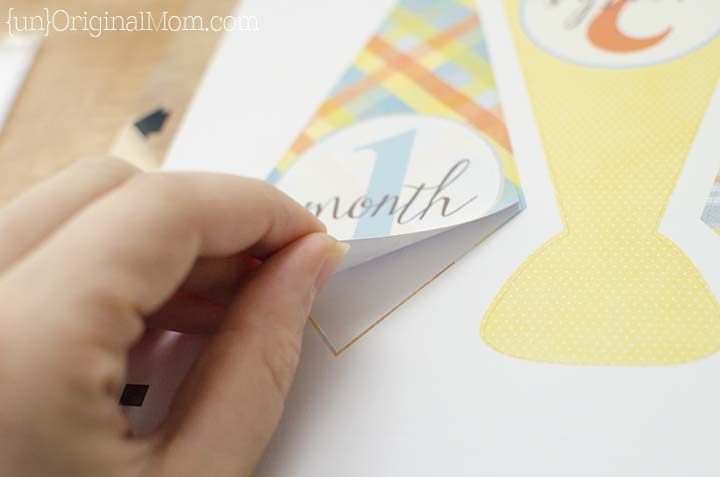
I used Silhouette Brand Printable White Sticker Paper. It printed and cut very well, but it wasn’t quite sticky enough to completely adhere to the onesie when I was taking photos…so for the rest of the months I might try a different brand of sticker paper.
Load the sticker paper into your printer, and print!
Stick it on your mat and load it into your machine. Before you cut, don’t forget to have your software detect those registration marks.
Double check that you’ve only got your internal-offset-outline set to cut, then cut away!
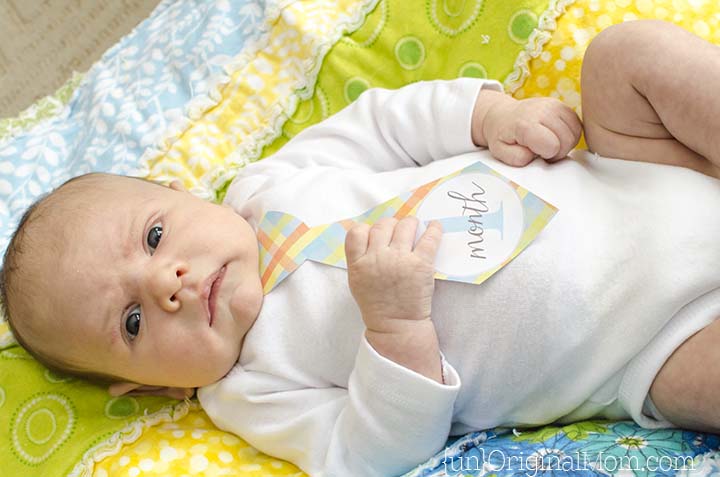
Continue with the rest of your months, and you’ve got a year’s worth of baby milestone stickers personalized just for your little one! Now for the fun part – taking pictures!
I know, he’s not nearly as photogenic as his big sister – yet. Such a serious face all the time. We’ll try to get a smile next month!
These would make a great baby shower gift too, don’t you think? Put it together with a baby organizer folder or maybe some personalized baby onesies and you’ve got the perfect combo of practical and fun DIY baby gifts!
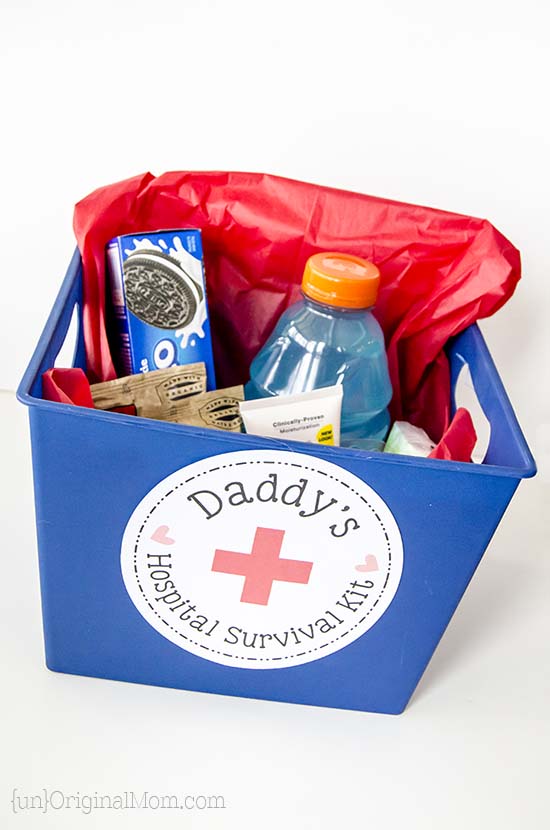
You might also want to check out this Daddy’s Hospital Survival Kit…
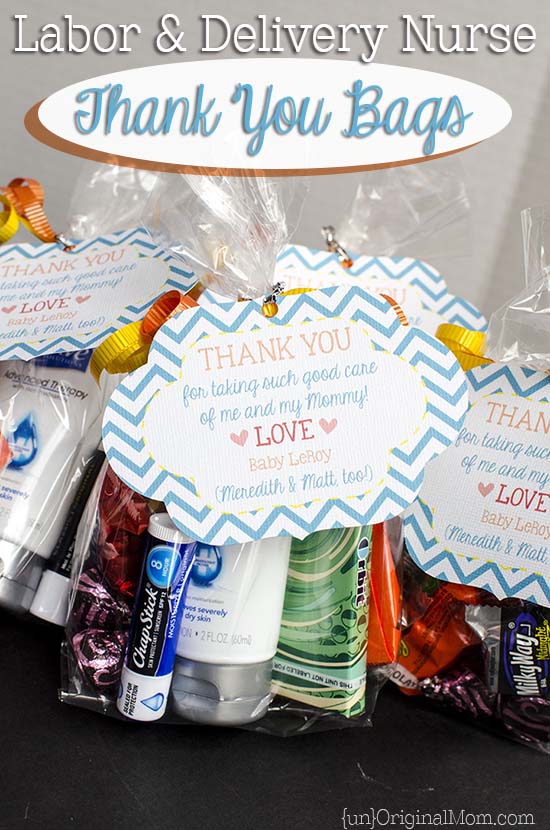
…and these Labor & Delivery Nurse Thank You Bags!
Making baby stuff is so much fun, isn’t it?
This post contains affiliate links – click here to read my full disclosure.


Subscribe to unOriginal Mom via email and get instant access to my library of FREE Silhouette Studio & SVG cut files - exclusively for email subscribers. Plus there's a new file added every month!






Super cute, Meredith!
[…] […]
This is SO CUTE! It’s exactly what I want to do for my cousin. Do you have a source list for the different patterns and shapes?
Hi Cathleen! The patterns I used were from this free bundle – http://www.designsbymeganturnidge.com/blog/?p=3062 And I think I covered all the other shapes in the post tutorial! I’m sure your cousin will love them!!
Is there a different way to make the sticker monthly ties? Can I use a printer and Avery paper, and reverse them in the paint program, to print them ha beards, and iron the ties to the onies? I saw them on Pinterest, but I have forgotten which site I saw them one.
Please help me, the baby shower is March 19, 16. Thank you,
Bobbie
Hi Bobbie, you could probably do something similar with printable heat transfer paper if you wanted to iron them on. If you bought a package I’m sure the instructions would be included. The only hesitation I would have with that is making sure the onesies are the right sizes…my baby boy was wearing 3-6 month size onesies as a newborn, and 12 month onesies when he was 6 months old, so if I’d ironed them onto onesies he wouldn’t have fit in them, so I’m glad I used stickers that I could stick onto any onesie or outfit I wanted.
Hi! I am new to Silhouette but wondering if you used the Silhouette pens to color the background of the tie and then also the 1 month and so forth? How did you set the pattern to do the different colors one at a time?
Hi Shirlee, I used my home printer and printed all the graphics onto plain sticker paper first along with registration marks (you can see the registration marks in the corners of the printed sticker sheet in the 9th photo) – then I had my Silhouette “read” the registration marks so it knew where to line up the cuts. That’s referred to as a “print and cut” – it’s quite possibly my favorite thing to do with my Silhouette!
Hi Meredith, I am really interested in making these stickers. :) I just want to know what type of machine you used to have the registration marks cut? Like you can just peel the sticker instead of using scissors to cut it.
Hi Julya, I used my Silhouette Portrait (a Silhouette Cameo is a slightly larger version of the same machine). It is an AMAZING craft cutting machine and by far my favorite crafting tool ever. It will do a “kiss cut” on materials like sticker paper where it just cuts through the top sticker layer and not the backing, so it’s really easy to design your own stickers, print them on plain sticker paper, and have the Silhouette cut whatever size/shape you’ve designed.
What fonts did you use for the numbers and for the word “months”? Thanks!
[…] Month to month Baby Stickers […]
[…] DIY MONTHLY BABY STICKERS […]
[…] Van maand tot maand babystickers […]
Congratulations on your little man turning one month old! Time really does fly by, especially in those precious early days. It’s wonderful that you found a creative way to capture those milestones with the baby tie stickers. The DIY approach with the Silhouette sounds both personal and fun. Cherish these moments with your growing family!
I love how small details like these can turn into cherished keepsakes over the years. It reminds me how important organization is in all aspects of life – whether it’s family photos or professional tools. Using equipment tracking software in business is kind of like labeling milestones at home – it keeps everything in order and easy to revisit.
That’s a really clever tip – using the internal offset tool makes such a big difference in keeping stickers neat and professional-looking, especially for DIY projects. It’s amazing how small adjustments can completely change the final result. Creativity is one side of the process, but reliable tools and systems also matter when turning ideas into finished products. For businesses looking to streamline their printing and workflow needs, Docutrend provides smart solutions that make projects easier and more efficient.
Wow! These stickers look so cute. I will make some stickers to give my baby.
The DIY monthly baby milestone sticker idea is fantastic—meaningful for tracking a child’s growth! Handicrafts require focus, but waiting for printing or cutting is often boring. I suggest opening dle games during these breaks and playing a quick casual game to make the waiting time fun.