I was provided the stencil, sponges, and glitter for this project, but all opinions are entirely my own!
Mod Podge has a new product out – Peel and Stick stencils! So, pretty much anything that you can put Mod Podge on, you can use this stencil on as well!
At first, I was a little bit baffled…what in the word would you be able to do with a stencil for Mod Podge? After a bit of web browsing and trying it myself, I’ve realized that the better question is what CAN’T you do with a stencil for Mod Podge? The original intent was to stick the stencil to your surface, apply the Mod Podge with a sponge, peel up the stencil, and then add glitter or another type of embossing/flocking powder to the wet Mod Podge so you end up with raised glitter in the pattern of the stencil…but you can also use it with color-tinted Mod Podge or regular paint…or do what I did – mix the glitter with the Mod Podge FIRST to end up with a more subtle effect.
How does it work, you ask? I will show you!
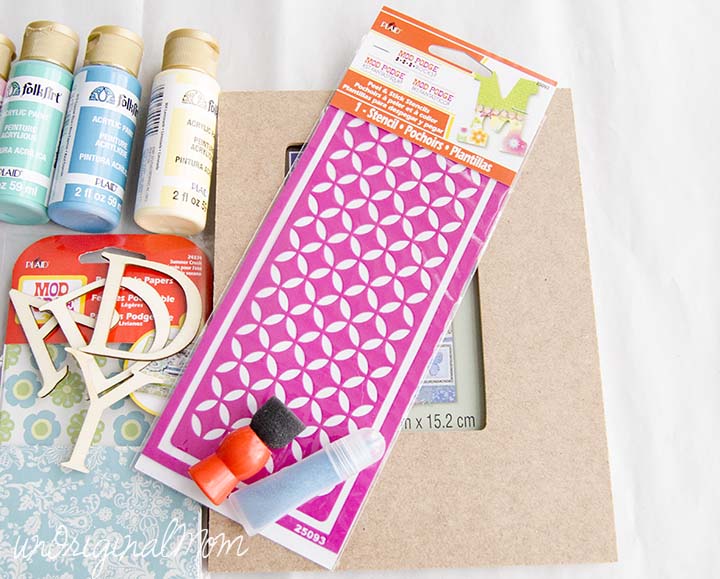
I used a plain wood frame from Michael’s, regular Mod Podge, and blue glitter. (The podgeable paper, letters, and paint are for the rest of the project.)
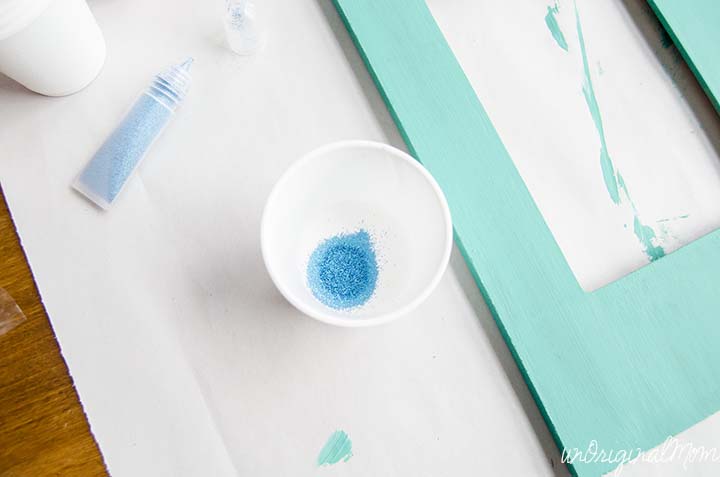
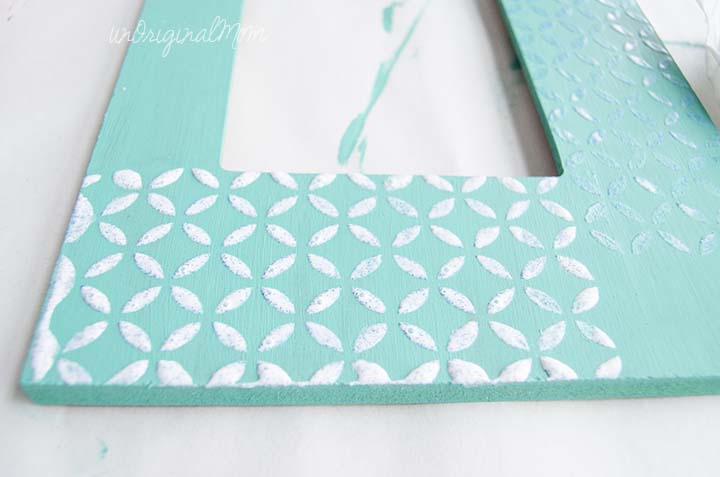
After applying a coat of paint to the frame, I mixed some glitter with Mod Podge and stuck my stencil onto the frame. (The stencil is actually sticky on the back as the name implies – the instructions say that it should stay sticky for about 20 uses.)
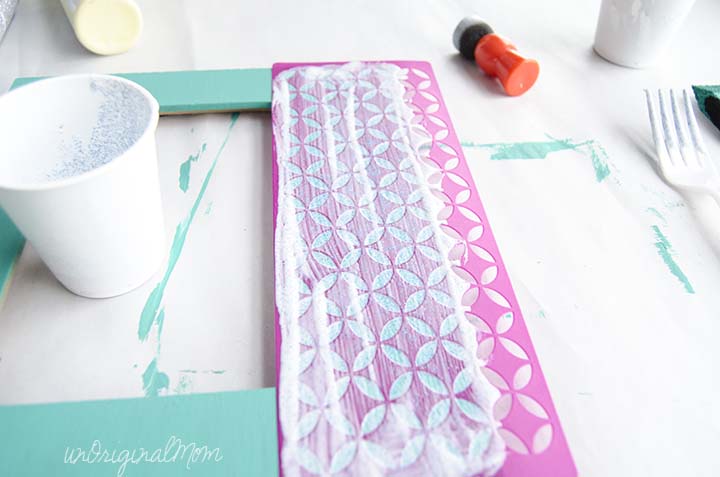
Then, using a sponge, I applied the glittered Mod Podge onto my stencil. I put it on fairly thick, but tried to be as even as possible. (I evened it out after I took this photo, I promise!)
Mod Podge dries pretty fast, so you have to work fairly quickly. I carefully peeled up the stencil and immediately rinsed it off. Once the first section had dried a bit, I moved on to the next part of the frame.
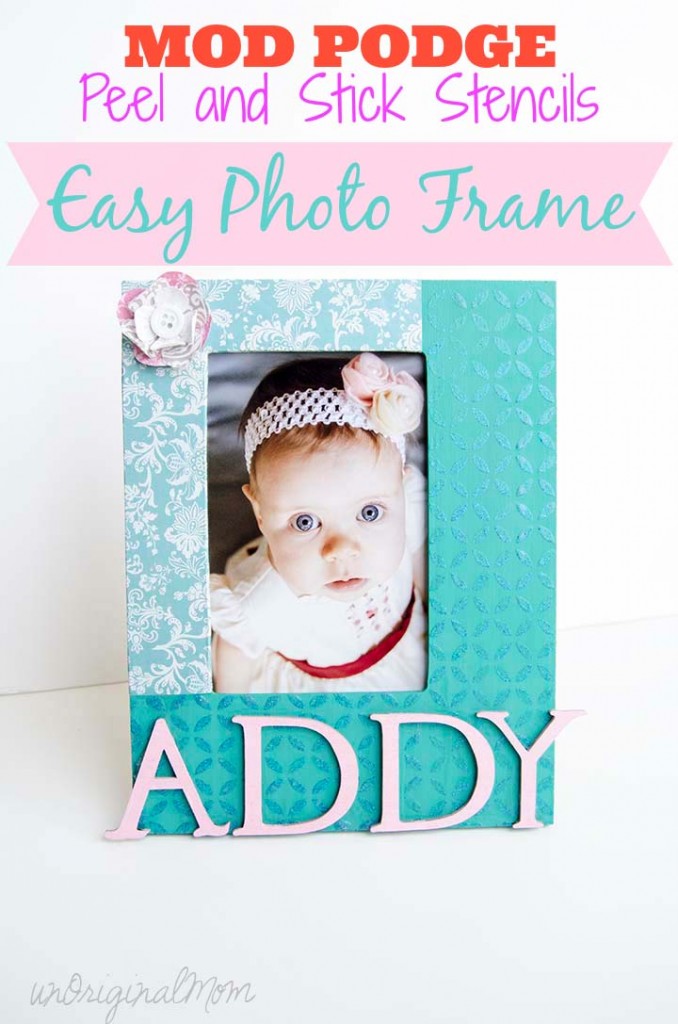
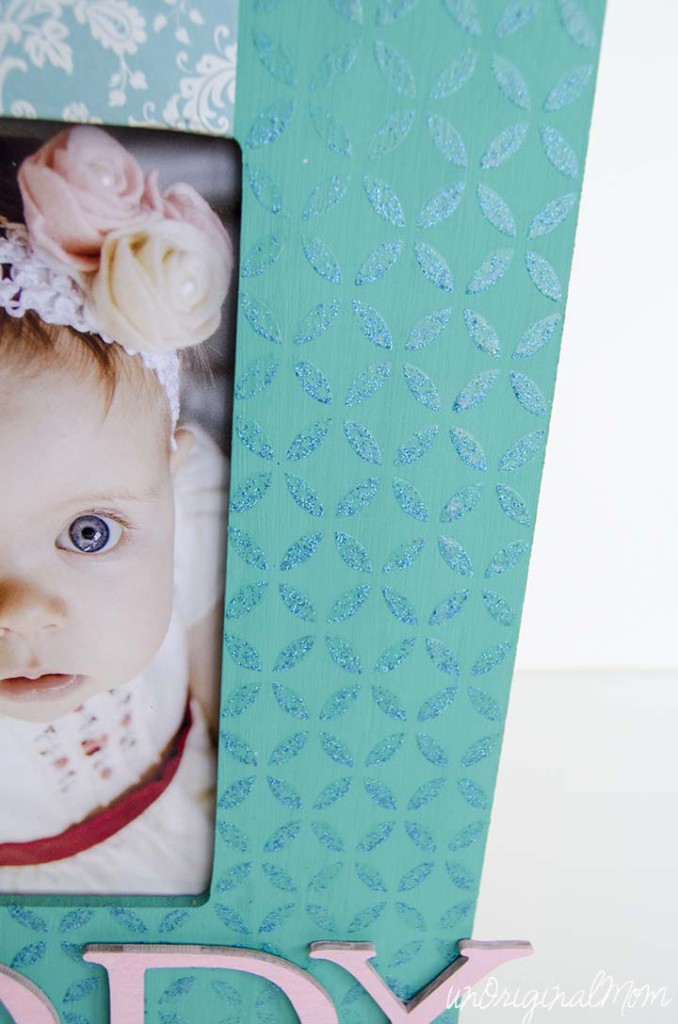
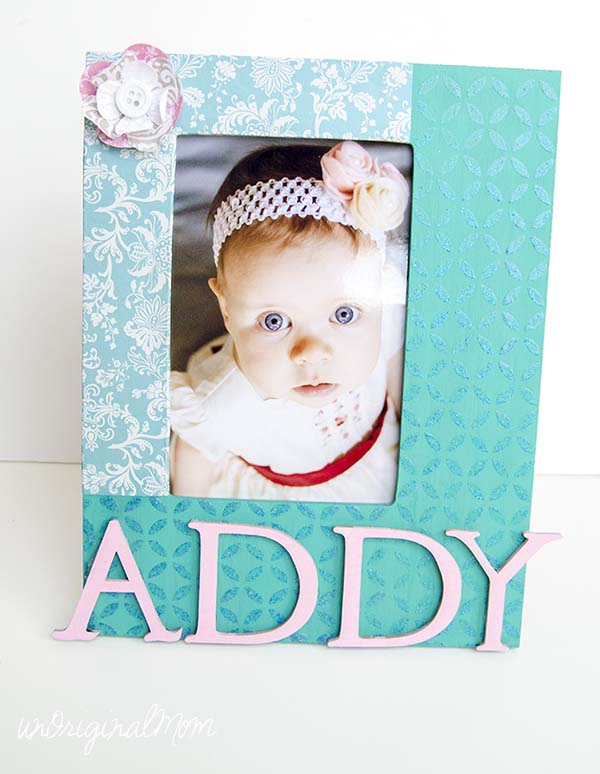
After it dried completely, it was such a lovely, subtle effect on the frame! I’m really pleased with how it turned out.
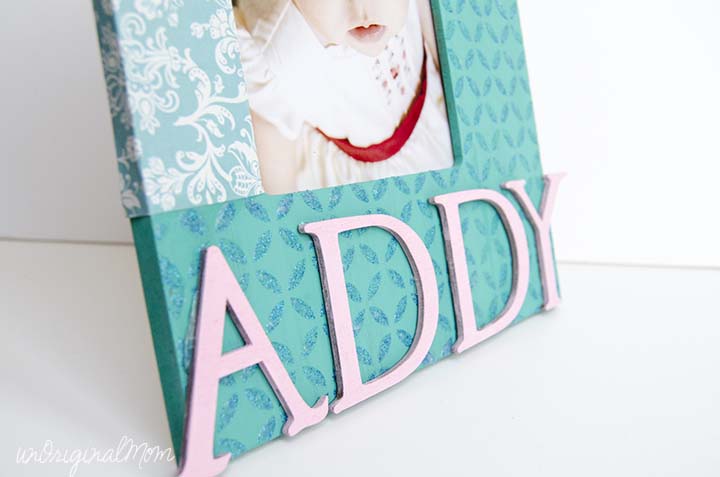
I also decoupaged some paper onto the frame, and then painted wooden letters to spell my daughters name.
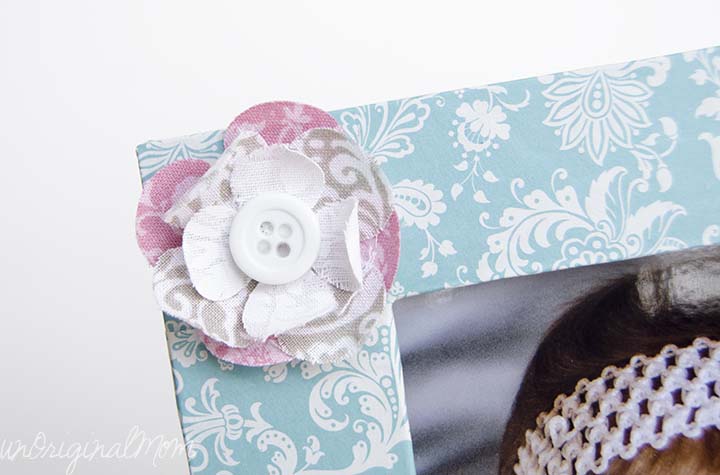
The final touch was a fabric flower cut with my Silhouette, using scraps from my Interchangeable Fabric Bunting project.
This was a fun and easy project! And the photo makes the frame that much more adorable, don’t you think? (Recognize this shot from my Felt Flower Headband post last spring?)
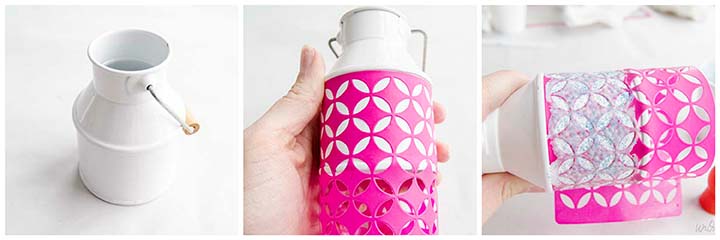
In fact, I enjoyed the stencil so much that I went looking for something else to try it out on while I had the glitter Mod Podge mixed up – and came across this cute little container I’d gotten from Pick Your Plum (affiliate link) a few months ago!
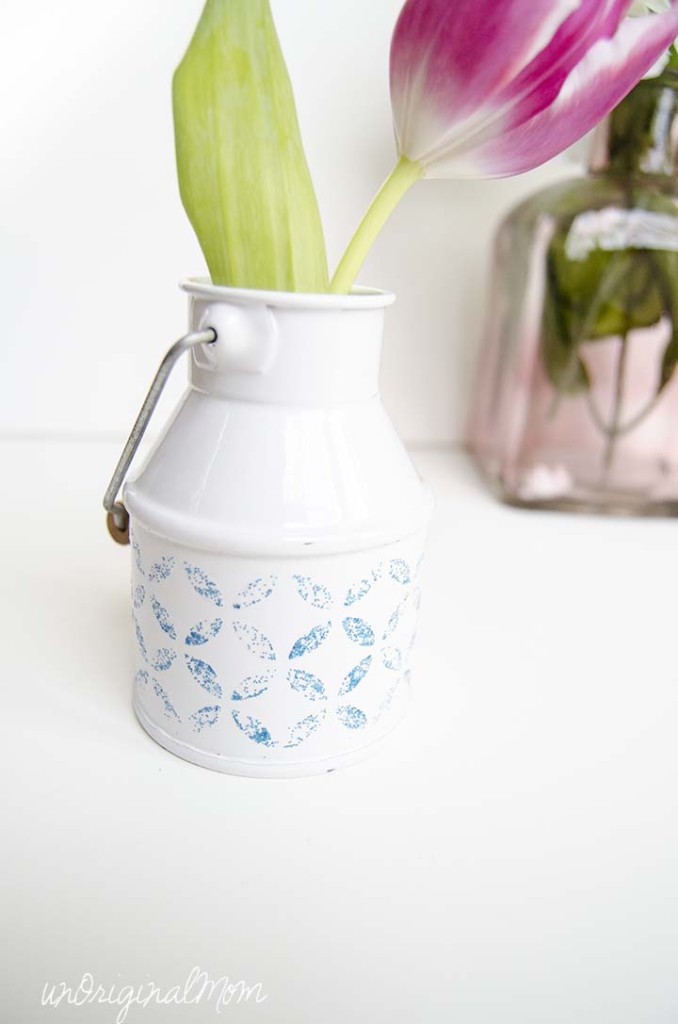
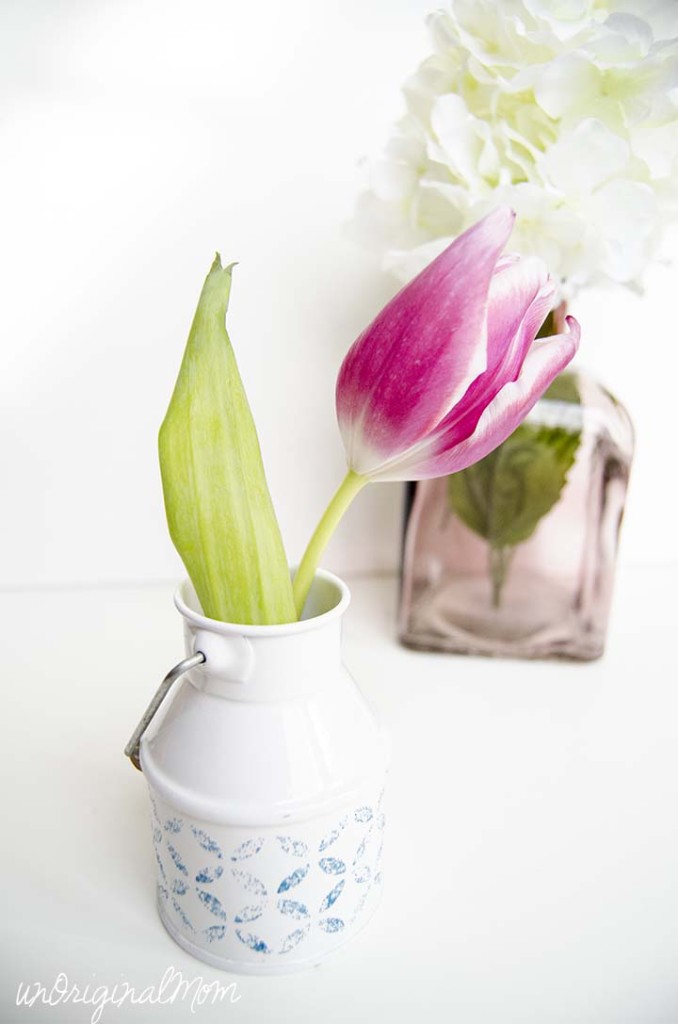
In less than 5 minutes, I was able to give it a little extra glitz!
It just gives it a little something extra, don’t you think? I kind of like the imperfect look of the glitter mixed with the Mod Podge. If you wanted more glitter, you could use plain Mod Podge on the stencil and apply the glitter after you remove the stencil, while the Mod Podge is still wet.
Are you excited about all the possibilities with these new stencils? I know I am!


Get your copy of my FREE meal planning binder!

Sign up to get a free copy of my meal planning system - an 11 page printable meal planning binder, complete with a pantry inventory, shopping list, and more to help get on top of your menu each week!




Love this idea! I was wondering how it would look with the glitter and Mod Podge mixed together like that. Thank you!
I was pleasantly surprised…at first it was looking like it wasn’t going to show up very well, but I like how it turned out once it dried! And it was much easier clean-up to keep the glitter contained :-) Thanks for the opportunity to try out the stencils – it was lots of fun!
Gorgeous Meredith! Your frame turned out so pretty. I also love the mix of glue/glitter on the container!
[…] Pennant Banner ~ Live Laugh RoweDIY Stitched Feather Art ~ Pitter and GlinkEasy Photo Frame ~ unOriginal MomPrintable Bunny Banner ~ I Should Be Mopping the FloorSt. Patrick’s Day Wreath ~ Artsy […]
I love those stencils, but can’t find them at Michaels yet. I will try Hobby Lobby next. I love your baby – those blue eyes just mesmerize me!
[…] unoriginalmom […]
[…] unoriginalmom […]
It’s easy to make at home space waves
A good and quality article, will read more articles. wordle hint
I like your post!
Your wording is very nuanced, adding weight to slope each sentence and emphasizing each theme.
What a creative use of Mod Podge Peel and Stick stencils! Mixing glitter with Mod Podge for a subtle effect is a brilliant idea. Your project with the wood frame turned out beautifully. The step-by-step process you shared is helpful and inspiring. Can’t wait to see more of your creative endeavors with these stencils!
This Mod Podge stencil project sounds so fun! Can’t wait to see your final glittery frame. 🌟