Looking for an easy, fun, and inexpensive craft idea? Make a reverse canvas with this HTV Reverse Canvas Tutorial. I made an ombre “Life is Better at the Beach” reverse canvas with heat transfer vinyl, but you can use this technique to make decor for any season or occasion!
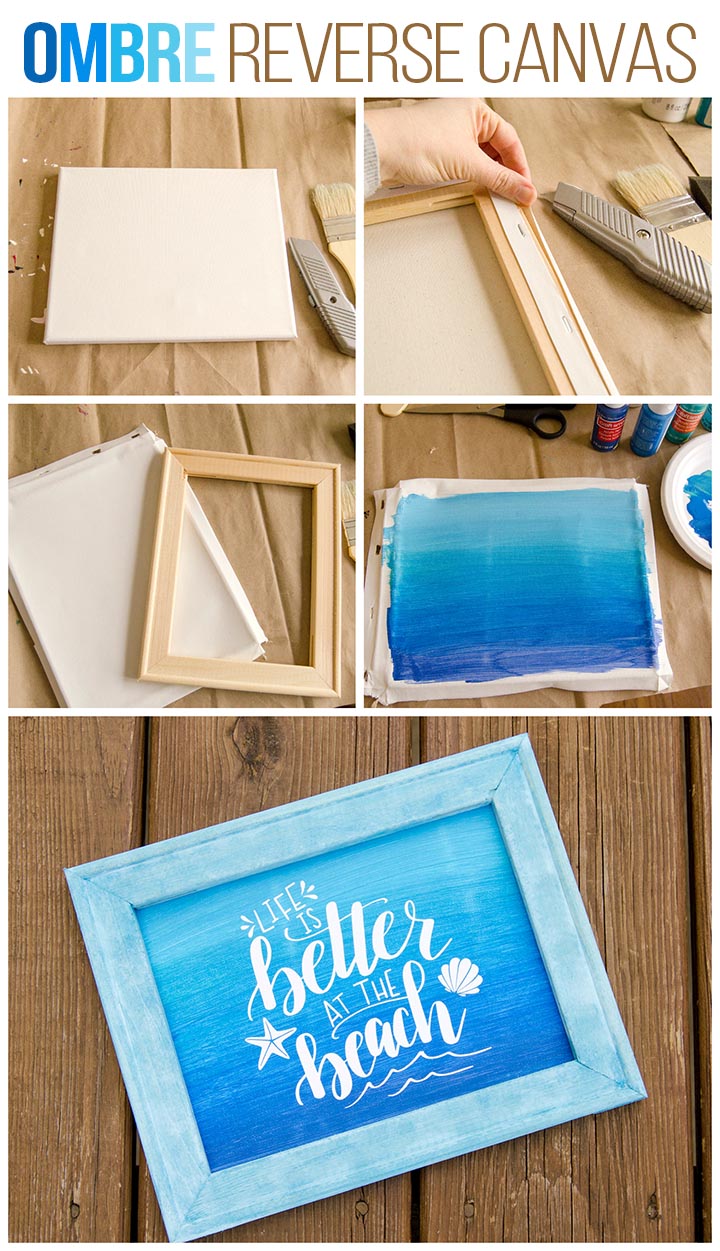
Who’s ready for the beach??? Meeeeeeeee!! We’ve got a beach vacation planned this month and I cannot wait! Unfortunately my margaritas will be virgin this year, but I’m still looking forward to sitting on the beach with a cool drink and a good book while the grandparents and aunts and uncles play with my kids ;-) I whipped up this “life is better at the beach” sign to donate to a beach themed basket for a silent auction at my daughter’s school…but I’m thinking I need to make another one to keep at my house!
I am SUPER late to the party, but I finally tried out this whole reverse canvas thing….and I have to say, it is pretty darn nifty. Especially considering you can buy budget brand canvases at the craft store for a few dollars or less, this is a low-stakes-high-reward kind of project! Add in heat transfer vinyl, and you’ve got professional looking framed canvas art in under an hour, for less than $5. If you haven’t tried making a reverse canvas yet, you need to! And I’ve got an easy HTV reverse canvas tutorial right here for you…I promise, it’s not hard :-)
HTV REVERSE CANVAS TUTORIAL – SUPPLIES:
(This post contains affiliate links. Click here to read my full disclosure.)
- Artist canvas, any size – I used an 8×10 (keep in mind when you “reverse” the canvas, your frame goes inside that space, so the actual canvas ends up being inch or so smaller all the way around)
- box cutter or X-Acto Knife
- craft paint & paint brushes
- staple gun
- heat transfer vinyl & Silhouette CAMEO or Portrait (or another craft cutting machine)
- iron or heat press (I love my EasyPress!)
- “Life is Better at the Beach” cut file (available for purchase in my Etsy Shop)
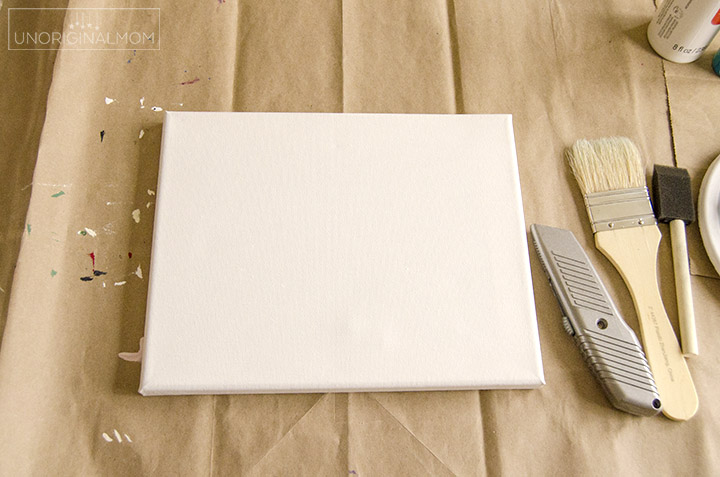
HTV REVERSE CANVAS TUTORIAL
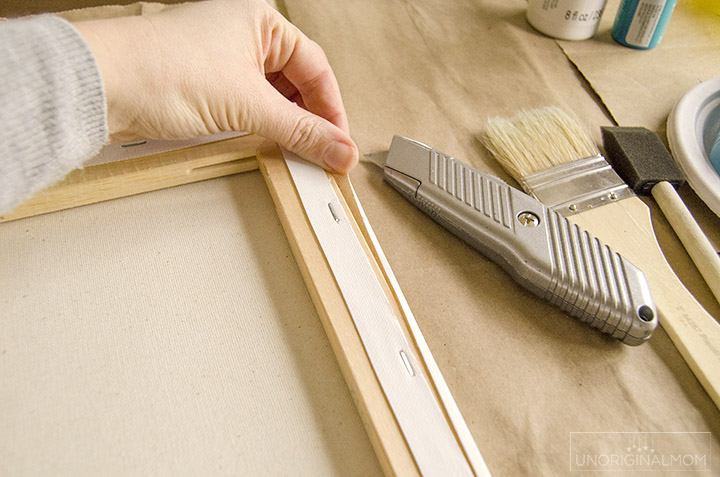
STEP 1: Turn the canvas over, so you can see the framing on the inside. Using a box cutter or X-acto knife, carefully cut the canvas off of the frame.
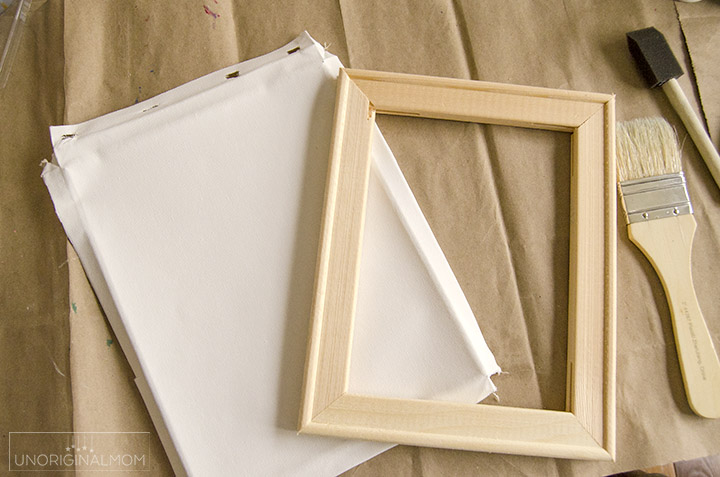
This is what it will look like when you’re done. Did you know that perfect little wood frame was hiding underneath the canvas???
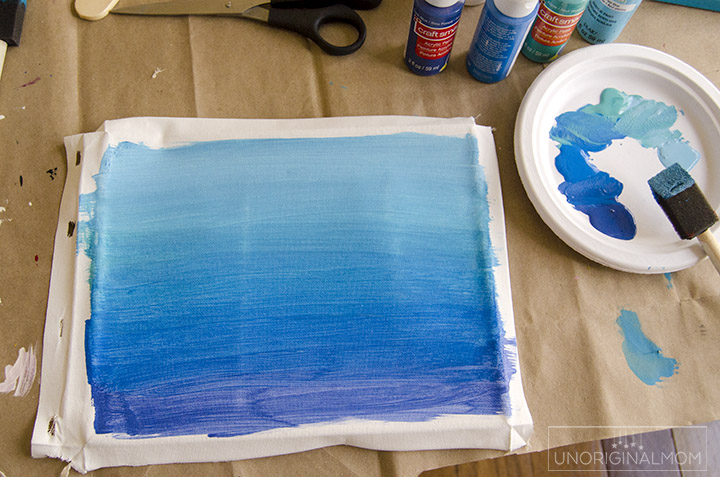
STEP 2: Paint your canvas, however you’d like! I wanted a beachy-blue ombre look, so I took 4 shades of blue craft paint and mixed them on a paper plate. Then I painted them on the canvas, starting with the darkest shade of blue and gradually working to the lightest.
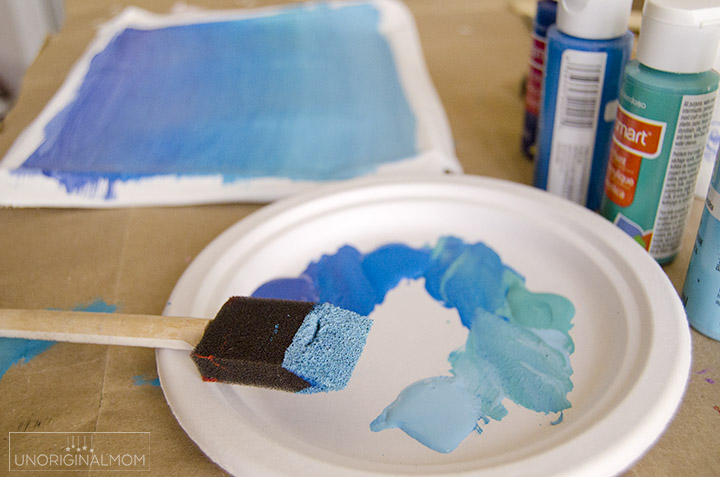
You don’t need to paint all the way to the edges, just wide enough to stay inside the frame.
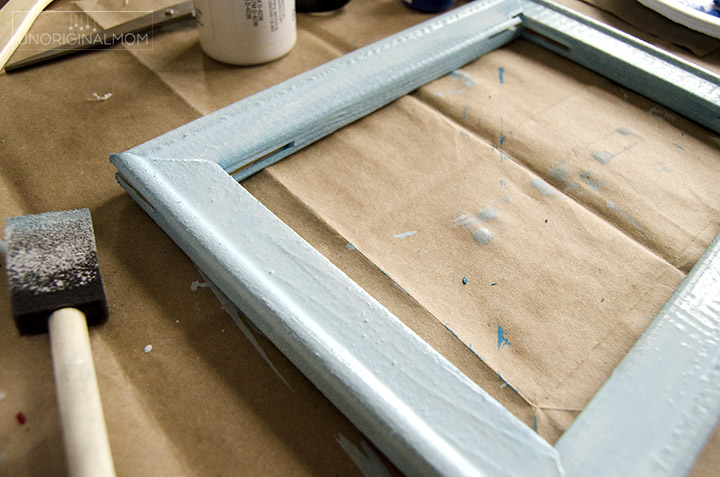
STEP 3: Paint or stain the wood frame. I went for a bit of a whitewash effect, so I painted the frame with a light blue color, let it dry, and then painted over it with watered down white paint.
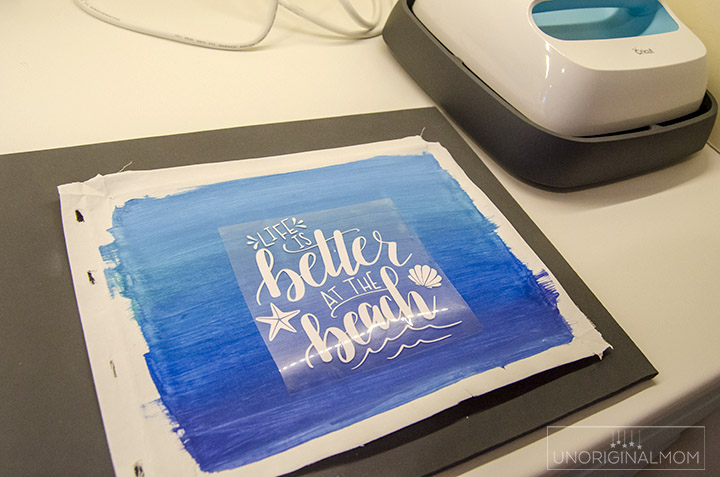
STEP 4: Using your Silhouette, cut your design out of heat transfer vinyl. (Don’t forget to mirror your image before cutting!) Then, using an iron or a heat press (I LOVE my EasyPress!), adhere the HTV onto the canvas.
If you don’t own a craft cutting machine, you can paint or stencil whatever you’d like onto the canvas!
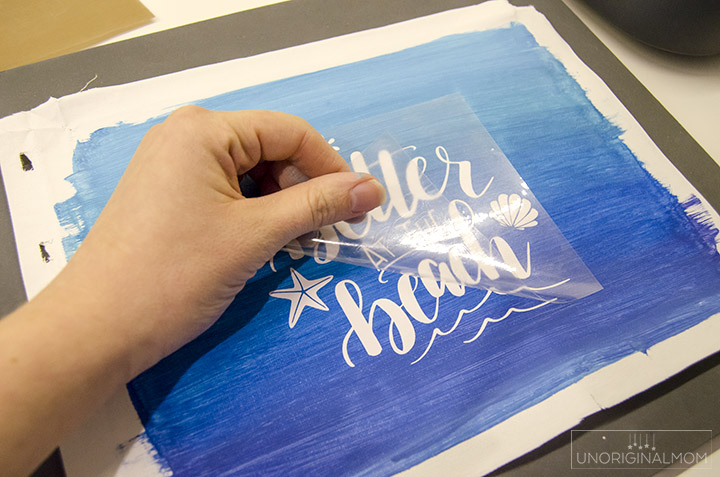
STEP 5: Center your design inside the frame, and use a pen or pencil to trace a line around the frame so you can trim down the canvas. Then, turn it over and carefully staple your canvas onto the frame. Make sure it’s pulled pretty tightly – I like to add one staple, spin the whole thing 180 degrees, pull tight, and add another staple. Then rotate 90 degrees and repeat, until you’ve stapled all the way around.
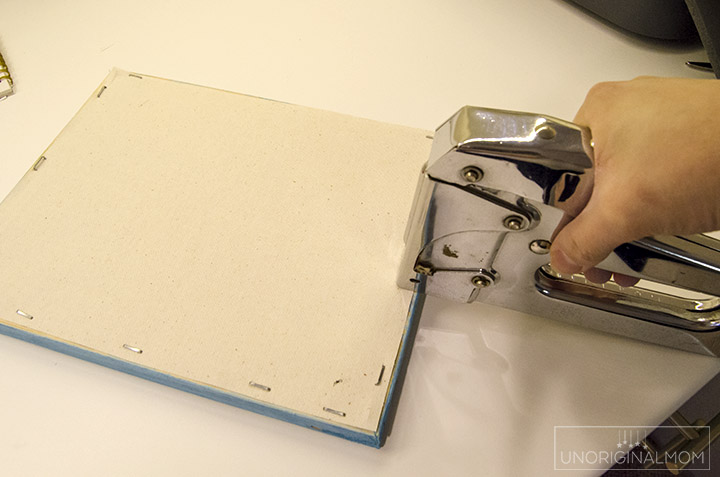
That’s it! Wasn’t that easy? Admire your completed HTV reverse canvas…and then start planning your next one ;-)
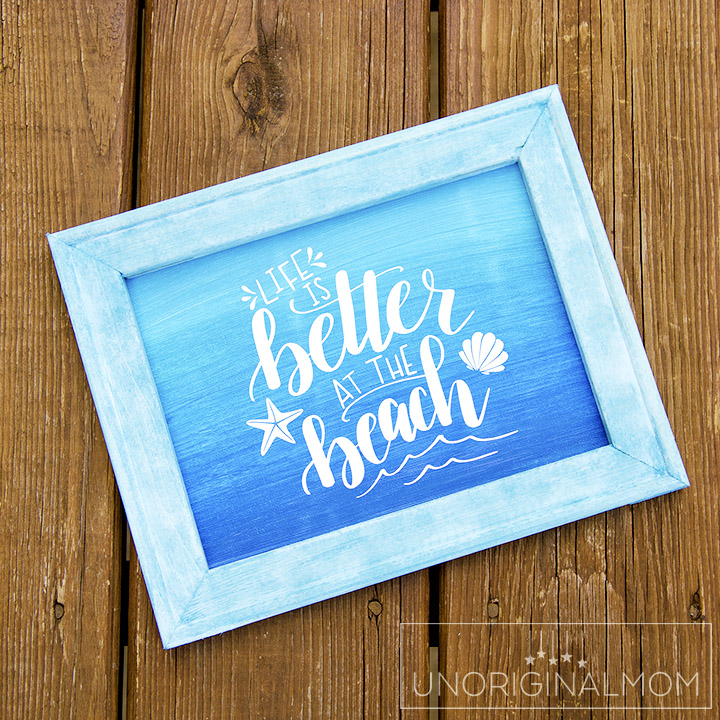
FLASH FREEBIE
This is a brand new thing around here…but as I create more and more cut files (thank you, iPad + Procreate!) I’m going to start adding them to my Etsy shop as SVGs. To thank you for being a loyal reader, though, before I move them to my Etsy shop I’ll be making them available in my Free Cut File Library for a limited time (about a week). So, hurry on over and snag this hand lettered “Life is Better at the Beach” free cut file before it disappears! It would be perfect to put on a beach tote bag or t-shirt, too!
Sorry, you’ve missed this Flash Freebie! But don’t worry, you can still snag it – this file is currently available for purchase in my Etsy shop here.
Don’t miss future Flash Freebies! Sign up for my email list here. (You’ll get access to dozens of free cut files, too!)


Subscribe to unOriginal Mom via email and get instant access to my library of FREE Silhouette Studio & SVG cut files - exclusively for email subscribers. Plus there's a new file added every month!




I love your posts. You’re so helpful to a new Silhouette owner. These things have a real learning curve for sure.
Thanks so much, Sue, I’m so glad you’re finding them helpful! There definitely is a learning curve, but the best advice I can give is to just USE it a TON. Try out all kinds of projects and don’t be afraid to mess up.
Thanks for your tutorial. I have been hesitant to try this, as most posts have you taking out the staples of the whole canvas.. your method is much easier. I will have to try this!
thank you!
This is awesome! What brand of canvas do you buy I have bought two different brands and both have staples on both sides leaving marks that are hard to sand down. Thanks.
I just get the cheapest ones from Michael’s, I’m not sure of the brand though, sorry!
I didn’t know HTV would stick to the canvas if it was painted. This changes everything! :) Thank you!
How long and what temp do you use your easy press for HTV on canvas? Is it different if the canvas isn’t painted?
I have a printable temperature guide from Hey Let’s Make Stuff next to my EasyPress (https://heyletsmakestuff.com/heat-settings-for-the-cricut-easypress/) that I follow, so I just used the normal canvas temp/time. No different with paint!
So the paint didn’t melt onto your easy press, right? That’s what I’m afraid of!
Nope! :-)
How can you use heat on the painted canvas without it melting or changing the paint?
Mine was totally fine. If you’re concerned about it you could always test a small part before you press the whole thing.
Why don’t you paint the canvas while it is still attached to the frame? Stretched canvases are easier to paint on.
You’re absolutely right, I could have done that! I liked being able to set the frame down on top of the canvas to get more of an idea of how it would look in the frame, but I certainly could have painted it before I took it off the canvas. I guess it’s just personal preference.
This reverse canvas tutorial is awesome! I love how easy it is to make beautiful decor. Can’t wait to try it for a beach-themed piece like yours. Thanks for sharing! 🌊