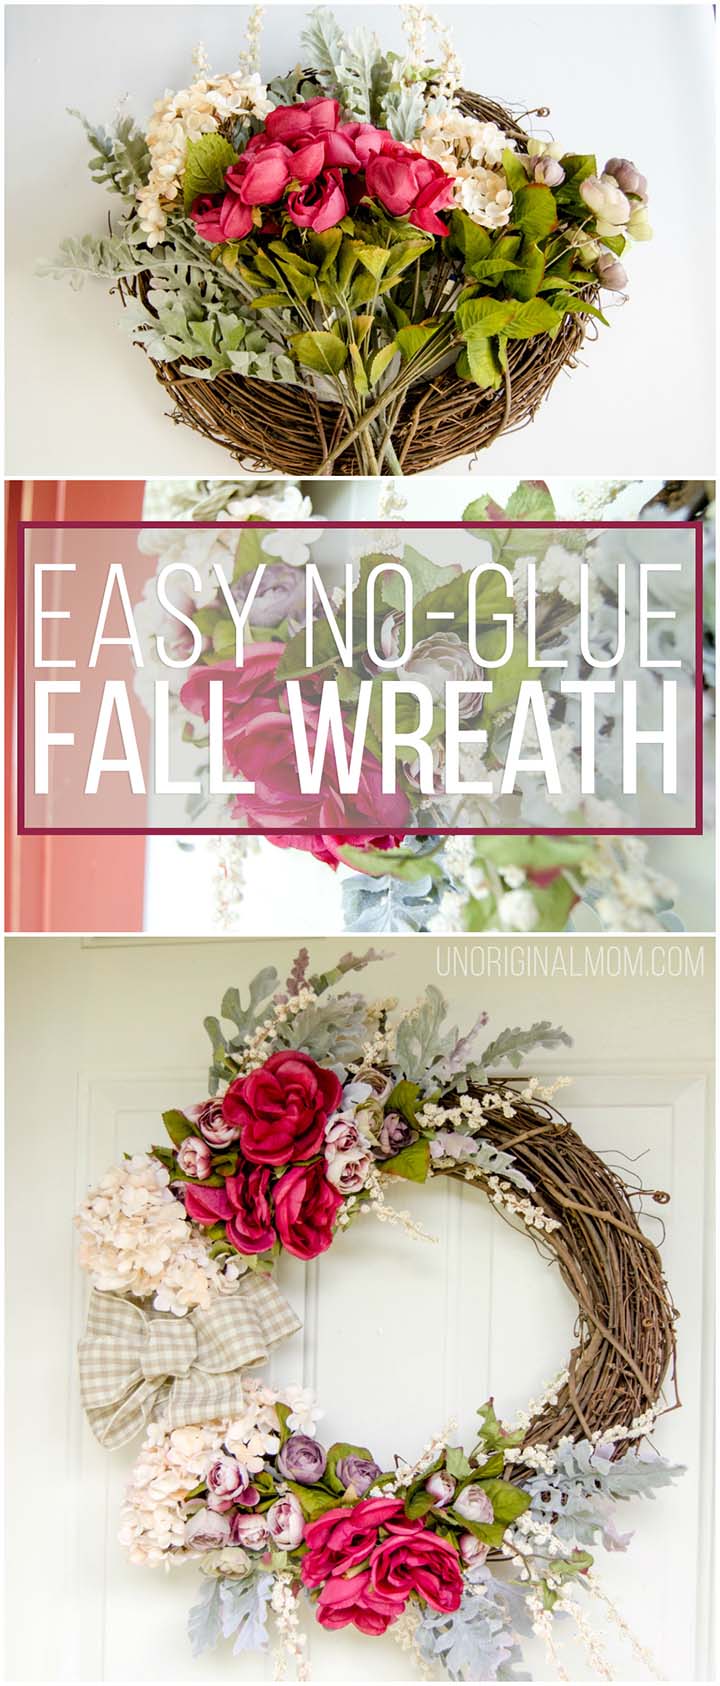
This super simple no-glue fall wreath tutorial walks you through creating a beautiful and inexpensive fall wreath for your front door!
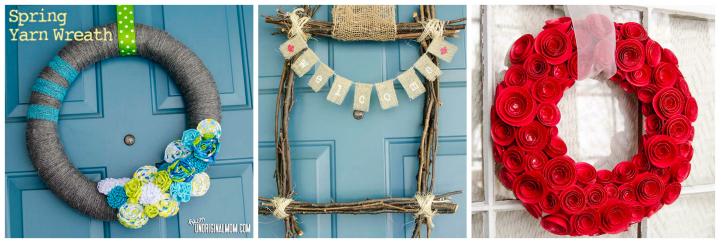
Have you ever made your own wreath? If you consider yourself to be the slightest bit “crafty,” chances are, you have – it’s a home decor staple and usually pretty easy to DIY. Plus, there are SO many ways to make a wreath! Here are a few I’ve made and blogged in the past:
1. Yarn Wreath with Rag Braid Flowers | 2. Twig Wreath | 3. Paper Rosette Wreath
There’s nothing wrong with them at all – but they certainly look homemade, don’t you think? For my fall wreath this year, I was going for something a little less “crafty” looking and go the floral route instead. I’ve never been good at flower arranging, so I was actually a little nervous to see how it would turn out, but I figured it couldn’t to try!
SUPPLIES: (contains affiliate links, click here to read my full disclosure)
- Floral stems (from Michael’s)
- Wire cutters
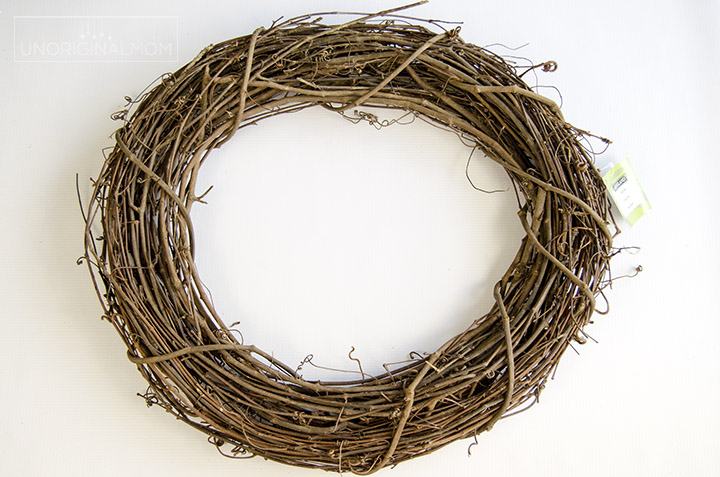
- Grapevine Wreath
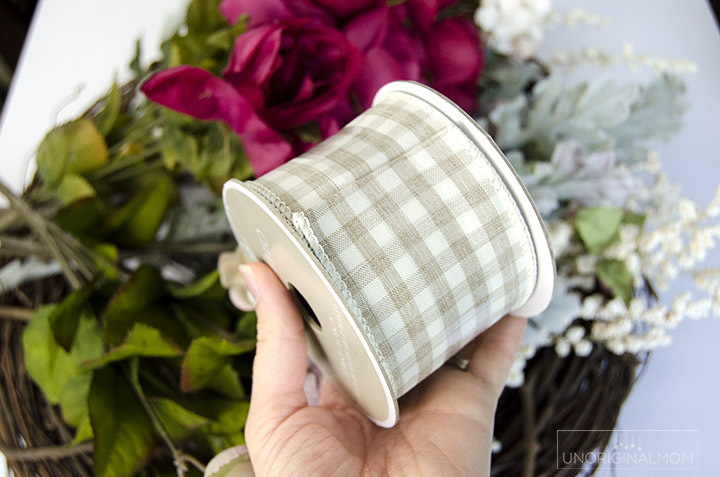
- Wired Ribbon (or other embellishments of choice)
I started with an inexpensive 18″ grapevine wreath.
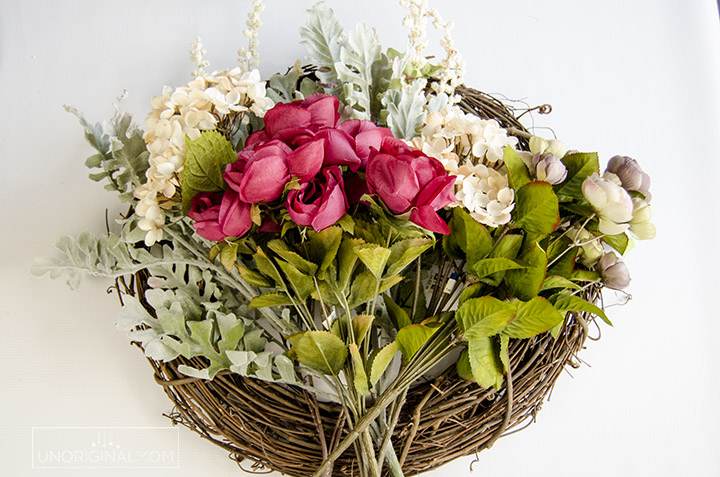
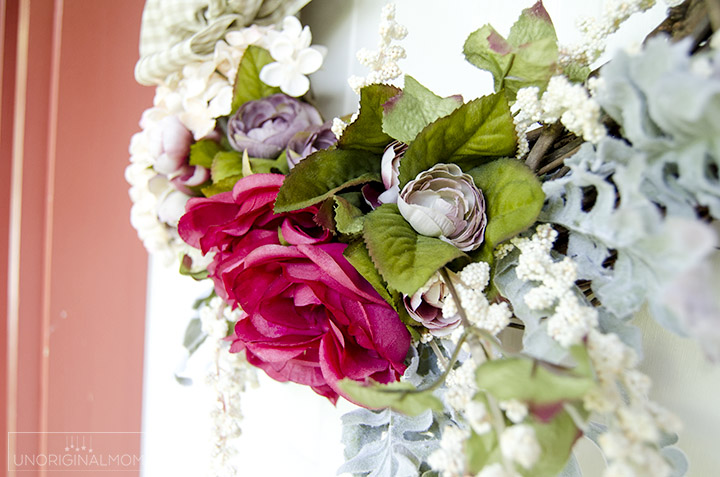
Then I picked up a bunch of faux floral stems from Michael’s. They’re very similar to the flowers I used for my faux pumpkin floral centerpiece last year, which I absolutely loved!
I actually made a similar no-glue wreath with tulip stems last spring but *gasp* I didn’t take any pictures or blog about it! I did post it on Instagram, though, if you want to take a peek.
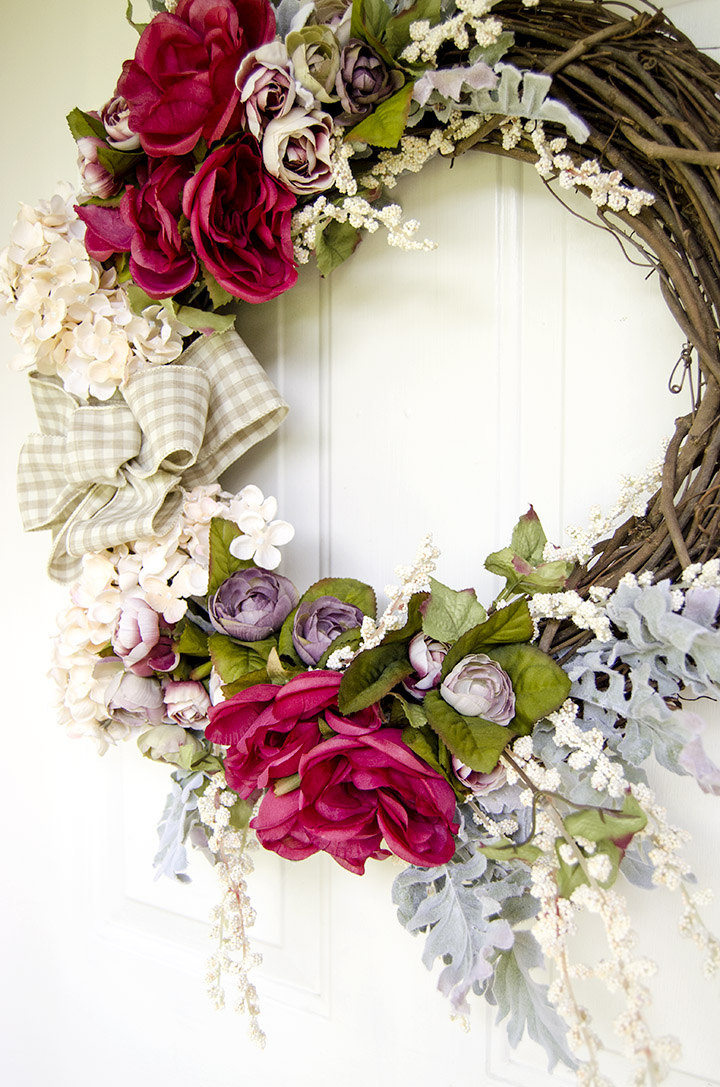
The process of making the wreath really only took me about 20 minutes. I cut the stems apart with wire cutters first. Then, there’s not much rhyme or reason to it – start with longer stems/flowers and then add in the larger blooms, and just tuck the stems right into the grapevine wreath as you go. If you don’t like it, pull it out and try again! I took a video as I made the wreath and condensed it so you can see the whole process:
The ribbon certainly isn’t necessary – you could keep filling the wreath as much or as little as you want, adding embellishments like pine cones, acorns, faux pumpkins, etc. using floral wire. If you decided to use a ribbon you may have to break the “no glue” rules and use a dollop or hot glue to hold it in place, but I’ve done it by just tying it tight when I’m too lazy to get the glue gun out ;-)
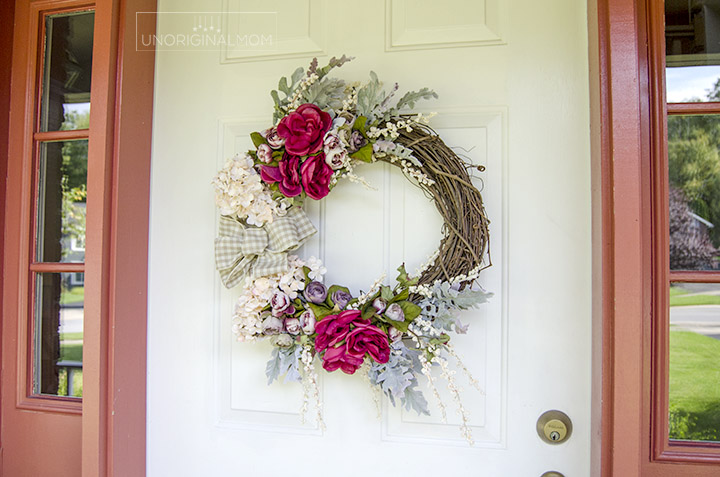
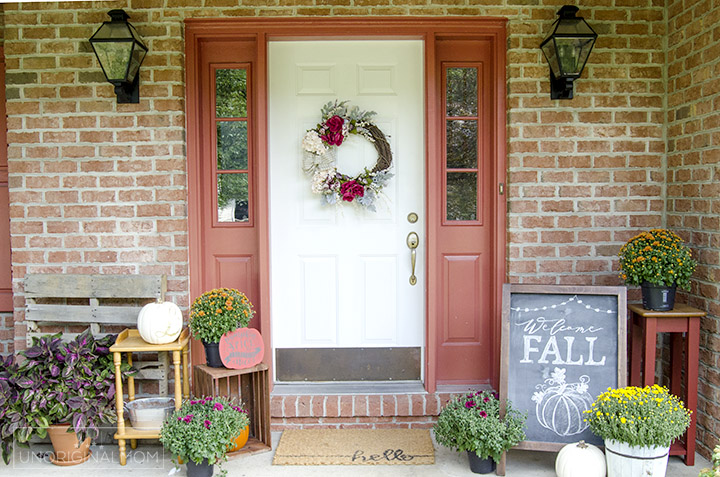
Here’s how it looks on my front door!
So pretty, right? And I promise you I’m not lying when I say it took me less that 30 minutes to make, start to finish. Here’s how it looked on my porch a few weeks ago, though the porch decor has gotten a few additions and tweaks since then ;-)
And just to prove how easy this is, my fashion-blogging and self-professed “not at all crafty” neighbor whipped up her own gorgeous fall wreath using this technique, too. You can see hers here.
Want to remember this fall wreath tutorial for later? Be sure to pin it, or head on over to Facebook to share the “how to” video there!


Get your copy of my FREE meal planning binder!

Sign up to get a free copy of my meal planning system - an 11 page printable meal planning binder, complete with a pantry inventory, shopping list, and more to help get on top of your menu each week!






My cute nephew really gonna love this and I should give this a try right now! Amazing work Meredith!
Glad to hear from you on this: How To Make A Sparkle Ball With Plastic Cups
Awesome job. I like your color choice also.
I love how easy and fun this no-glue fall wreath tutorial is! It’s a creative way to add a seasonal touch to your home without the mess. Using simple, affordable materials makes it an enjoyable project, and the result is a beautiful, personalized decoration perfect for welcoming autumn.
gender reveal confetti cannon