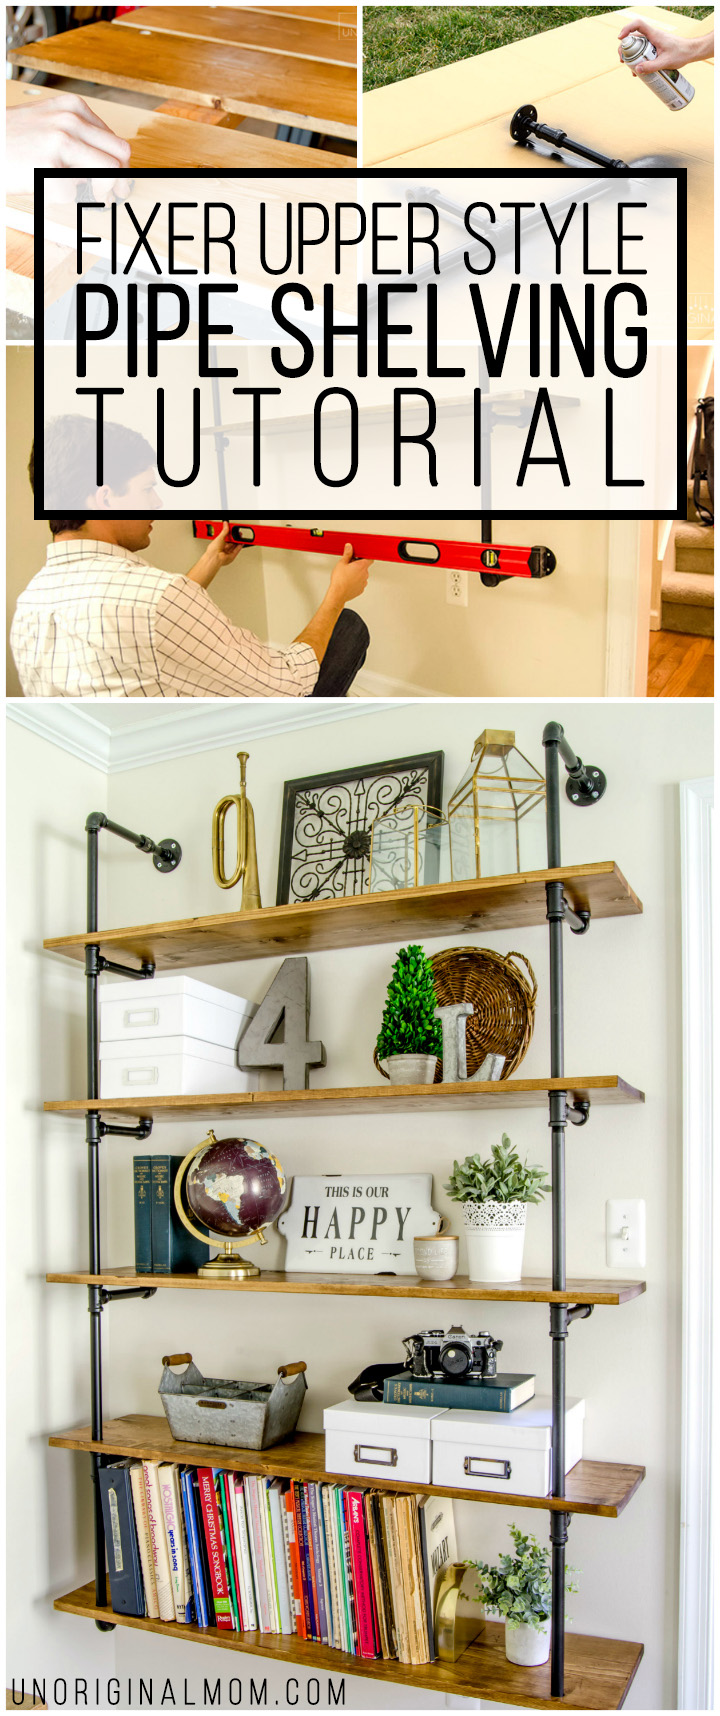
We are making lots of progress on our Industrial Farmhouse Music Room/Office makeover as part of the One Room Challenge, and I can’t wait to share another update with you on Thursday! In the meantime, though, I wanted to take the time to write out a detailed step-by-step tutorial on how we built the amazing pipe shelving unit that I revealed last Thursday. (If you haven’t had a chance to see the finished product all styled and pretty, make sure you hop over there to see them!) UPDATE – see the final room reveal HERE!!
Adding some industrial style pipe shelving to a space is a great way to get an industrial farmhouse feel. You see them frequently on Fixer Upper – and if it’s good enough for Joanna Gaines, it’s good enough for me! I knew from the beginning of the room design process that I wanted some Fixer Upper pipe shelving in this room, and it has been the PERFECT addition to really pull together all the different elements in our music room. It’s not a super cheap project, but it is pretty affordable for a solid set of shelves like this, compared to the cost of purchasing solid wood bookshelves. We spent just under $200 to make these shelves.
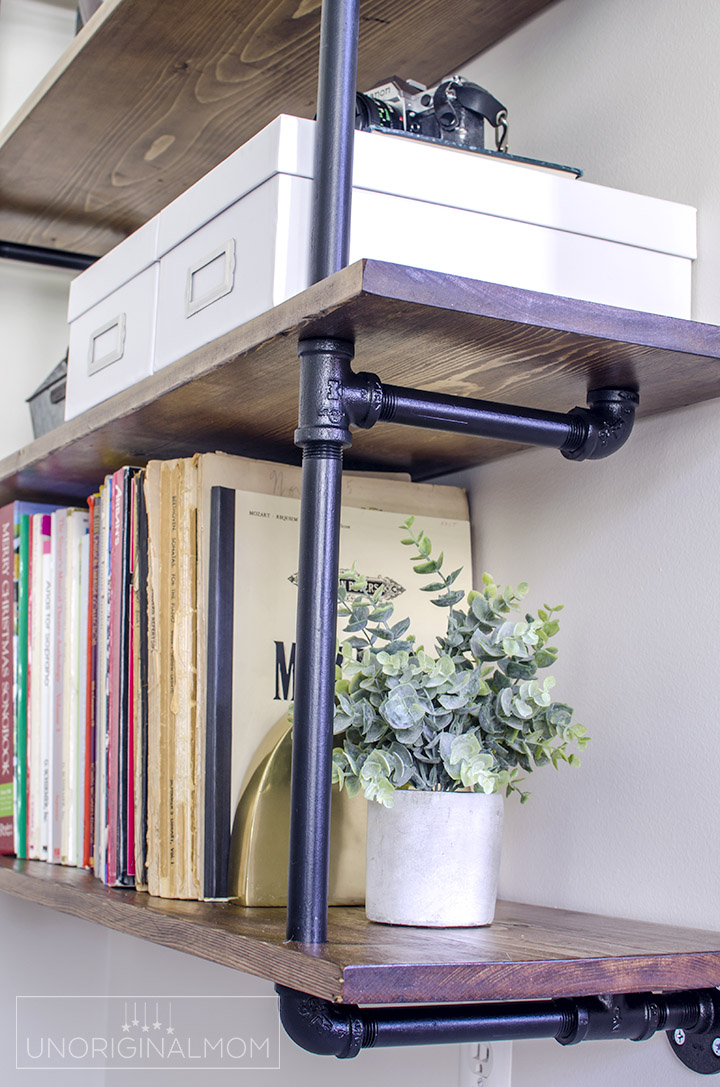
I am SO thankful for my brilliant husband, Matt, who is very handy and (mostly) patient with my always-long list of DIY projects to do around the house. He took point on this project – I was just his pretty assistant. (a.k.a. I stood around taking some pictures and generally just getting in the way.) So, without further ado, here is our detailed, step-by-step DIY Fixer Upper Pipe Shelving Tutorial!
SUPPLIES: (affiliate links)
- 1/2″ black iron pipes & pipe fittings (tees, elbows, couplers, nipples, and flanges)
- wood for shelves (we used 1x12s), cut to desired length
- wood conditioner (optional) – we used Minwax Pre-Stain
- wood stain – we used Minwax Provincial
- polyurethane – we used Minwax Fast-Drying
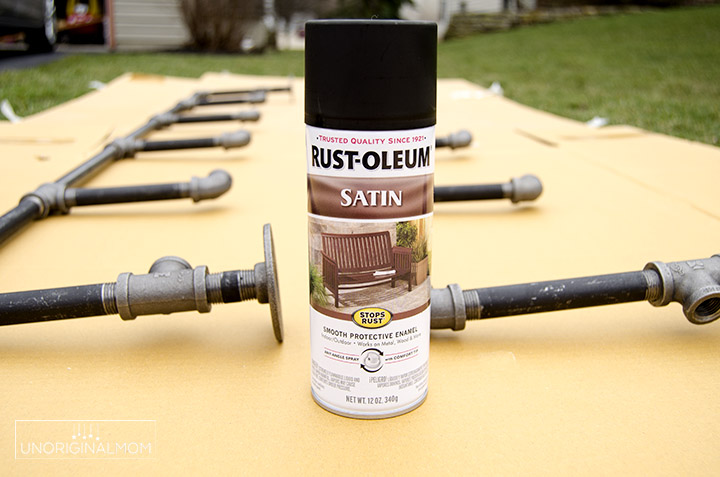
- spray paint – we used Rust-o-leum Satin Black
STEP 1: Make a plan.
The general idea with pipe shelves is the same, but there are a few variations on the design in how you attach each shelf to the pipes and how you attach the pipes to the wall. Many versions you’ll see have the shelves just resting on top of the pipes, but I liked the look (and the added stability) of having the pipes actually go THROUGH the shelves. Another decision is whether you want the pipes under each shelf to attach to the wall or not. Flanges are pretty pricey, so we decided to minimize cost by attaching the pipes to the wall with flanges at the top and bottom, but just having the rest of the pipes end in an elbow. (You can see how we did that in the photos of the finished shelves.)
Another thing to consider is the available lengths of pipe. Lowe’s only had pre-cut and pre-threaded long black iron pipes in 6″, 8″, 10″, 12″, and 18″ lengths (these are called “nipples”), and their machine can’t custom cut anything shorter than about 20″, so we were stuck with using those pre-cut lengths, either on their own or in combination with couplers and shorter lengths. Matt went to Lowe’s and stood in the pipe aisle for half an hour, dry-fitting a bunch of combinations of pipes and fittings together to get an idea of how long each combination would be, since it’s not as simple as adding the lengths of pipes together once you add the fittings and figure out how tightly each piece will screw together.
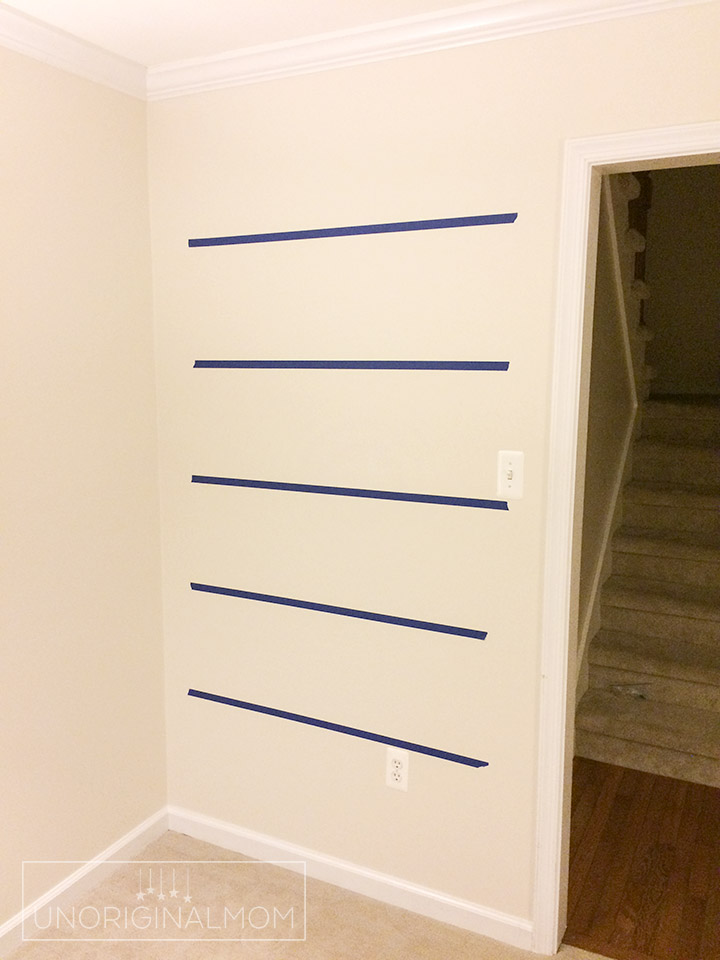
Once you’ve decided on the design, measure your space, decide the number of shelves you want, the distance between each shelf (which is dictated by the combinations of available pipe lengths) and how wide you’d like them to be. If at ALL possible, plan to place the pipes on studs! (That wasn’t possible for our shelves…more on that in a bit.) Make sure to also take into account the location of any electrical outlets/light switches/etc. At first I wasn’t sure whether I wanted four or five shelves…I was afraid that five shelves would make the top shelf too tall…so we taped them out on the wall using painters tape to get a sense of the spacing. I’m glad we did, because five shelves was just right!
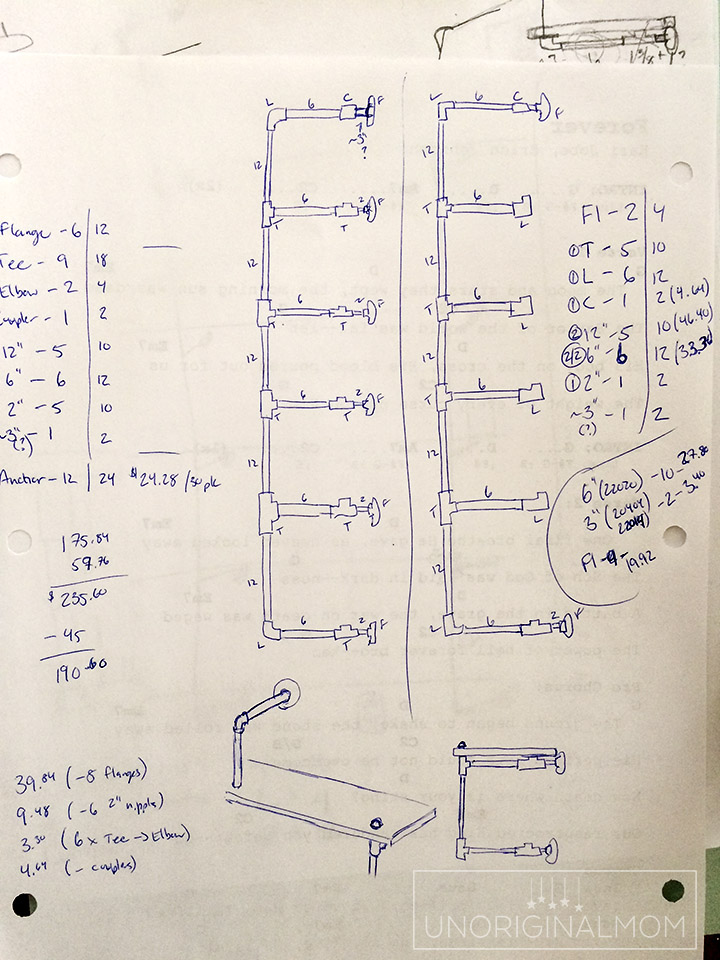
Matt sketched out a detailed plan of our shelves and included measurements of each pipe plus where we were using flanges, tees, elbows, and couplers. In the left drawing you can see we were originally planning on using flanges for each shelf, but to keep costs down, we opted for replacing them with elbows on the middle shelves and only using the flanges at the top and bottom. Once the plan was set, we went shopping!
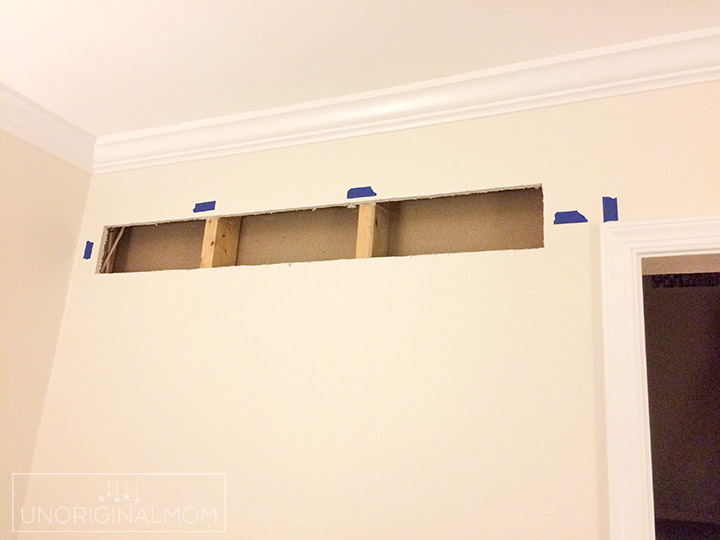
Since our pipes would not be attached to the floor (like some other versions of pipe shelving you might see), it was important that the flanges were attached to solid framing inside the wall to support the weight. The shelves and pipes by themselves are really pretty heavy, plus I knew I wanted to use the shelves to hold books and other heavy objects. Of course, as luck would have it, there were no studs anywhere near where we needed them to be…so my handy hubby cut a hole in the wall to attach blocking between the studs where we’d attach the flanges.
Before the blocking:
After the blocking! Matt used our Kreg Jig to drill pocket holes for the blocking in order to attach them to the studs. You could just screw into the blocking from the opposite side of the stud instead, but that only works if you have easy access to the other side of the stud, which we didn’t have on both ends.
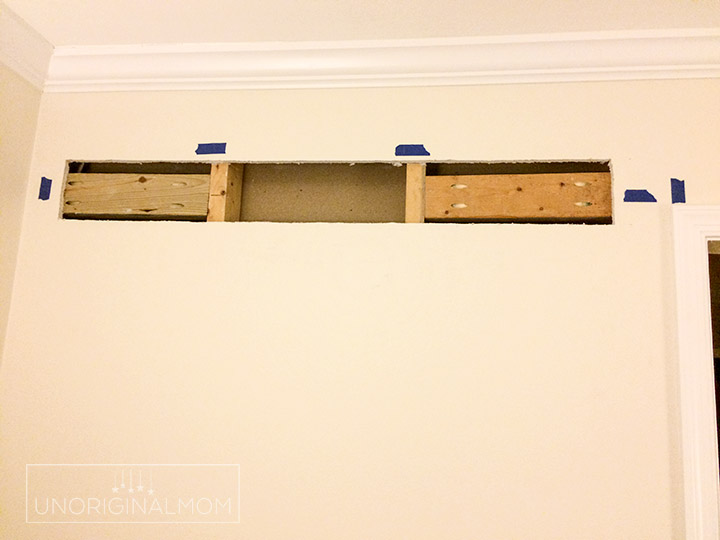
We did the same thing at the bottom, too. Luckily Matt is the world’s best drywaller (he might say otherwise, but he’s pretty darn good even though he hates it) – you’d never know there was a hole in the wall!
STEP 2: PREP & PAINT THE PIPES
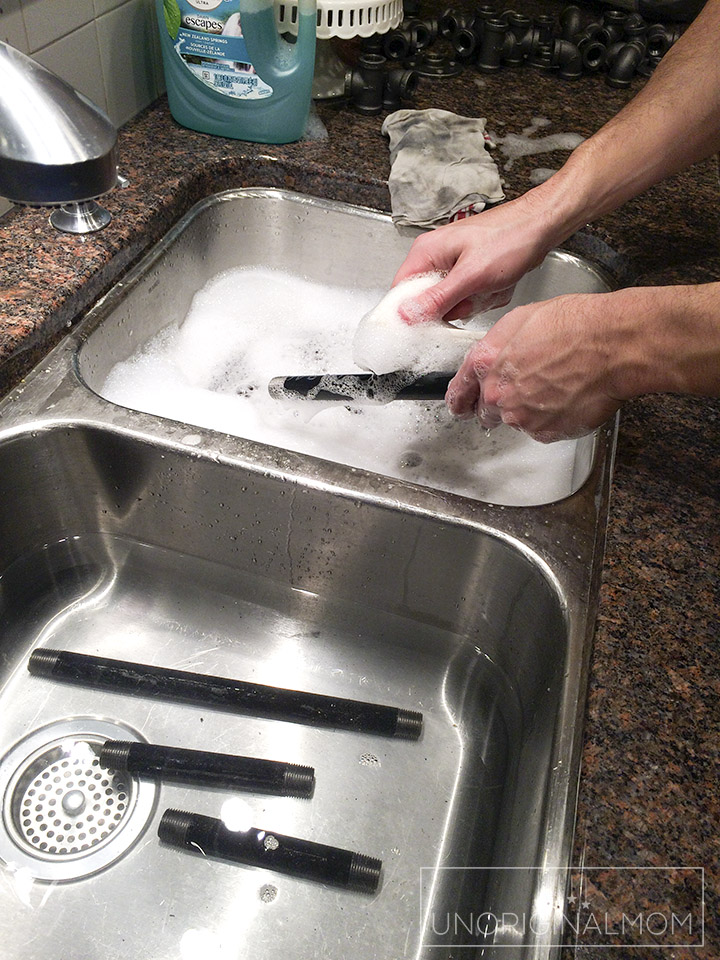
Black pipe is covered with an oily, greasy, generally yucky coating to keep them from rusting. You’ll need to wash this off as best you can so that the paint will stick. We scrubbed them with soapy water (using regular dish soap), rinsed them, and let them sit out to air dry overnight. You’ll likely notice some rust spots after washing them, but that’s okay – the paint will cover the rust and keep it from rusting further.
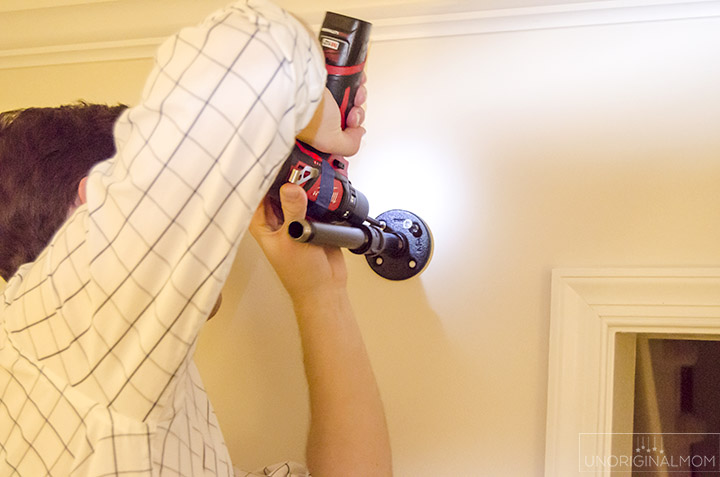
Next, we assembled the pipes together. At this point, we actually attached the top flanges to the wall so that we could make adjustments as necessary to make sure each shelf would be level. Remember that there is a teensy bit of give and take in each “joint” where pipes and fittings come together as a full turn to tighten pieces together equals about 1/16″ in length.
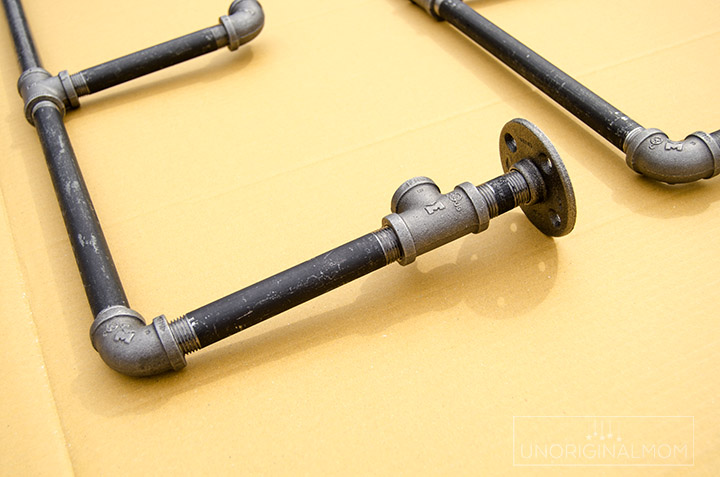
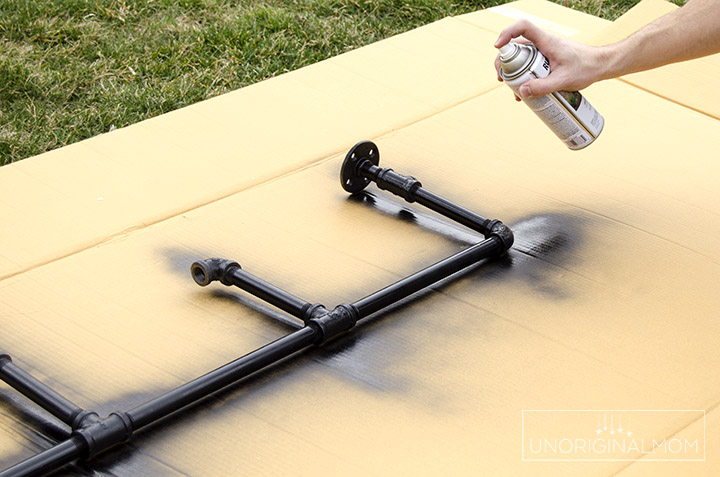
Once the pipes were fit together, we gave them a coat of black spray paint.
It’s important that you paint the pipes while they’re assembled rather than as individual pieces – that keeps paint from getting on the portion of the threads where they’ll be screwed together.
STEP 3: SHELVES
We used 1x12s for our shelves, and cut them to the length we wanted using a circular saw. We weren’t looking for a super high end look, so we just used pine (common boards) rather than more expensive select pine or oak boards.
Here’s a quick look at how we assembled our shelf supports. Once we’d decided on this configuration of pipes (back in step 1), we used them to measure where we’d need a hole in the board for the vertical pipe pieces to fit through. Even though we were only using flanges on the top and bottom shelves, we left the same gap at the back of each shelf for consistency.
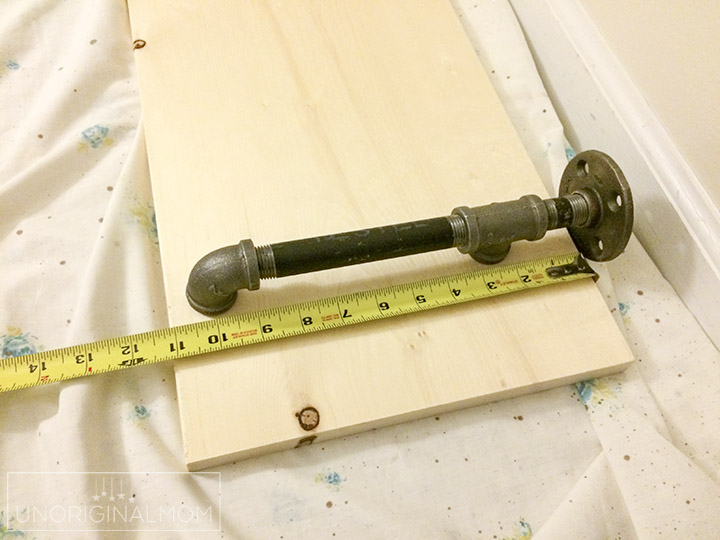
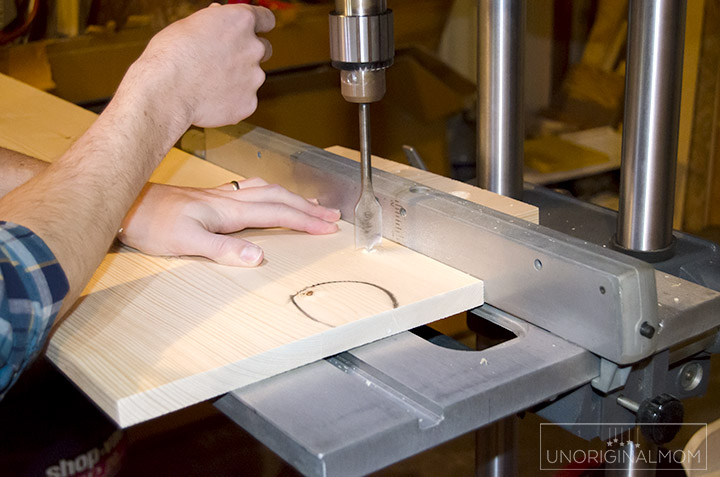
Matt used his drill press and a 7/8″ spade bit to drill holes in the shelves. (Tip – don’t drill all the way through from one side as you’ll split out the other side. Drill from one side until the point of the spade bit just pokes through the other side, then turn the board over and drill from the other side.)
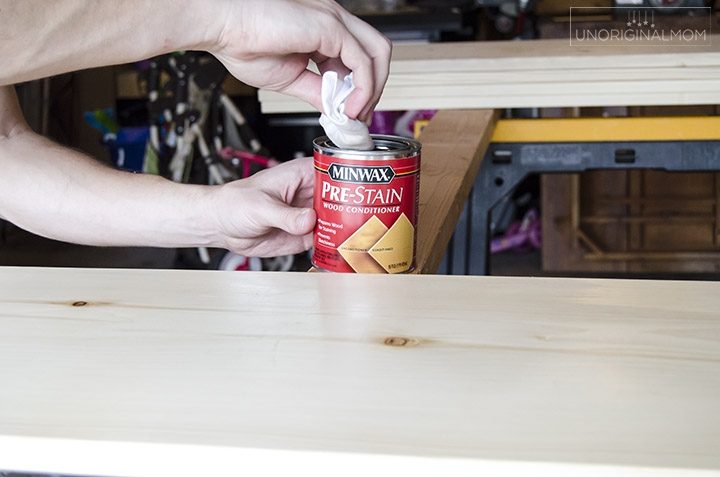
After a thorough sanding, the shelves got a coat of wood conditioner to help the pine take the stain more evenly.
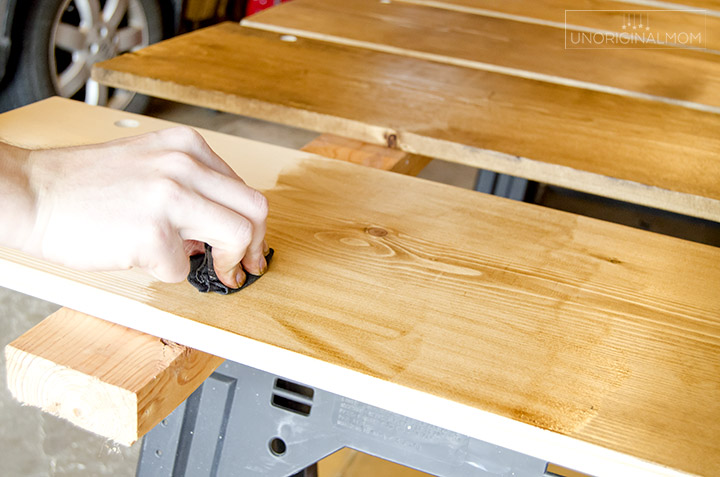
Then two coats of stain, followed by two coats of wipe-on polyurethane.
STEP 4: ASSEMBLY
It’s time to put it all together! This was, let’s just say, trickier than we thought it would be. Back in Step 2, remember we had everything attached to the wall and it was all level and hunky dory. But when we went to assemble them for real (starting at the top and working our way to the bottom), the shelves were out of level by over 1/4″ – which is a lot! After much frustration, we figured out that somehow we swapped the left and right pipe assemblies. Whoops.
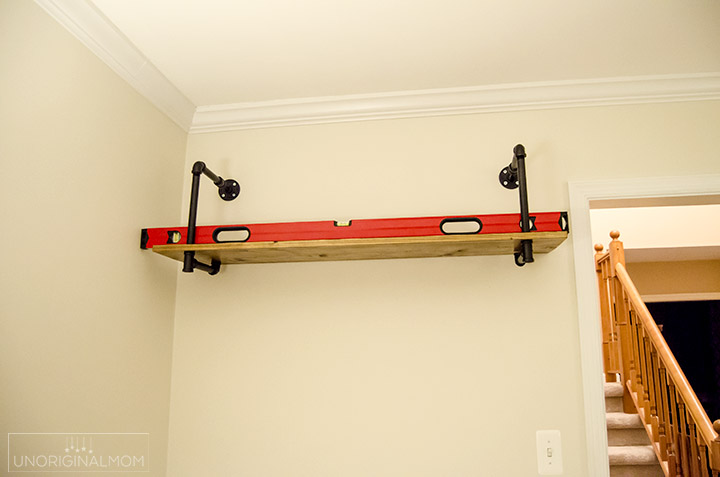
We got it figured out and slowly put the shelves together, top to bottom, sliding on the shelves as we went.
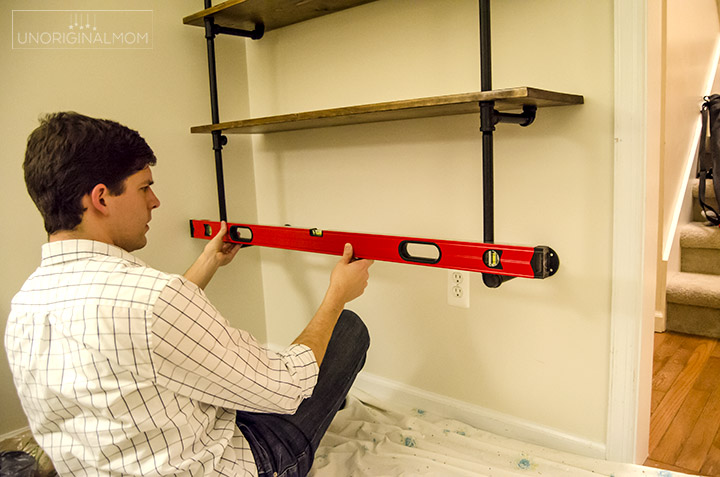
Once we got to the bottom and every shelf was level, we finally screwed the bottom flanges into the wall.
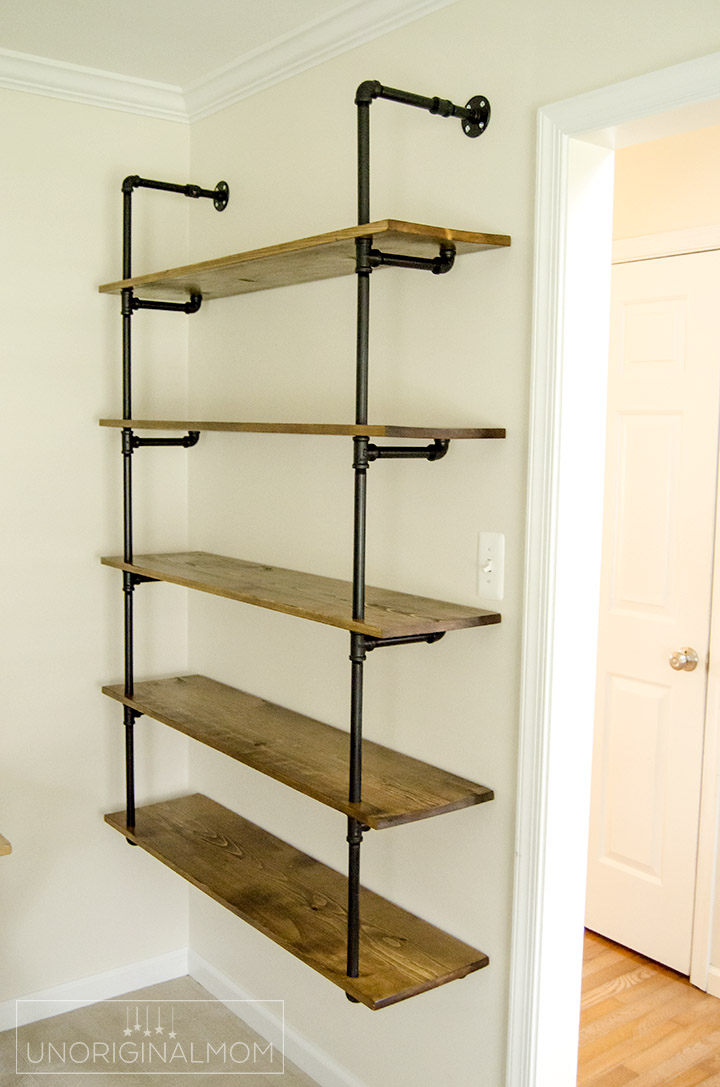
Aren’t they beautiful??
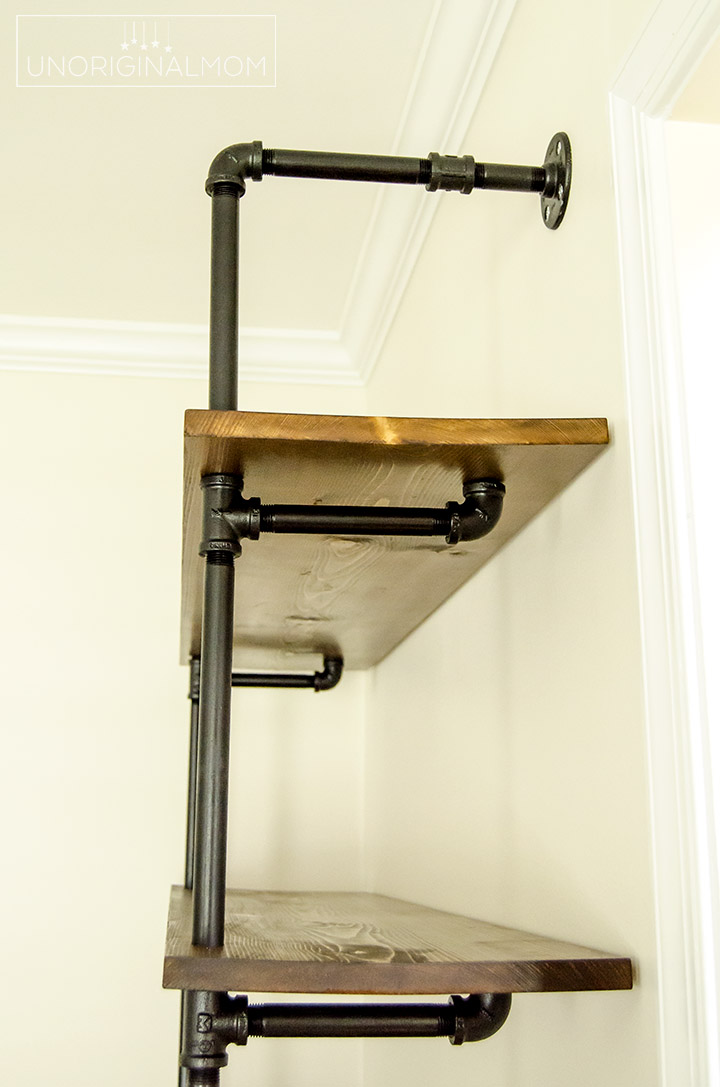
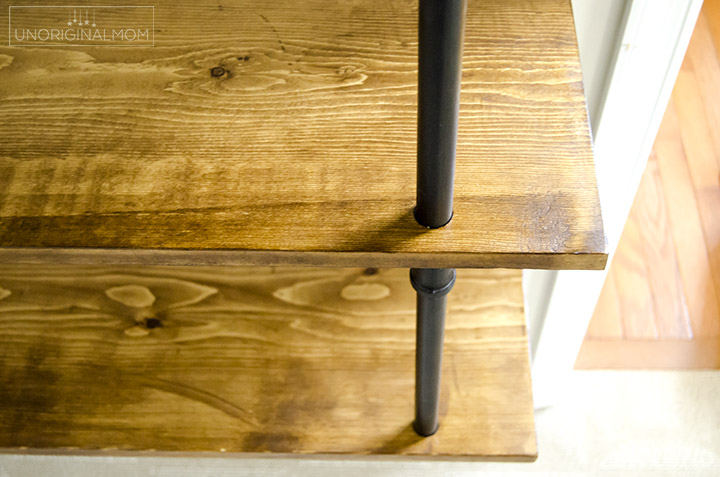
And they look even prettier with stuff on them!
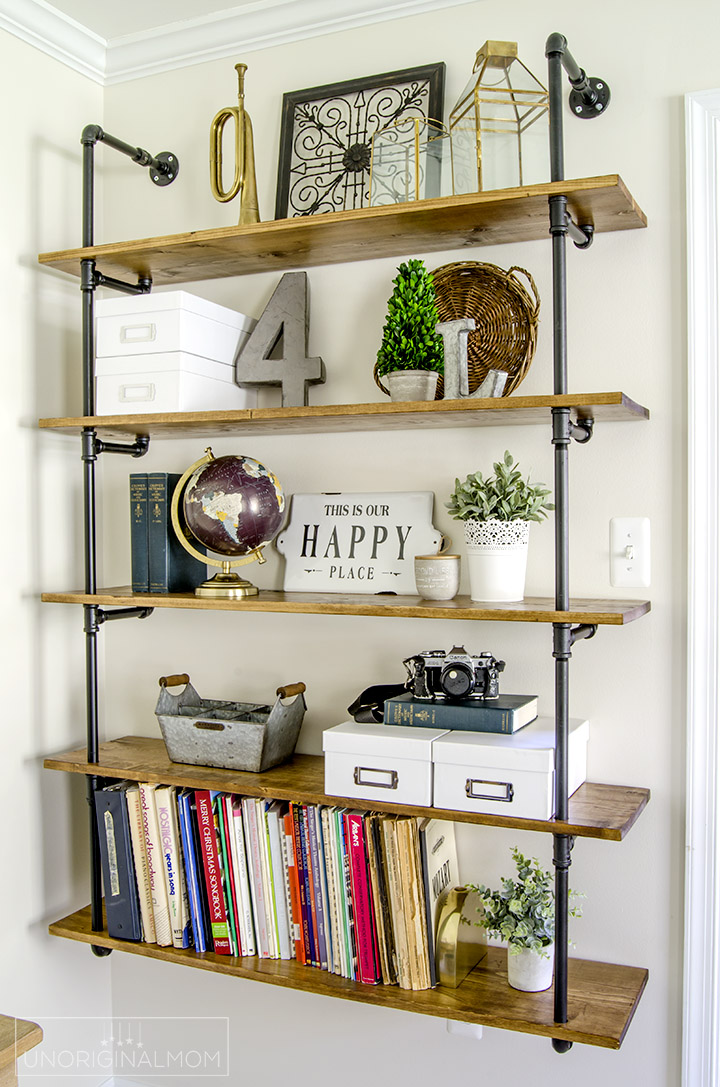
I am just SO in love with how this Fixer Upper pipe shelving turned out! It has added so much character to this room and really kicked the decor up a notch. I can’t wait to finish up the space and reveal the whole room to you! Stay tuned for more updates…the final reveal is coming on May 11!
If you’re making your own pipe shelves and have any questions at all about how we made ours, be sure to leave a comment or shoot me an email!
In the meantime, browse around the rest of my One Room Challenge posts to see the progress of our music room:
 ORC #5: Farmhouse Cabinet Makeover


Get your copy of my FREE meal planning binder!

Sign up to get a free copy of my meal planning system - an 11 page printable meal planning binder, complete with a pantry inventory, shopping list, and more to help get on top of your menu each week!

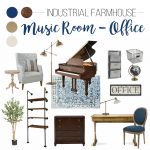
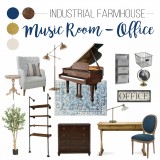 ORC #1 - Music Room Mood Board and Design Plan
 ORC #2 - Paint and a New Layout
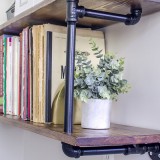 ORC #3: Styled Pipe Shelves
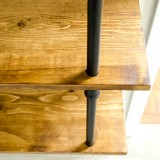 Industrial Pipe Shelving Tutorial
 ORC #4: Farmhouse Hymn Art
 ORC #6: Industrial Farmhouse Office REVEAL!
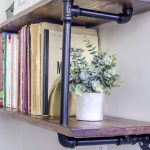


[…] This is sample post Detailed step-by-step tutorial to make your own industrial Fixer Upper pipe shelving – an affordable way to get the Joanna Gaines style in your own home! . Source : unOriginal Mom […]
Super creative shelf would like to have one of these in our office
Love this! If I had an inch of wall space, I would do this in a heartbeat! Love your instructions too – HAVE A PLAN – so many people don’t. Great project, great share!
love the look and plan on creating! Maybe a silly question, but after painting the pipe are they then taken apart? A bit confused on the assembly process. Thanks
I know it’s a bit confusing! Yes you’ll have to take the vertical pieces apart again to get the wood shelves back on, but the horizontal pieces can stay together – I hope that makes sense!
I LOVE it!! Can you send a detailed list of all the pieces you bought to make this exact unit? With sizes of the pipes? This looks like it would fit perfect for what we want to do. I have an exact tutorial with parts included, we can tackle it! :-)
Hi Gigi, sorry I don’t have a list like that, other than the photo of our diagram and list that’s in this post! You should be able to tell what we used from that drawing, though – we ended up using the one with the elbows on the middle three shelves (that’s the drawing on the right) and only attaching it to the wall with a flange at the bottom and the top. All the verticals are 12″ pipes, the horizontals are 6″ pipes, with either an elbow at the end (for the middle shelves) or a “T” fitting plus a 2″ pipe plus a flange (for the top and bottom shelves). Then you can make your shelves as wide as you want to fit the space. Hope that’s at least a little bit helpful!
This is beautiful! Thanks for the detailed instructions! I also love the stain color you used. Do you remember what it was? Thanks.
Thanks Nicole! We used Minwax Provincial stain.
Do you think these will support a lot of weight?? Like the entire shelf of books???
Hi Lori, yes, since we added the blocking between the studs and screwed into them, these shelves are solid as a rock!
Thanks!!!
What do you estimate it cost to make the unit you did for supplies?
Hi Wendy, it cost us just under $200 for all the supplies.
[…] Pipe Shelving Tutorial […]
Hi,
How wide is the shelving? Looks like it might be 4′ or so
It really is a good look. Congrats
Thanks Lester! Our shelves are 45 inches wide.
[…] but not least, a project from unoriginalmom which shows you how to build stylish wall shelves for your own using pipes and wood boards. We […]
[…] #8) DIY Pipe Shelving from Unoriginal Mom […]
Wow, what a beautiful job. Thank you for sharing all the little details too.
[…] Take Out the Bulky Elements […]
[…] Unoriginal Mom shows how you can completely define a space with well styled farmhouse shelving. […]
What is the distance between each shelf and the depth of each shelf?
[…] Have you ever thought of adding some industrial style pipes to a blank wall? Well, adding pipe shelves onto that space will give your space an industrial farmhouse feel. Collect supplies like iron pipes, wood for shelves, wood stain, spray paint, wood conditioner, and polyurethane. unoriginalmom […]
[…] Check Details […]
I love the industrial farmhouse style you’re incorporating into your music room/office makeover! The pipe shelving unit looks fantastic and adds such character to the space. It’s great that you’re sharing a detailed tutorial on how to build it, making it accessible for others to try. Looking forward to seeing the final room reveal – keep up the amazing work!