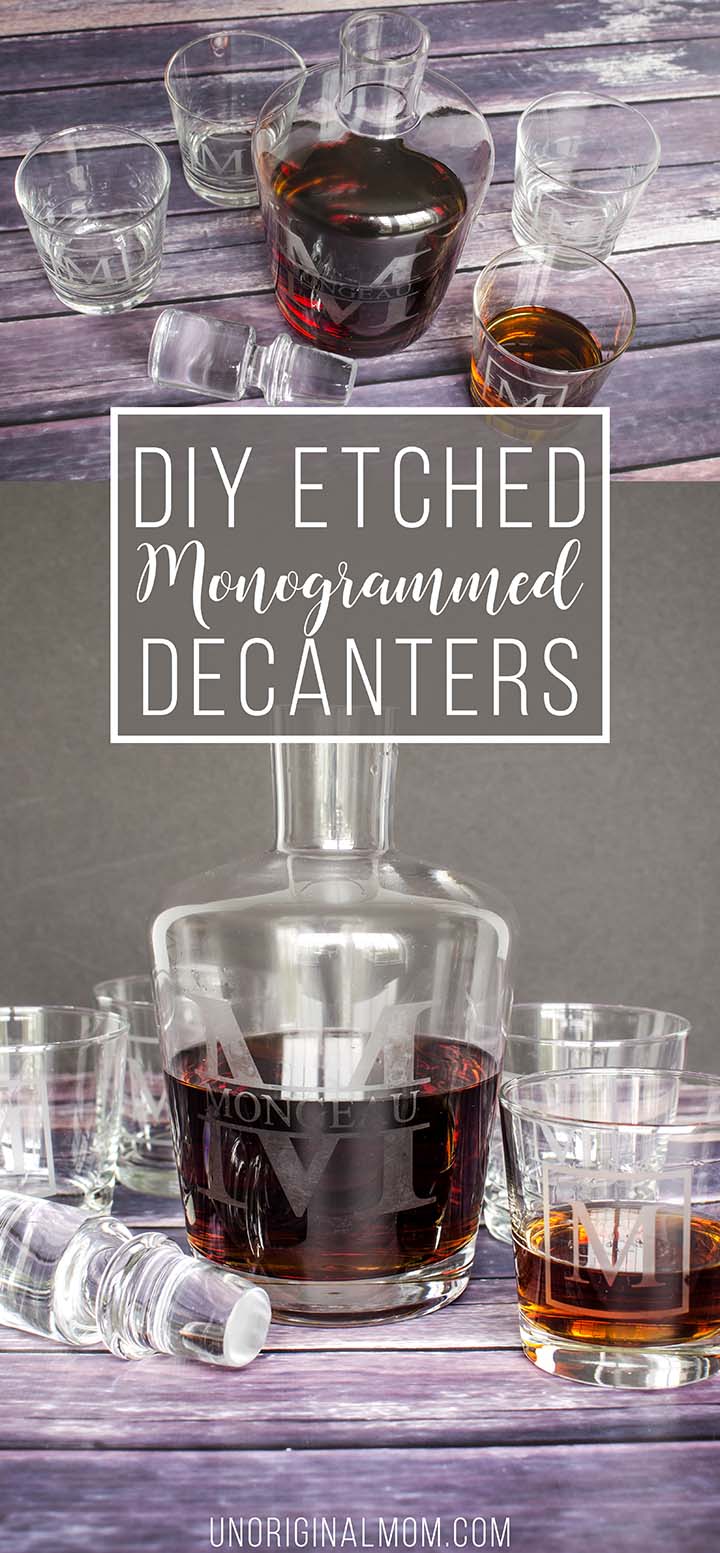
One of the most frustrating things as a craft blogger is crafting up a whole bunch of Christmas gifts, but not being able to share them until AFTER Christmas! #lifeofablogger
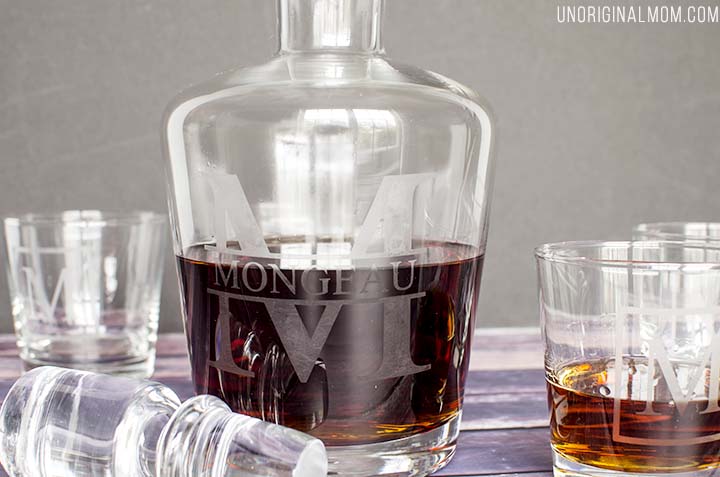
No, but seriously, it was all I could do to NOT share these etched whiskey decanters all over social media after I made them – they turned out so beautifully! I made them for my brothers-in-law (well, my brother-in-law and *almost* brother-in-law…yes, my baby sister is getting married, which means there’s a whole lotta wedding crafting going on around here!), as both of them are avid whiskey connoisseurs and also really difficult to shop for. So I was pretty proud of myself when I came up with this idea!
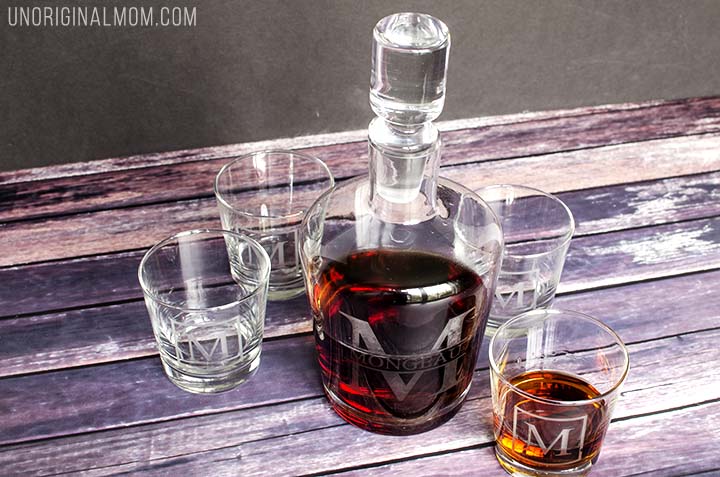
If you’ve never etched glass before, it can seem really intimidating…but is definitely worth a try, because the results are ah-mazing. Seriously, how much do you think I would have paid for a custom monogrammed whiskey decanter set? From what I saw, they ran anywhere from $50-125 or more. I found these plain decanter sets at Target on sale for $20 each. And I already had the etching cream and vinyl on hand, so I didn’t have to purchase any additional supplies. That means I made both of these decanter sets for less than the price I would have paid for one! Score!
SUPPLIES: (these are the affiliate links for supplies I used)
- Whiskey Decanter Set from Target
- Etching Cream
- Silhouette Portrait
- Vinyl and transfer tape
- Silhouette scraper tool
After I created my designs in Silhouette Studio, I cut them out of vinyl and applied them to the decanters and glasses using transfer tape.
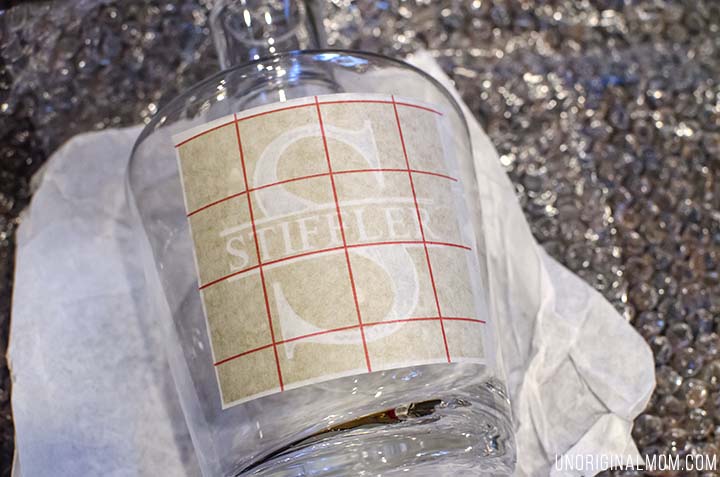
(Yes, my sister’s future last name is Stiffler – cue the giggles from the American Pie fans. ;-) )
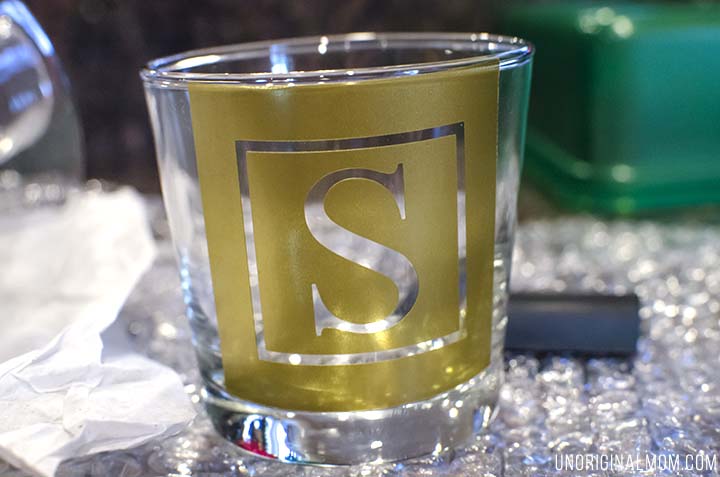
Once my vinyl was adhered, I started etching! It’s pretty simple – you just apply an even layer of the etching cream over your design, and let it sit for about 5 minutes. I use my Silhouette scraper tool to do this.
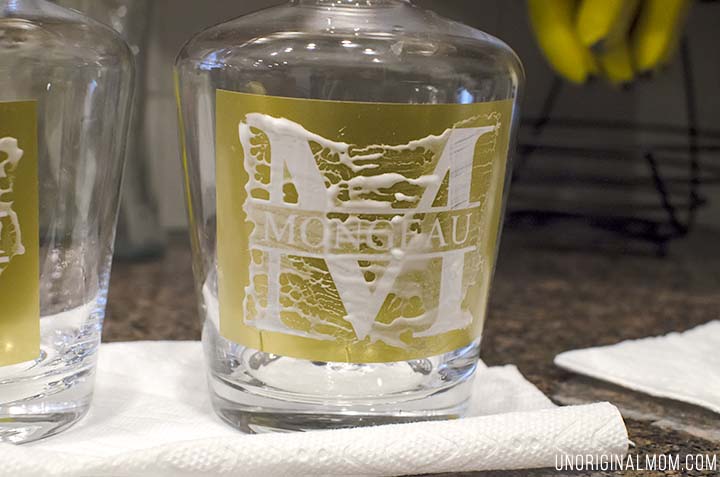
The cream is reusable, so once you’re ready to take the cream off you can actually collect it with your scraper and put it back in the jar. Wipe the remaining cream off of the surface and then rinse it in the sink to make sure it’s clean. Peel off the vinyl and give it another rinse – don’t worry if the design doesn’t look very dark as you won’t be able to really see the etching until it’s dry. Then step back and admire your work!
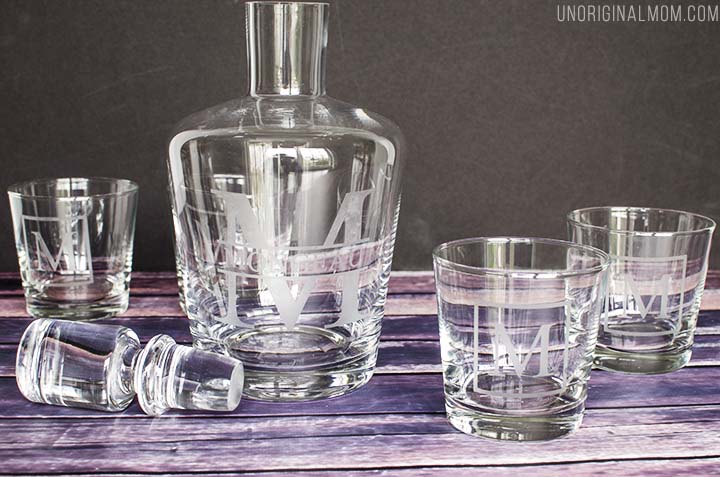
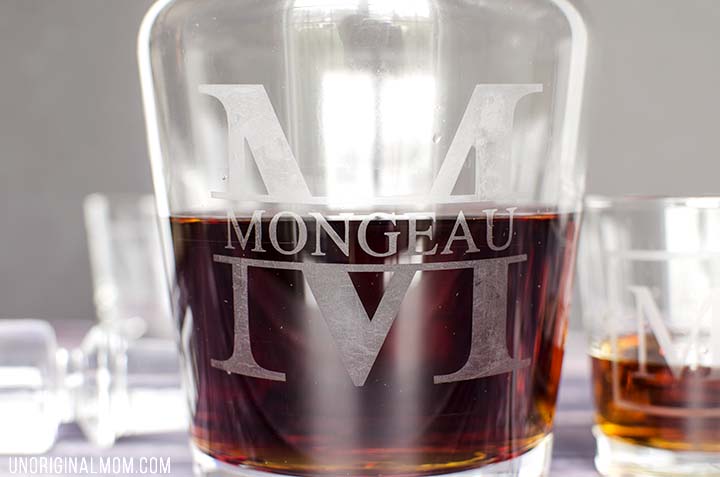
It’s so hard to get good photos of etched glass! But you’ll just have to trust me when I tell you it looks professional and expensive. Don’t tell them it’s not ;-)
If you’re looking for a detailed and super thorough on glass etching, my friend Lauren over at The Thinking Closet has a great post for you. Check it out here!
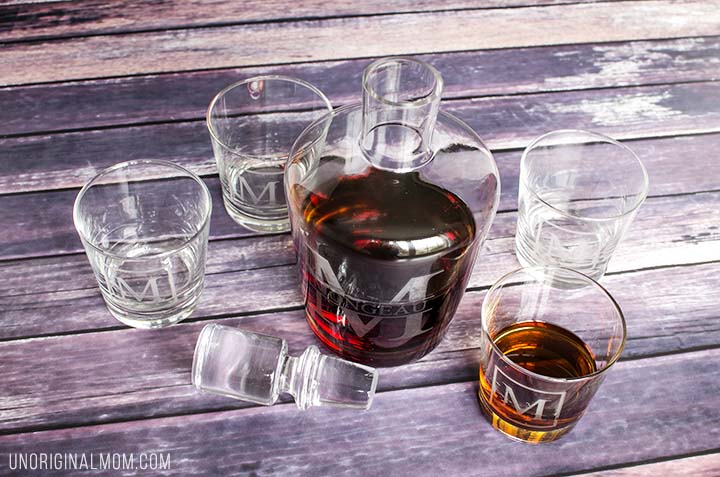
These etched decanter sets make such great DIY gifts for men! They’re classy but not too fancy, and timeless enough to be perfect for men of all ages. (Well, over age 21 of course!) They’d make terrific wedding gifts, too. I think I’ll be making several more sets like this as gifts in future years.


Subscribe to unOriginal Mom via email and get instant access to my library of FREE Silhouette Studio & SVG cut files - exclusively for email subscribers. Plus there's a new file added every month!




Is there anything that I can use to substitute the Silhouette Portrait? I’m low on funds and I see it’s $150.
Hi Ashley, the Silhouette Portrait is (to my knowledge) the most inexpensive digital craft cutter out there…at least among the ones that will let you cut custom vinyl stencils like this. The Silhouette Cameo and Cricut Explore are other options, but they are larger and tend to be more expensive. If you wait for a sale on Amazon or through Silhouette, you can sometimes get the Portrait as low as $120, but that’s about the lowest it goes. Another option to just do a glass etching project like this, though, would be to buy a pre-made stencil from the craft store or Etsy!
The men gifts are an amazing idea!!!!!!! Thank you so much and I love your ideas!!!!!
Ashley, if you purchased a premade stencil and some repositional glue to stick it on to the glass that would work, but not quite as nicely as using vinyl. I buy my etching cream from Michaels with a coupon.
Hello, can i use my Cameo 3 to do this project?
Thank you,
Absolutely!
This is amazing! Could you possibly share your monogrammed svg?
Thanks Blaire! I’m sorry, I made these long ago that I have no idea where the file is…but they were really simple to make! In Silhouette Studio, use the knife tool to slice a large block letter in half, add lines and weld them to the top and bottom, and then add the last name in the middle. I’m not sure how you’d do it in Design Space but I would guess it’s a very similar process!