This post brought to you by The Duck® Brand. The content and opinions expressed below are that of unOriginal Mom.
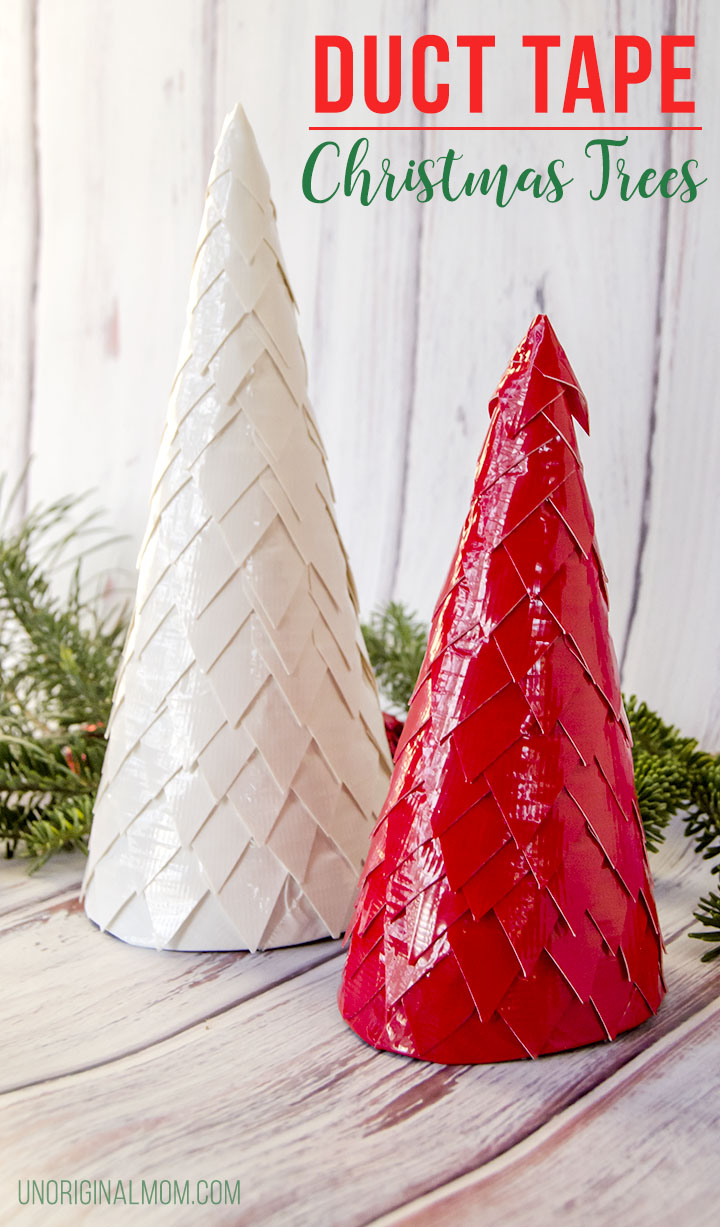
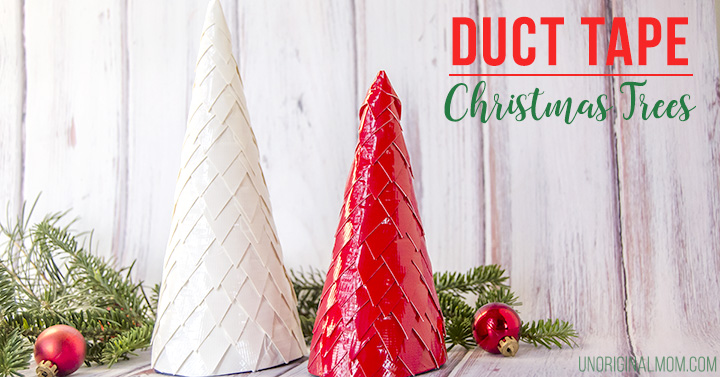
Well I have jumped in head first to my Christmas decor! The weekend after Thanksgiving is always when we get out the Christmas boxes, go cut down our Christmas tree, and completely decorate our house. Most of our decorations are up, but my house still looks like a disaster zone with all the half-empty boxes and bins of Christmas decor strewn everywhere…anybody else have a house that looks like that? I really should tidy up before I get crafting any additional Christmas decor, but I just couldn’t help myself with these duct tape Christmas trees. Aren’t they great?? And so inexpensive and easy, too – all you need is a cereal box, scissors, and some duct tape. :-)
Duck Tape® tape sent me a box of all kinds of goodies – did you know that they make Duck Glitter® tape?? Seriously you guys, it’s amazing. It’s so glittery and sparkly – but NO glitter rubs off!! I actually attempted these trees with the glitter tape first, and while it looked amazing, the tape didn’t stick to itself very well and all the little triangles fell off :-( Sad story. But it’s definitely sticky enough for lots of other projects…I think I might make some gift tags or bows for wrapping with it! It’s a great craft medium that doesn’t require lots of other supplies (glue, tape, staples, embellishments, etc). I can see it working really well for simple kid crafts, too.
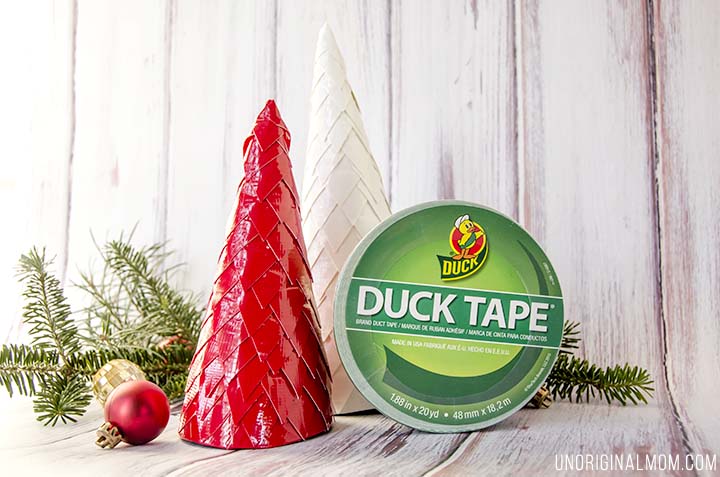
Regular red and white duct tape worked PERFECTLY for these trees, though. Here’s the how-to!
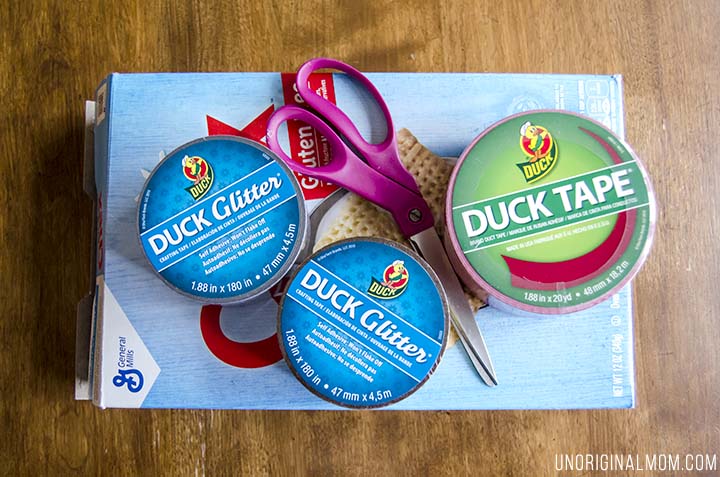
SUPPLIES:
- Cereal box cardboard (or you could probably just use card stock)
- scissors
- Duck Tape®
First, make yourself cardboard cones for your Christmas trees. Tape them together and trim them at the bottom so they sit flat.
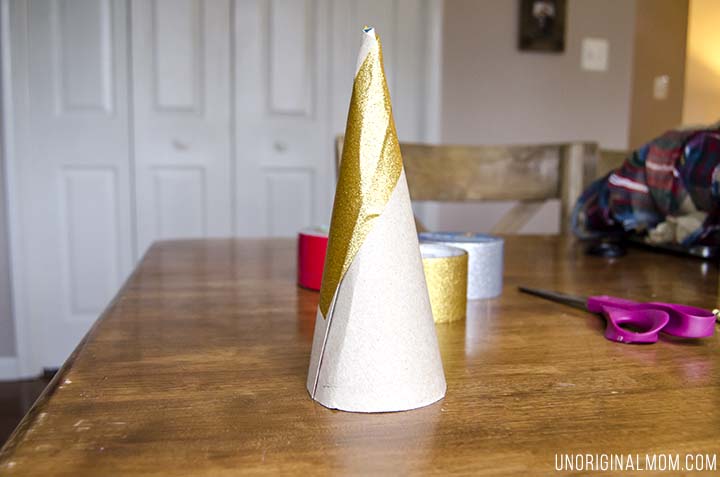
Then, cover your cone with whatever tape you’re going to be using. I used the glitter tape for this one, and it looked so pretty just as a plain cone! You could certainly make a few and leave them this way!
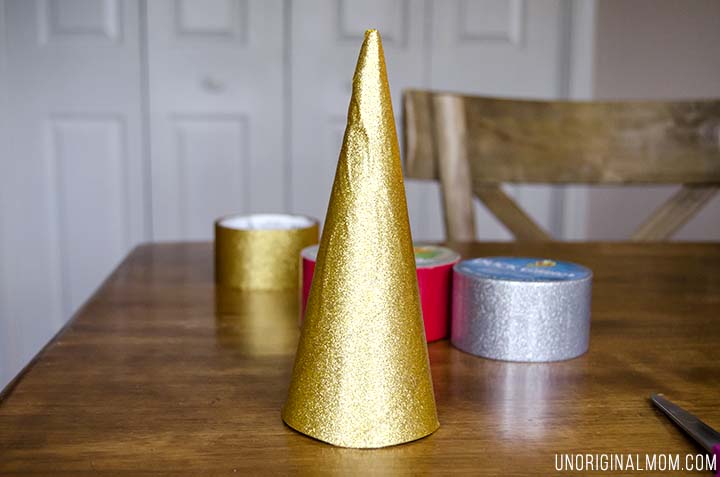
Then, cut your Duck Tape® into 2″ strips (or whatever your desired size is, as long as it’s consistent.)
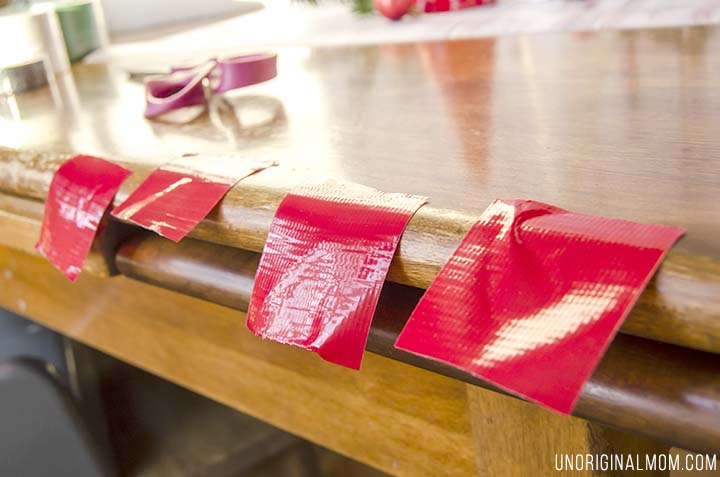
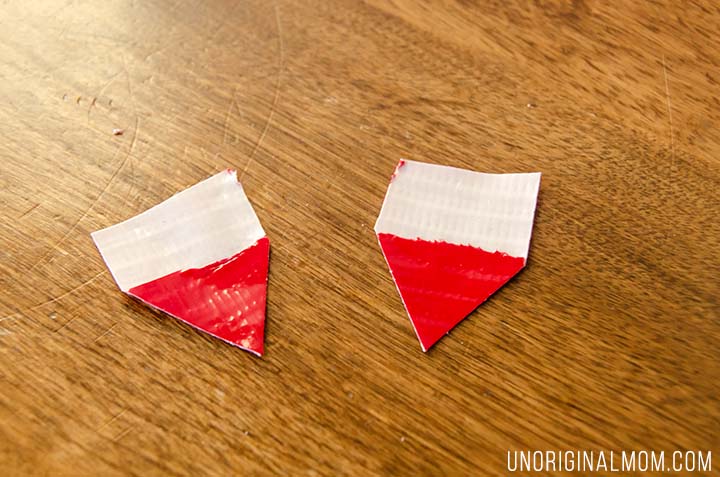
Fold it up onto itself, but leave about 1/3 of the tape exposed. Then cut it in half vertically.
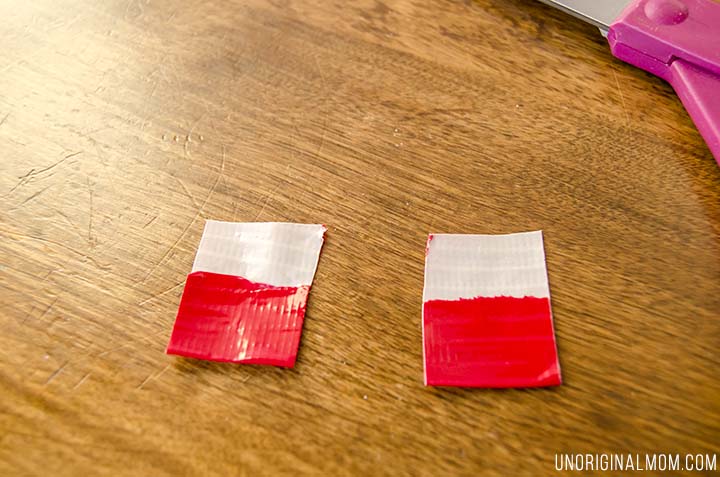
Finally, trim the ends into a triangle shape. (Or you could use more of a circle or leaf shape – totally up to you!)
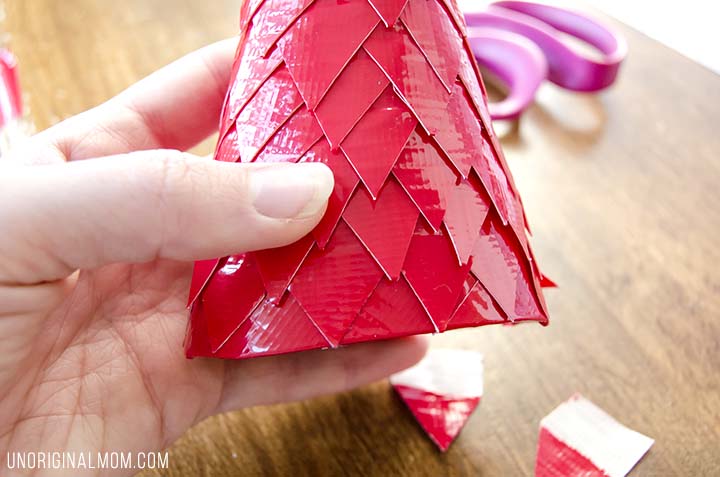
Starting at the bottom of your cone, layer up your triangles until you fill your tree! This part is a little bit tedious, but just put on some Christmas music and make yourself a cup of hot chocolate to sip on while you work. :-)
Ta-da!
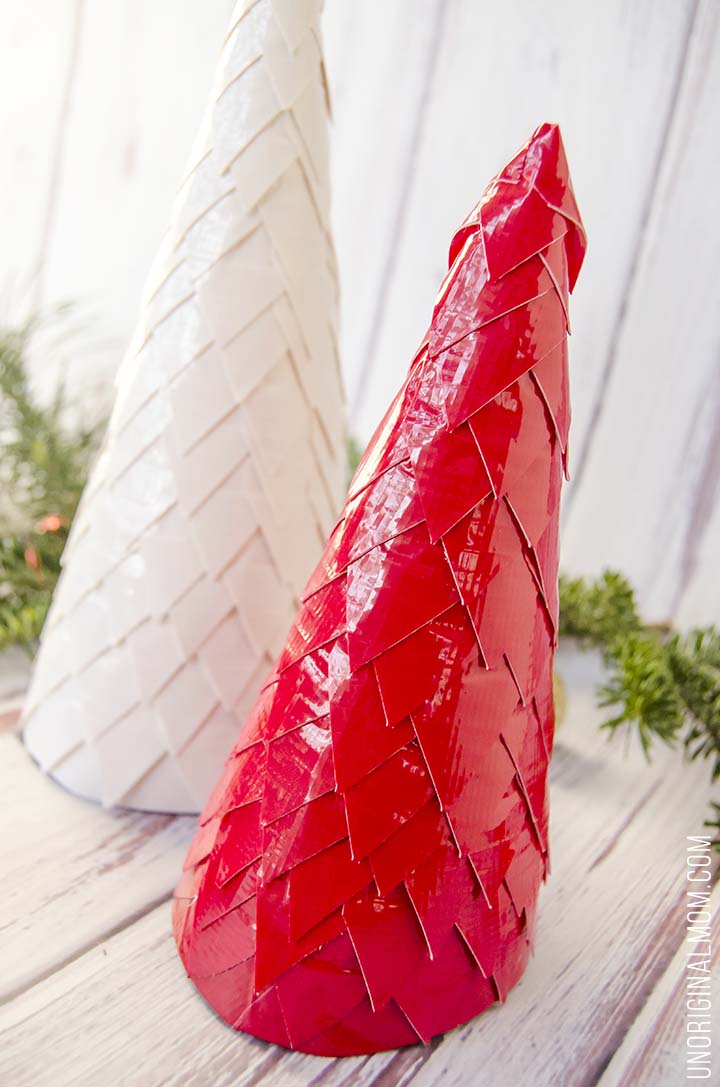
They’re so whimsical and fun – such a great addition to my Christmas decor stash!
There are lots of great holiday decor things you can do with Duck® Brand crafting tapes and Duck Tape® – follow their holiday Pinterest board for more ideas and inspiration!
Happy Christmas crafting!


What if you MADE your Christmas gifts this year instead of buying them? Find out how to set yourself up for success in your Handmade Christmas journey - plus get a free printable gift list planner!


