This post contains affiliate links – click here to read my full disclosure.
I’ve been loving the farmhouse style painted signs I’ve been seeing everywhere, so I set off to try to make my own. I realize that many of them are made out of wood, but I wanted to try to achieve the same look but with a canvas instead. I shared my painted canvas with you on Monday – see the full tutorial here! – and today I’m showing you how to make a simple wood frame for your canvas to really complete that farmhouse style sign look.
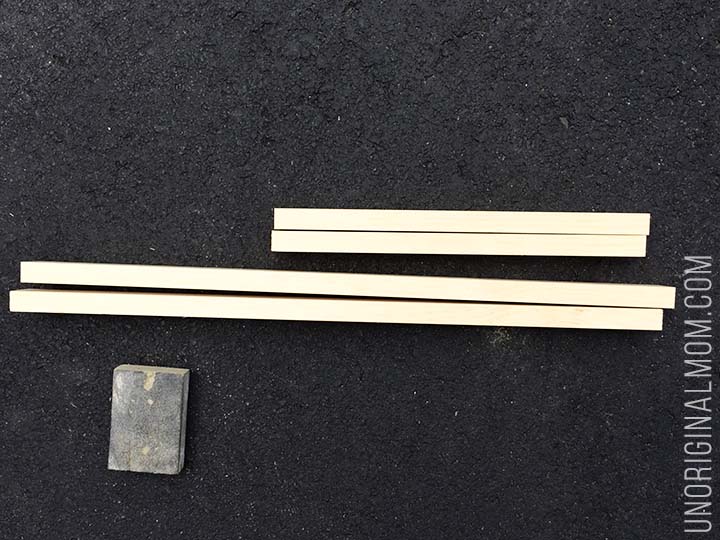
I used a long piece of 1×2 select pine from Lowe’s for my frame. You can use whatever kind of wood you want, just make sure you get a nice straight piece. I wanted the look of a thinner frame and a thicker canvas, so I decided to create my frame with the narrower edges facing up. My canvas was 24″x12″ and I wanted the seams of the frame to be on the top and bottom of the canvas rather than the sides, so I cut my side pieces to be the length of the side of the canvas (12″) plus the thickness of the top and bottom frame pieces (.75″ each) which came out to 13.5″ total. The long top and bottom pieces I cut to be the same width as the canvas (24″). Of course, you’ll need to measure your pieces to fit whatever size canvas you’re working with. After cutting all the pieces, I sanded down the corners a bit with a sanding sponge.
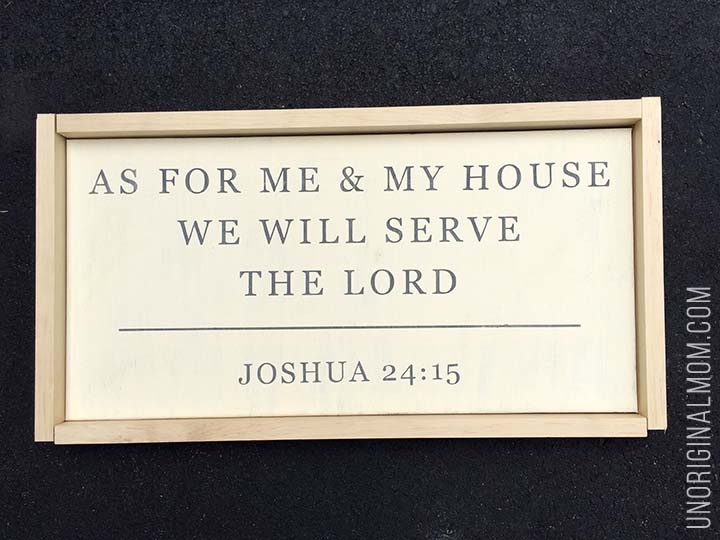
Here’s a better visual to see how I laid out my frame. (Of course, that’s just laying it out and not pulled in tight or flush – the edges DO actually fit perfectly together as you’ll see later!)
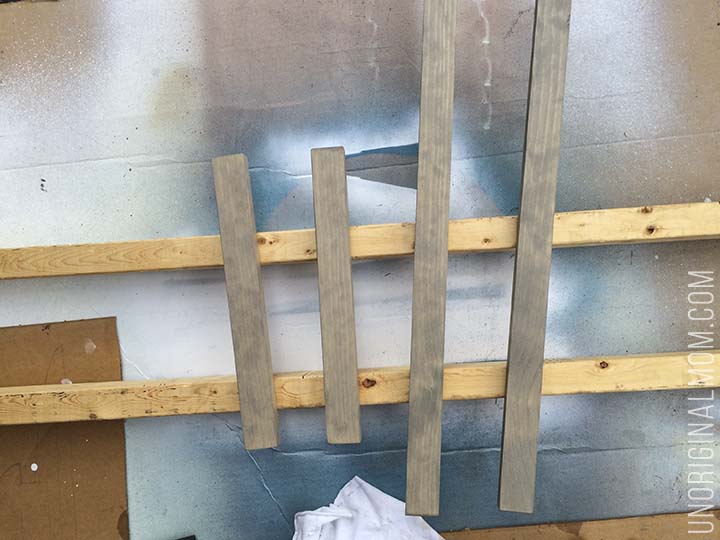
Before assembling the frame, I wanted to stain the wood. You could paint it, if you’d prefer, but I wanted that rustic farmhouse look. I tried out this Weathered Oak stain from Minwax – I love it! I was a bit concerned after the first coat that it was going to be too light and too gray, but after letting it dry and adding 2 more coats, it was exactly the finish I was looking for!
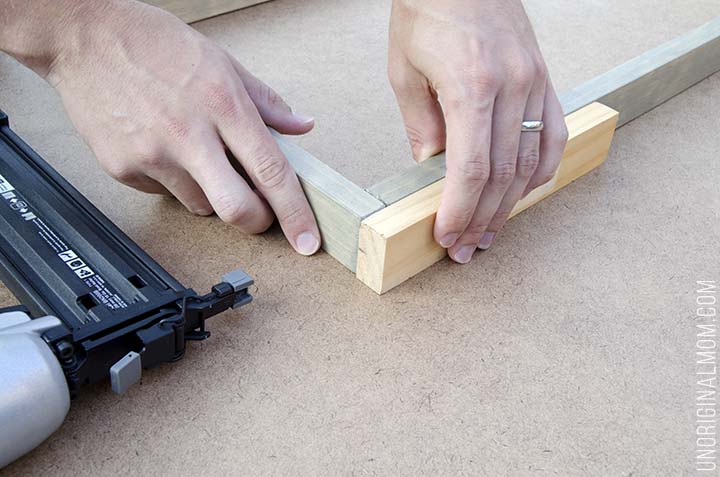
My handy hubby helped me with the frame assembly. First he used a scrap piece of wood to make sure the wood was flush.
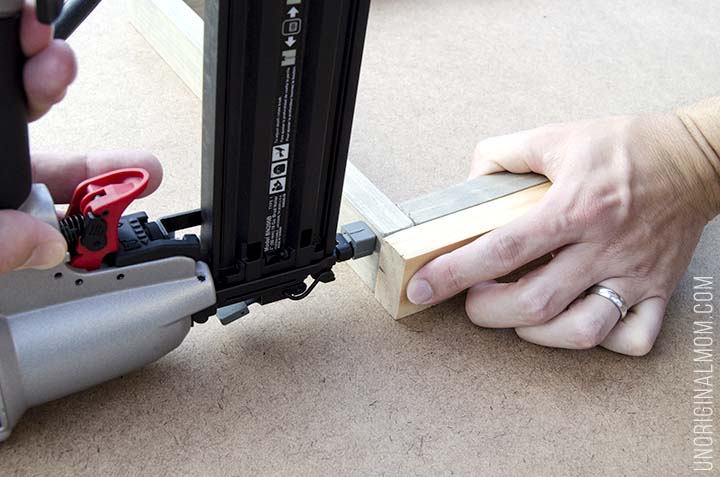
Then he used his brad nailer (we have this one) to put two nails in each corner.
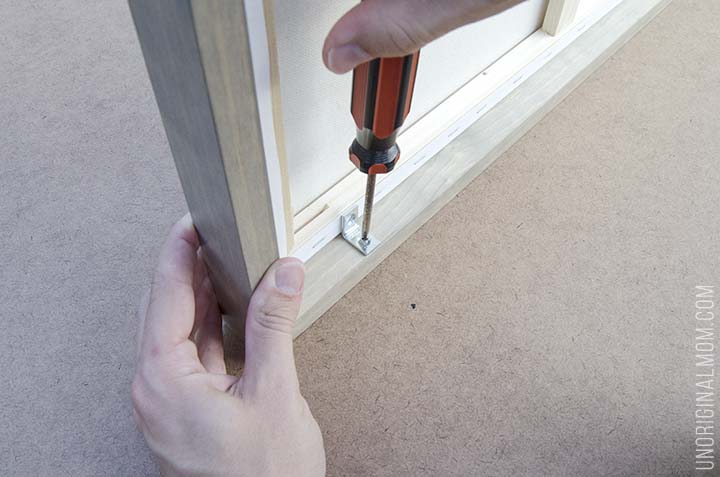
Now, I wanted the canvas to sit flush with the front of the frame to give the appearance of a deeper (more expensive) canvas. We decided to use small L brackets that we had on hand (I think they came from Lowe’s) to attach the canvas to the frame. The brackets came with screws that were way too long, though, so we had to use much shorter screws that wouldn’t go through the frame. I don’t have any great photos of this step, but first we marked where the holes were going, then pre-drilled small holes into wood frame before we actually screwed the brackets on. (We did that step before the frame was assembled.) That was just to make sure the wood didn’t split when we put the screws in. Just make sure your pre-drilled holes don’t go deeper than the screw will go. We used a total of 4 L brackets, two on the bottom piece and two on the top close to the corners (none on the sides).
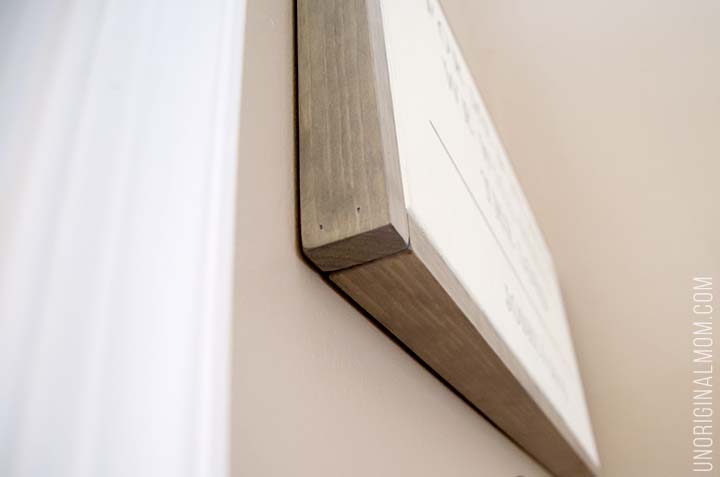
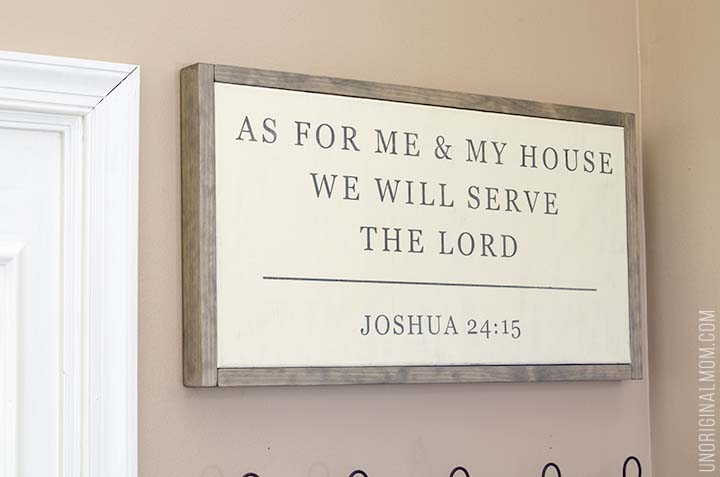
That’s it! Look how pretty!
I love that we were able to copy that farmhouse sign look with not a huge amount of effort or expense.
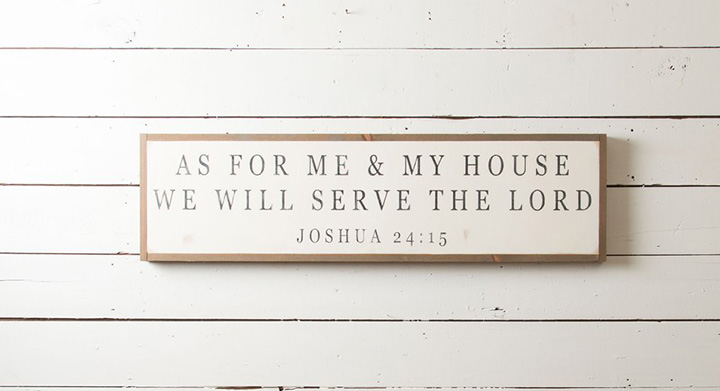
Remember that Magnolia Market sign that was my inspiration? $125 for that version (which wouldn’t have fit in my nook anyway) versus less than $15 for my version ($6 for the wood + $5 for the canvas, and a little bit of paint, stain, and scrap vinyl). DIY for the win!
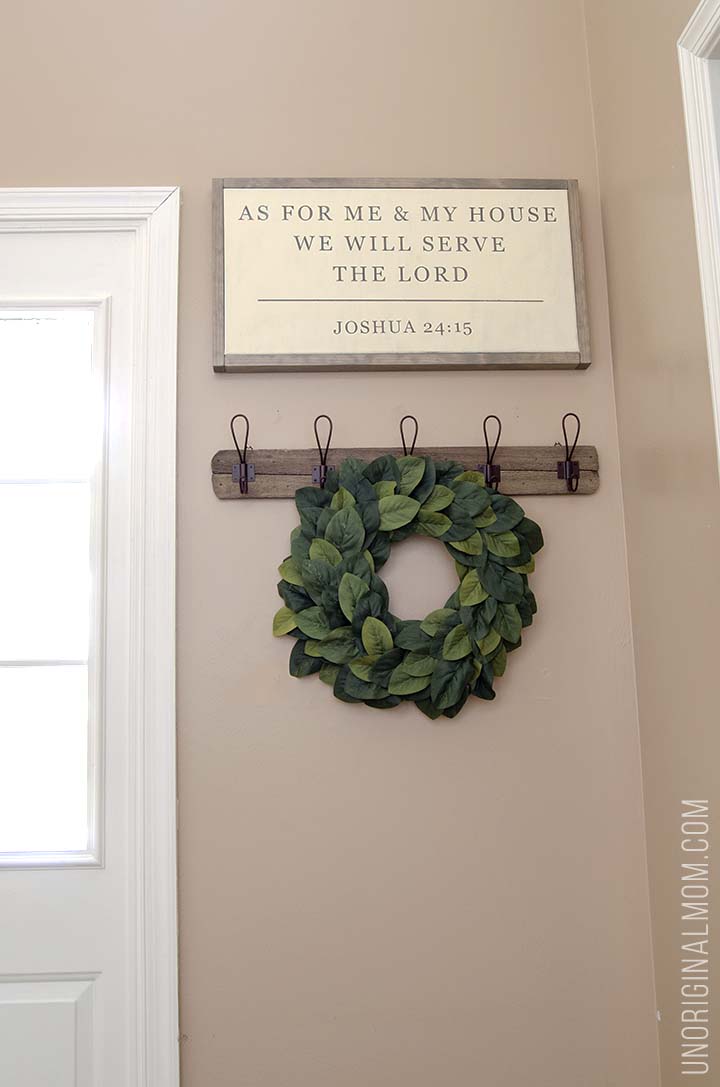
And it looks so great in our entryway! I can’t wait to show you the “finished” foyer nook I’ve been working on. We’re almost done!
Now that I’ve made my own farmhouse style sign, I want to put them all over my house!! I’m thinking of one of those “GROCERY” or “MARKET” signs for the kitchen, and maybe another scripture sign for the master bedroom…what do you think?
This post contains affiliate links – click here to read my full disclosure.


Get your copy of my FREE meal planning binder!

Sign up to get a free copy of my meal planning system - an 11 page printable meal planning binder, complete with a pantry inventory, shopping list, and more to help get on top of your menu each week!





Great tutorial for canvas and frame! I’m definitely going to try them both. Looking forward to the next posts you mentioned!
Thanks so much Lucy! I love how it turned out. Can’t wait to share more about our little foyer nook!
Can’t wait to see more!!
Thanks Sarah-Belle! :-)
Awesome post Meredith!!!! I’m definitely going to try them both. What typeface did you use on the canvas?
Thanks Angelique! I used the font “Georgia.” There’s a free Silhouette cut file on the other post if you have a Silhouette!
I really love this. Just wondering where you purchased the canvas from.
Thanks Corlette! The canvas is from Michael’s.
What do I think? I think you are wonderful, marvelous and thank you from the bottom of my heart for this lovely blog!
So Beautiful!! I love the scriptures too and plan to make them for my home. I can’t wait to see them hung up in every room ?. Thank you for sharing it.
Where’d you get the coat rack that you have the wreath hung on?! I love it and everything else!
This is beautiful. How did you hang it on the wall? I know of a few ways but wondering which why you chose.
OMG…..i literally spent the entire day on your blog. Your posts are so addicting. What a talented talented girl you are. How I wish youd do tutorial videos too for those not so art inclined people like me. That Magnolia sign led me here, and yes I cant spend that much on 1 sign. But girl, you opened my eyes to the Silhouette machine world!!!!!!!!! Now I am considering buying one and I would totally do all your DIYs. I LOVE EVERY SINGLE ONE OF THEM. I mean I cant be spending so much on 1 shirt. Girl, I am so blessed and lucky to have found your site. OMG. One thing, what if I dont want to do a canvas one. Because I actually want something bigger for my wall, around 4’x2′, but I want it wood. Also, how do you actually do a wood background base instead of canvas, can it be stapled nail too? And how do you do the vinyl on the wood? Do you do a transfer paper too? I am a little bit confused on how to do it. I hope you answer my question. Keep on posting creative stuff. Now Im your biggest fan.
Aw, Gwen, your comment totally made my day!!! Thanks so much for the sweet words! Yes, you can definitely stencil on a wood sign (in fact, I think it’s easier to do than canvas) – I did that with our laundry room sign here -http://www.unoriginalmom.com/painted-laundry-room-sign/ You can still do the same kind of frame as I did on the canvas. I love love LOVE my Silhouette and use it ALL the time, so if you are thinking about getting one I’d definitely recommend it! I’d be happy to answer any questions you might have!
I love yours more than the original!! Great job!! I’ve been wondering how to do it, thanks for the tutorial!!
I must say…. I LOVE YOUR BLOG!! I am fairly new to the crafting world; I just got a Cricut about 2 months ago and am slowly figuring out what all I can make with it! I love this sign and I plan to make a couple of my own! Thank you for these tutorials!
God Bless!!
[…] the canvas was done I knew I wanted a wood frame to surround it, I turned to this post from Unoriginal Mom on how to frame a canvas. I made one tweak, I do not have a brad nailer so I used flat corner braces like these to secure […]
I love this. My kids are now in school full time, and its time to get creative and do some DIY decorating. Thanks for the inspiration
Love it! One of my favorite scriptures. Do you mind sharing where you got the canvas?
Thanks Julia! It was just a budget-brand canvas from Michael’s. Any craft store should have something similar!
Hi there!
I don’t have access to a nail gun, what would you recommend?
Thanks!
Alena
What kind of hanging hardware did you use to put this on the wall? Thanks!
Hi Kourtney, I just used a sawtooth picture hanger that we had on hand and nailed it to the back of the frame.
[…] https://www.unoriginalmom.com/simple-wood-frame-for-a-canvas/ […]
Love this! I have been wanting to create something very similar for our nursery but didn’t want to pay an arm and a leg for someone else to create it for me… This is wonderful! Hopefully mine turns out as good as yours!
Apply wood glue to the mitered ends, Ragdoll Hit press them together firmly, and wipe excess glue with a damp cloth.
What a creative idea to make a farmhouse-style sign on canvas with a wood frame! Your detailed tutorial and visuals make it seem so doable. The stained finish adds such a rustic charm. It’s inspiring to see how you personalized the frame to fit your canvas perfectly. Thanks for sharing your process!
What a great DIY project! I love how you chose canvas instead of wood for a unique twist. The detailed measurements for cutting the frame pieces are super helpful. Can’t wait to try making my own farmhouse-style sign!