I’ve been SLOWLY sharing elements of my 2.5 year old’s “big girl room” as I have a chance to add them to her room…we’re nearing the completion of her room and hopefully a big reveal will be coming soon! Gosh this thing has been so drawn out, haha. It’s been mostly-finished since she moved in before Christmas, but I’ve just got a few more things to add to the wall and a dust ruffle to make for her trundle bed. The latest addition is what I’m sharing with you today – some personalized heart-shaped vinyl “word art” for above her bed!
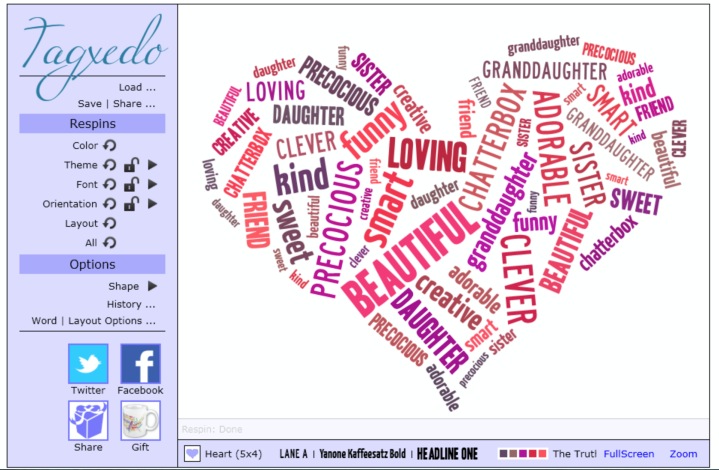
I needed something special to put above my daughter’s bed – something that she wouldn’t outgrow, that would be meaningful as she got older, and that I could make just for her. I came up with the idea to create a “word cloud” full of words that describe her but was kind of stuck on how to make it look good without spending hours and hours on the typography and layout. Some quick googling led me to a terrific (and free!) online tool called Tagxedo that will create word clouds in specific shapes for you automatically!
It is a really amazing little program with so many possibilities! You can pick from their large library of shapes or upload your own, and then under the “load” menu you can either type in the words that you want to use OR select a file or webpage to use as your text! It allows you to exclude duplicate words, common words, or numbers if you’d like. Then you can play around with the number of words you’d like in your word cloud, how tight together the words are placed, the size variation of the words, etc. My favorite part was playing with the “respins” – it will randomly select another combination of fonts, or colors, or re-scramble the words, or change their orientation. AND it will keep track of your image’s “history” so if you keep respinning and decide you liked the first one the best after all, you can easily go back to it!
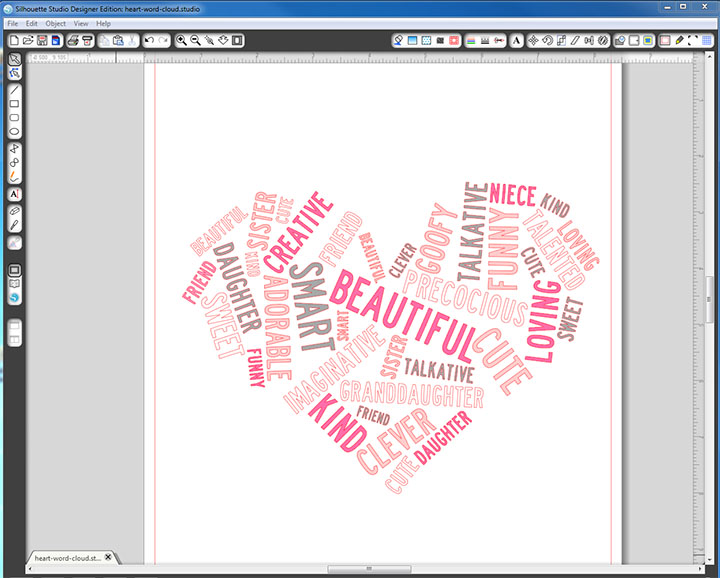
I spent a while playing with all the options and finally settled on a version with all uniform font and slightly larger letters to make the vinyl easier. Then I saved it as a PNG and opened it with Silhouette studio to trace and make into a cut file.
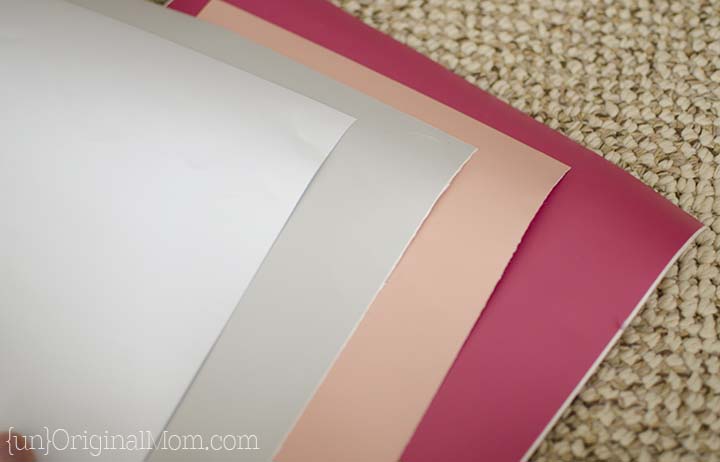
I knew I wanted to use multiple colors of vinyl, so I went through my stash and decided on the 4 colors I wanted to use.
I selected my trace and picked “release compound path” to be able to manipulate each word individually – then I had to go back in and select all the pieces of each word and pick “make compound path” so I was able to easily fill them with color. Then I randomly filled each word with one of my four colors – white, gray, light pink, or dark pink.
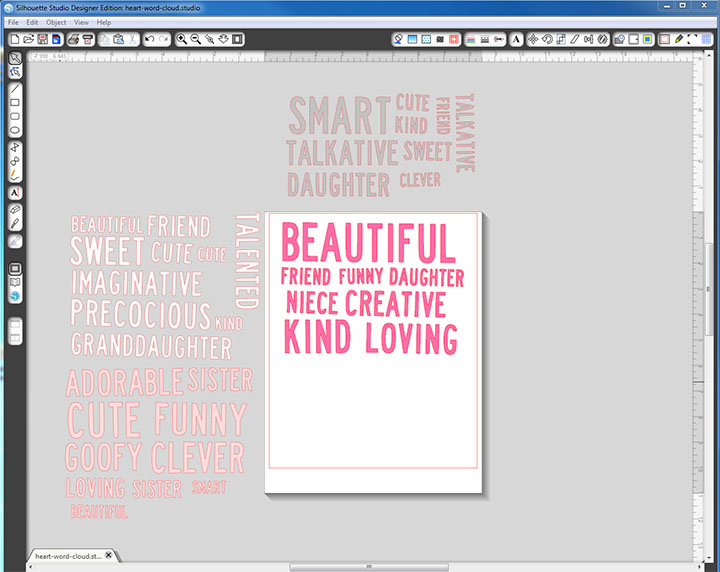
I grouped my words together and resized the whole image to be the actual size of my frame (16″ x 20″). Then I duplicated it to keep a view of my final product and dragged the copy off to one side, and ungrouped the original image so that each word was it’s own shape. Since the shape was bigger than my machine can cut (and it would waste a LOT of vinyl!) I sorted the words into their colors, then rotated and moved the words to condense them as much as possible. Then it was easy to cut out the words from their corresponding color of vinyl.
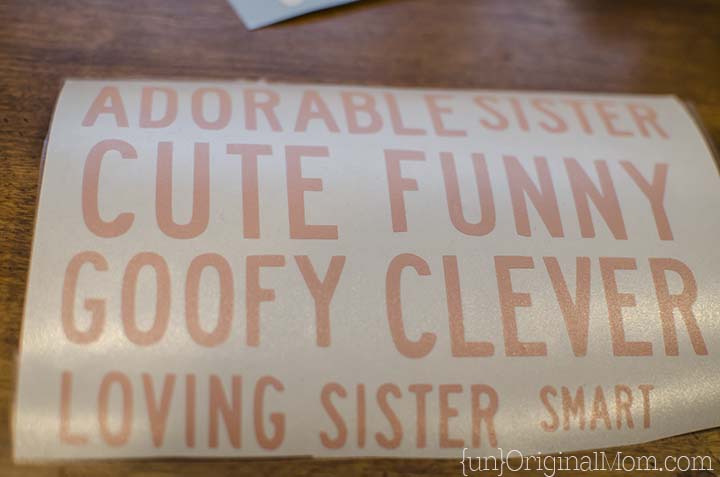
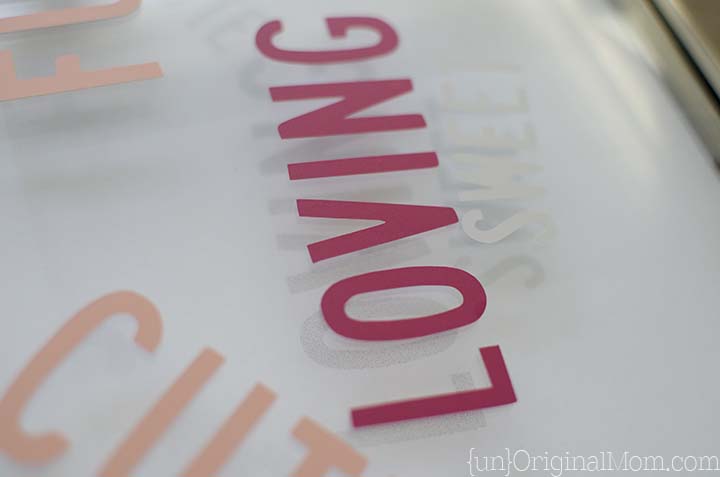
After weeding, I saved time by applying transfer tape to the whole sheet of vinyl first, like this –
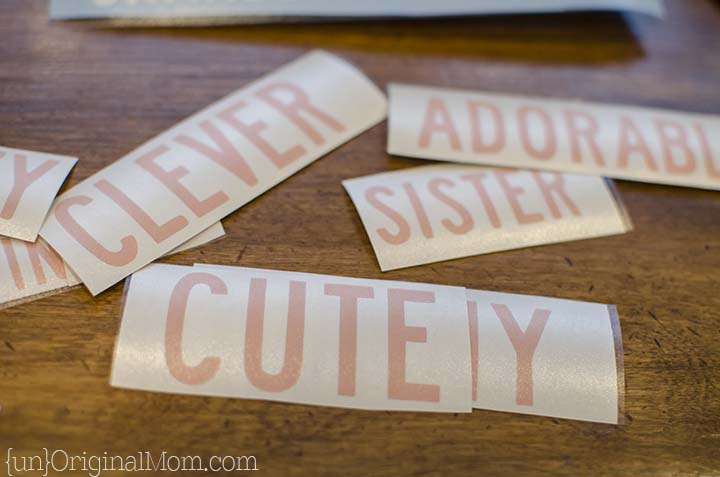
And then cutting out each individual word, like this –
So then I had a big pile of words, and somehow had to get them onto the glass of my floating frame in the right layout – easier said than done, right? Actually not…I’ve discovered a super easy way of getting vinyl to line up PERFECTLY on glass. You can read the full tutorial in this post. Essentially, you just print out your design and tape it to the back of the glass, then apply your vinyl to the front. Easy peasy!
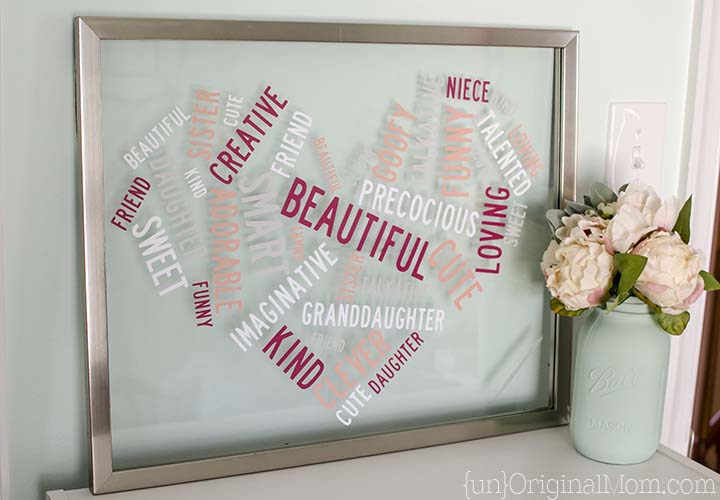
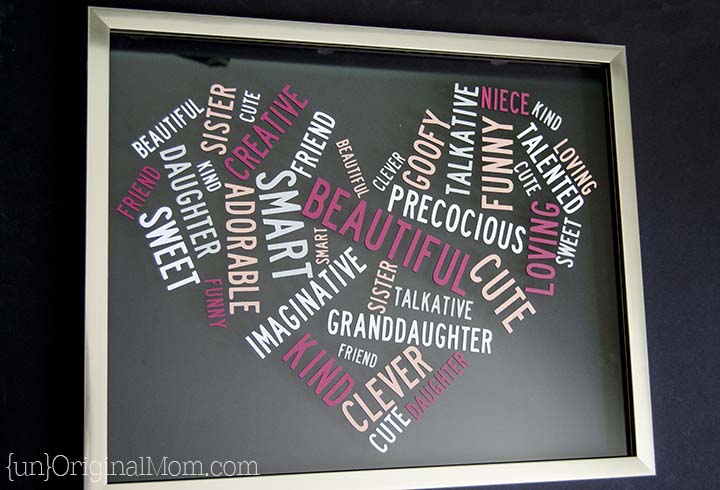
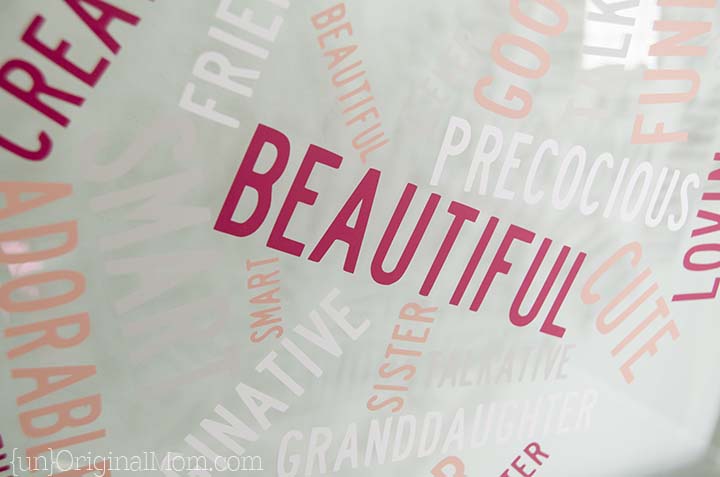
It is SO difficult to take good photos of glass…so here is the final project with black paper behind it, so you can really see all of the words and how it turned out –
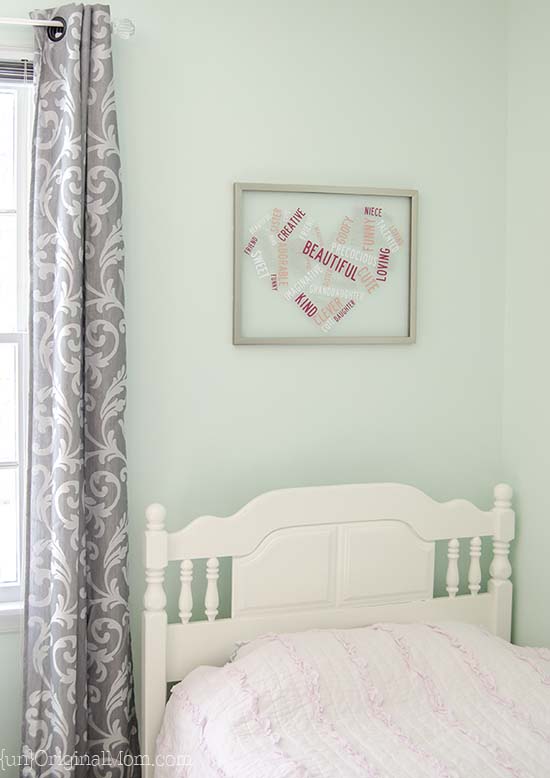
And here’s how it looks in it’s actual spot above the bed –
The vinyl on a floating frame is such a neat effect! But I am most excited about the encouraging words that my daughter will see each day – once she can read, that is! But in the meantime, you can be sure that we’ll be reading these words to her regularly so she knows what a smart, creative, and beautiful little girl she is.
I love all kinds of word art, don’t you? I feel like it’s a little bit more accessible form of art that everyone (even non-artists like me) can attempt and be successful…though I am also head-over-heels in awe of true typography artists that can create incredible works of art using only letters!
One of the things I love about my Silhouette is how well it lends itself to creating word art – vinyl lettering on all sorts of things, stencils on canvases, lettering on pallets, sketch pens on paper, heat transfer vinyl on shirts or tote bags…truly endless possibilities! So I am really excited that this month’s Silhouette Challenge is all about “Word Art.” Take some time to browse through the amazing projects below for lots of terrific word art inspiration!
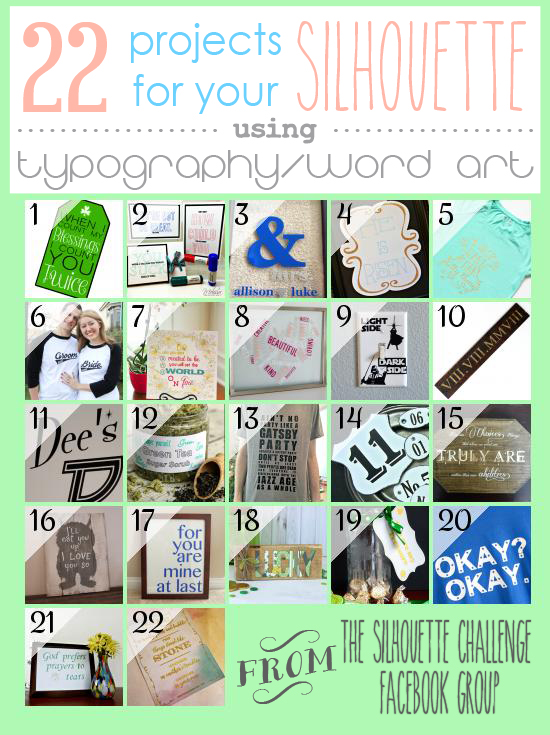
1. My Paper Craze // 2. The Stamp Doc // 3. Peanut Life Adventures // 4. Creative Ramblings // 5. Pitter and Glink // 6. The Thinking Closet // 7. Single Yet Married Mom // 8. unOriginalMom // 9. Sisters, What! // 10. Where The Smiles Have Been // 11. From Whine to Whine // 12. Adventures in All Things Food // 13. Practically Functional // 14. Patina Paradise // 15. Please Excuse My Craftermath… // 16. Weekend Craft // 17. Two Purple Couches // 18. Ribbons & Glue // 19. TitiCrafty // 20. Simply Kelly Designs // 21. Confessions of an Overworked Mom // 22. Get Silvered
What’s your favorite kind of word art?


Subscribe to unOriginal Mom via email and get instant access to my library of FREE Silhouette Studio & SVG cut files - exclusively for email subscribers. Plus there's a new file added every month!




This is beautiful Meredith! I’ll bet your daughter loves it.
I LOVE this idea. I actually used Tagxedo.com to make part of my Husband’s valentine’s day present this year. It was so easy to do. What a great idea to use it this way also. What did you use to secure it to the wall? Since it’s floating I imagine you wouldn’t want a wire hanging across the back.
Thanks Mackenzie! It’s just a cheap floating frame that I bought at Michael’s, it’s pretty flimsy but it has two sawtooth picture hangers on the top edge of the back of the frame, so it’s hanging with a nail for each sawtooth hanger, nothing fancy!
Oooh I so LOVE LOVE LOVE this idea… Looks so beautiful!
Pinning!
XOXO
That would look so cute in my daughter’s room. What a great idea!
This is really cool! I can’t believe that you did this in multiple colors and still figured out how to lay it out like you did. You make it look so easy. You are so talented Meredith!
What an awesome idea Meredith. Love the results.
Tagxedo rocks. Great project. Lucky daughter.
Ok, I love this so much! I also think it’s perfect to go right above her bed. She’s lucky to have such an amazing mother!