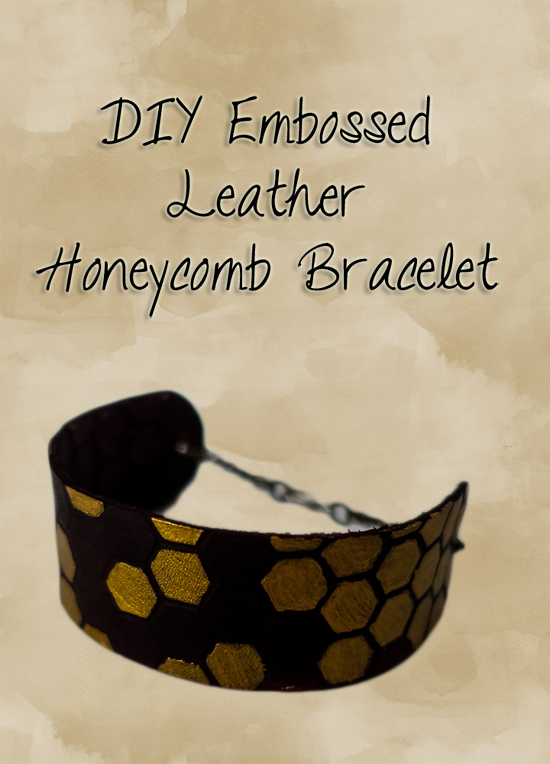
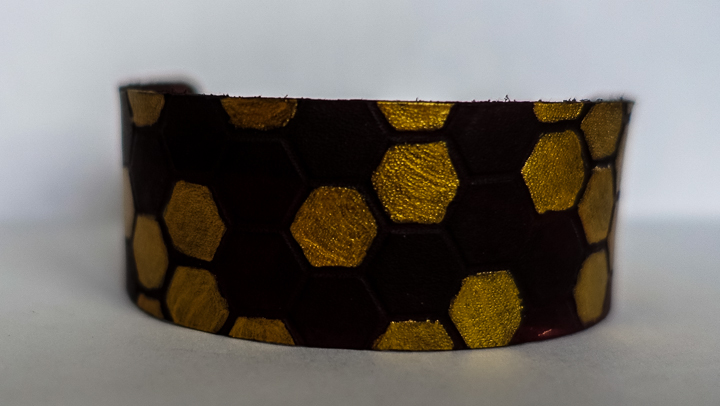
I’m thrilled to introduce you to a very talented friend of mine, Kristy from Please Excuse My Craftermath… She is extremely creative and writes wonderful tutorials, so I’m really excited that she’s here to share a step-by-step “how to” with you today. I know you will love this project!
————————————–
Hi! I’m Kristy, and I’m usually blog over at Please Excuse My Craftermath… I’m all about fun, and sometimes geeky, DIY. I love making quality handmade crafts. Some of my favorite projects have been my embossed leather coasters, the hexagon quilt I made for my brother, and a hand made notepad. If you want, I’d love it if you checked me out on Facebook or Instagram! Lately I’ve been on a bit of a leather kick, so I thought I’d share a fun little bracelet project that I whipped up to share with you here!
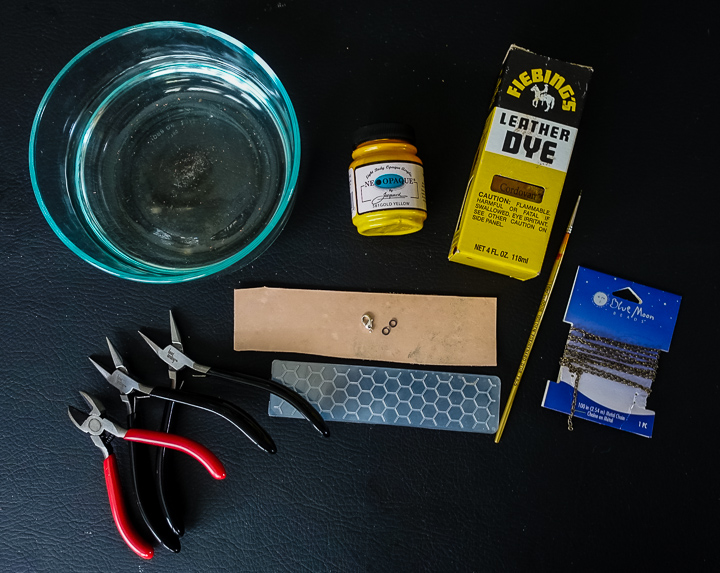
Materials
- 2 flat nose pliers
- 1 piece of 4/5 oz veg tanned leather, approximately 6×2″
- Embossing folder (Darice Honeycomb Border shown here)
- Embossing machine (not pictured – I have both a Vagabond and a Sizzix Texture Boutique)
- 2 jump rings
- 2 x 1.75″ pieces of chain
- Leather Dye (Fiebings Cordovan)
- Leather Paint (Jacquard’s Sunset Gold)
- A paintbrush
- 2 flat nose pliers
- Chain cutters
- Paintbrush
- Water
- Scissors to cut your leather (not shown)
- Hole punch (not shown)
- FREE cut pattern (downloadable HERE)
Cutting your leather
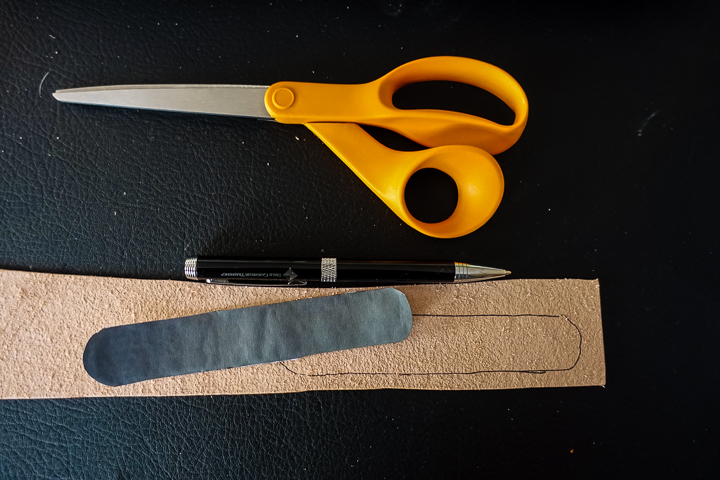
Ok, now that you’ve gathered you’re materials, you’ll need to cut your leather. Using the downloadable template, there are 2 ways to do this. This first is to print the .pdf file, cut it out, and trace it by hand on the back of your leather scrap. Once it’s been traced, you’ll cut it out by hand. Add a hole to each side of the leather piece using your hole punch where the template indicates.
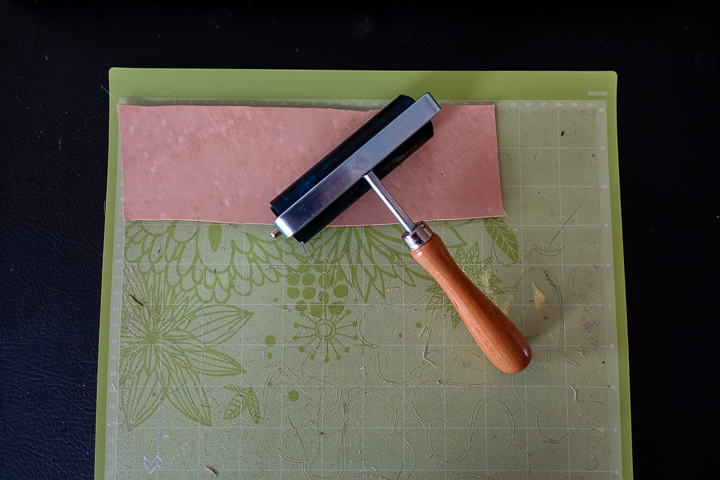
The other method I’ve included is a .jpg that you can upload into the Cricut Design studio and trace using their “Simple Image” feature. Delete the grey background and the pink holes. Then size the cut to be 5.5″ long. When cutting your leather on the Cricut, use the “Heavy Leather” settings. Before running the leather through the machine, press it down with a brayer or a similar tool. I used this method to cut my bracelet blank, since it gave me cleaner lines and also cut the holes in the leather for me.When cutting your leather on the Cricut, use the “Heavy Leather” settings. Before running the leather through the machine, press it down with a brayer or a similar tool. I used this method to cut my bracelet blank, since it gave me cleaner lines and also cut the holes in the leather for me.
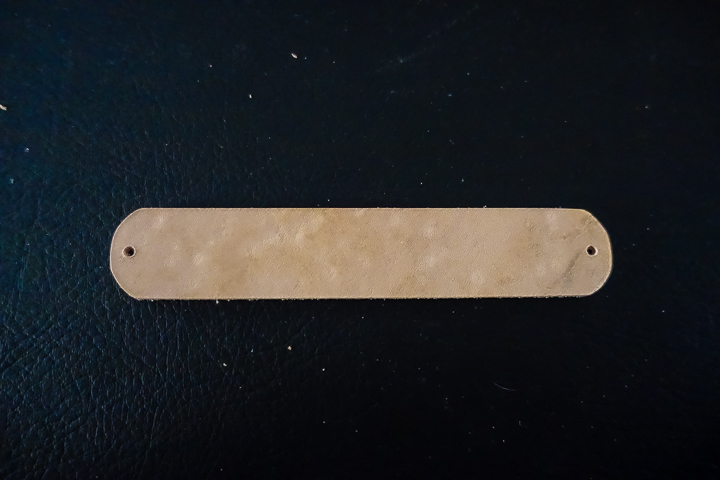
Either way, once you’re finished with cutting, you’ll have a bracelet blank that is about 5.5″ x 1.5″ and looks something like this:
Embossing Your Leather
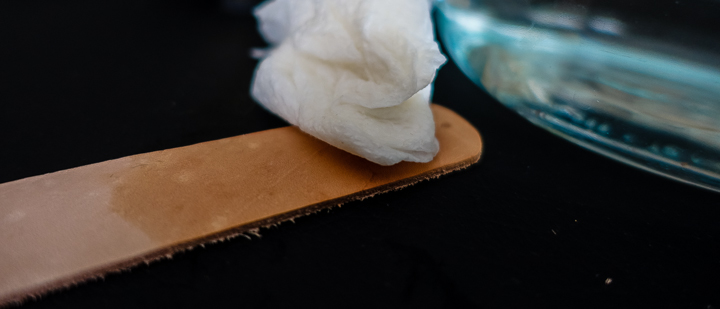
Once you’ve cut your leather, it’s time to emboss it. First, you’ll want to case your leather by using a wet cloth or paper towel to wipe some water onto both sides of the leather. You’ll notice that it gets a little bit darker when it soaks up the water.
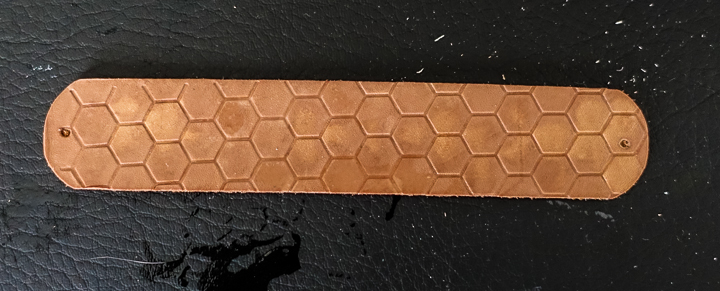
Next, place your bracelet into the embossing folder. Make sure to pay attention to which way the embossing folder is going. If it’s got words – you want those to be legible. I chose to emboss it so that lines between the honeycombs would be embossed into the folder. You could also switch it the other way so that those lines would be raised and the comb itself would be indented.
Next, run it through your machine. For the Vagabond, your embossing sandwich will be: Solo Platform – Solo Shim – Embossing Folder – Solo Shim.
**Your machine may be different! Please pay attention to your machine as the folder goes through so that you don’t accidentally put too thick a sandwich through!**
After you’ve run it through the machine, you’re bracelet is looking mighty fine!
Adding some color
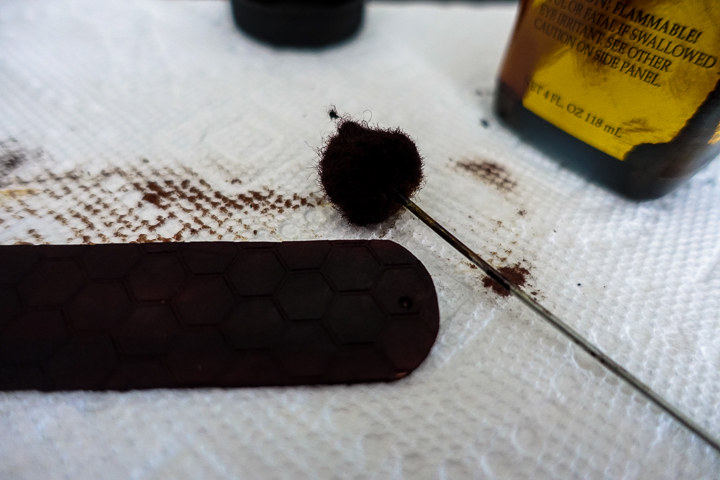
Ok, so we’ve got an embossed piece of leather – what next? Well, next we need to pretty it up a bit. I started by adding a single coat of Fiebings Cordovan leather dye using a wool dauber. This is a really dark brown color that’s almost, but not quite, black. I also chose to dye the sides and the back of the leather, though you could keep those the natural color if you prefer. Make sure to do this in a ventilated area. You may also want to wear gloves – it will get all over your hands, and it is a dye after all. Once the dye is on, you can wipe of the extra with a cloth or just give it a few moments before painting so that it dries enough not to wipe off on your hands.
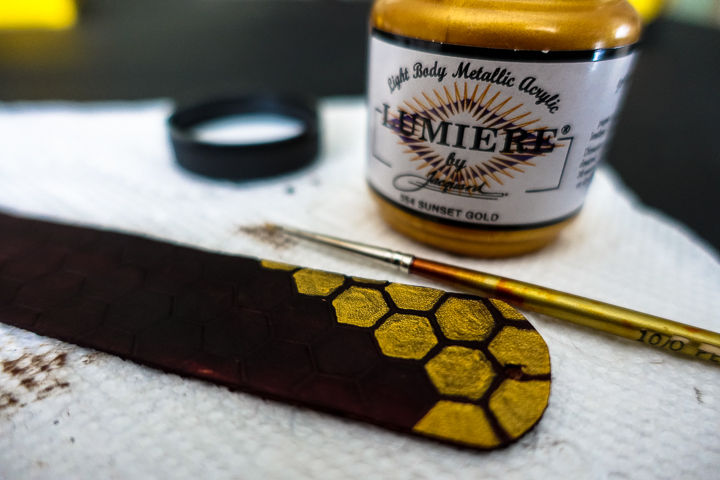
Next up is adding a bit of gold. You may have noticed that my materials picture shows Jacquard’s Neopaque Yellow, but I listed Sunset Gold. After painting just a few squares, I decided I really wanted that metallic sheen instead, so I went with the metallic.
I also choose to leave a few of the hexes in a bit of a curving line dark brown. After 2 coats of the gold, I decided I was happy with the final result.
Shaping and Finishing the Bracelet
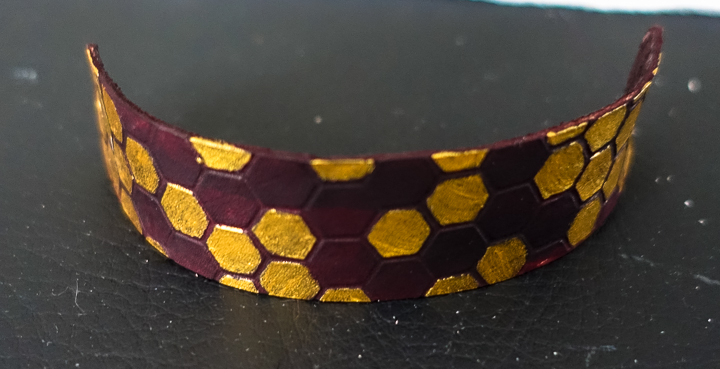
Now it’s time to turn your decorated blank into a bracelet. If you’ve done this step by step, your blank will be a little cold to the touch. This is good – it means your leather has still retained some of the flexibility that the water and the dyes have given it. Place it on your wrist and press it down around the sides. Hold it there for about 30 seconds. This will start shaping it into a bracelet, but don’t worry if it doesn’t stay fully in place. It should look something like this:
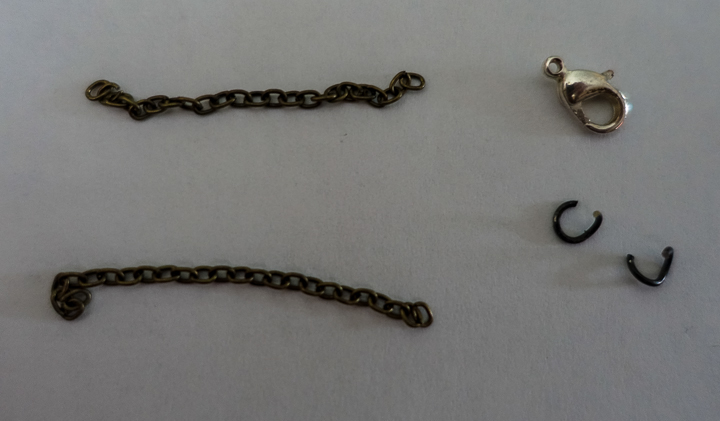
Next up we’ll be adding the findings. Use your clippers to cut 2 small pieces of chain. Mine were about 1.75″. For reference, my wrist is about 7″ around. Open up your jump rings using your flat nose pliers.
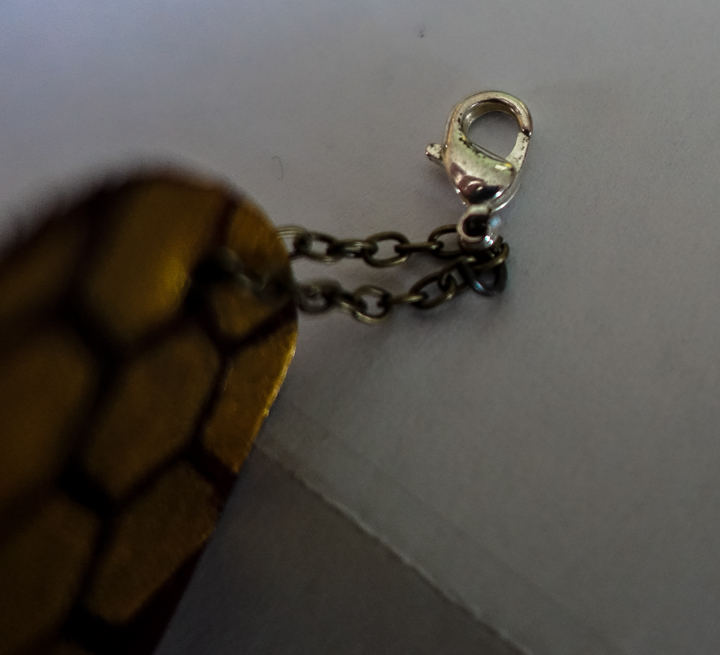
Then, run your chain through the hole in your leather (widen if i you need to using a pen) and close it up with a jump ring. Do the same on the other side, but add the clasp to the jump ring as well.
Done!
And that’s it! Keep the bracelet clasped for a while so that it full dries into it’s new shape. If you want, after the leather is no longer cool to the touch, you can use some Carnuba Cream or another leather conditioner to keep the bracelet protected from drying out too much.
Thanks so much to Meredith for letting me stop by! And thank YOU for reading!
~Kristy gd
A huge thanks to Kristy for guest posting today, and with such a terrific project and detailed tutorial! Be sure to stop by her blog or follow her on Pinterest, Facebook, Instagram, or Twitter for some more inspiration!


Get your copy of my FREE meal planning binder!

Sign up to get a free copy of my meal planning system - an 11 page printable meal planning binder, complete with a pantry inventory, shopping list, and more to help get on top of your menu each week!

