Last week I participated in a Busy Bag Exchange with 19 other local moms, and hit the busy bag JACKPOT when I brought all my goodies home! It was really very simple…one mom posted in a local moms Facebook group with the idea, then created a separate Facebook group for us to work out the details. We all signed up with what type of busy bag we were going to make, then worked for about a month creating 20 identical bags. Then we got together and exchanged our bags, so we all got to take 20 different busy bags home with us for our kiddos!
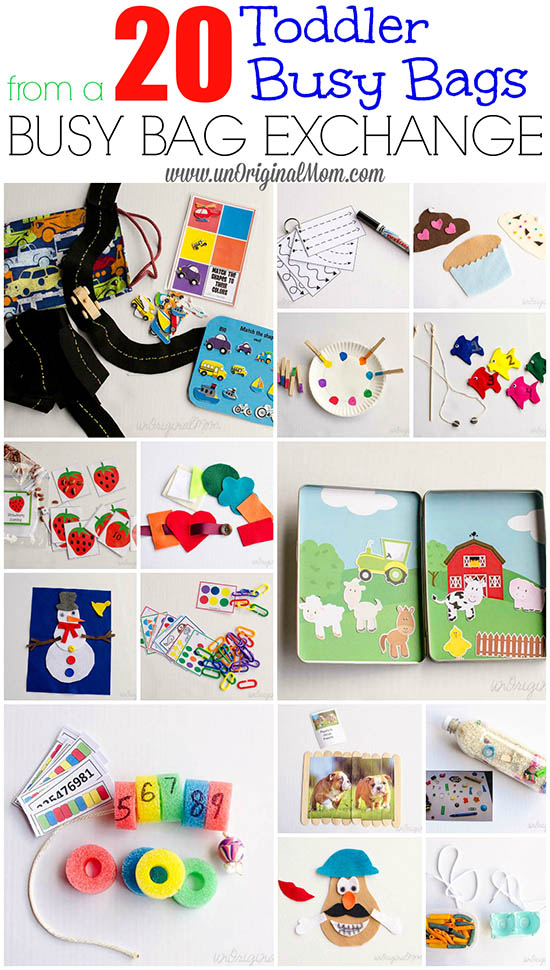
There was a huge variety of bags included, some original ideas and some made from tutorials found on other great blogs. If you’d like some great busy bag inspiration, here are all 20 bags that I received from this swap.
**Thinking of hosting your own exchange? Scroll down to the bottom of this post for some tips and ideas!**
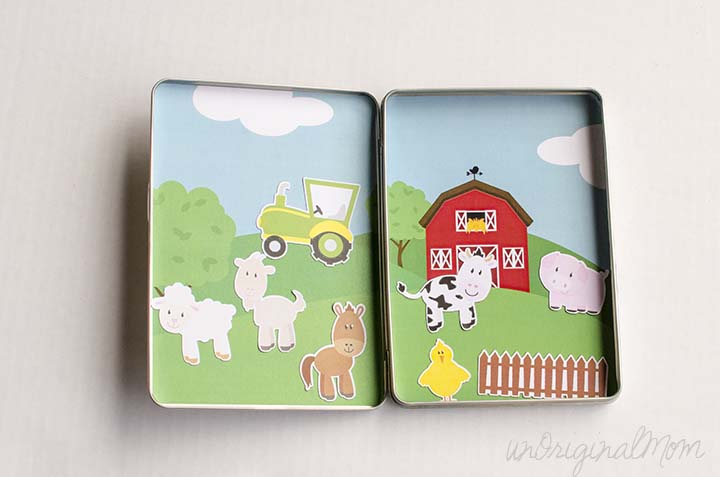
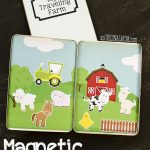
1. Magnetic Traveling Farm by me! This is what I made to contribute to the swap. I shared the full tutorial on this last week, so head over to this post to see how I made it. This is a great little self-contained toy to take along to a restaurant, on a car trip, or just play with at home!
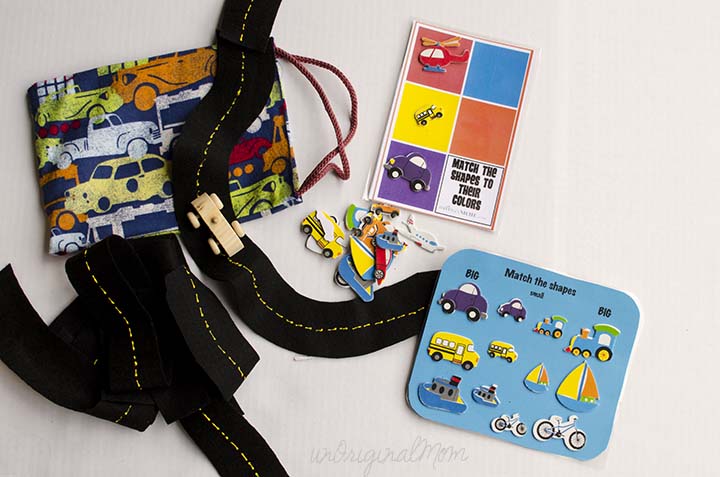
2. Transportation Shape Sorting and Felt Road by Lisa. Complete with a custom carrying case and everything! You can find the instructions to make your own (along with great free printables) over on Mother’s Niche.
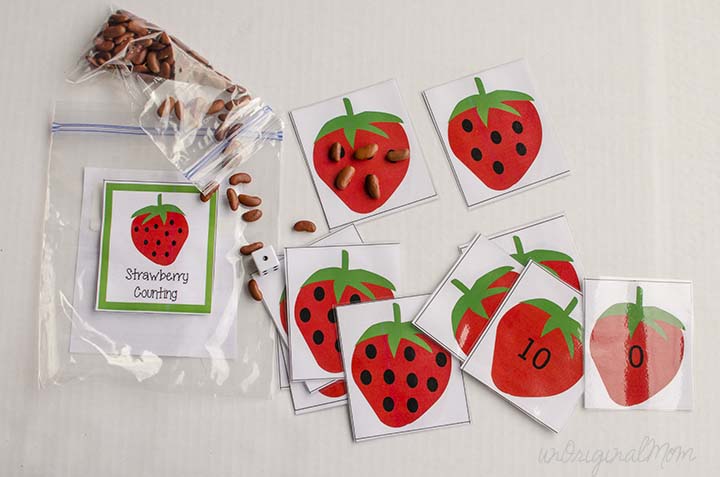
3. Strawberry Counting Game by Amber. This is a great busy bag that can grow and adapt as your child gets older. You can find more details along with the printable cards here on Boy Mama Teacher Mama.
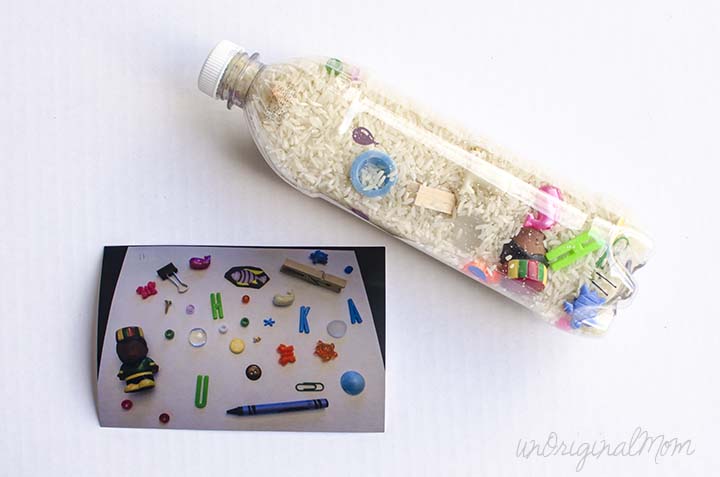
4. I-Spy Rice Bottles by Ashley. Take a picture of a handful of small odds and ends…magnetic fridge letters, crayons, paper clips, beads, etc…then dump them into a bottle and fill it the rest of the way with rice. Hot glue that cap shut (definitely want to avoid a spilling accident with this one!) and have your kiddo spin the bottle around to try to spot all the different items in the photo.
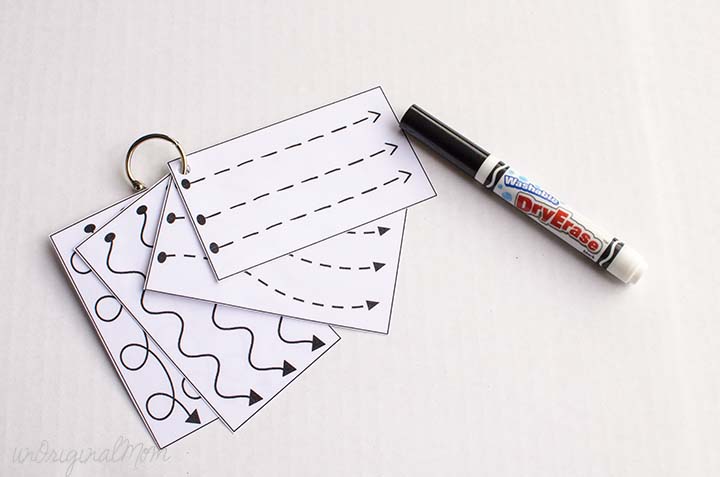
5. Pre-Writing Cards by Jenny. Laminated for use over and over again – dry erase marker included!
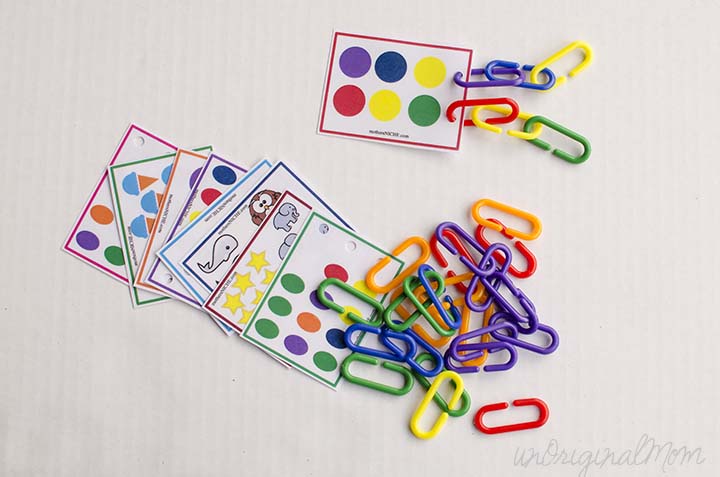
6. Counting Links Game by Melissa. This is another goodie with free printables over on Mother’s Niche!
7. Magnetic Discovery Jars by Jacqueline. This one is so simple – you just need a bunch of odds and ends (some metal, some not) in a container, then a magnet on a stick. Your child can “discover” what is magnetic by what sticks and what doesn’t!
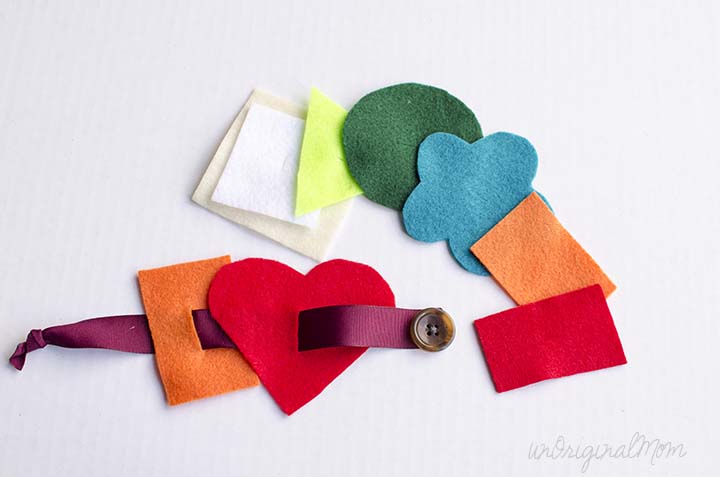
8. Felt Button Snake by Tricia. Helps with dexterity as your child threads the felt shapes onto a ribbon using the button on the end.
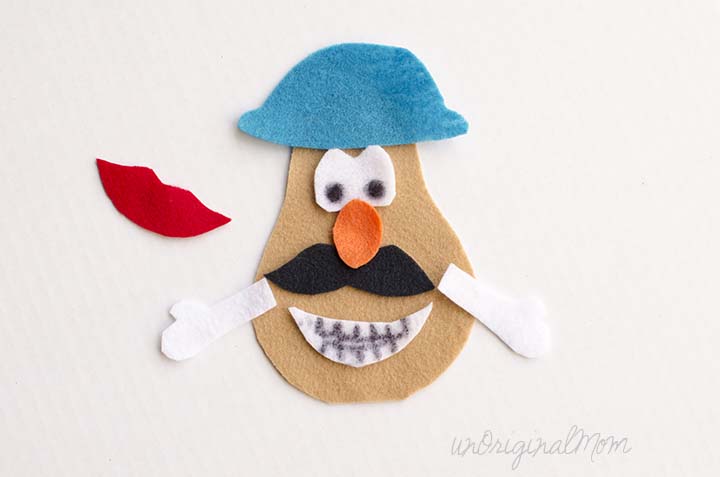
9. Mr. Potato Head Felt Board by Mandy. Because who doesn’t love mixing up all the shapes on a Mr. Potato head?
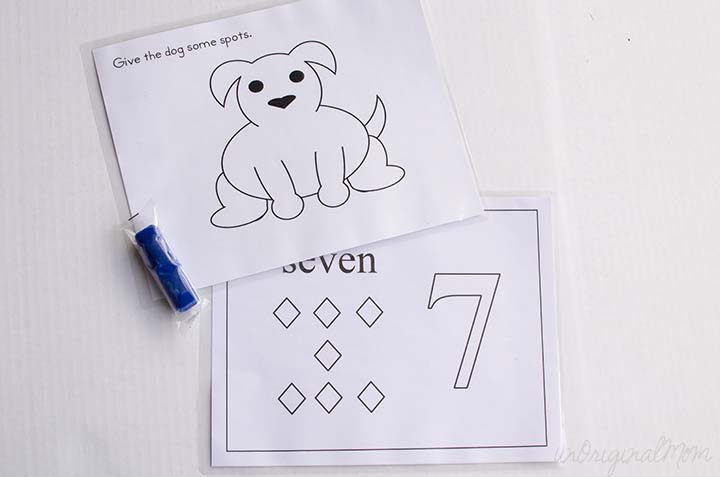
10. Play Doh Mats by Shannon. Printables available here.
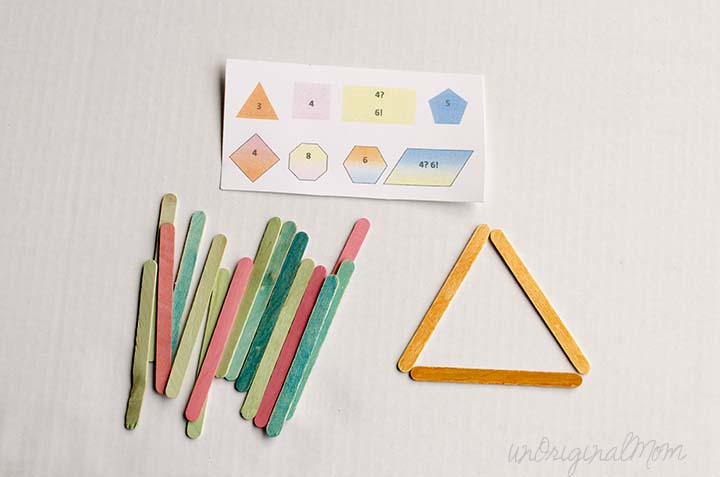
11. Make Shapes with Popsicle Sticks by Lisa.
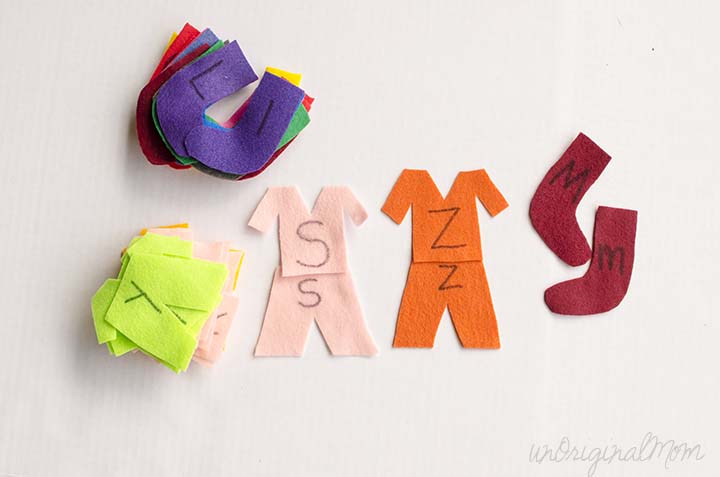
12. Laundry Letter Matching by Ashlee. Each pair is the same color but has an uppercase and lowercase letter to match together!
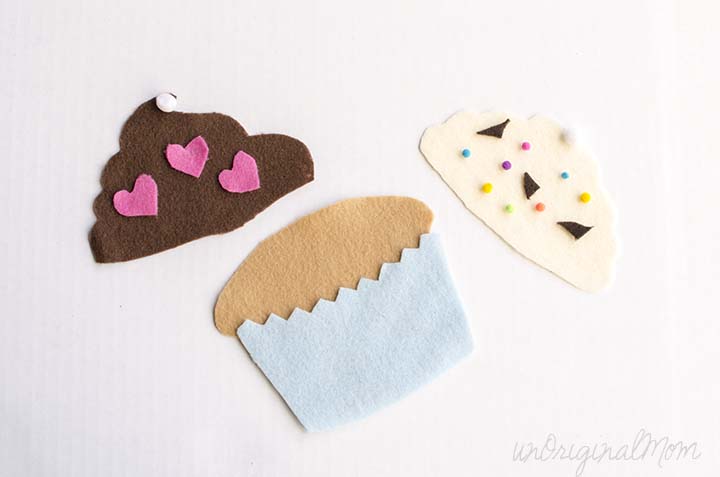
13. Felt Cupcakes by Andrea. Lots of good opportunities for counting.
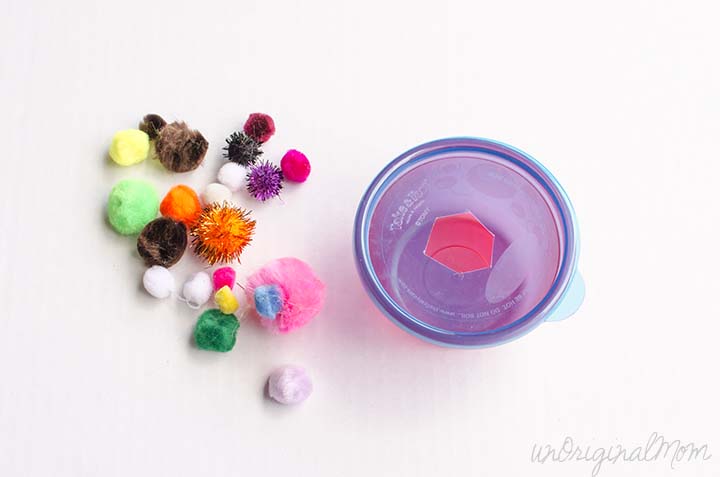
14. Pom Pom Container by Ashley. Good for little ones that like to take things out and put them back!
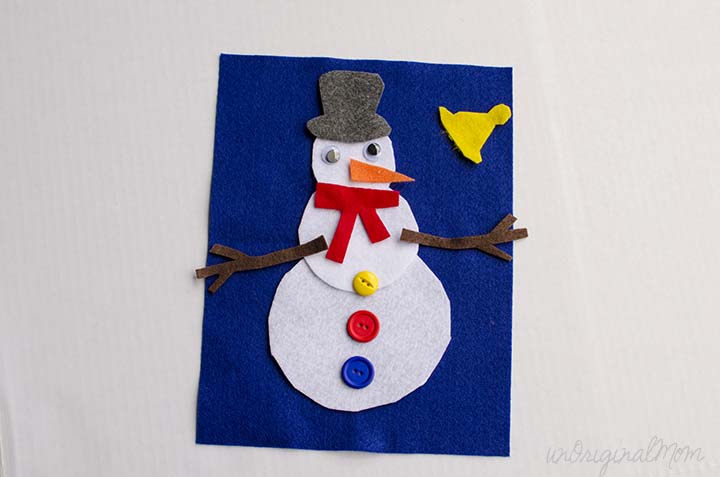
15. Snowman Felt Board by Maggie.
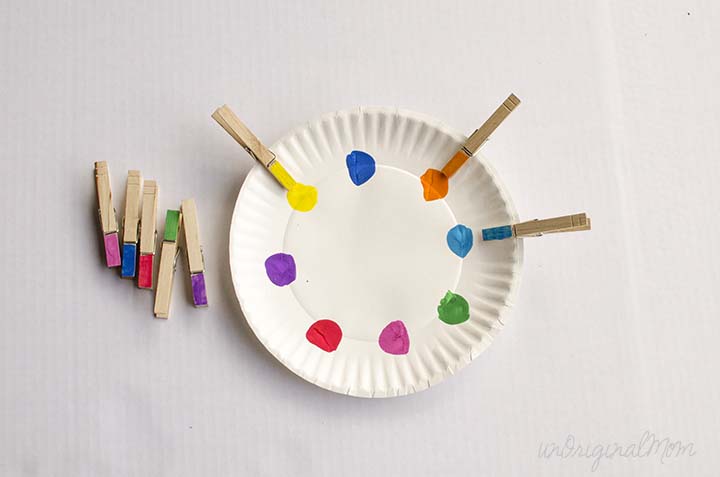
16. Color Wheel Matching by Kristie. This is a simple but neat idea!
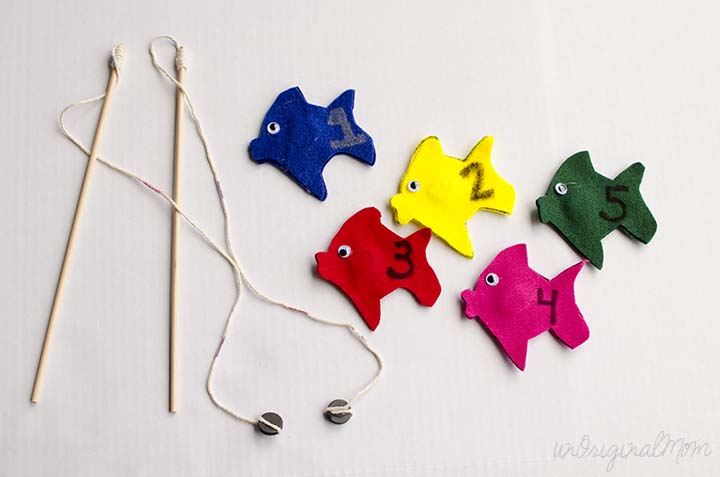
17. Felt fishing game by Christel. The fish are two pieces of felt glued together with a magnet in the middle. So cute!
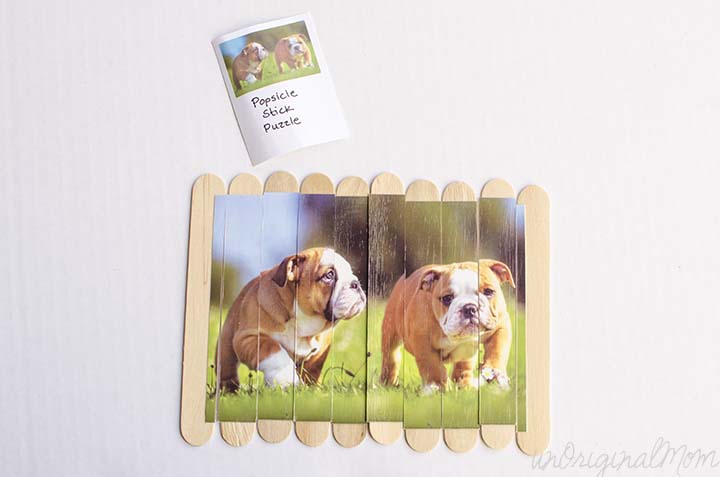
18. Popsicle Stick Puzzle by Kristi. Mod Podge a photo onto popsicle sticks and then cut them apart. I love the photo she used! (Find a tutorial here.)
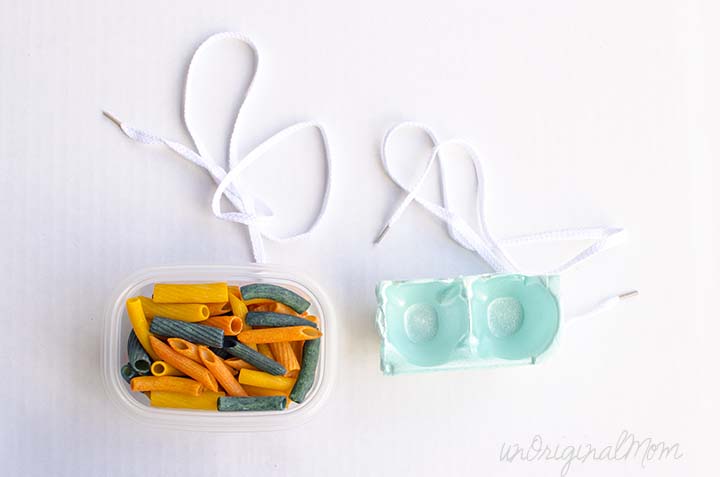
19. Pasta Sorting and Lacing by Pooky. You can sort by color or shape! Great for working on patterns, too.
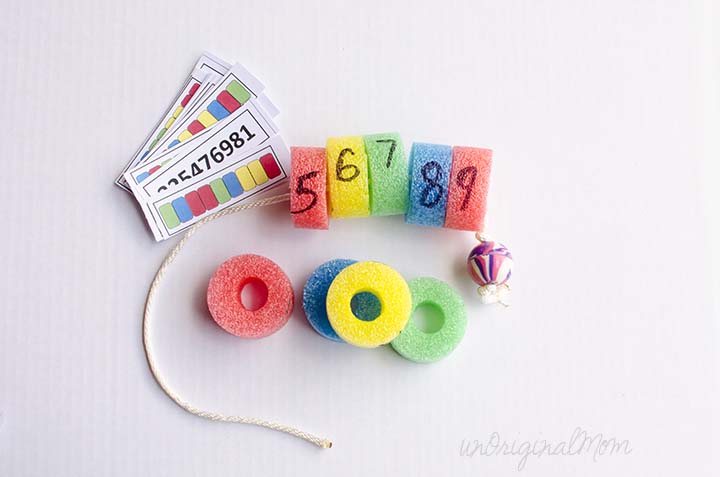
20. Pool Noodle Lacing by Carla. My 2 year old loves this one! Free printable cards and more instructions here!
Putting together and “hosting” an exchange like this is really pretty straightforward. Find a group of moms that are willing to participate (either friends of yours, a group from church, put a flyer out in the neighborhood, or maybe find a local moms Facebook group!), lay out some ground rules, then get creating! Here are some things to consider:
– Compile ideas. We found some great ideas here and here, but there are SO MANY on Pinterest! Maybe create a Pinterest board to round up ideas so that ladies know where to start.
– Set a price window. We ended up with bags that cost anywhere from under fifty cents to probably around $3-4 a piece. (Color copies can get really expensive!) I think it’s important to set a max budget, but also a minimum as a bit of quality control.
– Set other guidelines – What is the target age of your exchange? (Toddler or preschool?) Do pages need to be laminated, or will each mom do that herself if she wants to? How should bags be packaged? (I recommend in gallon ziplock bags – also have each mom include a slip of paper with the name of the activity, any instructions for play, her name, her kids names/ages, and contact info in case of questions or play date scheduling!) Perhaps even have a little contract for people to sign…agreeing to create quality bags and putting quality time into creating them, that they’ll be completed in time for the exchange, etc.
– Decide whether or not to cap your group size. Honestly, 20 bags was a LOT to make (and can get pretty pricey.) If I were doing it again, I’d say 15 would be a better number. Now, that doesn’t mean you have to cap your group size at the same number…if you each create 15 bags but have a group of 25 moms, you can still make 25 stashes of 15 bags each…just not one of every bag that was made. Make sense? I personally think it’s nice to get one of every bag, but if you do have a large demand, it’s possible to do it with a bigger group and not make that many bags.
– Set a timeline. You’ll need a deadline for sign-up (including signing up for what kind of bag everyone is making to avoid duplicates) and then about a month for bag production.
– Set a swap night or make a plan for the exchange. I think it would be fun to get together for a “Mom’s Night Out” and do the swap at the same time! Our group had trouble coordinating schedules, though, so one gracious mama volunteered to be the drop-off/pick-up point and over the course of a few days got the bags distributed. Make sure to have containers to sort into (paper grocery bags worked well for us) as well as the space to sort them.
Hosting a Busy Bag Exchange is a really great way to get a ton of great busy bags for your kiddo for a lot less effort (and cost) than making 20 different bags by yourself! It’s especially great to be stocking up on these as we come into the winter months. I’m setting most of mine aside until baby arrives in January – I think they’ll be perfect to hand to my daughter when she needs something to hold her attention while I’m nursing or tending to the new baby.
What do you think – have you ever participated in a busy bag exchange, or do you plan to try one yourself? Any other great busy bag ideas to add to this list?


Get your copy of my FREE meal planning binder!

Sign up to get a free copy of my meal planning system - an 11 page printable meal planning binder, complete with a pantry inventory, shopping list, and more to help get on top of your menu each week!





This is so awesome!!! I love the variety of busy bags that you received! You should stash some away for the days that you need a few minutes of quiet time :)
Thanks Dee! Yes, I am definitely stashing most of them away for “emergencies” haha!
[…] or activity that your toddler or preschooler can work on without supervision (check out these Busy Bags for some great inspiration […]
My children are too old to enjoy this, but I want to host an exchange party with the end goal of giving these books to be used by homeless kids and I want them completed in time for Christmas.
I’m looking for suggestions in organizing this dream so that it becomes a reality and so that I am not left with tons of donations of supplies and no help. Any ideas?
What a great idea, Dawn! I think you have 2 options…organize it just like the swap I described in my post (i.e. get 10 volunteers and have them all make 10 of the same bag, so at the end you have 10 sets of 10 different bags) OR get a group of people together for a few hours to make some “assembly lines” and put them together all at once. I hope it works out for you!
[…] Busy Bag: This is a great option for smaller toddlers! This blog has some fun ideas. […]
[…] Create a busy bag– You can create busy bags for your child to explore independently. A really good blog post that includes different ideas to put together your busy bags. https://www.unoriginalmom.com/busy-bag-exchange-20-toddler-busy-bag-ideas/ […]
[…] Learn more: Unoriginal Mom […]
What a fun idea for a mom’s group activity! The Busy Bag Exchange sounds like a wonderful way to share creativity and resources. I love the variety of bags, especially the Magnetic Traveling Farm. Can’t wait to see the tips for hosting an exchange at the end of the post!