Before you get too impressed (or upset?) with me for already beginning Christmas crafts, this project needs an explanation. You see, this was one of my very first Pinterest projects…pre-blog and everything! But because I created it myself, without following a tutorial, this very well may have been the spark that lit my crafting fire and made me think, “hey, maybe I can actually do this!” It was shortly after Christmas that I began this blog, and the rest, as they say, is history ;-)
So, since I made this project last year and before the blog, I decided to pull it out of the Christmas bins and share it with you now!
Ok, rewind to last year…I was frustrated with my lack of flat space to display Christmas cards in our little townhouse. I had been taping them to the banister rails at the bottom of the stairs, which was okay, but not very easy to see and still not a whole lot of space. Then I found this pin from The Anderson Crew:
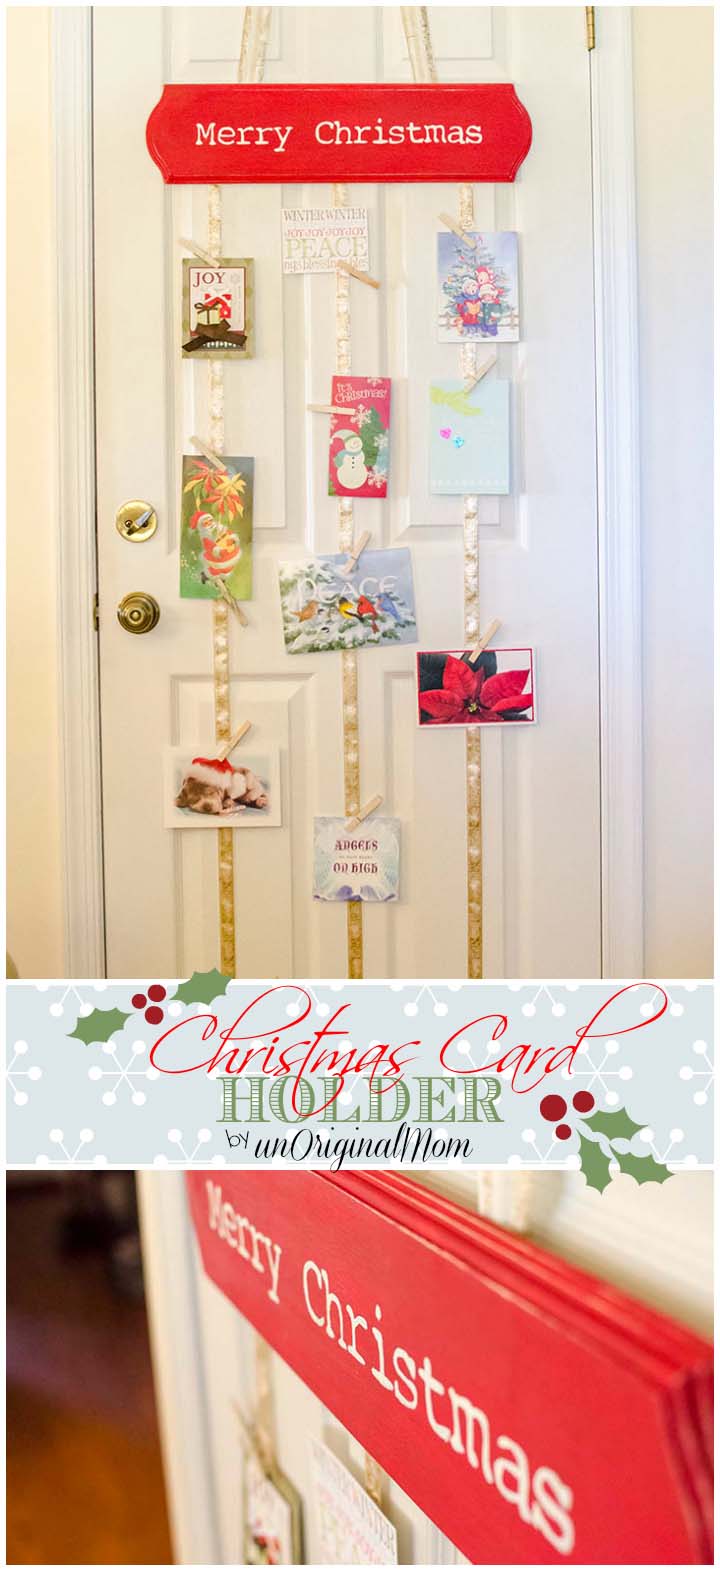
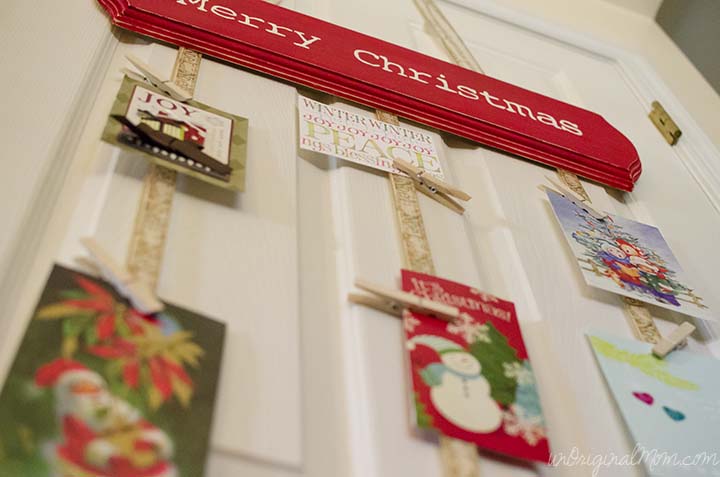
I knew that would be perfect to hang on a door in our living room to display all our cards! But, there was no tutorial! What to do? Guess I’d have to improvise! So, I set about creating our own over the door hanging Christmas card holder.
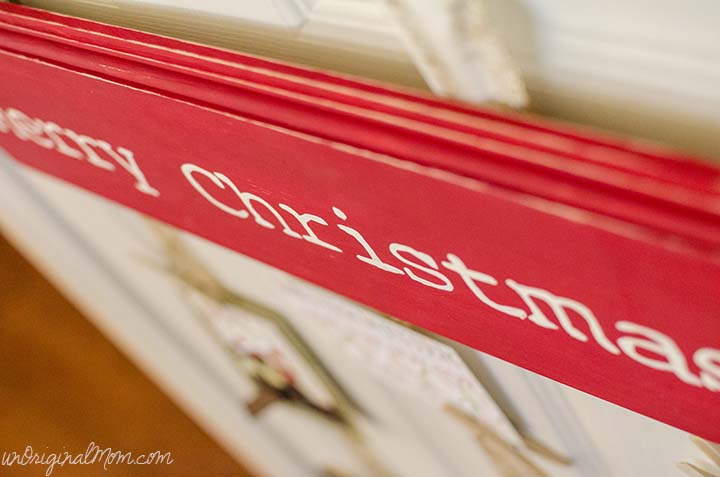
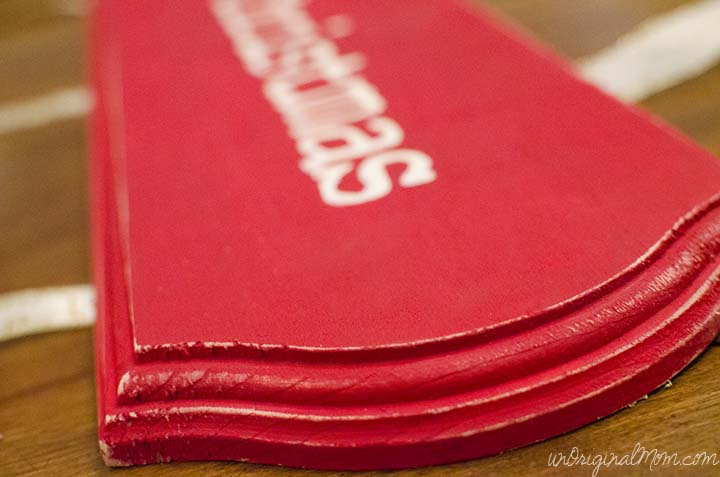
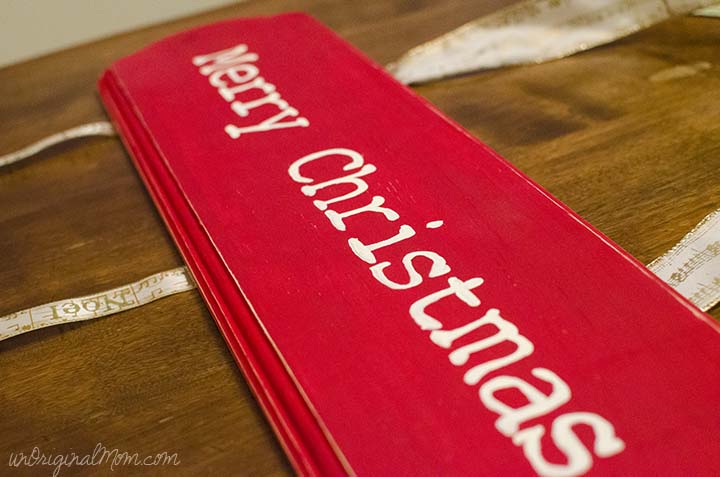
The first step was to create my own Merry Christmas sign. I bought a wooden plaque from Michael’s and painted it red, then distressed the edges with a little sandpaper.
I had already done some painted lettering on wooden signs before (with an easy technique that really works!), so I painted my letters for “Merry Christmas” onto the plaque and painted them white with acrylic paint.
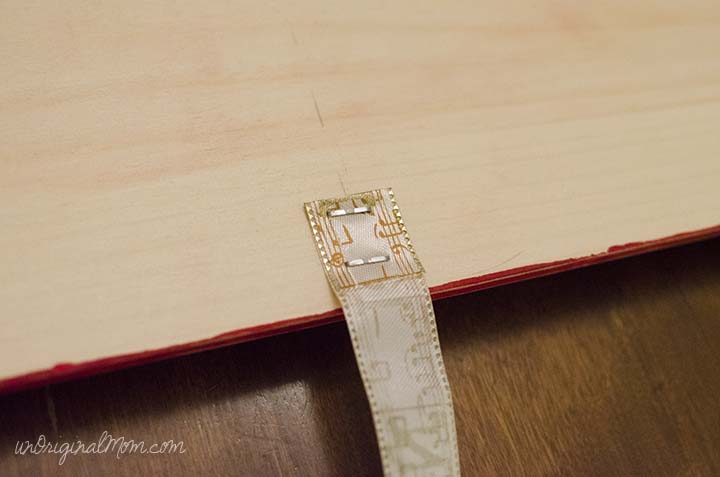
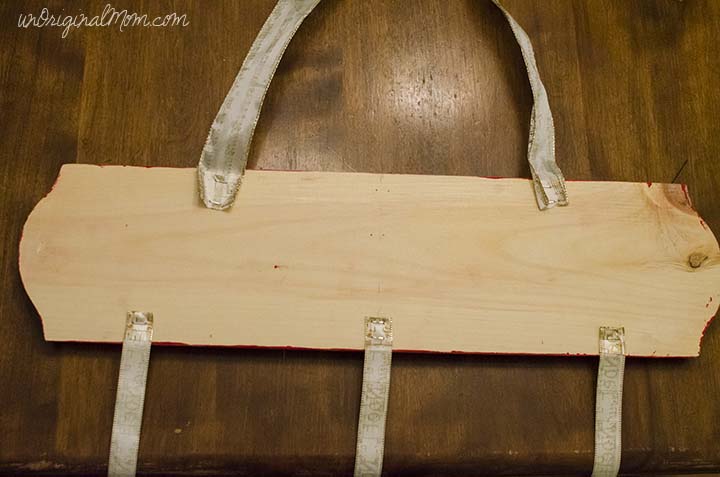
The next step was the ribbons. I measured and cut the card-hanging ribbons and then stapled them onto the plaque using a staple gun.
I did the same with a loop of ribbon on top to hang the plaque.
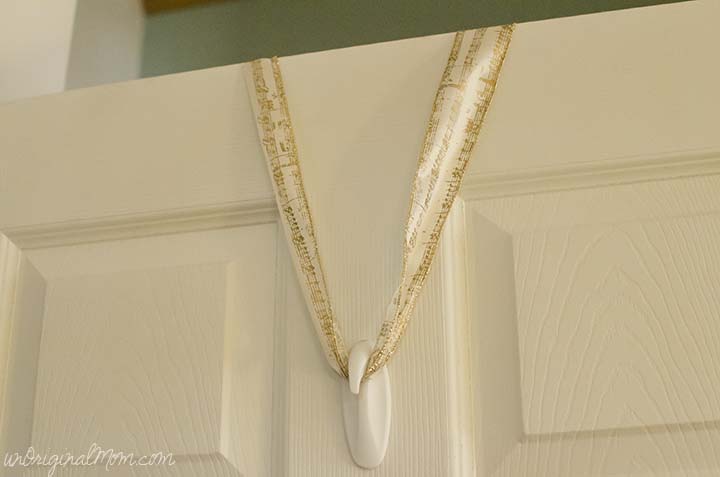
To hang it on the door, I attached a 3M hook – upside down – to the opposite side of the door.
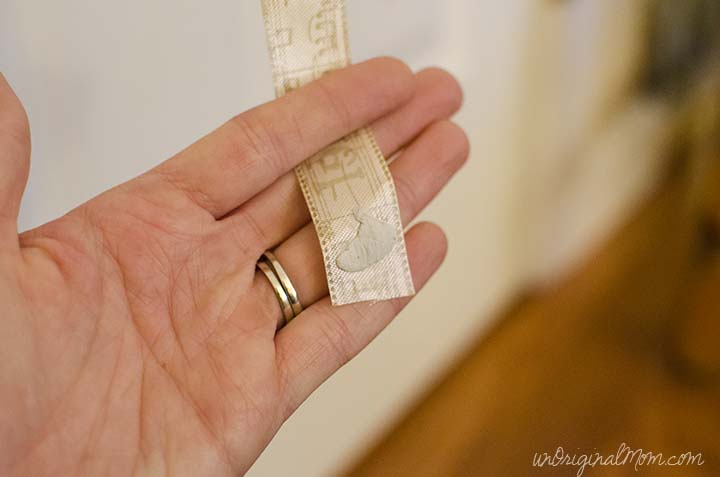
After finding out that the card-hanging ribbons would fly every which way when I opened the door, I used some sticky poster putty to stick it to the door. It really did the trick! (In fact, when I got it out to photograph it today – a year later – that poster putty was still sticky!)
Then, as we received cards in the mail, we hung them up with clothespins!
By Christmas, it was full of beautiful cards! I love that we were able to display them in a way that we would see them every day – not only is it lovely Christmas decoration, it’s a wonderful daily reminder of greetings, well-wishes, and love from friends and family all around the country. I can’t wait to fill it up again this year!
Have you started Christmas crafting yet? I am excited to share a DIY Christmas Ornament Series with you starting next week…be sure to follow along via Facebook, Pinterest, or Twitter so you don’t miss it!


What if you MADE your Christmas gifts this year instead of buying them? Find out how to set yourself up for success in your Handmade Christmas journey - plus get a free printable gift list planner!





This is too funny, Meridith! I was planning out our Christmas cards with my husband last night and talking with him about adding ornament making to our traditions this morning. While I’m firmly in the “No Christmas till after Thanksgiving” camp decorating wise, you have to start planning early when you work on crafting things! I love your over the door card display, particularly the ribbon. It looks so easy to make too, I might just make one of my own. Thanks for the inspiration!
Kristy, I am totally with you on the “no decorating until the day after Thanksgiving” too! I put this up to take pictures, then took it right down again, haha. Especially since we are moving to a bigger house, though (and moving right after Thanksgiving so we are pretty much skipping any kind of Thanksgiving decor around here), I am starting my long list of Christmas crafts now :-)
hi! You’ve been featured on Nap-Time Creations today! Thanks SO much for linking up to my Tasteful Tuesday party…. I’ve put together some great tips and tricks that were shared last week. I’ve shared the roundup around my social media… I’d love for you to re-share, tweet or pin the feature!! Thanks! Emily
This is just the tutorial I need! Thanks so much for sharing! I’d love for you to link up with our Life Created Tuesday link party! This week’s party is now live :)
Erin
http://www.theviewfromfiveten.com
[…] Christmas Ornaments – 30 Days 2. Etched Candle Holders – The DIY Dreamer 3. DIY Hanging Christmas Card Holder – Unoriginal Mom 4. Old-Fashioned Burlap Sign – Denise… on a Whim 5. Wrapping […]
[…] Printable Christmas Ornaments – 30 Days2. Etched Candle Holders – The DIY Dreamer 3. DIY Hanging Christmas Card Holder – Unoriginal Mom4. Old-Fashioned Burlap Sign – Denise… on a Whim 5. Wrapping […]
[…] Christmas Ornaments – 30 Days 2. Etched Candle Holders – The DIY Dreamer 3. DIY Hanging Christmas Card Holder – Unoriginal Mom 4. Old-Fashioned Burlap Sign – Denise… on a Whim 5. Wrapping […]
[…] Hanging Merry Christmas Sign […]
[…] FROM A PLAQUE – Decorate the kids doors with Christmas cards they bring home from their friends. Image via Unoriginal Mom […]
[…] DIY Hanging Christmas Card Holder :: Unoriginal […]
[…] Try DIY hanging Christmas card holder like Unoriginal Mom […]
[…] Try a DIY hanging Christmas card holder using clothespins and ribbon, like Unoriginal Mom […]
[…] Christmas Card Display | A Night Owl 2. Easy Clothespin Holiday Card Wreath | Domestic Superhero 3. Hanging Ribbon Christmas Card Holder | Unoriginal Mom 4. Simply Rustic Holiday Card Holder | Dwelling in Happiness 5. Upcycled Crib […]
[…] unoriginalmom.com […]