I love a quick, easy, fun, inexpensive, practical craft project (doesn’t everybody?) and this DIY checks all those boxes! I am actually surprised how much I love these Christmas “yarn balls” – such a creative idea for an easy Christmas vase filler from my friend Carmen over at Gross to Grandiose. These yarn balls look like high-end vase filler you’d buy in a fancy home decor store, but really are super easy to make – for any season or decor style. Read on for the full how-to!
***************
Christmastime is heeeerrrreee!! I hope you heard that in a high pitched, annoying, sing song-y voice because that’s definitely how I said it.
I can’t believe my time to get to share with you guys is coming to a close! I’ve loved getting to serve you guys in this way by providing some hopefully quick and easy DIY projects and I thought I’d round out my time sharing something easy you can DIY for your Christmas decor! This project was kind of an accident, but I was so pleased with how they turned out!
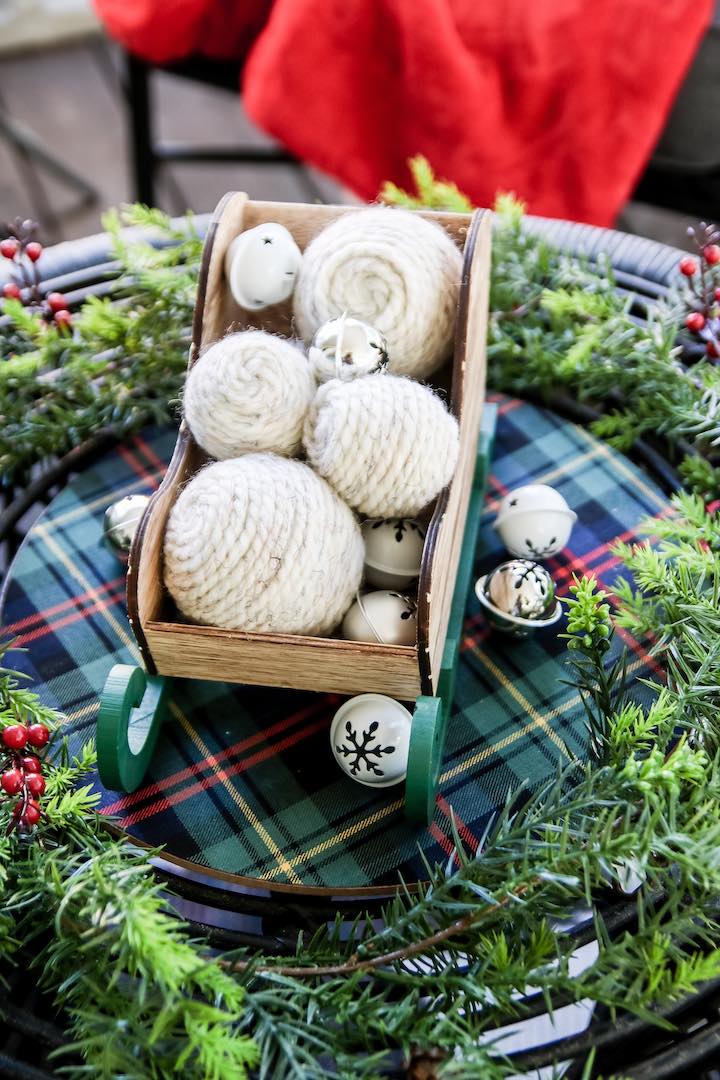
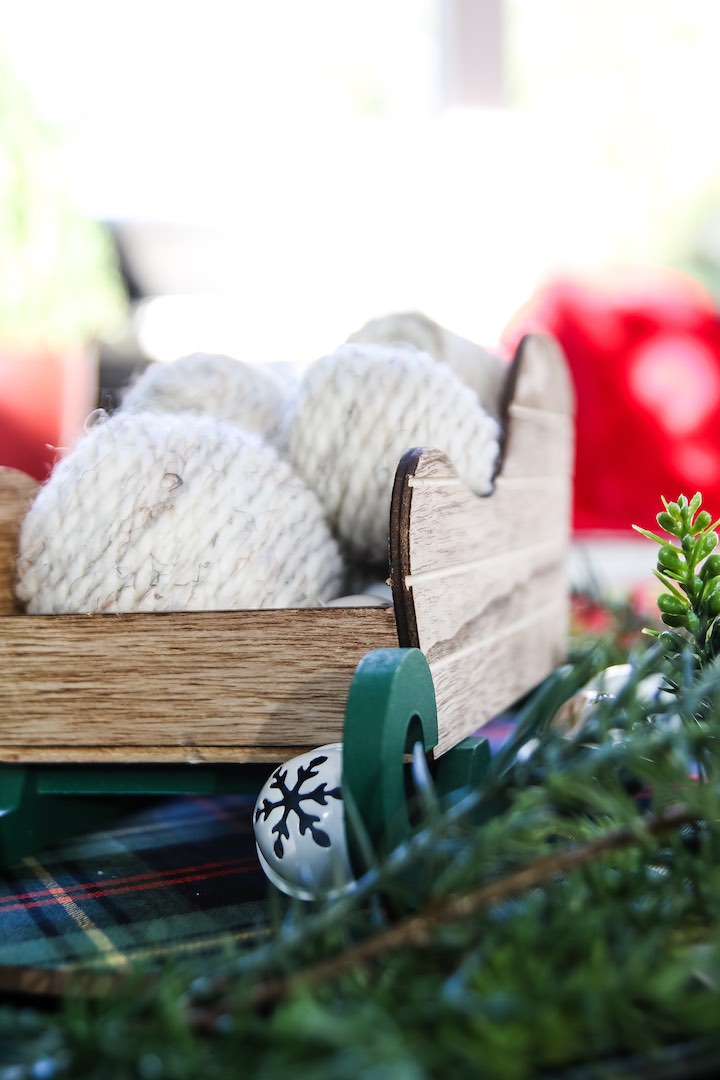
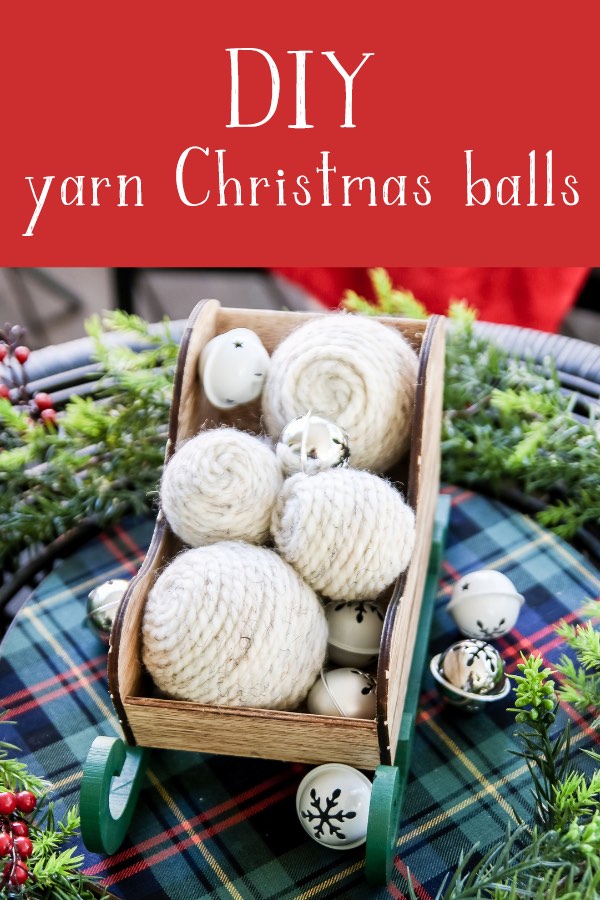
I honestly needed something to put in this cute little sleigh from the Target dollar sport for my Christmas back porch decor to make it feel complete and it ended up actually being my favorite part of our entire porch! If you’re wanting to see the entire tour and how it turned out, you can see it here! For those that may be interested in how I made these little yarn balls, prepare to be dazzled. And by dazzled, I mean this will be the quickest DIY I’ve done for this entire holiday season.
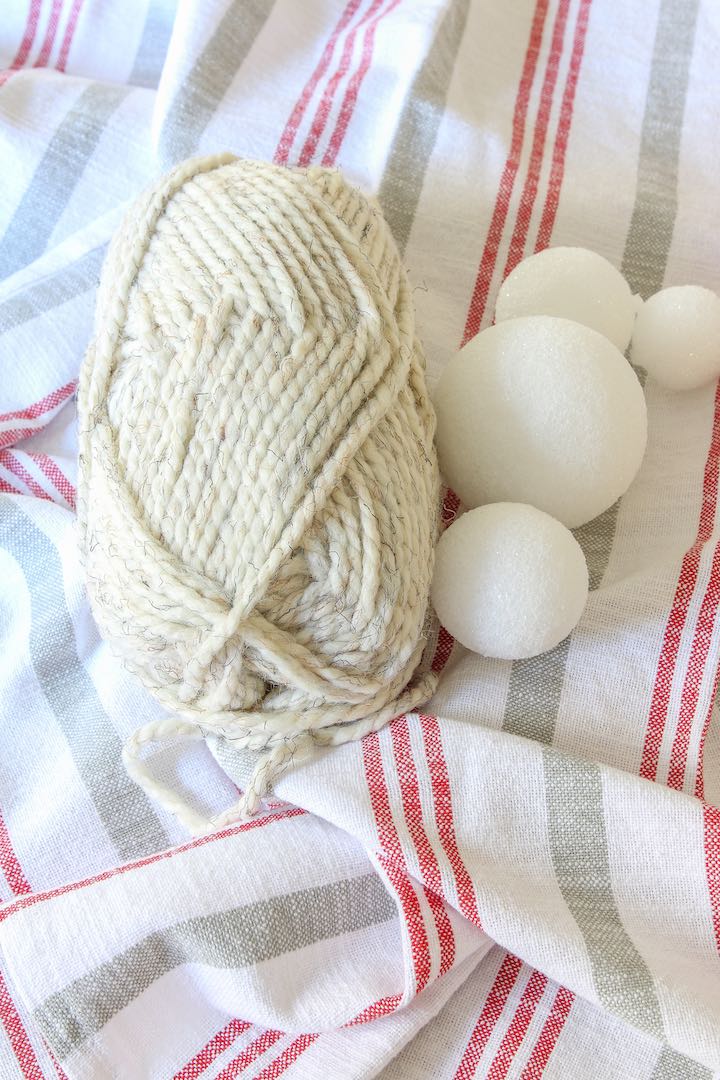
Supplies:
- Yarn color of your choice. I got mine from Michael’s on sale!
- Styrofoam balls. Guess what? These all came in a little pack from THE DOLLAR TREE! I also bought a couple bigger ones too to add some size.
First, put a dab of hot glue on the top of your styrofoam ball and place one end of your yarn in the glue and start putting it down in a circle.
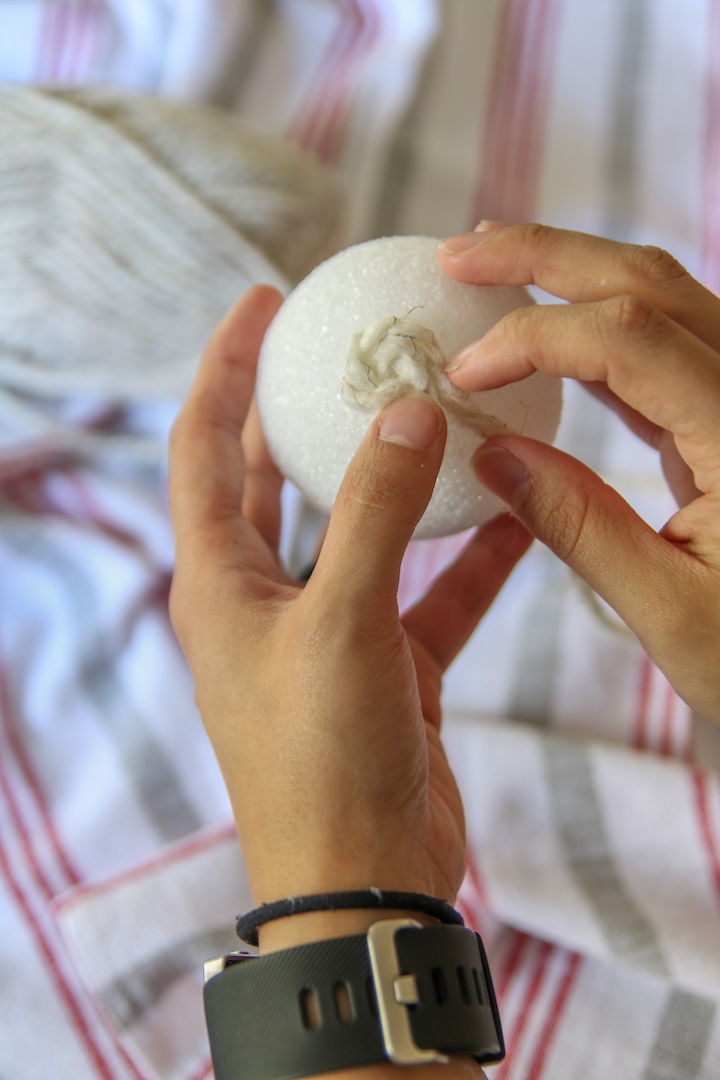
I honestly didn’t even put another dab of glue on it until I was about halfway down.
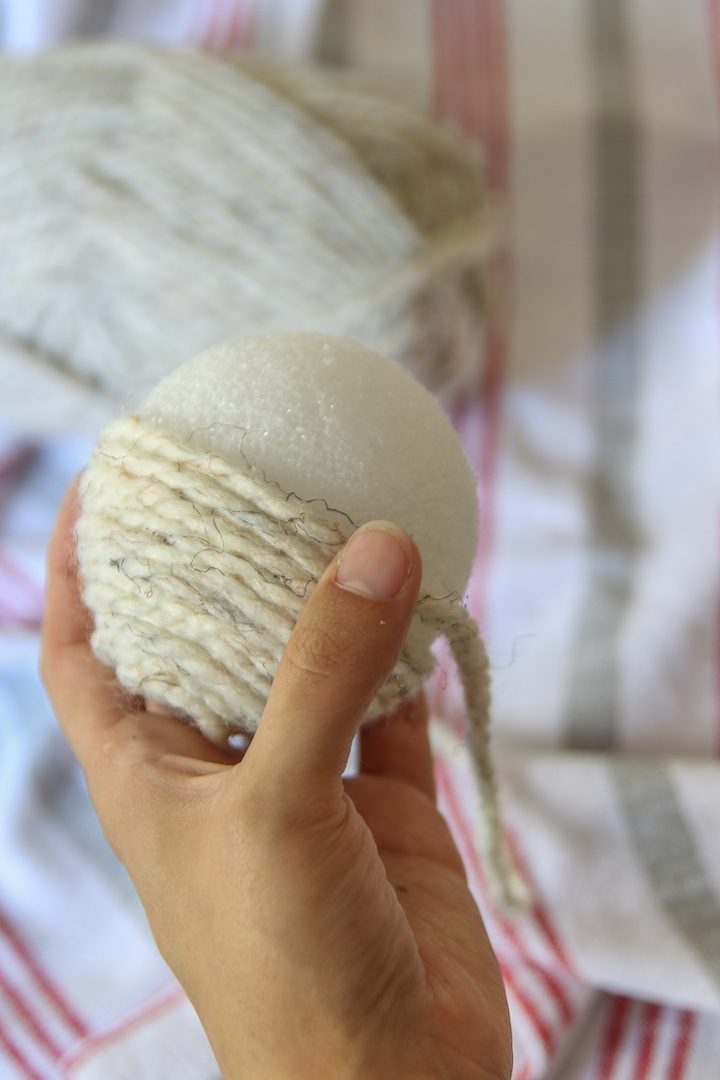
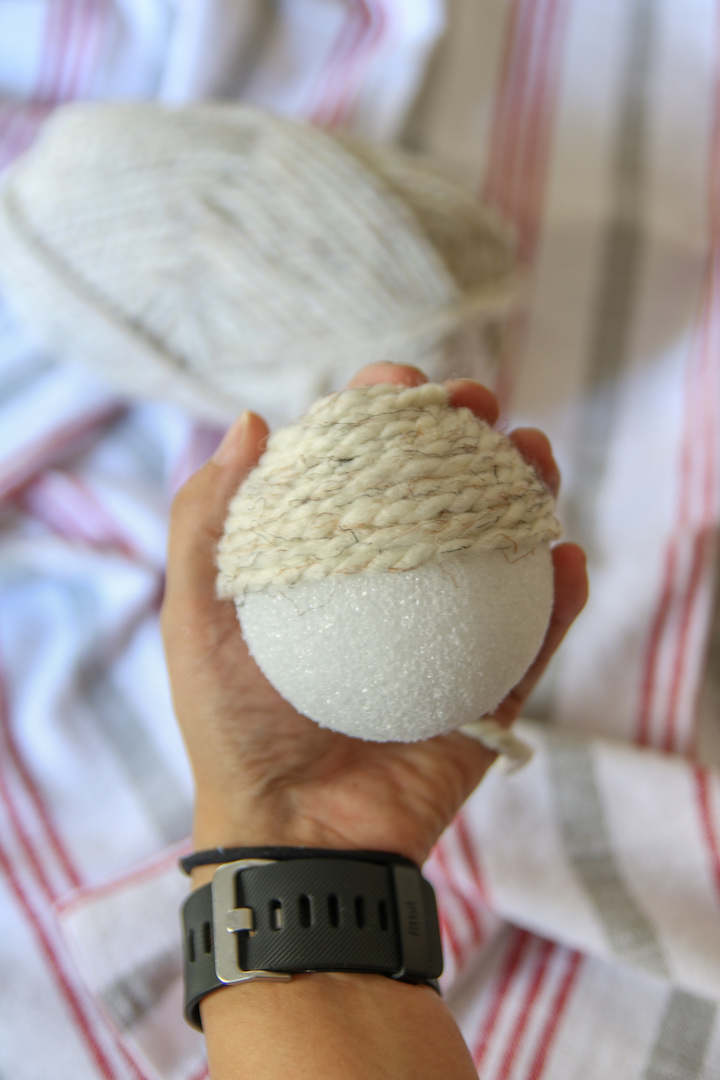
Side note, does this look like a little guy with a hat on to any of you? Just me? Here, does this help?
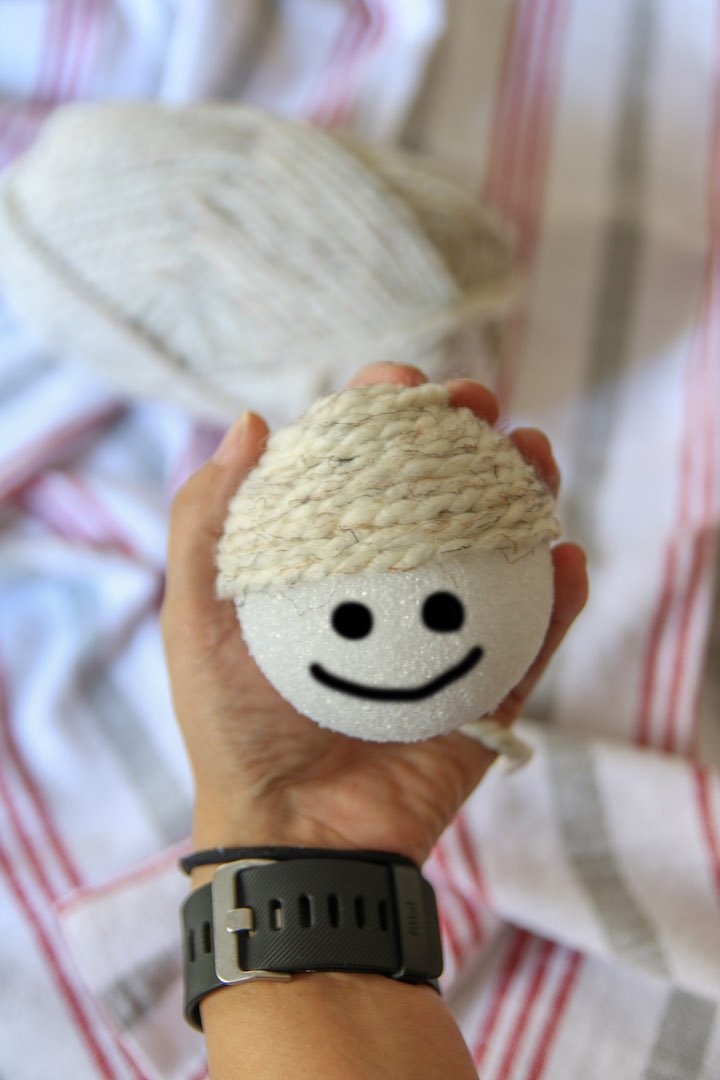
I totally see it. Once you make it to the halfway point, use your best judgement, but I added hot glue about every 2 to 3 times I wrapped the yarn. Then you just wrap them and put them in something to display! Super quick and easy and the good thing is that if you like them, you can easily just move them from one display to the next.
If you’re interested in making some of these for yourself, pin this for later:
Thanks so much for letting me hang out with you guys the past couple months and I certainly hope this won’t be the last time we “see” each other, but until then, Merry Christmas and Happy New Year!

Carmen is a wife and mama to a 3 year old girl and a new baby boy. She is a bargain hunter, math hater, and a true crime junkie. You can find her blogging about her family’s home renovations and DIY projects at Gross to Grandiose as well as on Instagram and Pinterest.
*************************************************


Get your copy of my FREE meal planning binder!

Sign up to get a free copy of my meal planning system - an 11 page printable meal planning binder, complete with a pantry inventory, shopping list, and more to help get on top of your menu each week!


