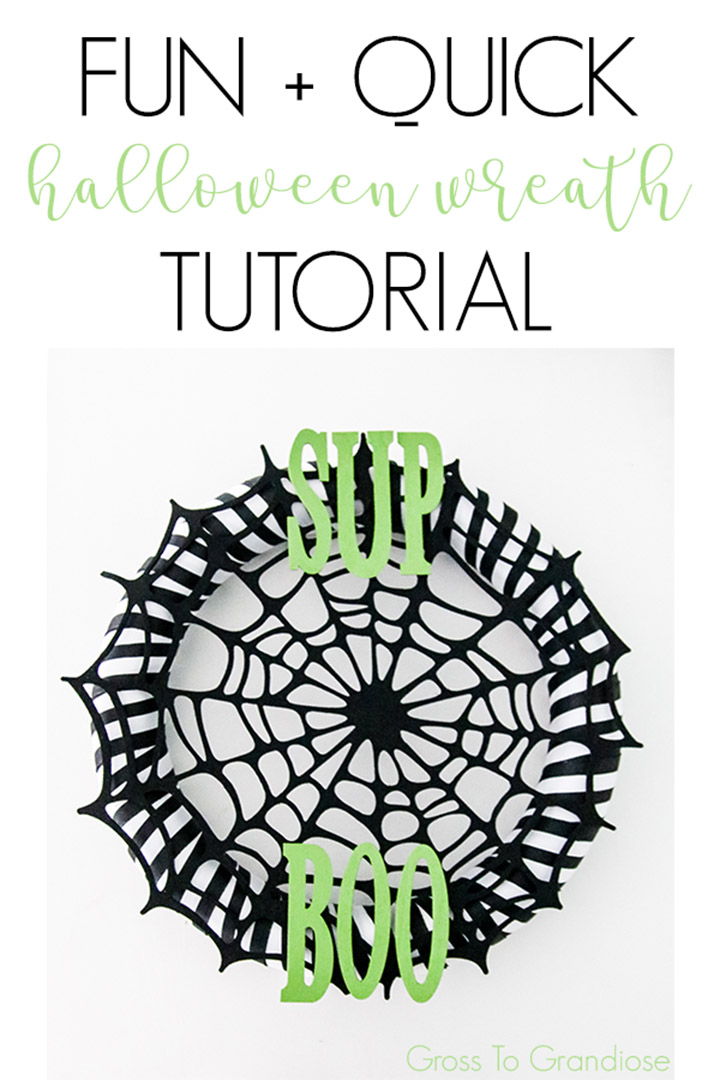
Carmen from Gross to Grandiose is here today to show you a quick and easy Halloween Wreath tutorial – I hope you’re inspired to make one like this, or come up with your own idea!
**********
I feel like Halloween can be a very polarizing holiday. It seems you either love it or you hate it. While I don’t hate it by any means, Halloween has never been something I “wait all year for” like fall, seasonal Peppermint JoJo’s from Trader Joe’s, or finding out the Pantone color of the year. However, as our toddler is growing up, she’s learning to really enjoy it and I do have to admit, it’s way more fun with little ones.
Where we live, Halloween is actually a neighborhood affair. Everyone who lives in the cul-de-sac (which now includes us) sets up a fire pit and camping chairs around it so that kids don’t have to walk all the way around the neighborhood, they can come to one stop, walk around to those of us in camping chairs and get their spoil. It works out great for us because it’s right in front of our house and at least right now, Charlotte has a fairly early bed time.
A term of endearment for us in our house both between my husband and I and to my babies is “boo”. Including but not limited to boo boo, boo bear, baby boo and more. So, I thought, since “boo” is also a Halloween word, let’s bring this into some decor. That’s when I came up with the idea of a wreath that casually welcomes our guests.
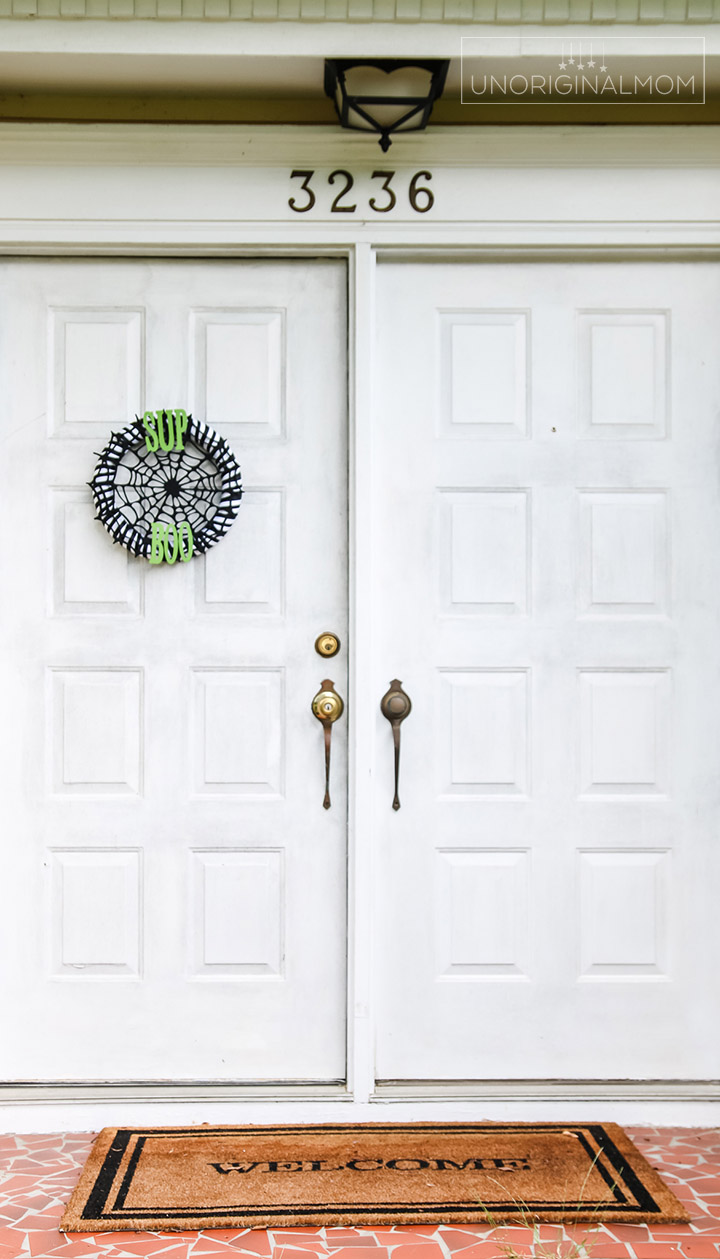
There’s not much more that I love than a really good pun. This fit the bill! I got all my supplies at Hobby Lobby and this project took me all of a couple hours to complete!
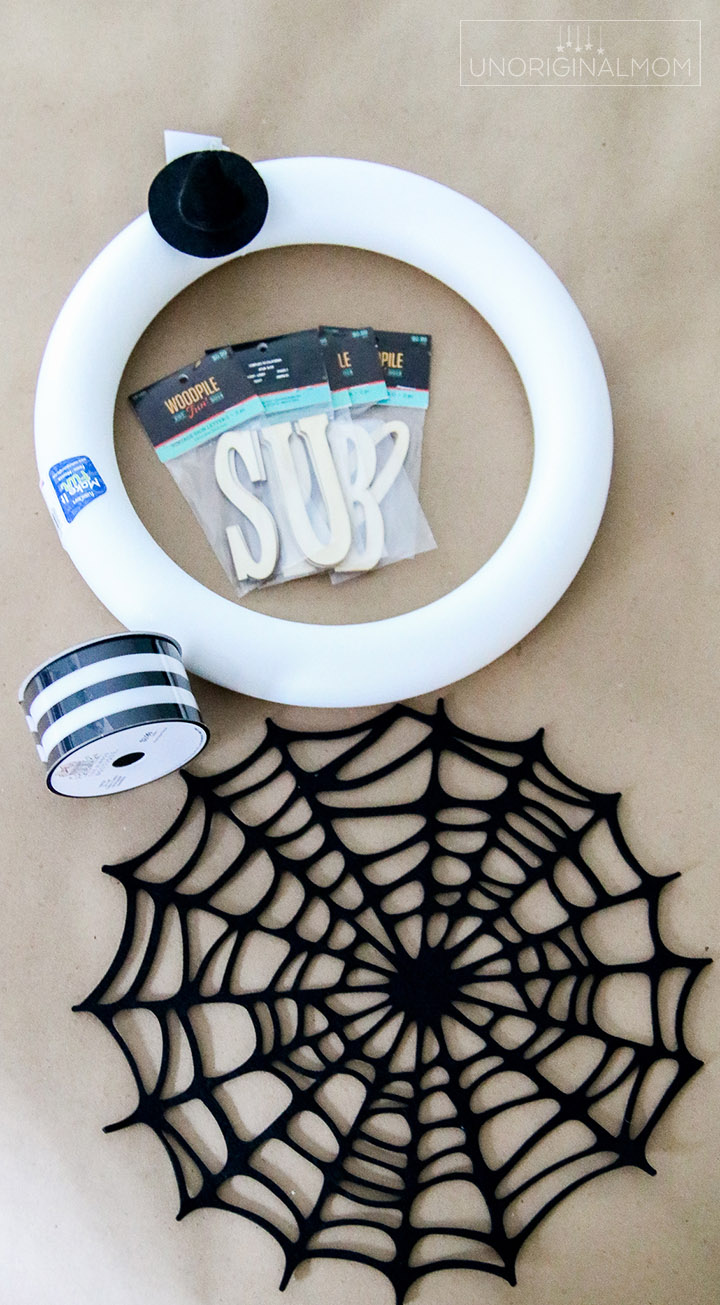
SUPPLIES:
- Wooden letters (I got mine from Hobby Lobby)
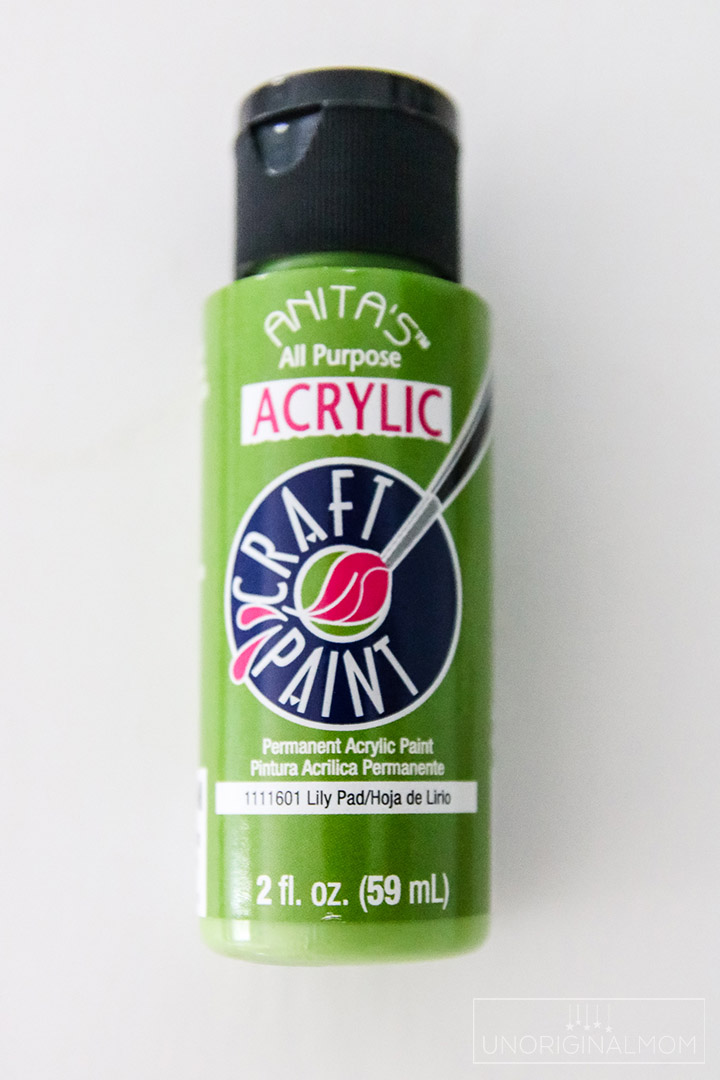
- Paint of your choice (I chose this one)
- Foam wreath form (Mine was 16″)
- Spider web placemats
- Optional: Tiny witch’s hat
First, paint your letters your paint color of choice. I put mine in the sun to dry to speed up the process.
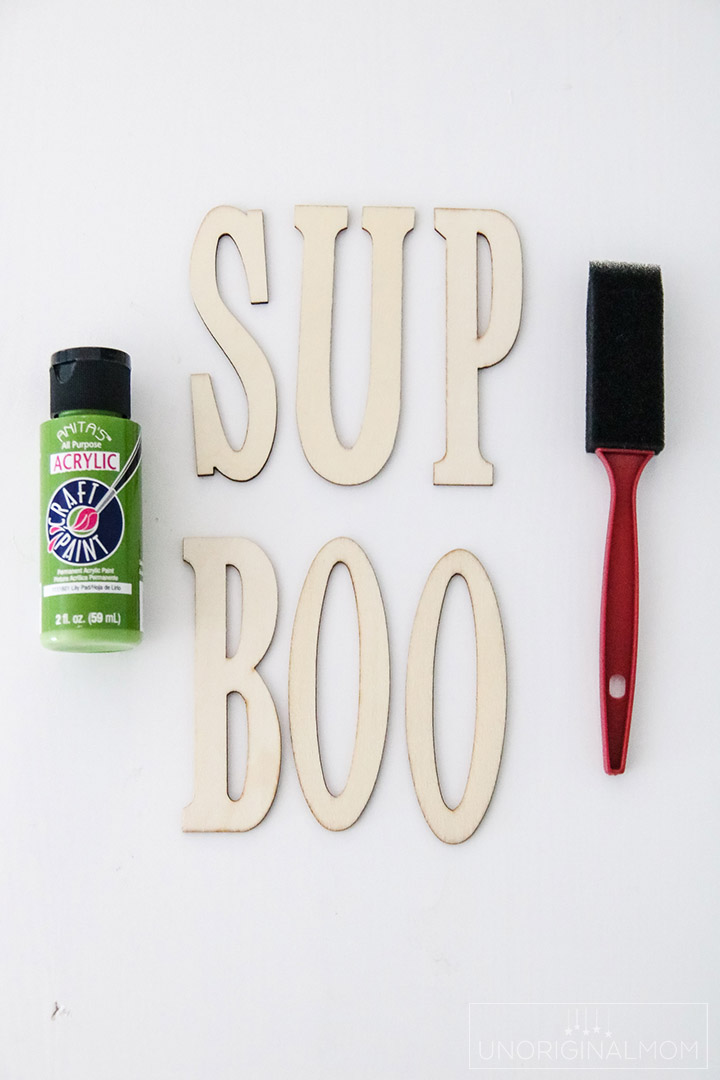
While they are drying, wrap your wreath form with your ribbon. Put a dot of hot glue on the end to attach it once you are done wrapping.
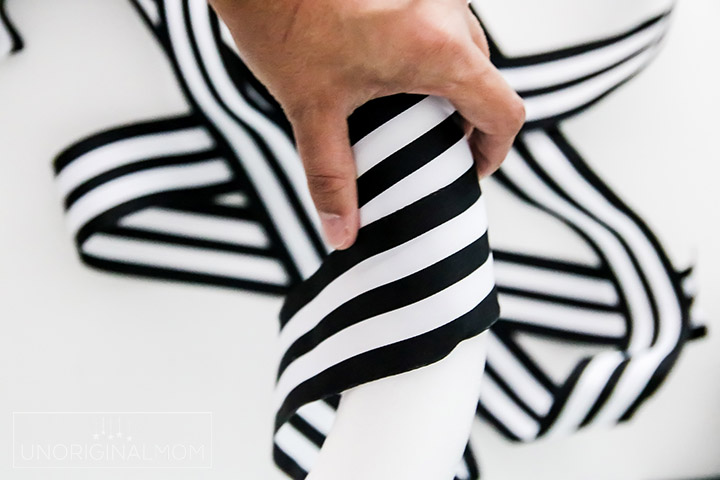
The next step is to attach your web! You could get creative and attach this to the backside of your wreath, but I chose to put mine on the front. Place hot glue in several places around the edge to attach it to your wreath.
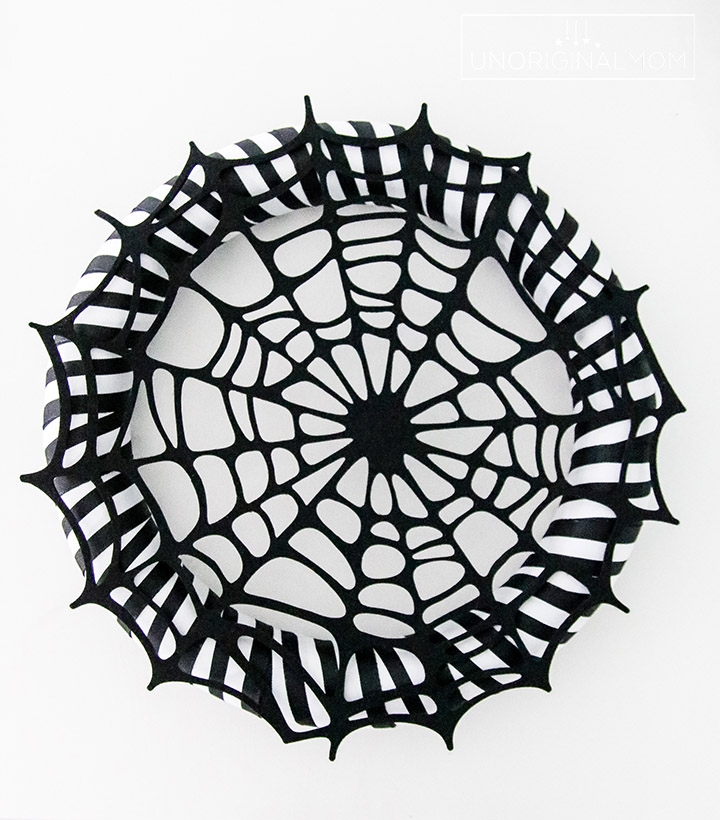
This next part was the most time consuming for me which was to pick the spacing and placement of the letters. I did my best to keep them in place and basically tilt them to one side and put some hot glue on them and lay them in the same spot.
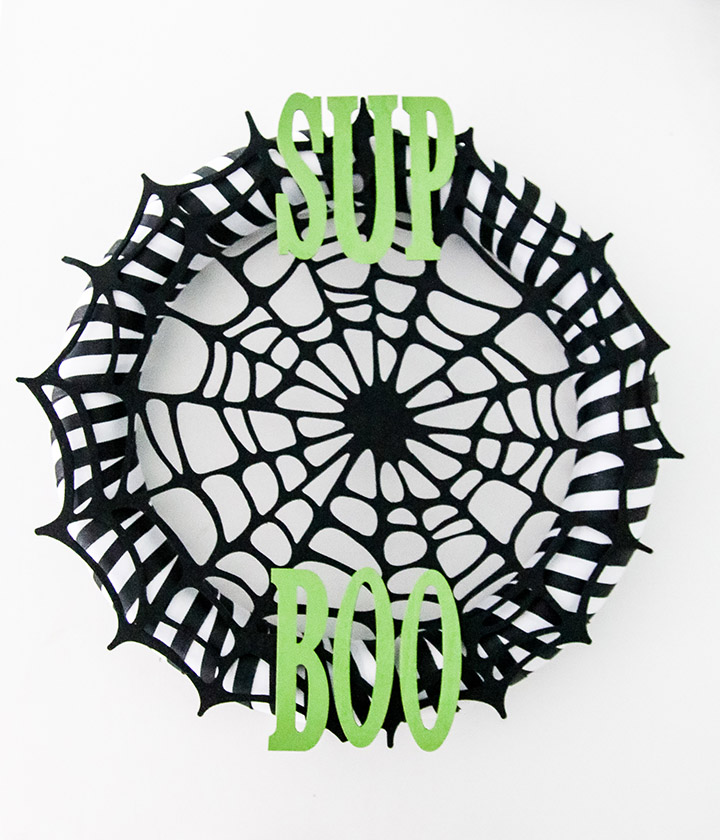
If you want to, you can attach your witch’s hat either to two points of the web or to the top of your wreath. I actually chose to leave this step out because once I had it made, I actually liked the way it looked without it.
Ta da! I gotta say, even though I don’t plan to add too much more in terms of Halloween decor because I just LOVE decorating for fall, I really was pleased with how easy, quick, a fun of a project this turned out to be! I’d love to see your take on it if you try it!
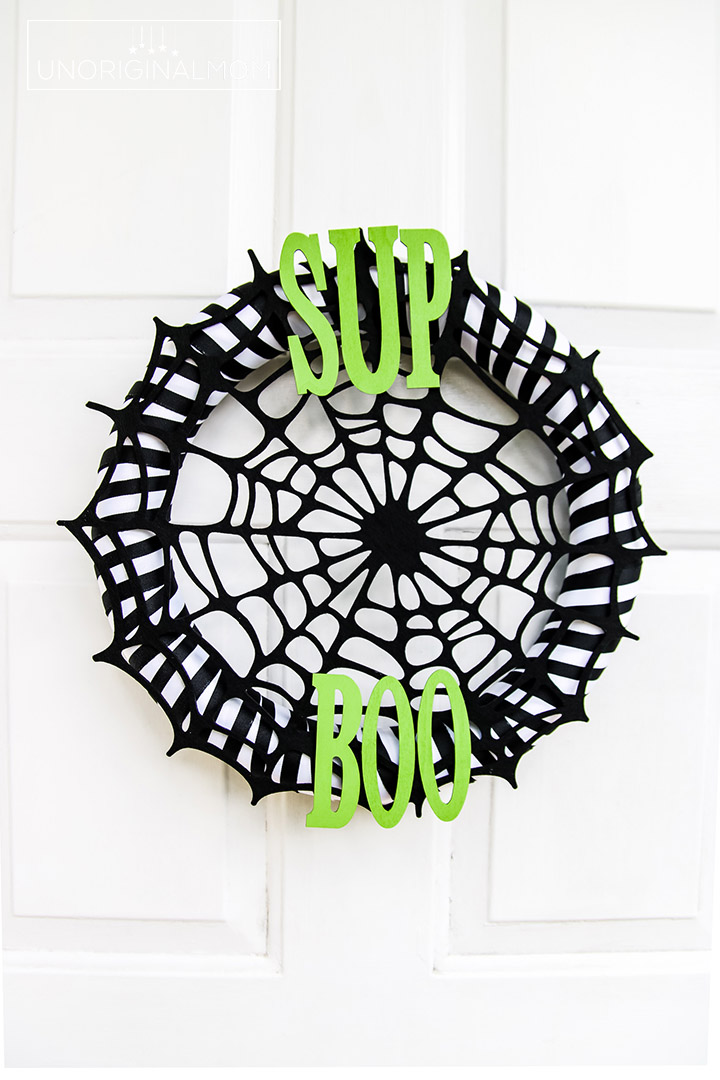
If you’d like to make one of these for yourself, pin this for later:

Carmen is a wife and mama to a 3 year old girl and a new baby boy. She is a bargain hunter, math hater, and a true crime junkie. You can find her blogging about her family’s home renovations and DIY projects at Gross to Grandiose as well as on Instagram and Pinterest.
*************************************************


Get your copy of my FREE meal planning binder!

Sign up to get a free copy of my meal planning system - an 11 page printable meal planning binder, complete with a pantry inventory, shopping list, and more to help get on top of your menu each week!


