New to vinyl? Here’s a detailed, step-by-step beginner vinyl tutorial to make an adorable “Let’s Flamingle” tray with your Silhouette Cameo!
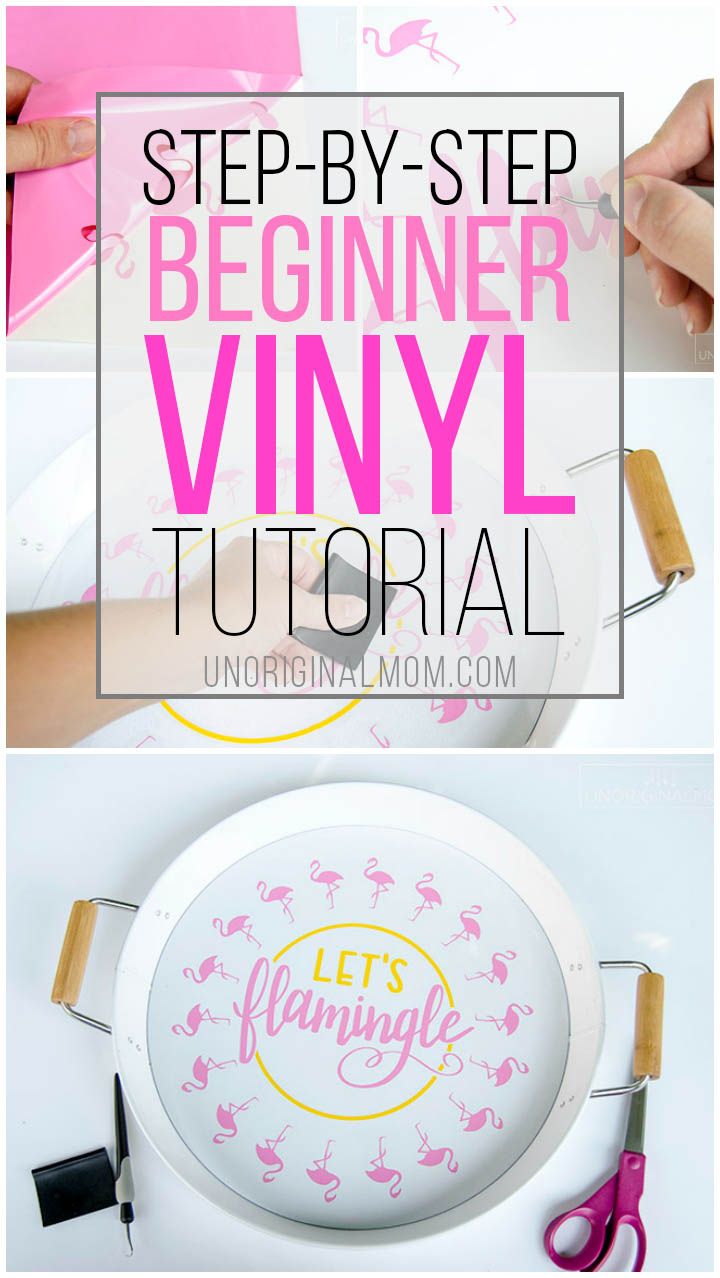
I’ve owned a Silhouette for 5 years now (!!), and been blogging Silhouette projects since the very beginning. (In fact, you can see my very first Silhouette project here!) But in all the years I’ve been sharing Silhouette projects, I realized that I’ve never shared an honest-to-goodness, super detailed, step-by-step beginner vinyl tutorial. Well, friends, that is remedied today! I was trying out Silhouette’s new Oracal 651 vinyl with a cute “Let’s Flamingle” cut file, and since it was a pretty straightforward cut and application I figured I would take lots of pictures and write out a step-by-step beginner vinyl tutorial to share with those of you who are newbies to vinyl (or maybe need a little refresher!).
I partnered with my friends at Silhouette America to bring you this post. All opinions are completely my own!
SUPPLIES:
This post contains affiliate links – click here to read my full disclosure.
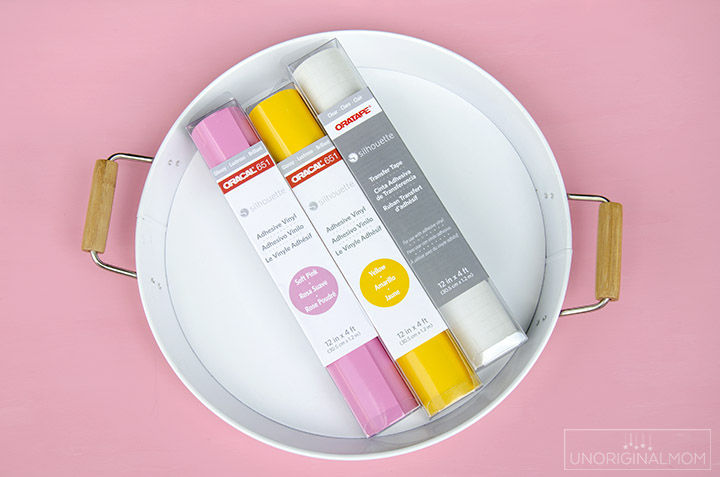
- Silhouette Cameo or Portrait (or another electronic craft cutting machine)
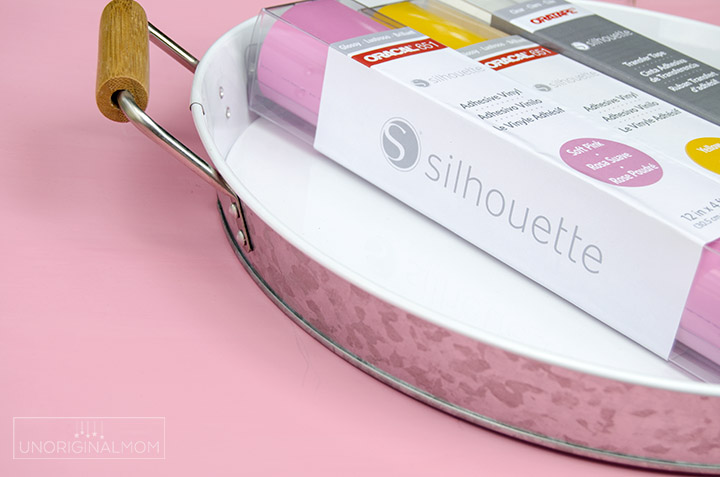
- vinyl (I used Silhouette’s new Oracal 651)
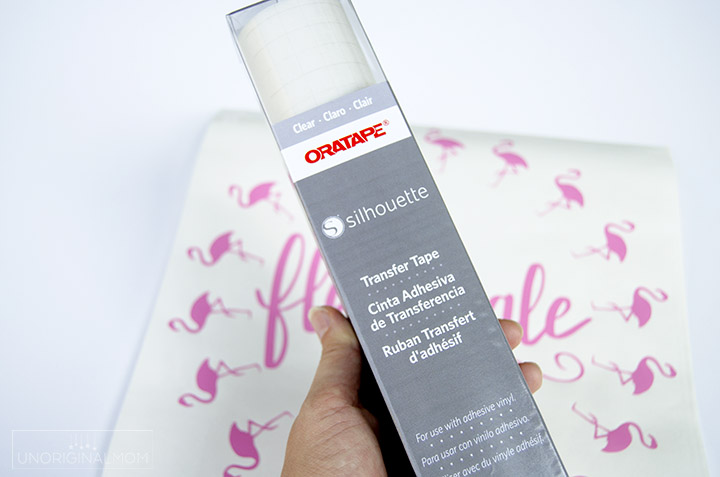
- transfer tape (I used Silhouette’s Oracal transfer tape)
- hook tool
- scraper tool
- cut file of your preference (I used Shape #75285 from the Silhouette Design Store and combined it with my “Let’s Flamingle” hand lettered design, available in my Silhouette Library)
- blank serving tray or other project surface
(Do all these Silhouette supplies and accessories leave you feeling a little bit dizzy with options? Check out my Silhouette Wish List – it’s the ultimate guide to Silhouette supplies!)
SILHOUETTE STUDIO DESIGN TUTORIAL
Before we get to actual vinyl application, I’m going to show you how I created this design in Silhouette Studio. If you’re not a Silhouette user (meaning you use a different design software to create and cut your designs), go ahead and scroll down to the Beginner Vinyl Tutorial.
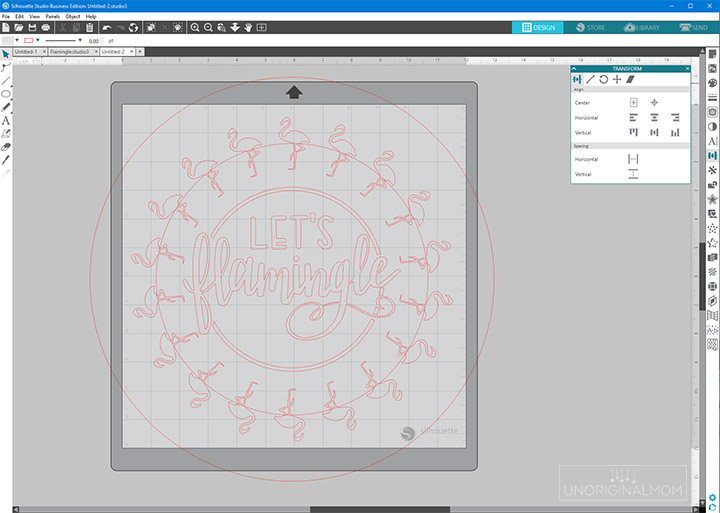
I began with my “Let’s Flamingle” hand lettered cut file (which you can grab for FREE in my Silhouette Library!). I used the circle tool to draw a circle the size of my tray (13″x13″) and then drew another circle around my text where I wanted to create my flamingo border. Hint: use the Transform Panel to easily resize your shapes to specific dimensions.
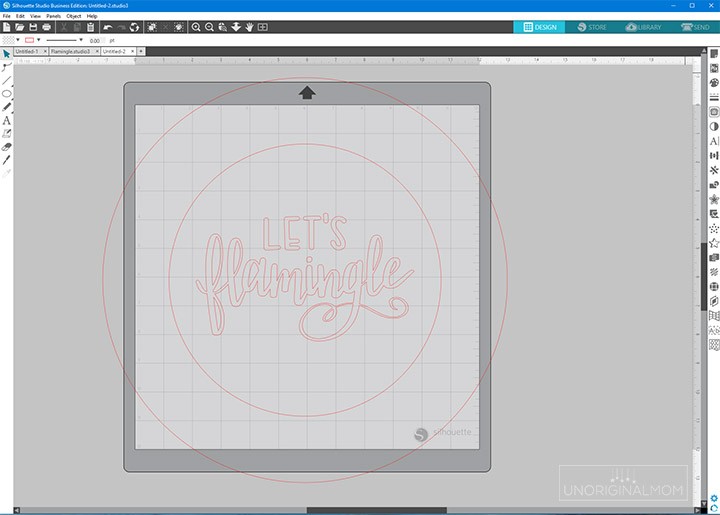
Then I inserted this flamingo shape from my Library which I had purchased from the Silhouette Design Store. I opened the Replicate panel and clicked “show grab handle” to prepare to add my flamingo shape onto the “path” of the inner circle.
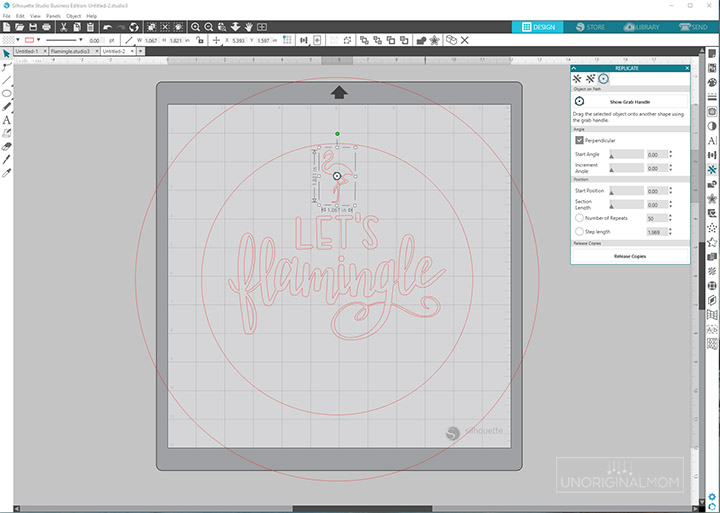
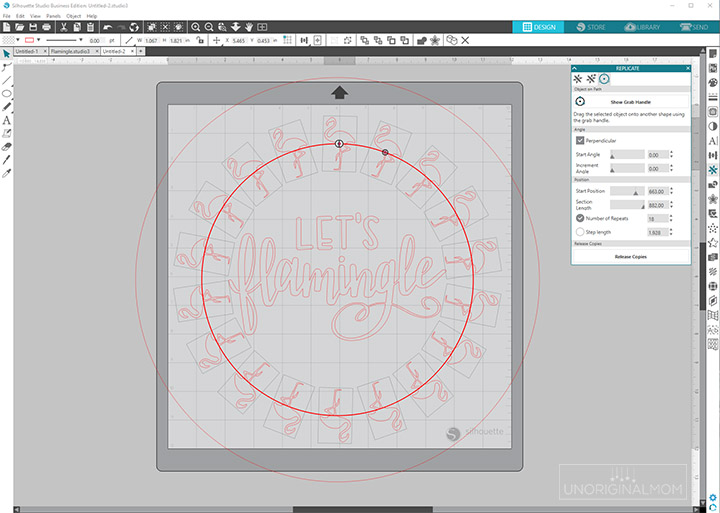
I dragged the flamingo onto the circle and adjusted the “number of repeats” until I liked the layout. When I was sure I was finished, I clicked the “release copies” button.
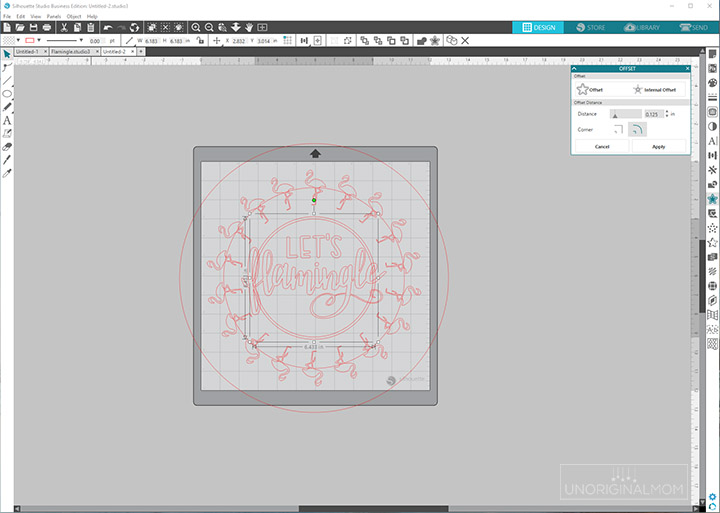
I wanted to add a little something extra around my text, so I decided to add a simple circle border. I drew another circle the size that I wanted, and then used the Offset tool to add a second circle. I selected both circles, right clicked, and selected “make compound path.” That creates a shape out of the circle.
To avoid overlapping vinyl, I used my knife tool to cut the circle where it overlapped the letters. Make sure you are using the “solid” knife rather than the “outline” knife to cut all the way through the shape.
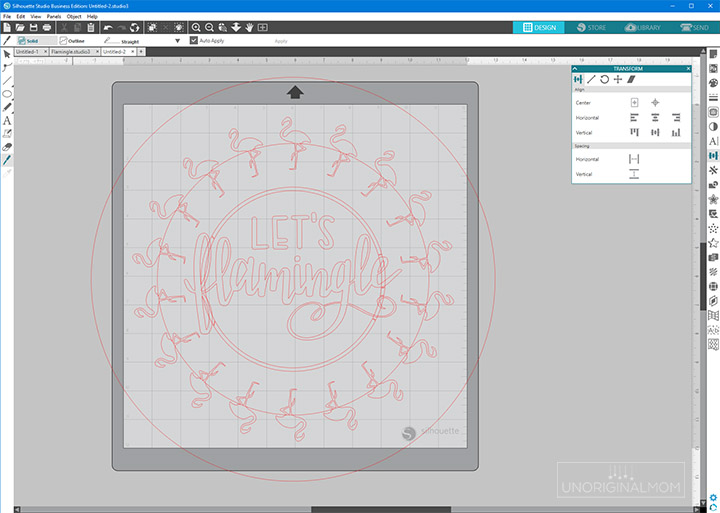
Then I just deleted the pieces of the circle that overlapped the letters.
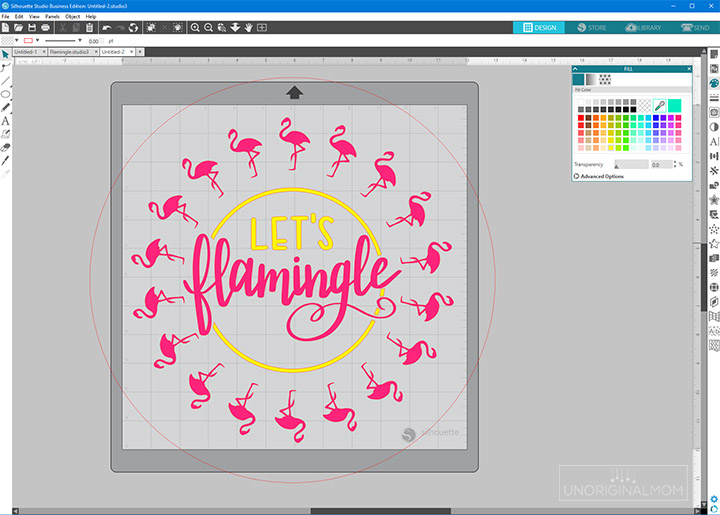
Next, I deleted the guide circle I used to place the flamingos, and filled my shapes with colors to get a better sense of my design. The color fill isn’t necessary, since I’m just cutting out of vinyl and not printing anything…but I always like to see my design in color before cutting, just to be sure I really like my color choices!
Now, I’m ready to send my design to the machine! First things first – check your page settings under the Page Setup panel. Set the page size to the size of your vinyl. I decided to use my roll feeder and cut the vinyl without a mat, so selected “none” under cutting mat. (For more detailed designs, or if you don’t have a roll feeder, I recommend using a cutting mat!)
Then I headed over to “Send” and selected my material – Vinyl, Glossy. Because I decided to do my design in two different colors, I made sure the yellow shapes were set to “no cut” – though if you were cutting it all out of the same color you wouldn’t need to worry about that. I also set my large circle to no cut.
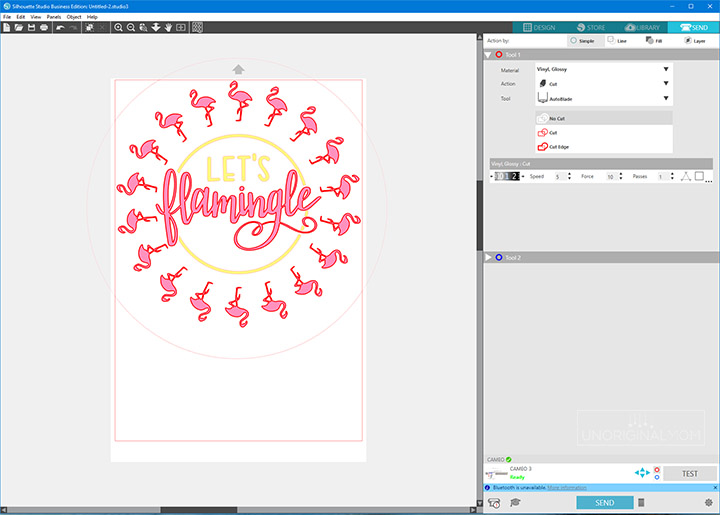
It’s ALWAYS a good idea to do a test cut (see at the bottom of the page where is says TEST?) – it will cut a small triangle inside a square at the top left corner of your material. I’m glad I did, because even at a blade setting of “1” the blade was cutting into the backing paper a little bit, so I lowered the force to 7 instead of 10. Another test cut showed me I was good to go.
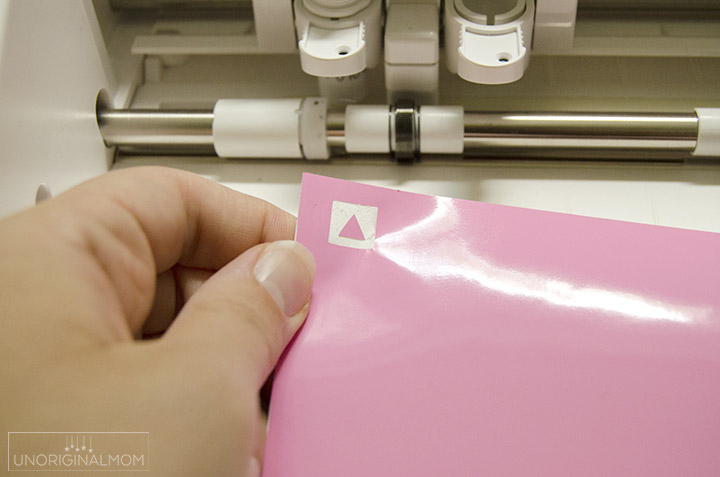
I loaded my vinyl (if you’re cutting directly off the roll and not using a cutting mat, you’ll need to adjust your right roller to the inner “groove” so it grips onto your vinyl), and hit SEND!
Note: a handy feature of the updated Silhouette Studio is that it asks you if you meant to mirror your design before cutting…this is ONLY for heat transfer vinyl, not adhesive vinyl, so you do NOT need to mirror your design!
Ready…set…cut!
Once you’ve cut your vinyl, it can be hard to see the actual cut lines…but don’t worry, they’re there! Unload your material. If you’re cutting a second color of vinyl, switch your cut lines from no cut to cut (and vice versa) and then cut your second sheet.
BEGINNER VINYL TUTORIAL
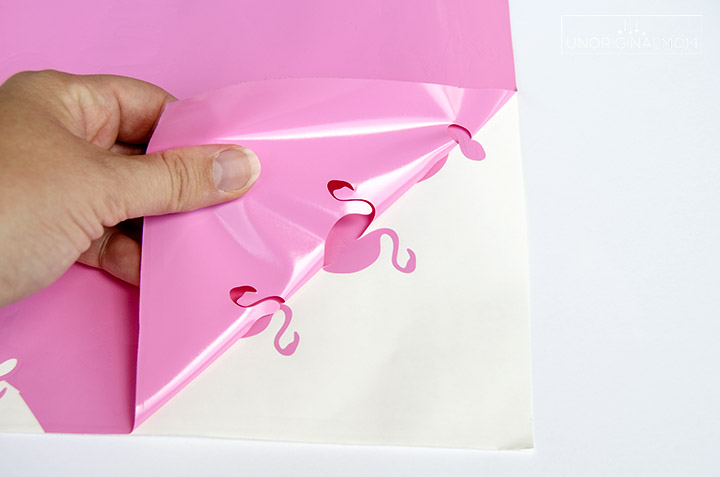
Here’s where I’m jumping into a step-by-step beginner vinyl tutorial, and these techniques apply to ANY kind of craft cutting machine…Cameo, Portrait, Cricut, doesn’t matter. Once you have a sheet of vinyl with a design cut out of it…now what? First things first, peel off the vinyl that’s NOT part of your design…that’s called *weeding.* If you’re using 651 (also known as permanent/outdoor vinyl) be VERY careful that the vinyl doesn’t stick to itself in this step. It is super sticky, and not very forgiving!
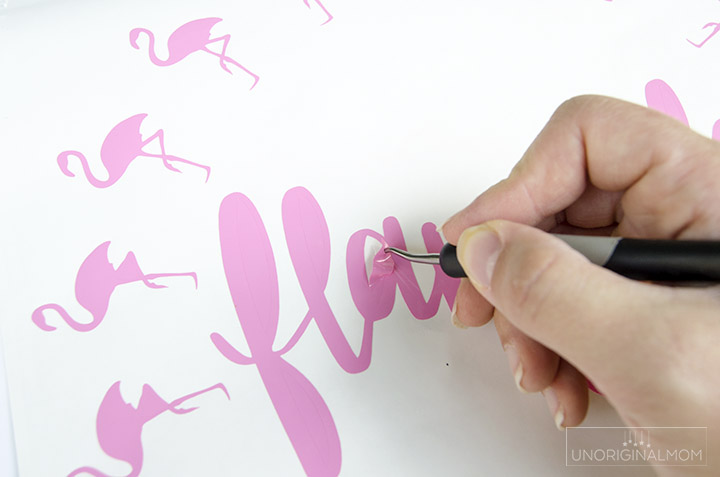
For the smaller pieces – insides of letters, or the inside of those flamingo legs – it’s really handy to have a hook tool.
Now you have this beautiful vinyl design, but you need to get it to your project. There is NO WAY you can peel it up and stick it on one piece at a time by hand, so you need transfer tape. This is a sticky piece of paper (similar to Contact Paper…in fact, I sometimes use Contact Paper as transfer tape!) that you will stick down onto your design to *transfer* it to your project surface. I tried out Silhouette’s new Oracal transfer tape, and I really like it!
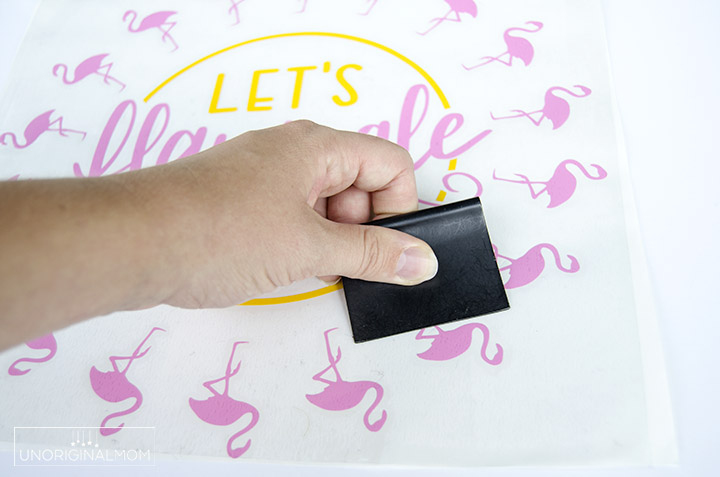
First, cut a piece of transfer tape the same size as your design. Peel off the backing, and CAREFULLY place it on your design, making sure to smooth it from one side to the other so there are no bubble or wrinkles. Use your scraper tool to burnish the tape firmly onto the vinyl. Since I was doing two colors, I actually did this on my yellow vinyl first, lifted up the yellow design, then centered it on my pink design and laid it down again. Then I lifted the whole design together. You can typically get several transfers out of the same piece of transfer tape, so this works well – though it can be pretty tricky to get your design lined up right, so go slow!
Now – again, slowly and carefully – peel up your transfer tape. The vinyl should lift up with the tape – if it doesn’t, no worries, just place the tape back down flat and burnish the vinyl some more. Be careful that the transfer tape doesn’t roll back onto itself and stick to the vinyl design! That happened to me and I beheaded a flamingo :-( It was easy to re-cut and replace a single flamingo, though, so no worries!
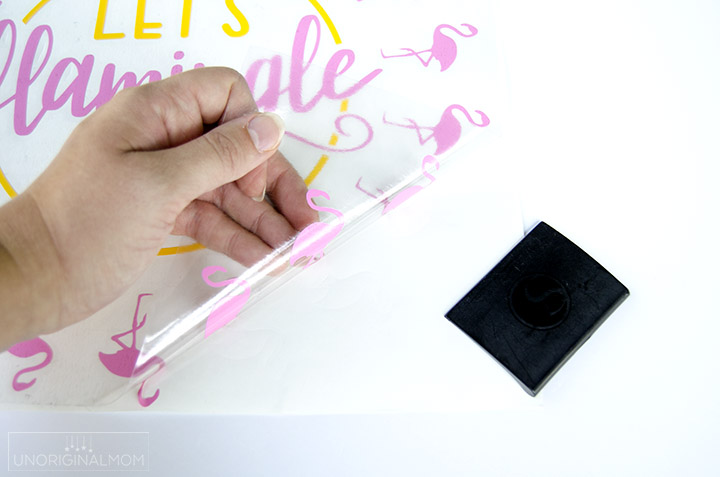
Once you’ve lifted up your entire design with the transfer tape, carefully place it on your project surface. Remember, 651 is VERY sticky, so the second that it touches your project surface you are committed to that placement! It’s a good idea to start in one corner and slowly lay down the rest of the design, making sure there are no bubbles or wrinkles. Use your scraper tool once again to firmly burnish the vinyl down onto your project surface. (Can you find my body-less flamingo?)
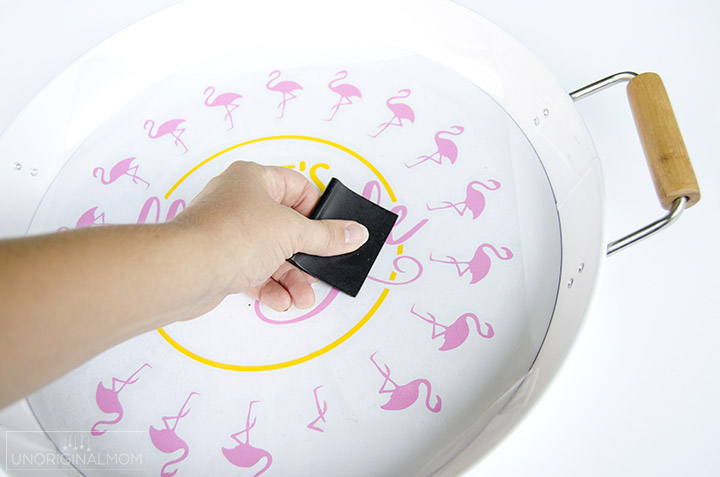
At this point, you should be able to peel off the transfer tape (slowly!), leaving your vinyl on the project surface! If it’s not sticking, keep pressing and rubbing with that scraper tool until it’s stuck.
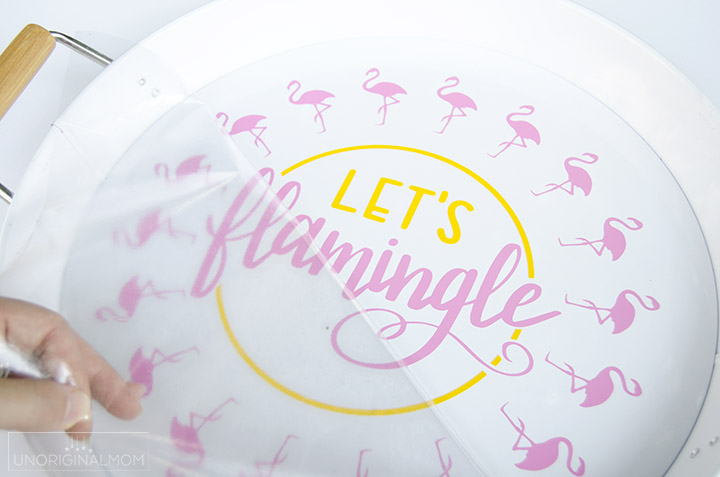
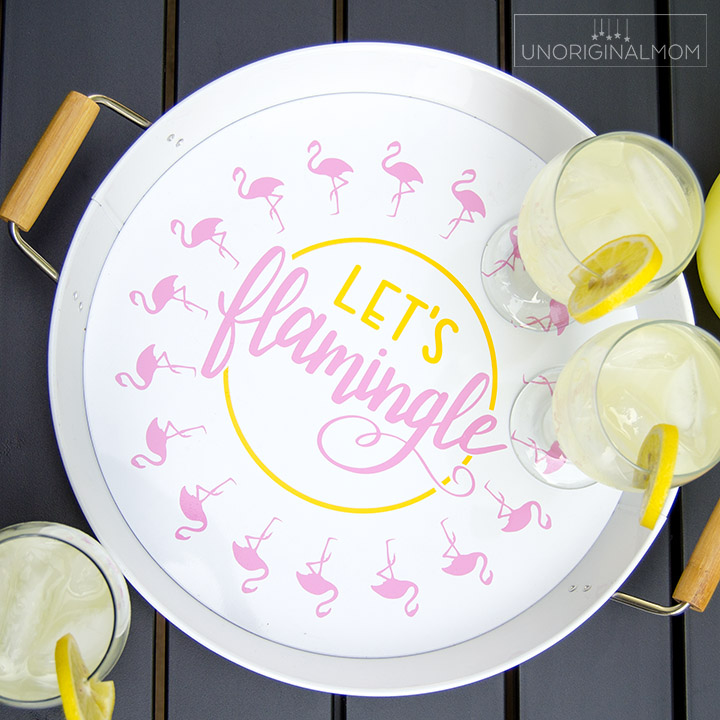
And that’s all there is to it! Isn’t this tray just perfect for serving lemonade? I think it will be great for outdoor entertaining this summer. Plus, since I used Silhouette’s Oracal 651 Vinyl, it will hold up well to drips, spills, and washing.

I hope you found this beginner vinyl tutorial to be helpful! Do you have any vinyl questions? I’m happy to answer them, just leave a comment! Don’t forget to sign up below for access to my Silhouette Library, which is full of dozens of free cut files…plus you’ll get weekly emails with short tips and crafty inspiration for your cutting machine.


Subscribe to unOriginal Mom via email and get instant access to my library of FREE Silhouette Studio & SVG cut files - exclusively for email subscribers. Plus there's a new file added every month!




This beginner vinyl tutorial is a gem! I love how detailed it is. Using the Silhouette Cameo to create a “Let’s Flamingle” tray sounds so fun. The step-by-step guide will be great for newbies like me. Can’t wait to try it with the Oracal 651 vinyl! 🌟
This is definitely a great DIY project to show off your creativity and personality.